FIX: Windows 11 File Explorer Crashes on Right Click
Like the rest of Windows 11, the File Explorer has undergone major UI changes, but that doesn’t mean that it is error-free. Recently, several users reported that File Explorer in Windows 11 keeps crashing when they right-click on any of the exe files. This typically happens right after users boot their operating system.

We had a look into this issue and discovered that it can be caused by a number of different factors including:
- Corrupt File Explorer cache – cache files might get corrupt and unusable due to various reasons, causing File Explorer to crash.
- Interference of a third-party application – a recently installed third-party application might be interfering with the legitimate File Explorer processes, preventing it from executing its operations. It is also possible that your third-party antivirus program has damaged File Explorer.
In this guide, we will walk you through the relevant troubleshooting steps in detail. Let’s get started!
Clear File Explorer Cache
The cache is a set of temporary files used by programs or the operating system to perform the tasks better. But if it’s overloaded, it might make things worse. Besides slowing down your hard drive, cache files can also result in software conflicts, which can lead to system crashes. You may be able to resolve performance problems or crashing issues like the one under consideration by clearing the cache.
Here is what you need to do:
- Open a Run dialog box by pressing Windows + R keys simultaneously on your keyboard.
- In the text field of the dialogue box, type the command mentioned below and hit Enter.
C:\Users\%username%\AppData\Roaming\Microsoft\Windows\Recent\AutomaticDestinations
- Once you are in the AutomaticDestinations folder, delete all its contents.
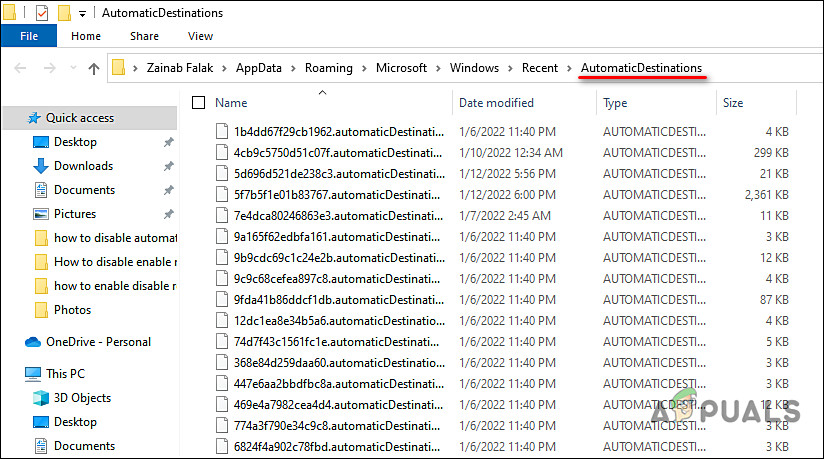
Delete the files in the AutomaticDestinations folder - Finally, restart your PC and check if the issue is resolved.
Clean Boot Your Windows
There are several background processes that run behind the scenes in your operating system. Sometimes, they interfere with the processes of your operating system due to a glitch or a corruption error, resulting in problems like the Windows 11 File Explorer issue at hand.
The solution to this is simple – running your PC in a Clean Boot environment. A Clean Boot starts Windows with only the essential files and programs required by the operating system to run. This allows the users to determine whether a background process is causing the issue.
Here is how you can Clean Boot your Windows:
- Open a Run dialog box by pressing Windows + R keys simultaneously.
- In the text field of the dialog box, type msconfig and hit Enter.
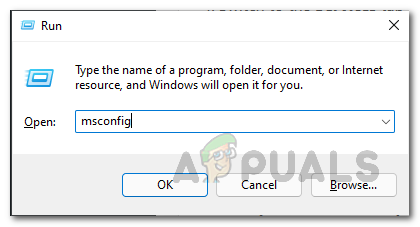
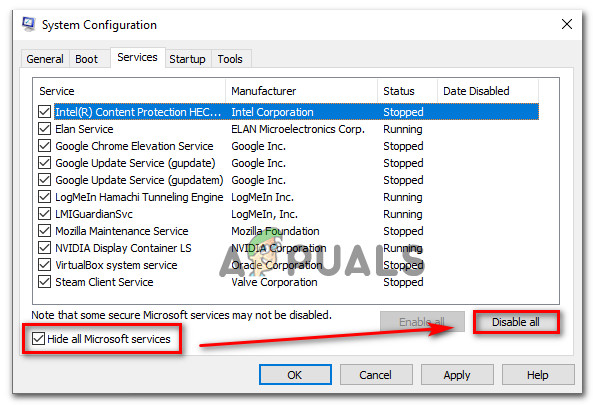
Opening MSconfig - Once you are inside the System Configuration window, head over to the Services tab and select Hide all Microsoft services. Then click on Disable all.
Hide all Microsoft services - Now go to the Startup tab and click on Open Task Manager.
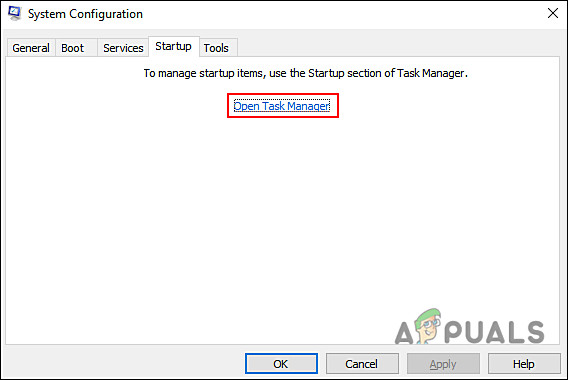
Launch Task Manager - Then in the Startup tab of Task Manager, right-click on each item and select Disabled.
- Close the Task Manager and on the Startup tab of System Configuration, hit OK.
- Finally, restart your computer and check if the issue persists.
If doing so resolves the issue, then it implies that a faulty background process is causing the File Explorer to crash. If this scenario applies to you, we recommend that you uninstall any recently installed applications following the installation of which the error began to appear.
Modify Registry Editor.
If the first two methods did not work for you, then consider modifying Windows Registry. There are times when certain corrupt files in the Registry Editor prevent Windows programs from operating properly. The solution to this is simple – delete the corrupt files if they are non-essential.
However, we highly recommend creating a Registry backup before proceeding with the steps listed below, just to be safe in case anything goes wrong.
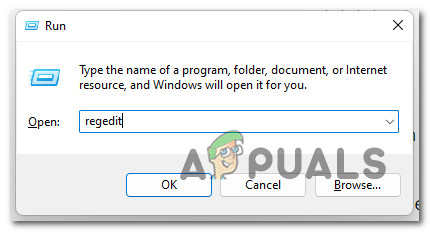
- Press Windows + R keys simultaneously on your keyboard to open a Run dialogue box.
- In the text field of the dialog box, type regedit and hit Enter. Click on Yes in the User Account Control prompt.
Open up the Registry Editor - Once you are inside the Registry Editor, navigate to the following location in the Registry.
HKEY_CURRENT_USER\SOFTWARE\Classes\Local Settings\Software\Microsoft\Windows\Shell\BagMRU
- Right-click on the BagMRU key and select Delete. Hit Yes in the confirmation prompt.
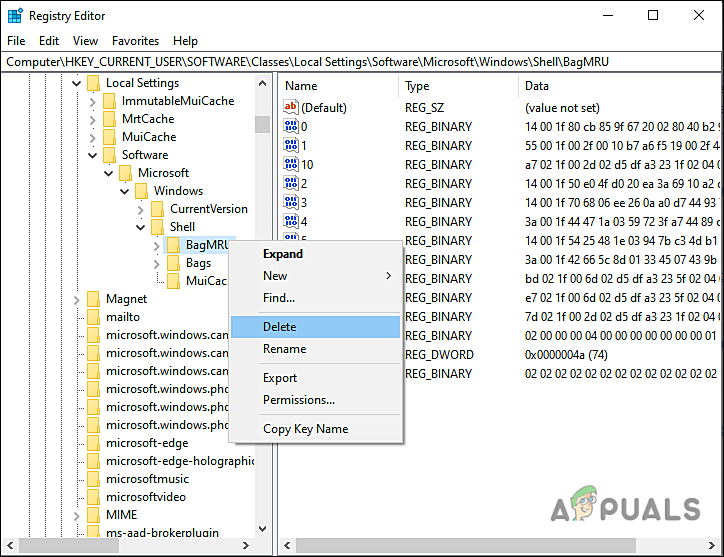
Delete the highlighted key - Now right-click on the Bags key in the same path and delete it too.
- Finally, close the Registry Editor and restart your PC.
This should fix the Windows 11 File Explorer issue.


None of these issues fix it. I am running the insider preview on the Dev Channel cycle. This broke right clicking on the start button in the last 2 Windows versions.