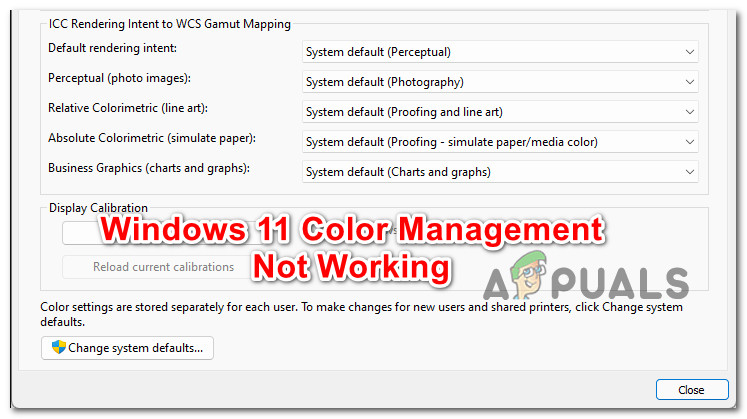
How to Fix Color Management Not Working Windows 11?
Color Management on Windows 11 was broken when the new operating system came out and it’s more or less the same almost 1 year later. If you are trying to modify your current monitor’s color profile and you find that you can’t really get it done, you are not the only one. Fortunately, there are a few ways to fix it and this article will guide you through the full troubleshooting guide.
Before we get to the troubleshooting tab, let’s go over every potential scenario that might be responsible for causing this particular error code:
- Outdated Windows 11 build – As it turns out, Microsoft has addressed this type of issue with several hotfixes released over the course of months. Even though you won’t be able to fix the problem completely, the Color Management Functionality on Windows 11 will become a lot more reliable if you update your Windows installation to the latest available build.
- Corrupted Color Profile Component – Depending on your OEM, you might find this issue occurring due to an inconsistency affecting the color profile component. According to affected users, this type of issue is now isolated to a small number of OEMs. To fix this problem, you need to download the color profile from the OEM website and apply it via the Display menu.
- The app is unable to retrieve the color profile – Keep in mind that sometimes the blame is not on the way your OS handles the color profile management, but rather on the app that tries to use it. If you’re experiencing this type of issue only when utilizing certain apps, you should start by resetting the problematic app in order to force it to retrieve the color profile.
- Outdated GPU Software – Another reason why you might expect to see an inconsistency in regards to how the Color profile is managed is an outdated or partially incompatible graphics card driver. If you haven’t done this already, start by updating or reinstalling the GPU software before attempting to use the color profile component once again.
- System file corruption – In more specific scenarios, you can also expect to deal with this problem due to some kind of corruption affecting your Windows installation. To fix this problem simply go for a clean install or repair install procedure in order to replace every Windows file with a fresh equivalent.
- Usage of Color Management Scheme is not compatible with Windows 11 – Certain legacy apps will struggle to receive the Color Management Profile regardless of the workarounds you try. If the app used to work on Windows 10 and no longer works on Windows 11, the only viable fix at this point is to revert back to the older OS (if you still can).
Now that we went over every potential cause of the issue, let’s get to the actual fixing part. Below you’ll find a collection of verified fixes that other affected users have successfully used to get to the bottom of this issue and fix it.
1. Update the Windows 11 build
According to many people who have experienced issues with the color management profile, the problem may frequently be resolved fully by applying all pending Windows updates.
Note: This technique is based on the assumption that you didn’t already install all the pending Windows Updates that Microsoft has already released in order to eradicate the issue affecting the color management profile.
Since Microsoft has made a handful of updates targeted at reducing this sort of problem, this is the potential repair you should start with.
To resolve this issue, go to the Windows Update component and make sure you’re running the most recent build for your Windows 11 version.
To do this, follow the instructions below to use Windows Update to install the most recent available Windows 11 build:
- To launch the Run dialog box, press Windows key + R.
- Then, in the text box, type’ms-settings:windowsupdate’ and click Enter to launch the Windows Update tab of the Settings app.
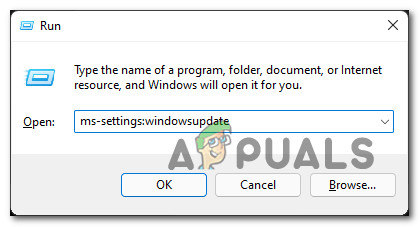
Accessing the Windows Update screen Note: You could encounter an User Account Control prompt at this point unless you fiddled with the default UAC settings. To provide admin access in this scenario, select Yes.
- After that, from the Windows Update screen, go to the right-hand section and select Check for Updates.

Checking for Updates - Wait for the update to download locally before clicking Install Now to install it
- Finally, reboot your computer to verify whether the problem has been resolved.
If the same kind of issue is still occurring, move down to the next potential fix below.
2. Reinstall the color profile
If the first method was not effective, you should start investigating a scenario in which the issue is caused by an inconsistency impacting the color profile component. This is highly dependent on your OEM.
This sort of problem, according to impacted consumers, is currently limited to a small handful of OEMs. To remedy this issue, go to the OEM website and get the color profile, then apply it from the Display menu.
The color profile for your display can usually be downloaded from the manufacturer’s website. You may find it by looking for it on the OEM website’s help area using the monitor’s model number.
Here’s how to use the color profile after you’ve got it:
- First, start by pressing the Windows key + I to open the Settings menu.
- Next, from the Settings menu, go to System, then move over to the right-hand section and click on Display.
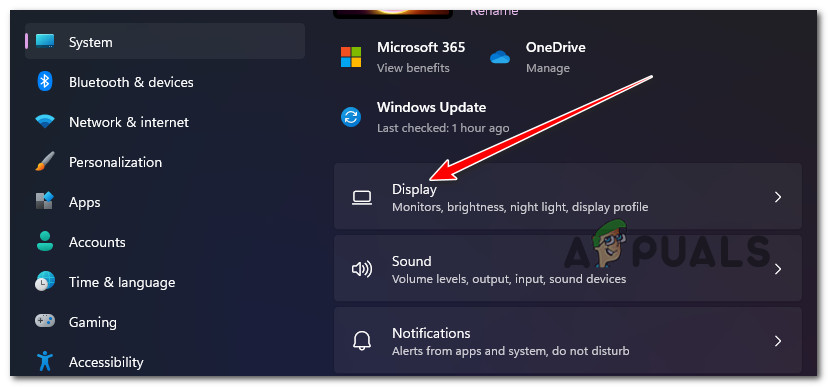
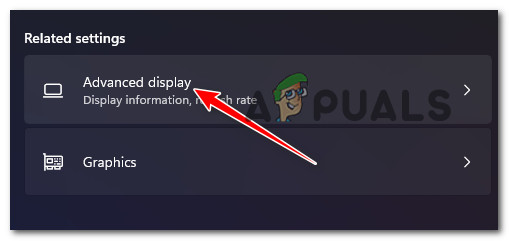
Accessing the Display menu - After selecting your display, scroll down to Advanced display.
- To open the advanced display settings, simply click the Advanced display button below.
Accessing the Advanced Display menu - Next, you will be taken to a new window. From them, click on the properties button of Display adapter properties for the Display.
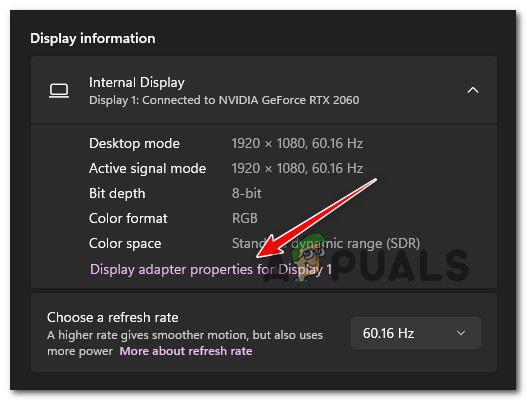
Accessing the Display adapter properties for Display 1 - From the next menu, change to Color Management in the graphics properties panels.
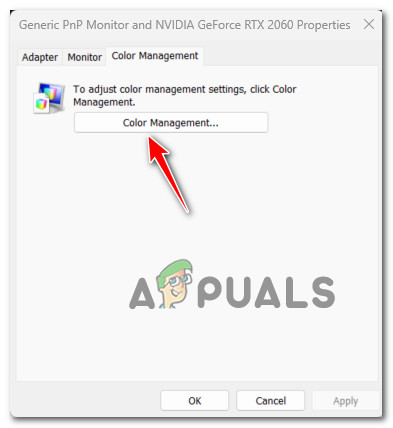
Accessing the Color Management Settings - From all the available options, select Color Management from the drop-down menu.
- In the Color Management section, choose the monitor and click the Add button.
- Apply the color profile or ICC file that you have chosen.
If the problem is still not fixed, move down to the next method below.
3. Reset the app unable to retrieve the color profile
Keep in mind that the fault may not always lie with your operating system’s color profile management, but with the software that tries to use it. If you’re having this difficulty with particular apps, try resetting the problematic app to force it to get the color profile.
If the issue is with a specific app, you may want to try resetting it. There are two options for accomplishing this. The first option is to reinstall the software or hunt for a color profile that is currently accessible. Only applications that support it are eligible for the latter.
Here’s what you need to do in order to retrieve the color profile for a particular app:
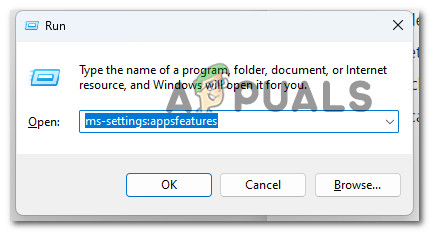
- By hitting the Windows key + R, a Run dialog box will appear.
- To enter the Apps & Features tab of the Settings app, type ‘ms-settings:appsfeatures’ and press Enter.
Accessing the App Features screen - Use the search option immediately under Apps & Features to look for the problematic app that’s triggering issues with the color scheme once you’re within the Apps & Features menu. Then select Advanced from the drop-down menu.
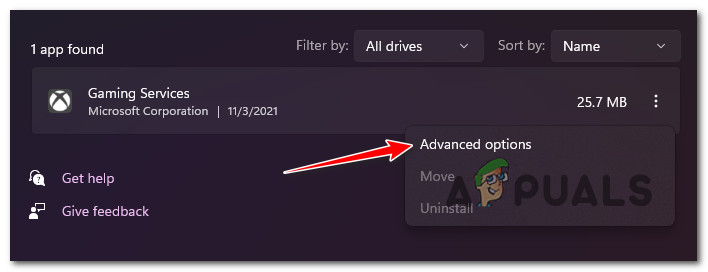
Accessing the Advanced Options menu - Scroll all the way down to the Reset tab and select the Reset button once you’re in the Advanced settings menu of the problematic app.
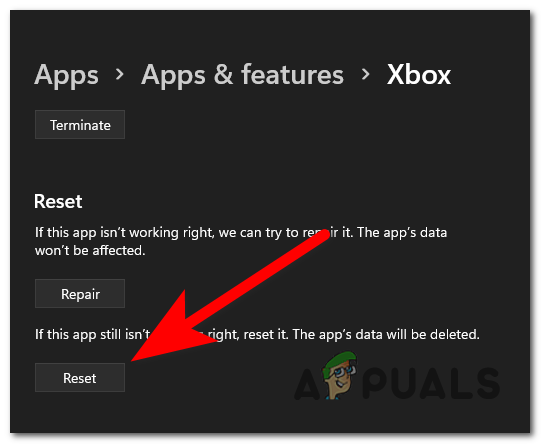
Resetting the problematic app - Click Reset at the final confirmation prompt to start the resetting process, then wait for the operation to complete.
Note: The state of the problematic app will be reverted back to its default status and every component will be reinstalled. Installation files will not be affected by this operation. - Repeat the action that was causing issues with the color management scheme and see if the problem is now fixed.
If the same kind of issue is still occurring, move down to the next method below.
4. Update or Reinstall the GPU Software
Another reason you can find inconsistencies in how the Color profile is maintained is if your graphics card driver is old or partially incompatible. Start by upgrading or reinstalling the GPU software if you haven’t previously done so before attempting to utilize the color profile component again.
This problem might be caused by a recent driver update or a missing update that clashes with Windows. If this happened shortly after a Driver update, a driver replacement is an excellent idea.
Follow the instructions below for specific instructions on reinstalling your GPU drivers regardless if you’re using an integrated GPU from Intel or a dedicated GPU from Nvidia or AMD:
- By hitting the Windows key + R, a Run dialog box will appear. To open Device Manager, type ‘devmgmt.msc’ into the text box and click Enter.
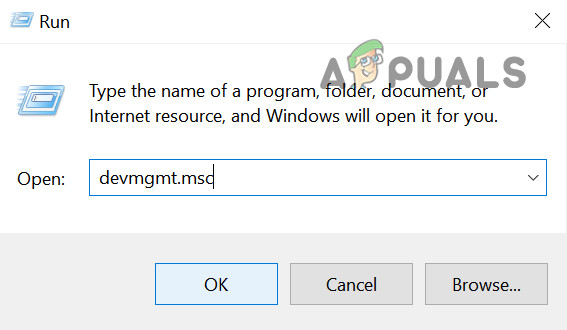
Open up a Device Manager - When the UAC (User Account Control) prompts you, select Yes to allow admin access.
- When you’re in Device Manager, scroll down through the list of device types and expand the Display Adapters drop-down option.
- After the context menu appears, right-click on the GPU driver you’re presently using and select Uninstall device from the context menu that appears.
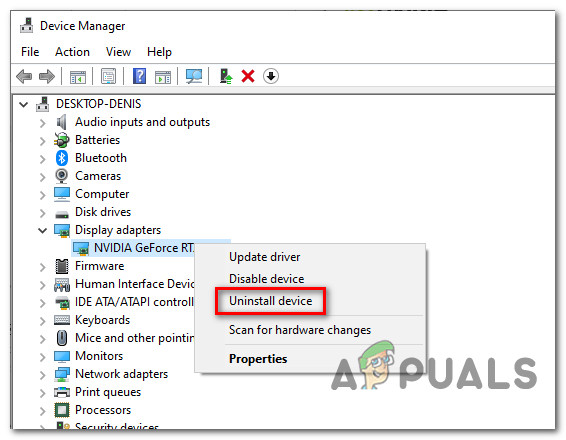
Uninstall the current graphics card driver - When prompted, select Yes and wait for the procedure to finish before restarting your computer.
- The missing driver will be replaced with a generic replacement when your machine restarts.
- Then, install and execute the proprietary software associated with your GPU manufacturer to automatically install the most recent compatible driver version for your GPU model. For the most common GPU manufacturers, here’s a list of proprietary driver upgrading tools:
GeForce Experience - Nvidia
Adrenalin - AMD
Intel Driver - Intel - After your driver version has been updated, restart your computer and repeat the procedure that was signaling an issue with the color management component.
If the problem is still not resolved, move down to the next potential fix below.
5. Clean install or repair install
If none of the above options have helped you tackle the problem, you may be dealing with a systemic problem that you won’t be able to resolve normally. In this instance, the only option is to reset every Windows component to correct the system file corruption that is affecting the color management component.
When it comes to updating your Windows version to the most recent version, you have two options:
- Repair install – When it comes to cleaning any form of corruption on Windows 10, the repair install option is the best option. You’ll need suitable installation CDs, but the main benefit is that you’ll be able to keep all of the games, apps, and personal material that are now stored on the OS disk.
- Clean install – This is the simplest of the procedures because you don’t need to use any installation discs (you can initiate this procedure directly from the GUI menu). The primary downside is that you will lose everything of your personal media, games, apps, and user preferences unless you back up your C: disk in beforehand.
If the problem persists after you have cleaned or repaired Windows, proceed to the next procedure below.
6. Revert back to Windows 10 (if applicable)
Regardless of the workarounds you use, certain older programs will struggle to acquire the Color Management Profile. If a program used to operate on Windows 10 but no longer does on Windows 11, the only option is to convert to an older operating system (if you still can).
If you’re still inside the 10-day grace period, Microsoft has made it incredibly simple to switch back to Windows 10. If you’ve had enough of Windows 11 and want to go back to Windows 10, follow the steps below to roll back to Windows 10 through the Recovery menu:
- To launch the Run dialog box, press Windows key + R.
- Next, type ‘ms-settings:’ into the text box that is just displayed.
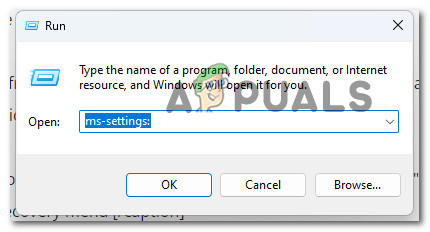
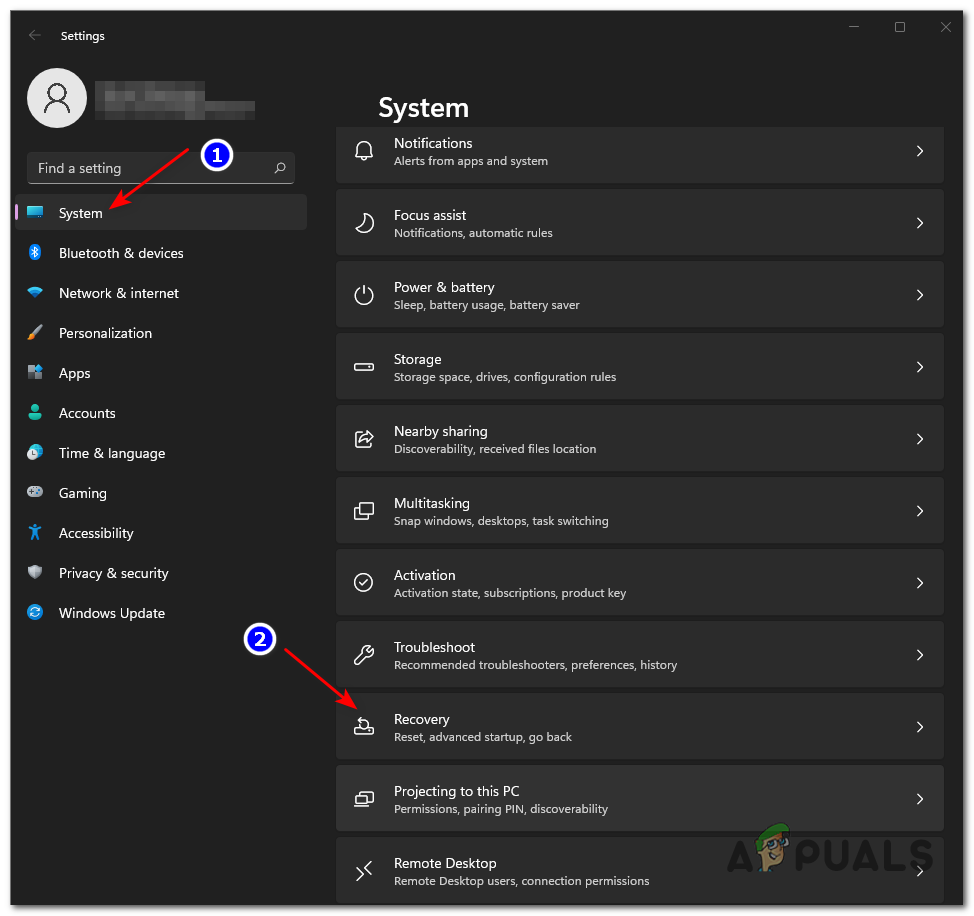
Accessing the Settings menu - Once you’re in the settings menu, select System from the left-hand vertical menu.
- After that, go to the System Menu and select Recovery from the list of available choices.
Accessing the Windows Recovery menu - When prompted, do the brief Microsoft survey and choose No thanks when asked if you wish to check for any pending Windows 11 updates.
- Follow the remaining instructions until you reach the option to Go back to an earlier build.
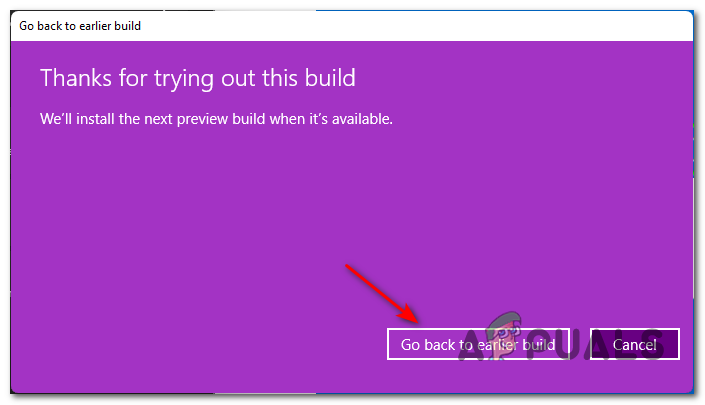
Go back to an earlier build - Wait until your machine restarts and the restoration procedure is completed. Expect this procedure to take several minutes, depending on whether your PC has SSD capability or not.


