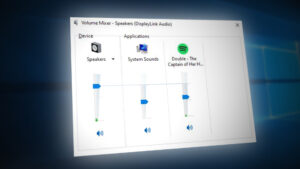
How to Fix Windows 10 System Sounds not Playing
Some Windows 10 users are reporting that their computer is no longer playing any system sounds. However, every other Windows sound is playing just fine. Most affected users are reporting that in their case, this issue started occurring after they installed a Windows update.
After investigating this particular issue thoroughly, it turns out that there are several different underlying causes that might be causing this issue on Windows 10. Here’s a list of potential culprits that might be responsible for this problem:
- Windows System Sound Scheme is Disabled – By far, the most common scenario that might be causing this issue is that the sound scheme is disabled in the Sound settings menu of Windows 10. In this case, you can fix the issue by using the classic Control Panel interface to re-enable the sound screen. If the sound scheme is being disabled by a 3rd party suite, you can identify the culprit with a clean boot procedure and uninstall/disable it.
- Fading sound feature is enabled on your monitor – Certain monitors with built-in speakers (particular ASUS monitors) will ship with a sound feature that will fade in sounds, which might end up making short sounds inaudible. If this scenario is applicable, you can fix the problem by disabling this feature in your monitor settings.
- System File Corruption – Under certain circumstances, you can expect to see this error due to some kind of system file corruption that is affecting the sound fleet on Windows 10. In this case, you can resolve the corrupted audio files by performing an SFC or DISM scan to replace corrupted data with healthy equivalents.
- Flash Player Conflict – If you’re still using a deprecated Flash player interference, you can expect a certain file (msacm32.drv) to conflict with your sound system files. In this case, you can create a wrapper registry key to prevent this conflict from happening.
Now that you are familiar with every situation where you can expect the system sounds component to break, here’s a list of methods that will walk you through the process of repairing this issue:
Method 1: Enabling the Windows Sound Scheme
Before you follow any of the other fixes below, you should start this troubleshooting guide by ensuring that the default Sound scheme is enabled on your computer.
Several affected users have reported that they finally managed to fix this issue after they checked the Sounds tab and realized that Windows was configured to discard the default sound scheme.
Keep in mind that there are several scenarios that might cause this issue to occur and interference by a 3rd party application is not off the table.
If you suspect this scenario is applicable, follow the instructions below to see if the default Sound Scheme was replaced with the No Sound Scheme and make the necessary changes if needed:
- Press Windows key + R to open up a Run dialog box. Next, when you’re prompted by the text box, type ‘control’ and press Enter to open up the classic Control Panel interface.
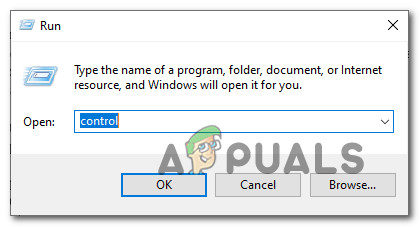
Accessing the Classic Control Panel interface Note: Once you are prompted by the UAC (User Account Control), click Yes to grant admin access.
- Once you’re inside the classic control panel interface, use the search function in the top-right corner to search for ‘sound’ then click on sounds from the list of results.
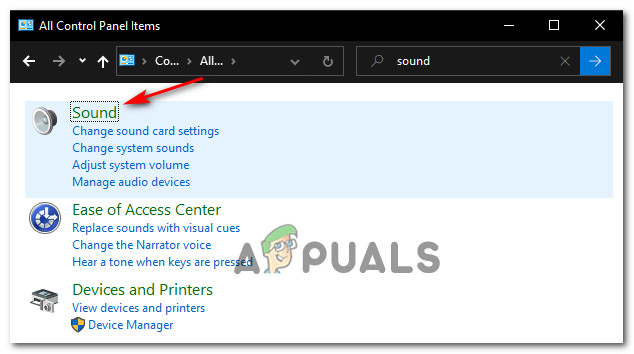
Accessing the Sound menu - Inside the Sound menu, click on the Sounds tab, then ensure that the drop-down menu associated with Sound Scheme, and click on Apply to save the changes.
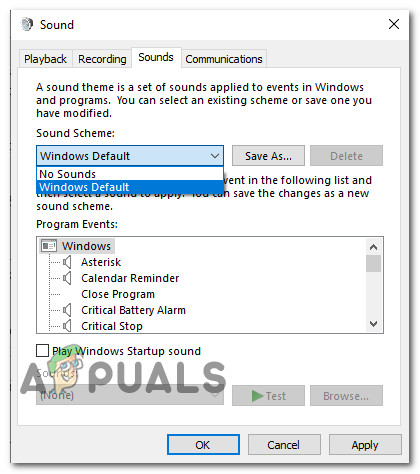
Setting the correct sound scheme - Restart your computer in order to allow your OS enough time to replace the default sound scheme, then see if the problem is now fixed.
If this issue is still not resolved, move down to the next potential fix below.
Method 2: Disabling Fading Sound Feature (if applicable)
Keep in mind that certain monitors (particular ASUS models) will come by default with a feature that automatically fades every in sound. This produces a nice effect for longer sounds, but this also means that your speakers will completely miss isolated sounds like the vast majority of the sound collection on Windows 10.
If you find yourself in this scenario, the only thing you can do is disable this feature – Of course, the exact steps of doing this will be different depending on if your monitor or a 3rd party software is causing this issue.
In case your monitor is responsible for this issue and your audio playback is done through its internal speakers, this feature is can only be disabled from the settings menu of your monitor.
On the other hand, if you use a 3rd party application to achieve this audio effect, you need to either disable the feature from within the application or uninstall the security suite altogether.
If you decide to do the latter, follow the instructions below for step by step instructions on how to do this:
- Press Windows key + R to open up a Run dialog box, then type ‘appwiz.cpl’ and press Enter to open up the Programs and Features menu. When you’re prompted by the UAC (User Account Control) control prompt, click Yes to grant admin access.
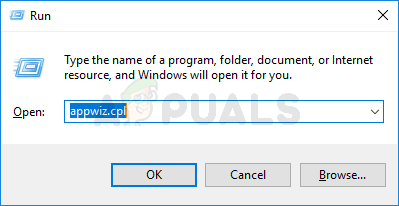
Accessing the Programs and Features menu via Run box - Once you’re inside the Programs and Features menu, scroll down through the list of installed programs and locate the audio program that you want to uninstall.
- When you manage to locate the application that you plan on uninstalling, right-click on it and choose Uninstall from the context menu that just appeared.
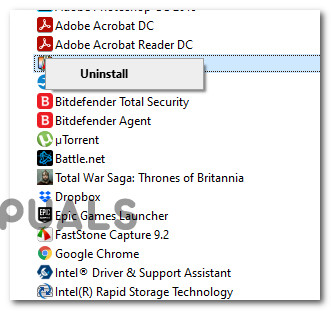
Uninstalling the problematic app - Inside the uninstallation screen, follow the instructions inside to complete the uninstallation process, then restart your computer and see if the issue is now resolved.
If you still have no audio playback when playing system sounds but the rest of the audio is functioning just fine, move down to the next potential fix below.
Method 3: Performing SFC and DISM scans
As it turns out, an audio playback of system files can also fail due to a case of system file corruption that is affecting the current Windows installation. This is much more common than we initially thought, especially in cases where every other sound that comes from a Windows application is also affected.
In case the scenario described above is applicable, you should run a couple of scans with two built-in utilities – System File Checker and Deployment Image Servicing and Management.
These tools share some similarities, but our recommendation is to do both types of scans in quick succession in order to improve your chance of fixing the corrupted system files.
To should start with a simple SFC scan. This is an entirely local tool that will not require you to have a reliable internet connection.
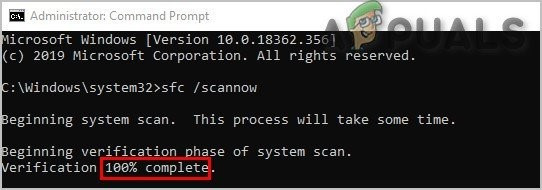
Note: After you initiate this procedure, it’s very important to not close the CMD window even if the utility looks like it froze. Wait patiently until the process is complete, as interrupting the operation might cause logical errors on your HDD or SSD.
After the scan is finally complete, restart your computer and see if the issue is fixed once the next computer startup is complete.
If the same problem is still occurring, deploy a DISM scan and wait until the operation is complete.
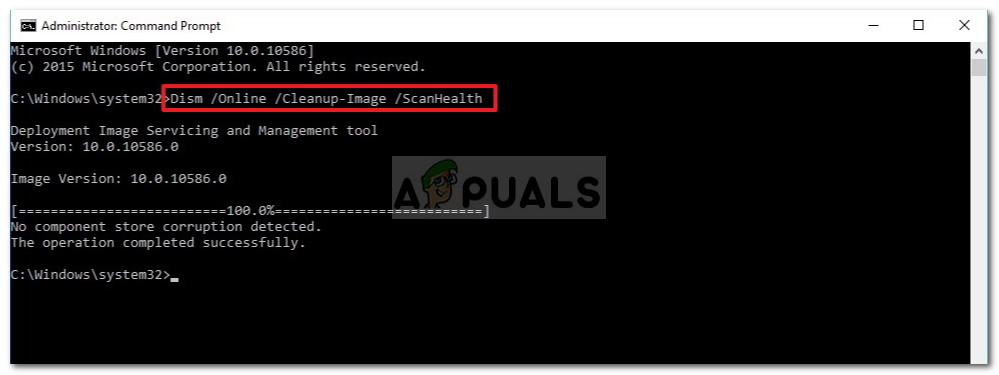
Note: This utility is different from SFC since it uses a sub-component of Windows Update to download healthy components to replace corrupted instances of system files. Because of this fact, you need to make sure that you have reliable Internet before initiating this operation.
Once the DISM scan has been completed successfully, restart your computer and check if system audio playback is restored.
In case the same issue is still occurring, move down to the next potential fix below.
Method 4: Resolving the Flash Player Interference
As it turns out, this particular issue can also occur in an instance where the lineup of system sounds is conflicting with an Adobe Flash Player registry file. According to some affected users, this tends to happen when Windows 10 users are still trying to use deprecated versions of Adobe flash.
If you find yourself in this scenario, you can resolve the issue by creating a ‘wrapper’ Registry key that will make sure the problematic Adobe Flash file doesn’t interfere with the default sound scheme.
Follow the instructions below to fix the flash player interference by using via the Registry Editor:
- Press Windows key + R to open up a Run dialog box. Next, type ‘regedit’ inside the text box and press Ctrl + Shift + Enter to open up Registry Editor with admin access. When prompted by the UAC (User Account Control), click Yes to grant admin access.
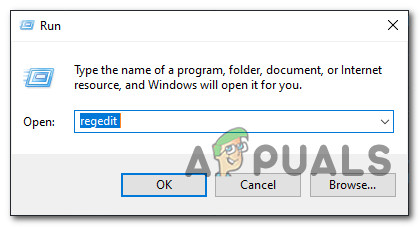
Opening the Registry Editor with Admin access - Once you’re inside the Registry Editor, use the left-hand menu to navigate to the following location:
My Computer\HKEY_LOCAL_MACHINE\SOFTWARE\Microsoft\Windows NT\CurrentVersion\Drivers32
Note: You can either navigate there manually via the left-hand side menu or you can paste the location directly into the navigation bar and press Enter to get there instantly.
- Once you’re inside the correct location, right-click on Driver32 and go to New > String Value.
- Next, name the newly created value wavemapper, then double-click on it and paste ‘msacm32.drv’ inside the text box.
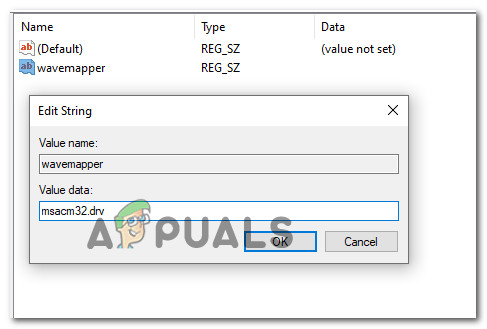
Creating the wavemapper string - Once the wavemapper string is created, save the modification, then restart your computer and see if the conflict is resolved once the next startup is complete.
In case you’re still dealing with the ‘no systems sounds’ issue on Windows 10, move down to the next potential fix below.
Method 5: Perform a Clean Boot
If none of the methods above have worked for you, you should also troubleshoot against some type of 3rd party conflict that might interfere with the default sound scheme.
Looking at the various user reports about this issue, it’s clear that there is a number of 3rd party programs that might create this behavior on Windows 10.
Since there are a lot of different applications that might be responsible for this issue, you should attempt to identify the culprit by starting your computer into clean boot mode and seeing if the issue still persists.
Note: A clean boot operation will essentially put your computer into a boot state that will disallow the startup of any 3rd party service and process.
If the sound issue stops occurring while you clean boot, you can go ahead and systematically re-enable every process and startup item until you manage to identify the culprit that is interfering with the sound scheme on Windows 10.


