FIX: Windows 10 Cannot Change Screen Resolution
Usually, changing screen resolution is one of the easiest things to do for Windows users. Just right-click on the Desktop -> Display Settings -> Advanced Display Settings, and you will see Screen Resolution settings with many resolution options to choose from. However, many users reported that the screen resolution option is grayed out after they installed or upgraded to Windows 10.
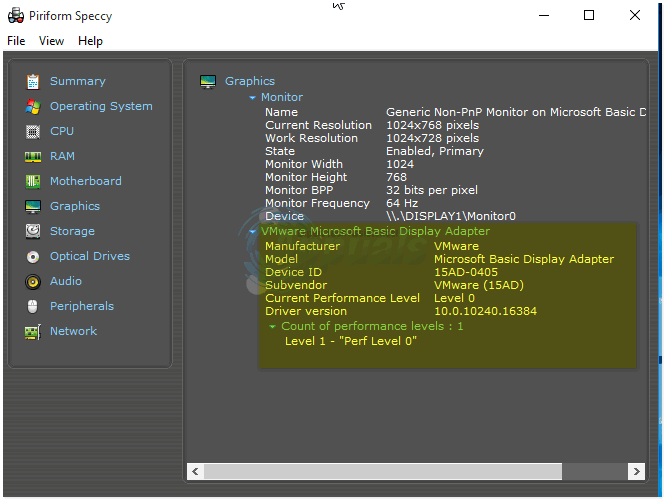
The most probable cause of this issue is a problem with your graphics card. You can go to your computer manufacturer’s website and download the latest driver for your graphics card. However, if you don’t know the manufacturer and model of your graphics card, you can use a program like Speccy to know the detail of your system including the manufacturer and model of your graphics card.

Once you’ve identified the model/part of the Graphic/Display Adapter, you can then download it from the manufacturer’s site. Once you have downloaded the latest driver for your graphic card, compatible with Windows 10, you can move to the installation of the driver. If your downloaded driver has an installation utility, you can just run the utility and the installation wizard will take care of everything.
However, if your downloaded driver does not have an installation utility, follow these steps to install the driver.
Hold the Windows Key and Press X. Choose Device Manager.
Double click on the Display adapters group to expand it, and right-click on the name of your graphics card.
Choose Update Driver Software.
Click Browse my computer for driver software.
Click Browse, and point to the location where you have downloaded the driver for your graphics card. You may need to unzip the downloaded file if you have not done already.
Click OK, and then click Next.
The driver installation wizard will install the graphics card driver.
Now, you can go to the Screen Resolution settings and change the resolution according to your requirements.