Fix: Window Defender Error 0x800705b4
This error usually occurs when another third-party protection service is installed alongside Windows Defender. As a result, a conflict arises between the two programs performing the same function. In this case, the third-party antivirus program should be disabled or uninstalled to allow Windows Defender to work flawlessly.
Solutions to Fix Error 0x800705b4:
A number of solutions can be used in order to restore Windows Defender to its working state. As I mentioned in the reasons behind this error message, disabling the third-party antivirus would be the best solution to resolve this issue. Follow the steps mentioned below.
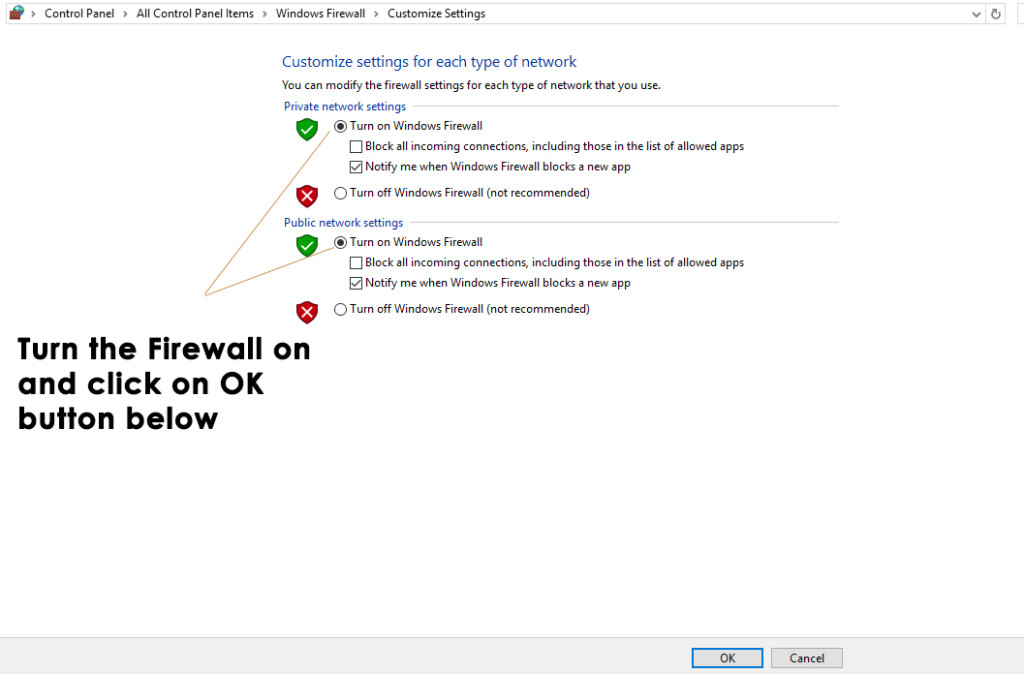
If you have a third-party antivirus as well as a firewall installed, then you might need to disable them. You should also make sure that the Windows firewall is turned on. You can enable it inside the Control Panel. To do this, go to the Control Panel by pressing…
1. Press Win + X and select it from the list. Inside the Control Panel, click on Windows Firewall and click the “Turn Windows Firewall on or off” option inside the left pane. In the next window, turn the firewall on and press OK thereafter.
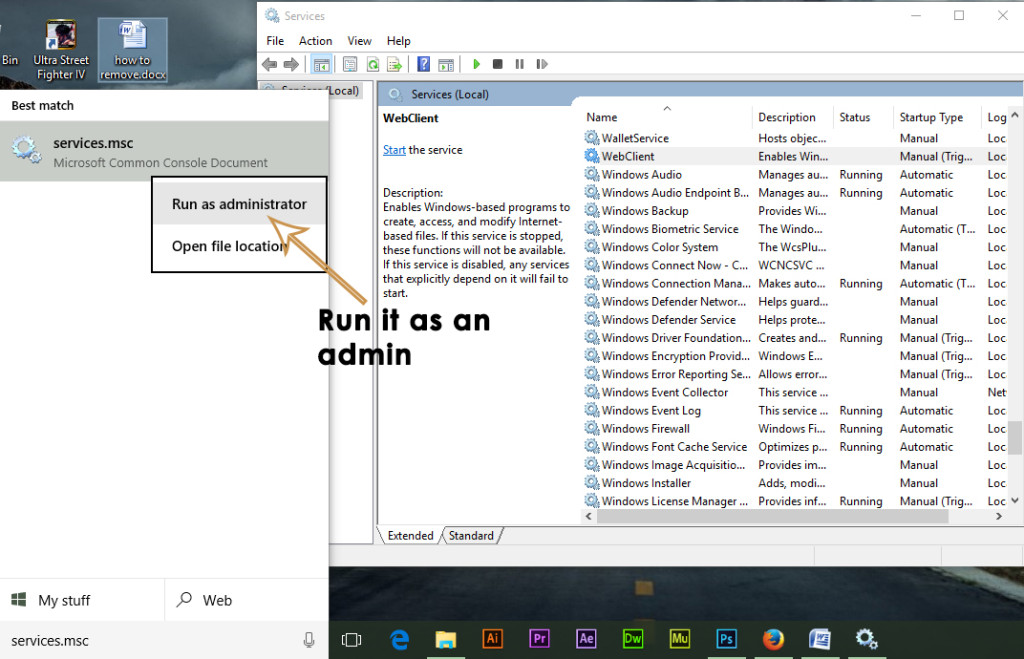
2. Now, search for the Windows Services panel by typing “msc” inside the Cortana search field. Right-click on the program listed in the search results and run it as an administrator.
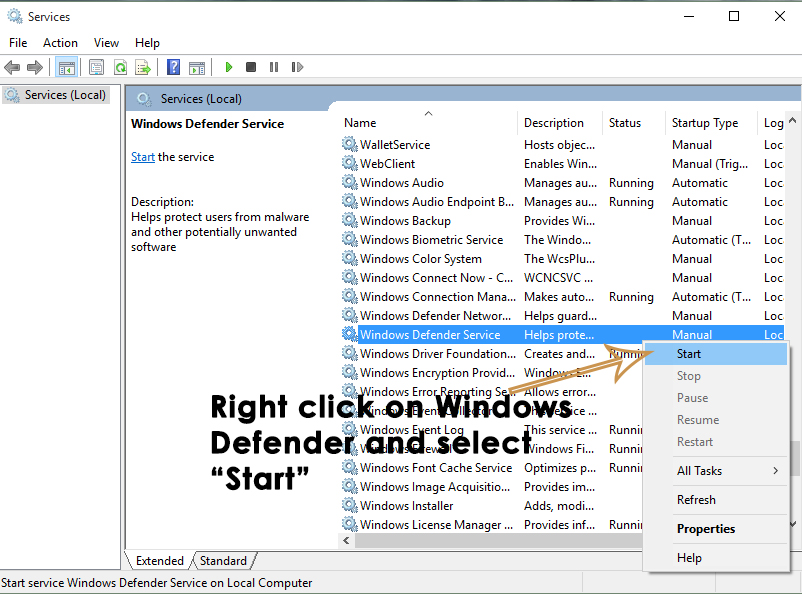
3. Upon opening the Services, search for ‘Windows Defender‘ in the list and check if the Status column is blank or not. If it is blank, right-click on ‘Windows Defender’ and select ‘Start.’ If it doesn’t start, change the startup to ‘Automatic’ and restart the computer. Then, check if the problem persists.
Additional Methods to Fix this Issue.
Refresh the Windows.
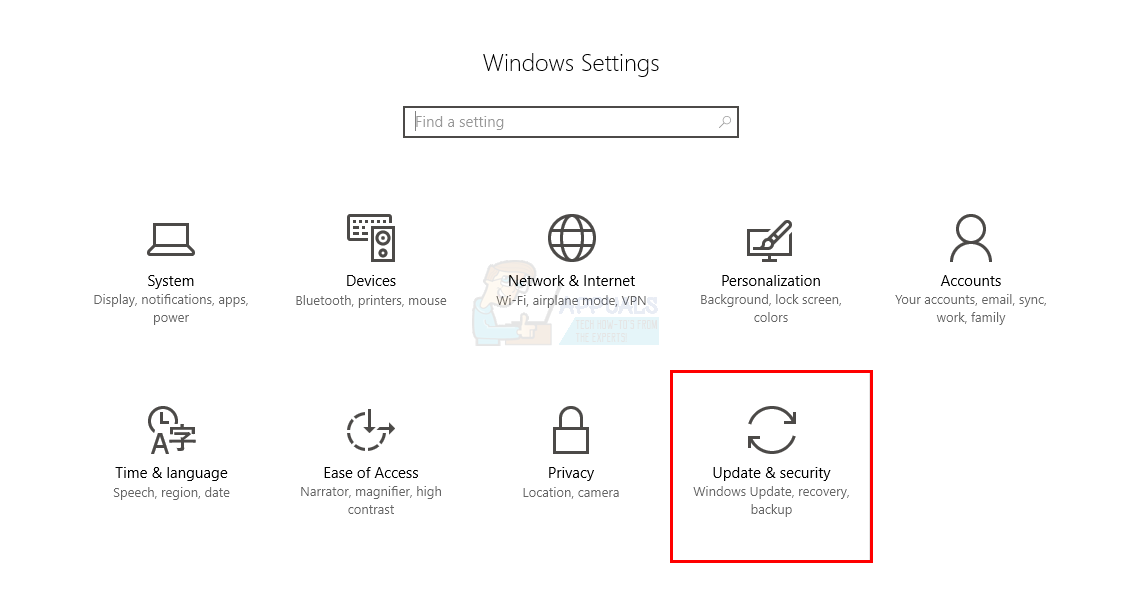
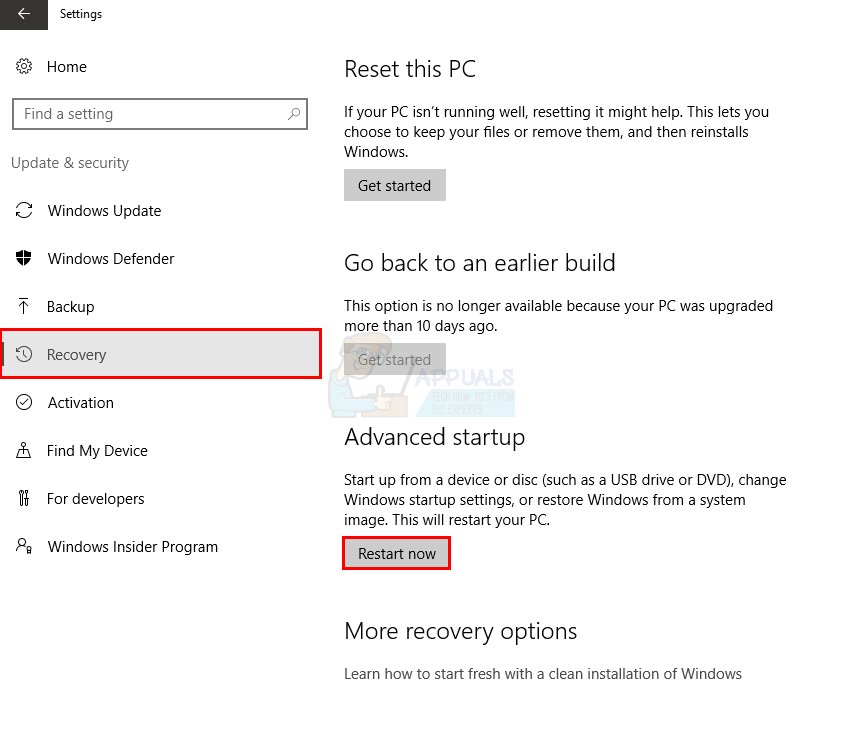
- Press the Windows key once and select Settings.

- Click Update & Security.
- Click on “Recovery” (located on the left side) and select “Restart now” under “Advanced startup.
- Click on Troubleshoot and select Reset this PC.
- Click “Keep my files.” If prompted, select an administrator account for which you want to provide credentials, enter the password, and then click “OK.
- If you are asked to insert media, you need to insert Windows 10 installation media or a recovery drive to continue the process.
- Select the Windows 10 installation you wish to refresh and click ‘Reset‘ to begin.
Refreshing Windows 10 will now start. This process will take a while to finish, and your PC will restart a few times during the process. When finished, sign in to Windows 10. Each user signing in for the first time after the refresh will go through the first start-up procedure again before seeing their desktop.
Run the System File Checker (SFC).
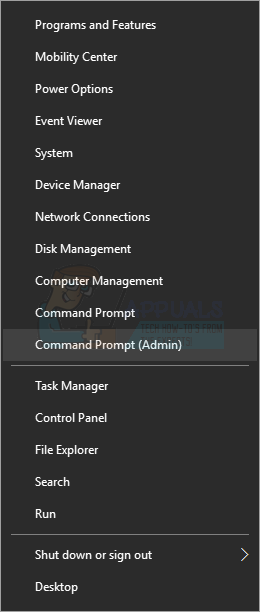
- Hold the Windows key and press X (release the Windows key), then select Command Prompt (Admin).
- Type “sfc /scannow” and press Enter.
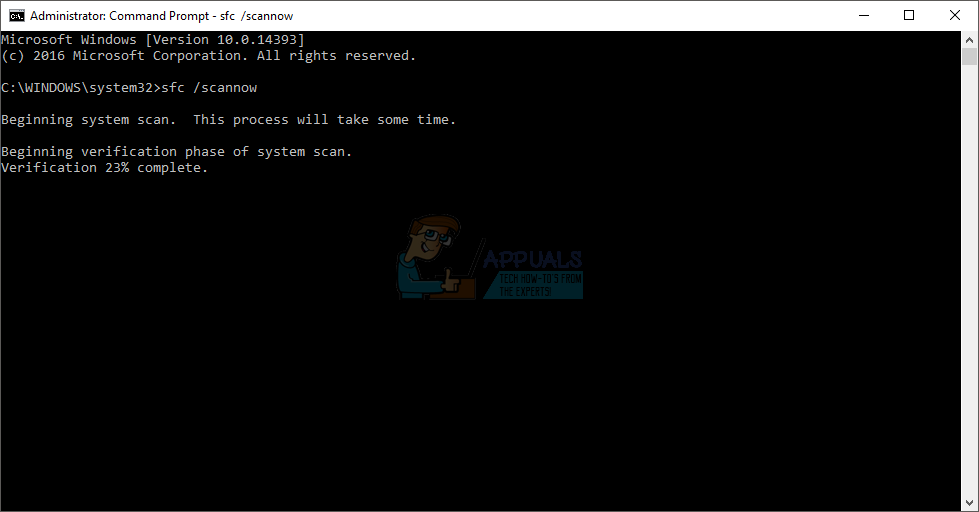
Here are the results.
It will take some time and will give you the results. The results can be obtained.
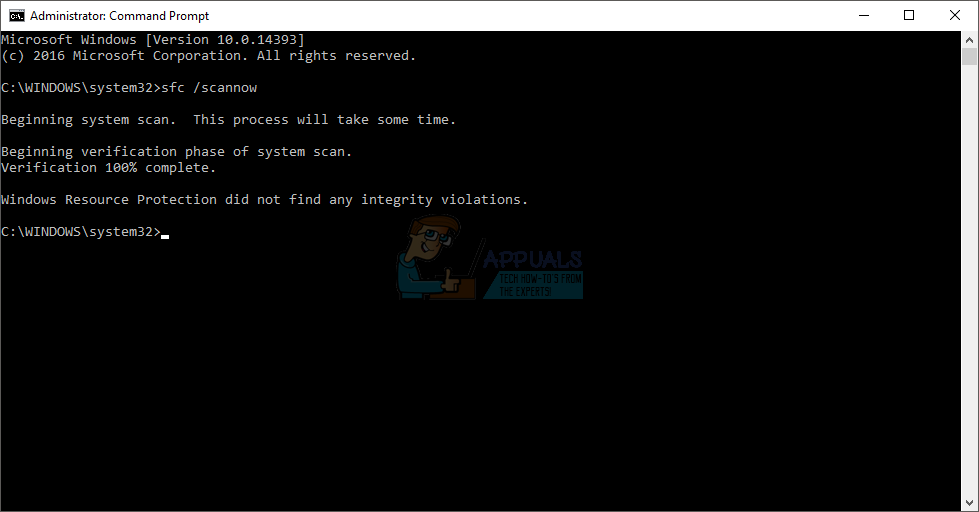
- Windows did not find any integrity violations
- Windows Resource Protection found corrupt files and repaired them.
- Windows Resource Protection found corrupt files but was unable to fix some or all of them.
It’s always a good idea to run the SFC method three times to ensure all the problems are fixed.