WiFi doesnt have a valid IP configuration? Try these fixes
Various users are troubled with the “WiFi doesn’t have a valid IP configuration” error message on their systems. The error message is shown as a result of the network troubleshooter diagnostics which is an obvious choice when you come across no internet connection. The problem in question can arise due to several factors such as the required WLAN service not running in the background or even third-party interference. Regardless of the cause, in this article, we are going to show you how to resolve the error message mentioned above so just follow through with the guidelines that we will be provided down below.
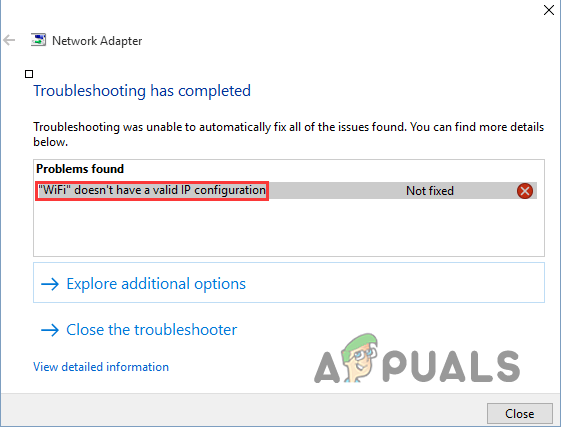
As it turns out, having a proper internet connection is paramount in this world. Several things affect your system’s internet connectivity. If your wifi doesn’t have a valid IP configuration, you will not be able to access the internet as your device does not have a valid address to access the web. Before we get into the various methods that you can use to circumvent the error message mentioned above, let us first go through the several causes of the issue so that you have a better understanding of the issue.
What Causes the “Wifi doesn’t have a valid IP configuration” Error?
If you can connect an ethernet cable temporarily, you can try to connect to the internet through ethernet and it should resolve this issue. However, some people also face a similar issue where the error code “Ethernet doesn’t have a valid IP configuration” pops up when you try to run troubleshooter.
Now that we have gone through the different possible reasons which the problem may occur, let us get started with the various methods that you can implement to resolve the issue in question. So, without further ado, let us jump right into it.
Start WLAN AutoConfig Service
The first thing that you should do when you encounter the problem in question is to make sure that the required service is running in the background. The WLAN AutoConfig service is used to provide the logic that is required to connect to a WiFi connection properly. If the service is not running, it is obvious that the connection will not be established smoothly.
As such, you will have to make sure that the service is running in the background. To do this, follow the instructions given down below:
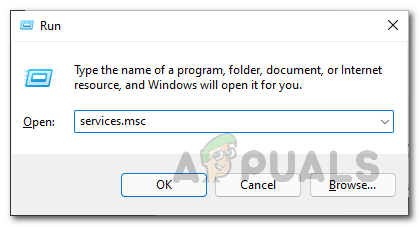
- To start, open up the Run dialog box by pressing Windows key + R on your keyboard.
- In the Run dialog box, type in services.msc and then hit the Enter key.
Opening up Services - This will open up the Services window. From the list of services provided, locate the WLAN AutoConfig service. You will find it at the bottom.
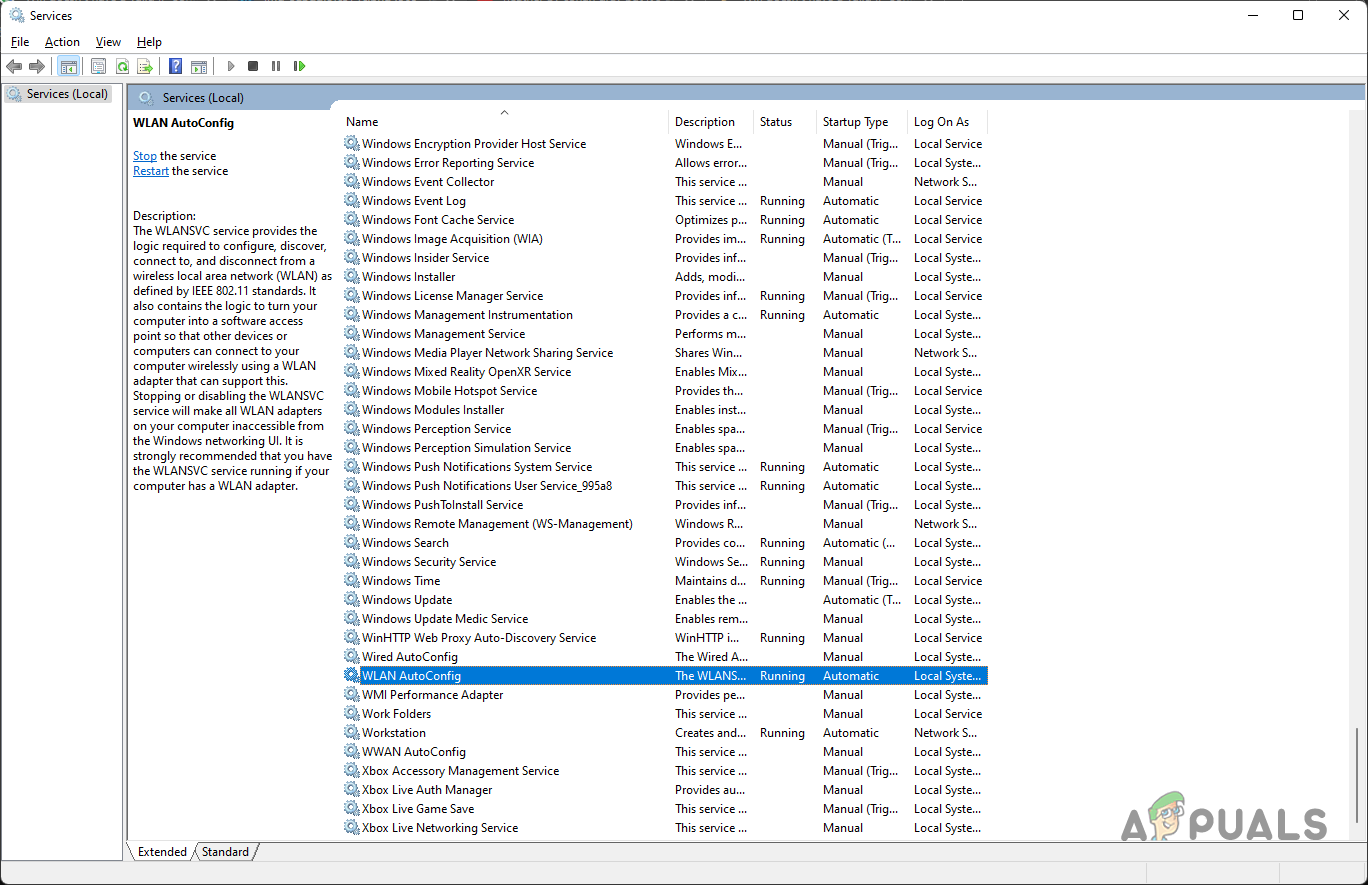
WLAN AutoConfig Service - Once located, double-click on it to open up the properties window.
- On the Properties window, make sure that the Startup type is set to Automatic.
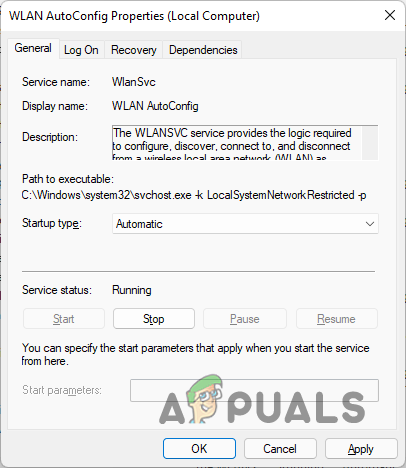
WLAN AutoConfig Properties - In addition to that, if the service is stopped, start it by clicking the Start button.
- Finally, click Apply and then hit OK.
- Once done, see if the problem persists.
Reinstall Wireless Driver
The network adapter on your system plays a vital role in establishing an internet connection. For the adapter to work properly, the drivers installed on your system are to be fine as well. In some cases, the problem can be caused due to the drivers being damaged or corrupted.
If this case is applicable, you can easily reinstall the drivers to resolve the issue. Follow the instructions given down below to do this:
- First of all, open up the Device Manager by searching for it in the Start Menu.
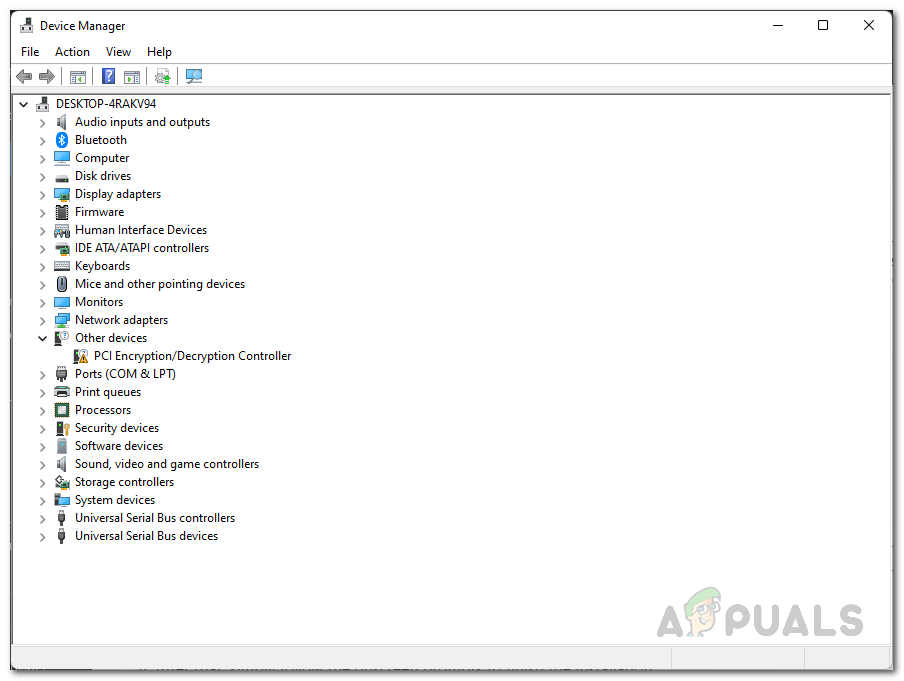
Opening up Device Manager - On the Device Manager window, expand the Network adapters list.
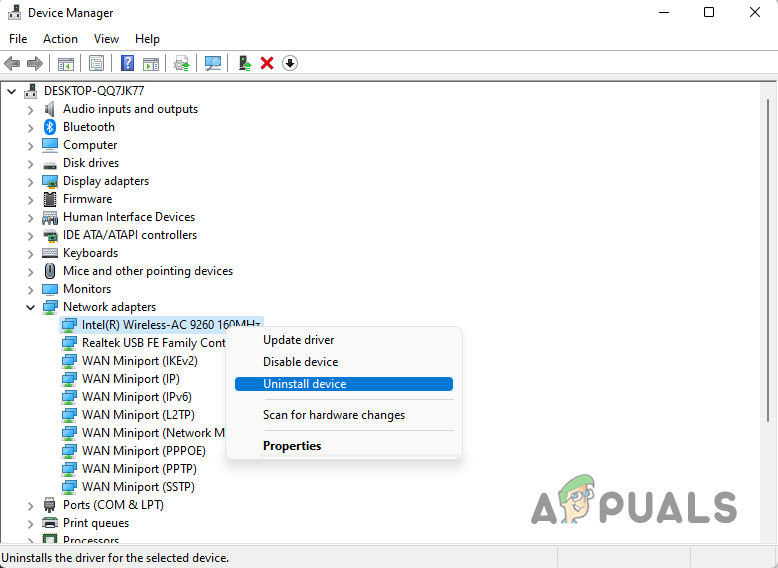
Device Manager - Right-click on your wireless adapter and from the drop-down menu, choose the Uninstall device option.
Uninstalling WiFi Driver - After uninstalling the driver restart your computer.
- Windows will install the drivers for you again automatically upon restart.
- After the driver has been reinstalled, see if the problem is still there.
Flush DNS
The domain name system or DNS server that you are using can, in some cases, result in the error message mentioned above. One way of resolving this would be to flush the DNS which will essentially reset the DNS server on your system. Doing so has resolved the problem for various users. To do this, follow the instructions given down below:
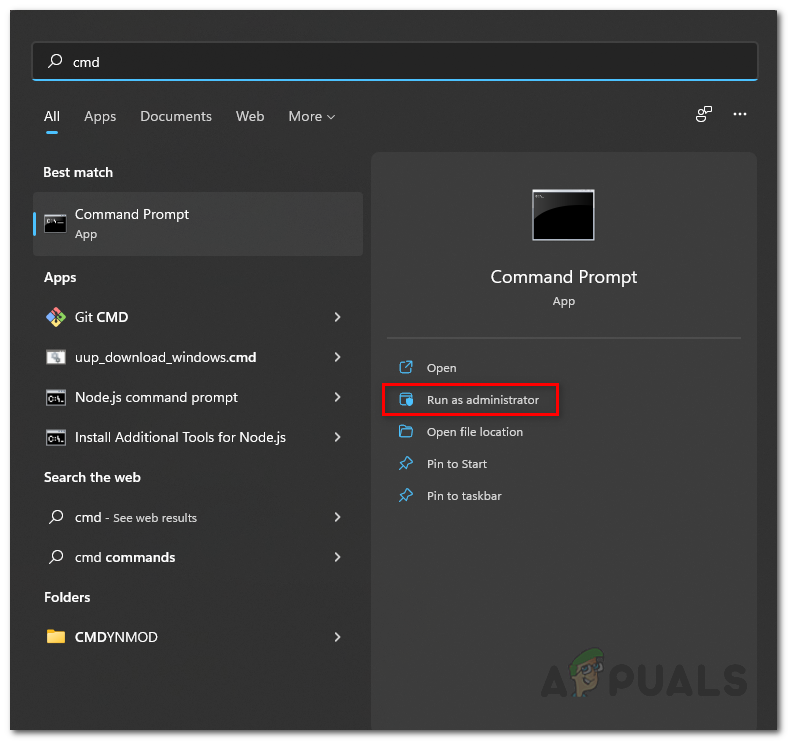
- To start, open up the Start Menu and search for the Command Prompt. Right-click on the result shown and from the drop-down menu, choose the Run as administrator. Alternatively, you can click the respective option provided on the right-hand side.
Opening up Command Prompt as Admin - Once the command prompt window is open, type in the “ipconfig /flushdns” command without the quotations.

Flushing DNS - With that done, restart your system and see if the problem has been resolved.
Reset TCP/IP
As it turns out, in some cases, the problem may occur when the wireless adapter sees an available connection but it does not accept the TCP/IP address. As such, the system will not have a valid IP configuration and the error message will occur. To fix this, you can reset the winsock. Follow the instructions given down below:
- First of all, open up the Start Menu and search for the Command Prompt. Click the Run as administrator option provided.
Opening up Command Prompt as Admin - In the command prompt window, type in the following commands one by one and press Enter:
netsh winsock reset
netsh int ip reset
ipconfig /release
ipconfig /renew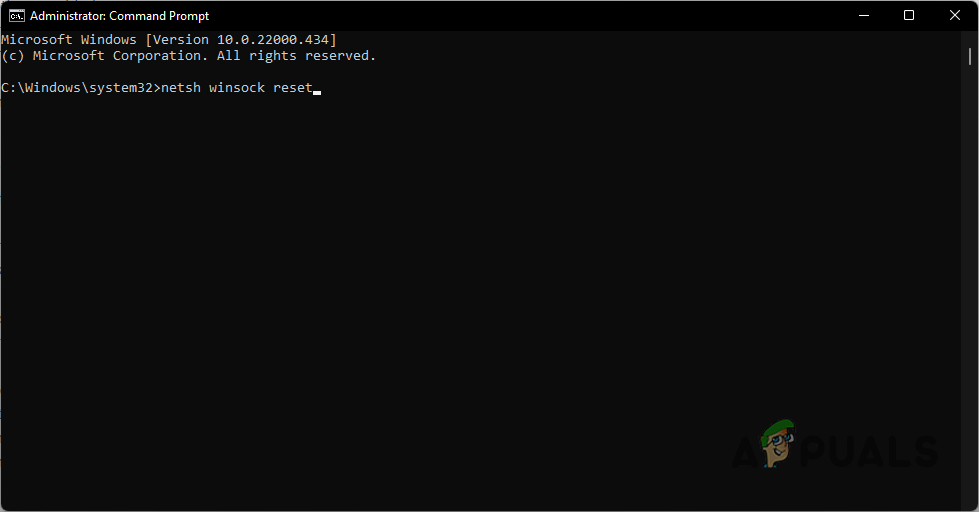
Resetting Winsock - With that done, go ahead and restart your computer.
- Once your PC boots up, see if you can connect to the internet.
Reset Network Settings
In some cases, when you are not able to connect to a network, resetting your network can help which essentially resets everything, from the network adapters to other network components. Follow the instructions given down below to reset your network:
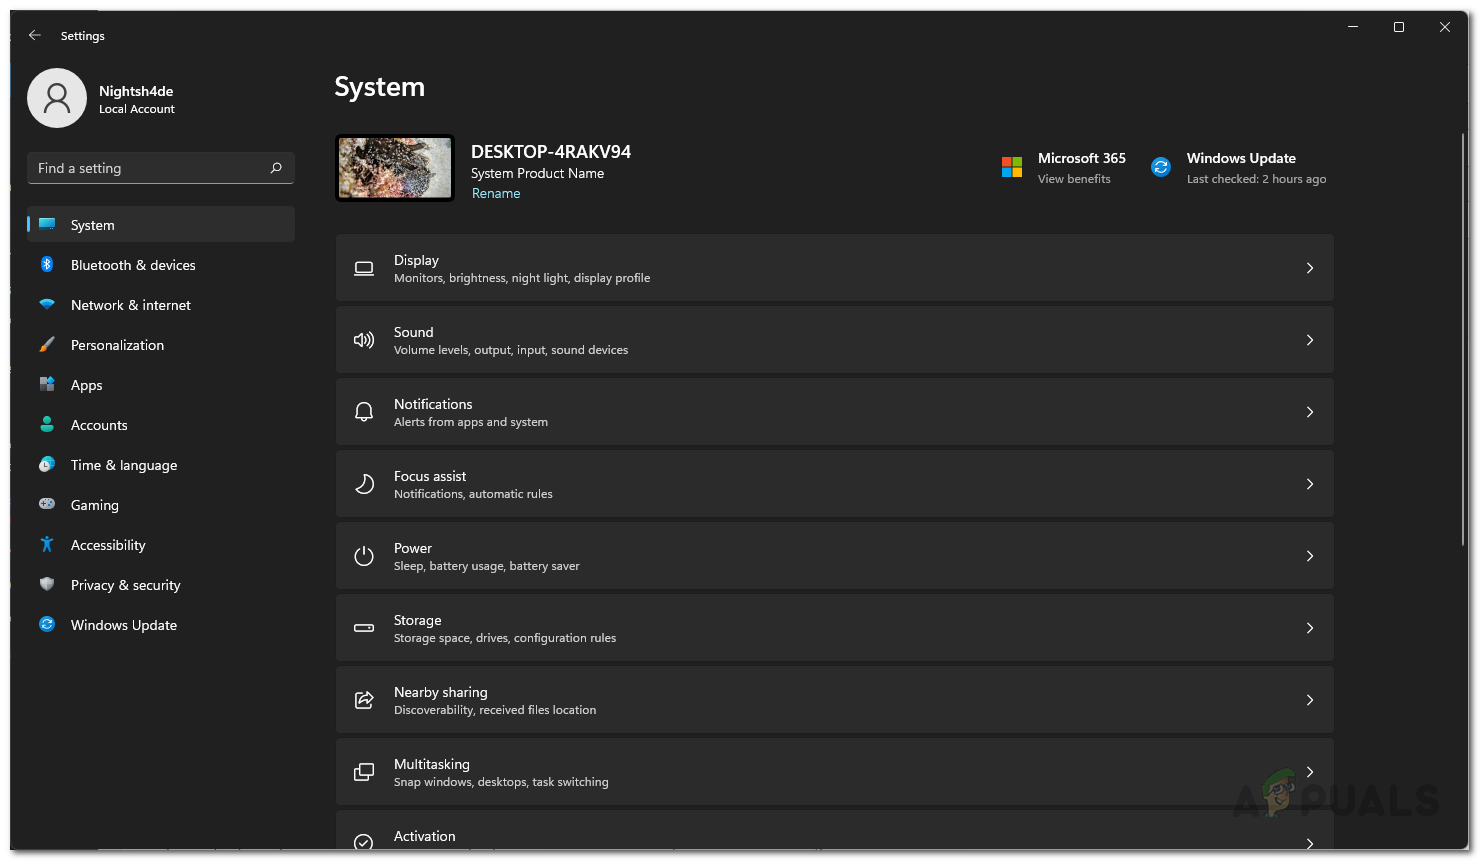
- First of all, open up the Windows Settings window by pressing Windows key + I on your keyboard.
- In the Settings window, click on the Network and Internet option or tab, depending on the version of Windows you have.
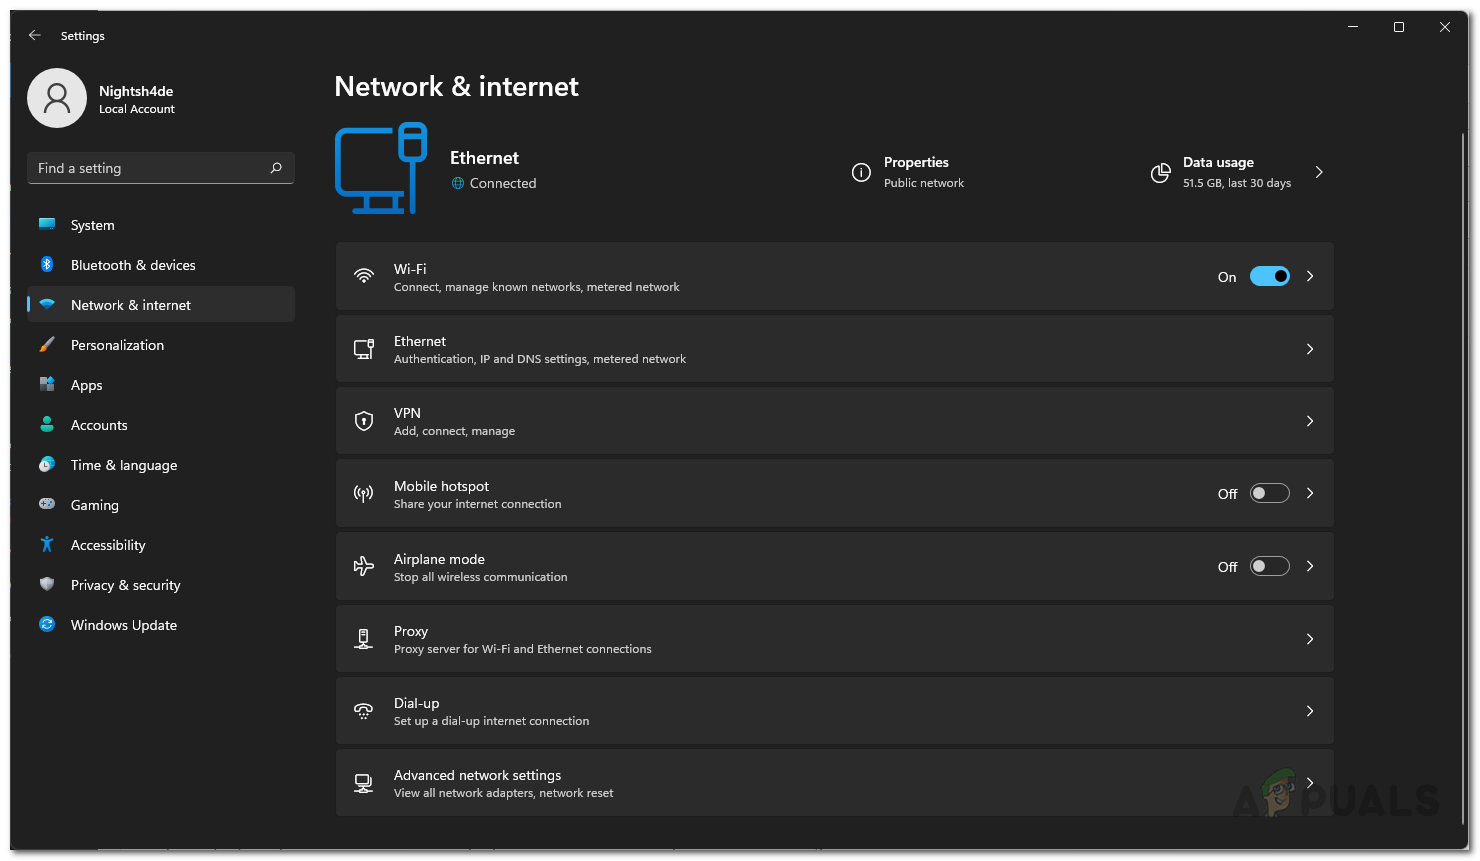
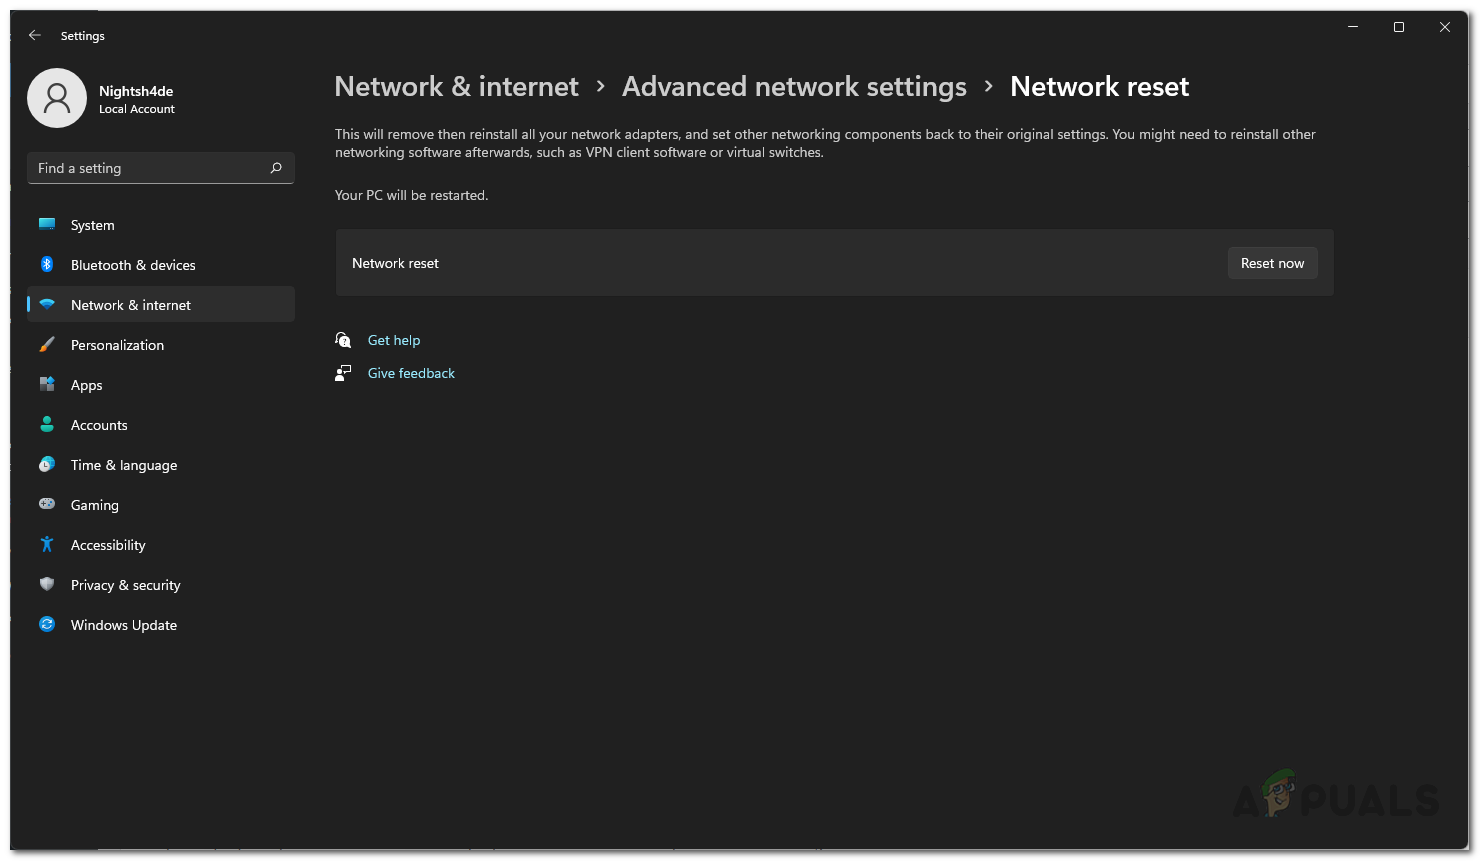
Windows Settings - There, choose the Advanced network settings option.
Network Settings - After that, click on the Network reset option provided.
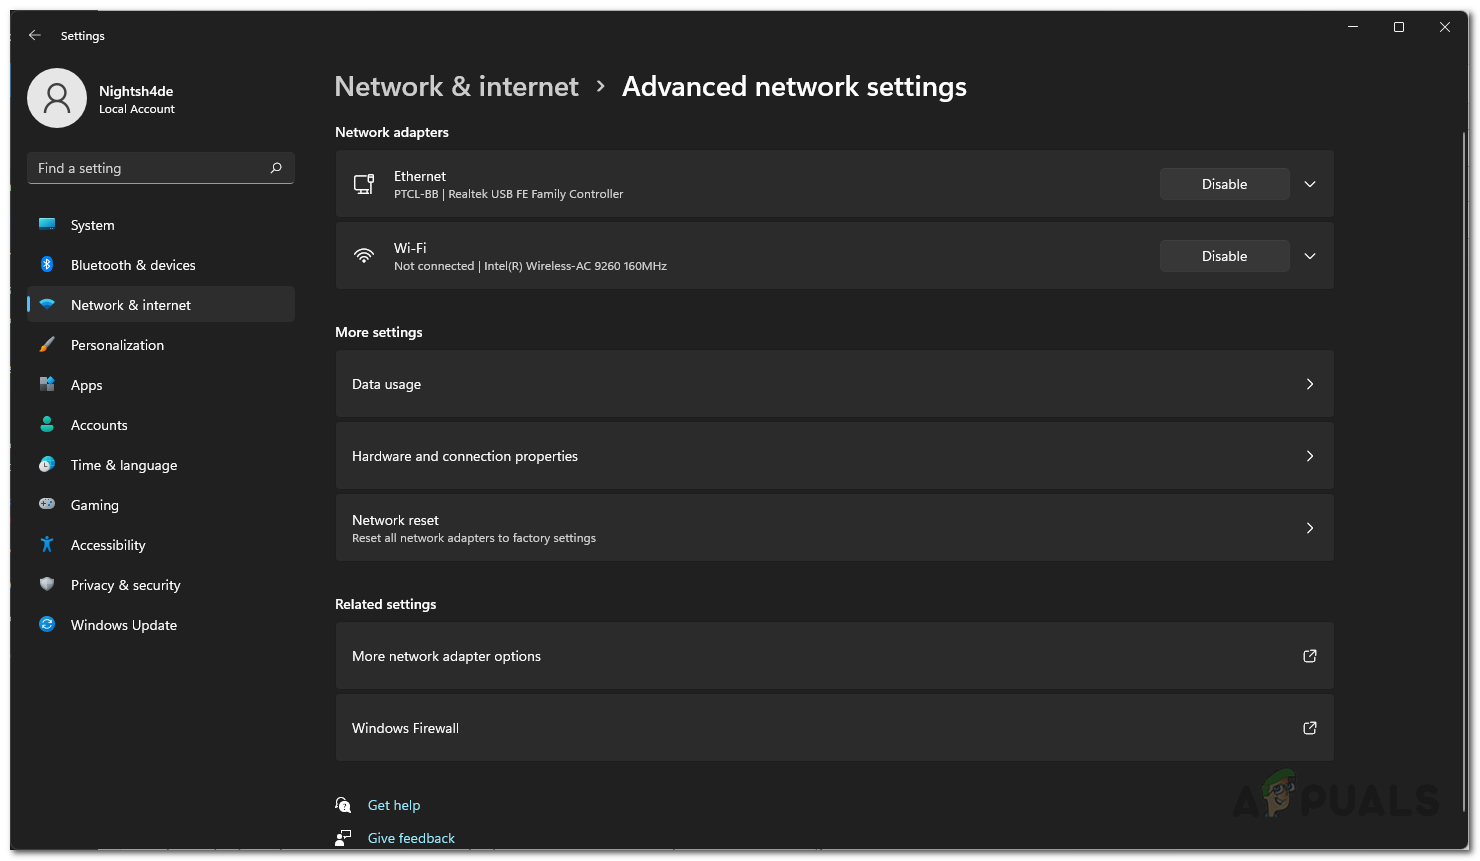
Advanced Network Settings - Finally, click the Reset now button to reset your network settings.
Resetting Network - Once your PC boots up, see if the problem is still there.
Perform a Clean Boot
Finally, if none of the above methods have worked and you are still experiencing the wifi doesn’t have a valid ip configuration error, then it is very likely that the problem is being caused by a third-party program on your system. In most cases, this is due to the antivirus program that you might have installed on your computer. To be sure that a third-party program is indeed causing the issue, you can perform a clean boot.
Clean boot will start your computer with only the required services and apps running in the background. If the problem goes away in clean boot, then it will be evident that a third-party program is responsible for the error message. As such, you can turn on the services one by one to locate the said culprit. Follow the instructions given down below to perform a clean boot:
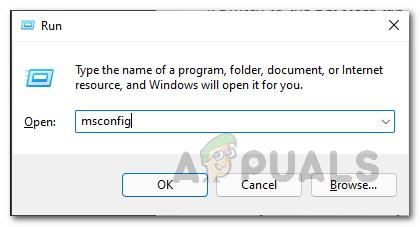
- To start, open up the Run dialog box by pressing Windows key + R on your keyboard.
- In the Run dialog box, type in msconfig and then hit the Enter key.
Opening up System Configuration - On the System Configuration window, switch to the Services tab.
- There, go ahead and tick the Hide all Microsoft services check box provided.
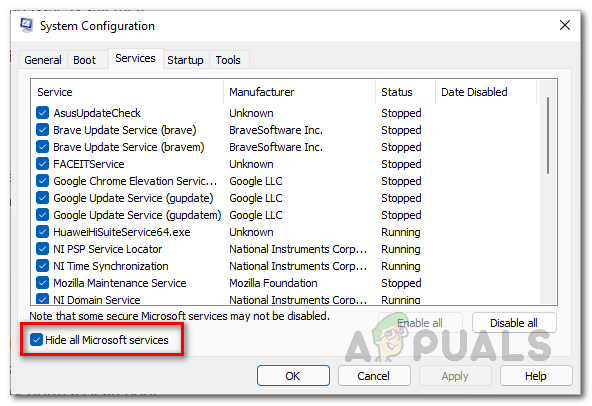
Hiding Microsoft Services - Then, click the Disable all button and follow it up by clicking Apply.

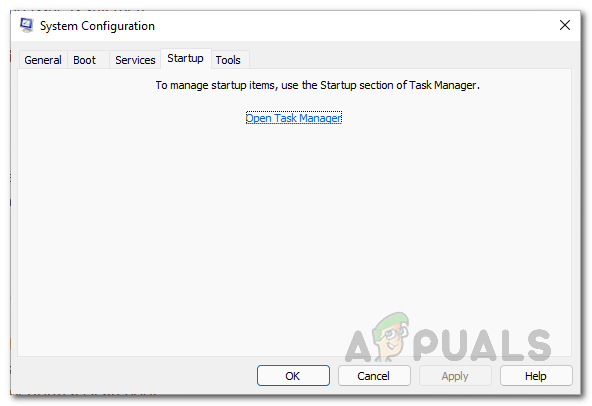
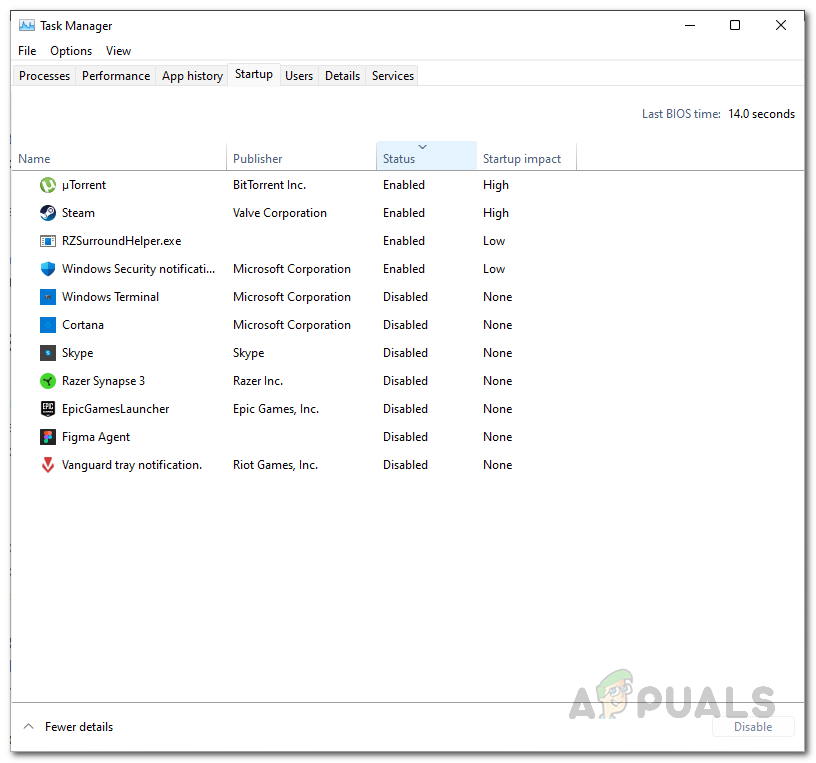
Disabling Third-Party Services - After that, switch to the Startup tab and click the Open Task Manager option.
Opening up Task Manager - On the Task Manager window, choose the apps provided one by one and click the Disable button.
Disabling Third-Party Apps - Finally, go ahead and restart your computer.
- See if the problem is still there once your PC boots up.
If none of these methods work for you, try disabling the antivirus temporarily as it can also interfere with the network connection due to the built-in firewall. If disabling the antivirus fixes your issue then you should try to re-install it as it’s possible there are some issues with your antivirus’s network configuration. If you are still facing this issue then it’s possible that your ISP is having some issues we suggest you contact your ISP in order to get this issue resolved.


