What is SearchApp.exe and How to Disable It?
There are several Windows processes that work in the background of our operating system, helping the processes run smoothly so that we can perform our tasks. One such process is the searchapp.exe process, which is related to the Windows search feature and Cortana.
So what exactly is this process and is it safe to run on your Windows operating system? Let’s find out!
What is SearchApp.exe?
SearchApp.exe, as its name suggests, is an executable associated with Windows search functions. SearchApp.exe was used to search inside Cortana and Windows 10 in previous builds of Windows 10. But later, (with Windows 10 version 2004), Microsoft merged this executable file with Windows search functions.
When you click the search bar located in the bottom-left corner of the taskbar, this low-resource process ensures that the search menu appears instantly. Essentially, SearchApp.exe is responsible for making sure that the search bar on your taskbar works properly and provides you with accurate search results for all your queries.
It is an executable file that runs in the background, so normally, it uses minimal system resources. There are, however, some problems associated with this executable file:
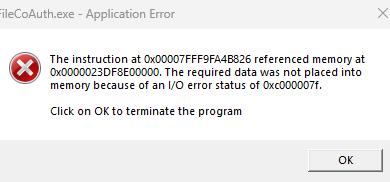
- Application error with SearchApp.exe process.
- The file consumes too much CPU and RAM resources.
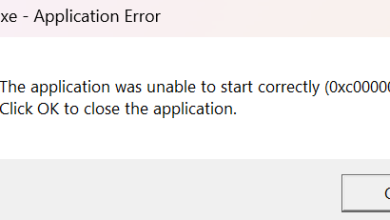
- ‘SearchApp.exe’ disabled or failed to start.
- ‘SearchApp.exe’ (application) is not running or responding.
Is SearchApp.exe Safe to Run?
Typically, since it is a legitimate Windows process, it is safe to run. However, there are times when malicious programs might disguise themselves as searchapp.exe to spread viruses in your operating system.
To determine if this file is safe to run on your operating system, you should check its location. the SearchApp.exe file should fall under the directory:
C:\Windows\SystemApps\Microsoft.Windows.Search_cw5n1h2txyewy The path may look something like:
C:\Program Files\Nikon Corporation\Nikon Capture\SearchApp.exe Here is how you can check the location of this file:
- Launch File Explorer and click on This PC.
- Now type the following address in the address bar and hit Enter. You can also navigate to this location manually.
C:\Windows\SystemApps\Microsoft.Windows.Search_cw5n1h2txyewy
- In the newly launched window, locate the ‘SearchApp.exe/SearchApp’ file.

Right-click the SearchApp file in the File Explorer - Right-click on this file and select Properties from the context menu.
- In the Properties window, head over to the Digital Signatures tab.
- Click on the Details button.

Click the Details button - Next, go to the General tab and click on the View Certificate button.

View the certificate of the process - The next window will open with Microsoft’s certification information about this executable file.
How to Disable SearchApp.exe on Windows
If due to any reason you want to disable the process on Windows, there are several ways to do so. Below, we have listed the two most popular ways to disable this utility, and you can proceed with the one that suits you the best.
Using Task Manager
The task manager displays information about the processes and applications running on a computer, as well as the overall status of your system. In this method, we will end the process of searchapp.exe via the Task Manager utility.
Here is what you need to do:
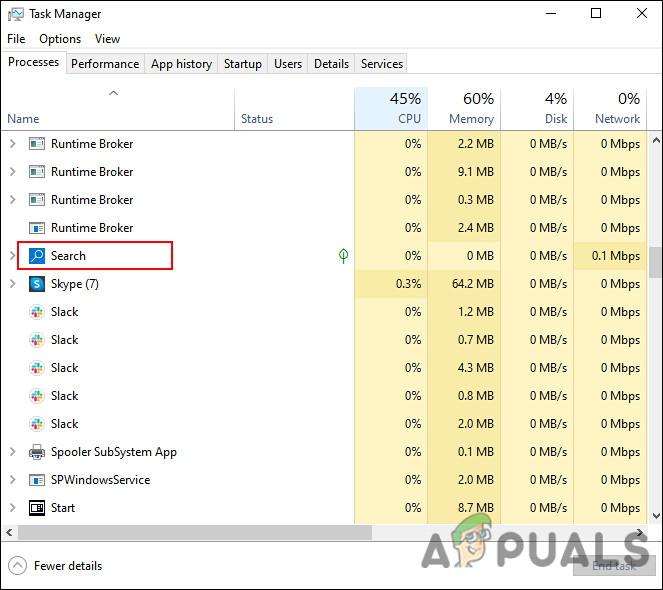
- Type Task Manager in the search area of the taskbar and hit Enter.
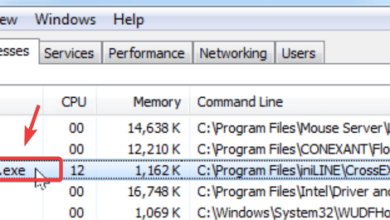
- Inside the Task Manager window, navigate to the Processes tab and locate searchapp.exe/Search.
- Right-click on it and select End task from the context menu.

End the processes task - If a confirmation prompt appears on your screen, click on the End process button to proceed.
Using Command Prompt
Command Prompt is a utility that can be accessed from any Windows PC and allows you to use text commands to manage the computer. With it, you can automate tasks, troubleshoot problems, and perform all kinds of other tasks.
Here is how you can use Command Prompt to disable the process on Windows:
- Type cmd in the search area of the taskbar and click on Run as administrator to launch elevated Command Prompt.
- In the Command Prompt window, type the command mentioned below and hit Enter to execute it. This will launch System Apps on your system.
cd %windir%\SystemApps
- Next, execute the following command to delete the process.
taskkill /f /im SearchApp.exe
- Once done, execute this last command.
move Microsoft.Windows.Search_cw5n1h2txyewy Microsoft.Windows.Search_cw5n1h2txyewy.old That’s it. Doing so will successfully remove the targeted utility from your system.