SOLVED: Webroot and Windows 10 Installation
Microsoft has been the premier operating system developing company for quite some time now. The Windows operating system is not needy of an introduction to almost any of the readers. Every time a new version of Windows is about to come, the anticipation level of the users is very high and they just can’t wait to try out the betas when they roll out. However historically not all the newly released windows version are met with praise and nothing but. Sometimes users are absolutely frustrated at some of the replaced features and some of the features that get lost in the evolution process.
With windows 10 however, things started to look a lot brighter for Microsoft when the Start menu came right back and so did the people who had unconditional love for it. Along with that, the introduction of Microsoft Edge as the new flagship browser also raised some brows and melted some hearts. However there are some issues that still can arise when installing or updating to Windows 10.
You would know what the last sentence of the last paragraph means if you are a WebRoot user and are yet to use your free Windows 10 update. A state of the art malware-protection utility, WebRoot is a great Anti-virus aimed mainly for people who like to download or install a lot of games on their computers. Now the problem is that as long as you have WebRoot installed on your PC, the windows 10 update won’t take place as Microsoft just doesn’t apparently “Accept” it. If you are facing this problem then worry no more as we have got you covered.
Follow these steps:
WebRoot has had a history of issues with the newly released beta versions of Windows but there is always a workaround. Before you update to Windows 10, you will have to need to uninstall WebRoot and proceed with the installation. To do so, perform the following steps:
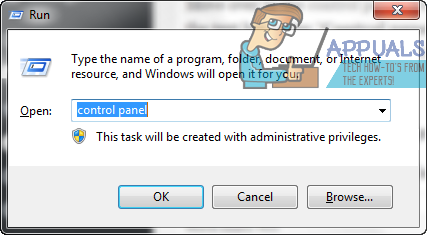
Move over to the control panel. For Windows 7/8, you can fire the “Run” command by pressing “Windows +R”. In the text bar, enter “Control panel” to open it. For Windows 7, Vista or XP, you can open the “Start” button and find “Control panel” in the right margin list. Click on it to open it.
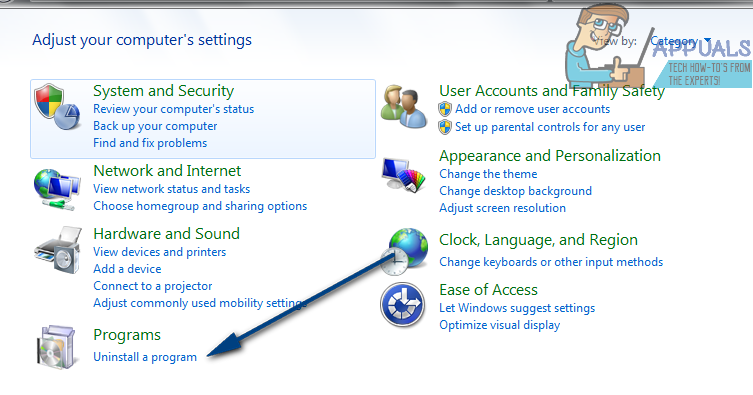
Find the “Add or remove programs or Uninstall a Program” section and click on it.
There you will find a list of installed programs. Navigate through them till you find WebRoot. Select it and press the “Uninstall” button.
Once it’s uninstalled, proceed with the Windows 10 installation.
After you are done with the installation, you have to install WebRoot back again. To do so, visit this website to download the installer that you prefer.
Once downloaded, launch the installer and follow the on-screen steps to complete the installation.