How to Fix We Can’t Sign into Your Account Windows
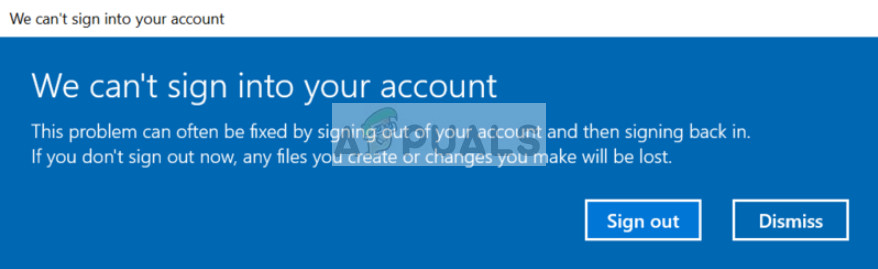
We can’t sign in to your account is a Windows 10 notification which appears when you are trying to sign in, but Windows isn’t able to sign in to your account. This is usually seen with Microsoft accounts, not the local accounts and it could be down to logging in from a different IP or location or that Microsoft (wants) you to re-confirm account security.
Many users come across the error “We can’t sign in to your account Windows 10” when they are trying to log into the account after either changing the setting of some account or after deleting an account. The reason why this error occurs is that either some third-party application (mostly antivirus) is blocking the operation or there is some problem with the registry saved on your computer.
We Can’t Sign into Your Account
This error is quite common in Windows 10 and is usually fixed with simple methods. We will go through all the possible solutions starting with the easiest one first.
But before moving on with the solutions, make sure you are not facing any of the tech support scams. Moreover, turn off VPNs (if you are using). Make sure of the following points before proceeding:
Save All the Data
Before we start with solving the problem, it is essential that you backup all your data to some external drive. Since we will be manipulating the settings of the account, it can get inaccessible and you might lose your data.
If there isn’t some other account on your computer, boot into safe mode and save all the contents of your user profile in it. The location where profile data is located is “C:\Users”. Once you have safely backup all the files and folder, proceed with the solutions listed below.
Access Through An Administrator Account
The methods involved are meant to be executed after you log into an account. Since we are changing account settings and disabling software, you must have access to some other administrator account on your computer. If the account which is blocked was the only account, you should boot into Safe Mode and make one. Once you are logged into an administrative account, follow the solutions listed below.
Solution 1: Disable Antivirus
One of the reasons why this error takes place and prevents you from accessing your profile is misconfiguration and conflicts with antivirus software installed on your computer. All antivirus software constantly monitors your PC and tries to block any suspicious activity. Any activity which is not harmful but the antivirus thinks otherwise is called a false positive.

Avast was reported as one of the antivirus applications which had a lot of false positives and disrupted access to your profile. Make sure that you either disable your antivirus or uninstall it. You can check our article on How to Disable your Antivirus. Restart your computer after disabling and see if you access your profile without any problems.
Solution 2: Change the Registry and Install Windows Updates
If the antivirus is not at fault, you can try creating a temporary profile and install the latest Windows updates. Microsoft has officially recognized the error and after documenting a few basic troubleshooting steps, even released a Windows update to fix the issue. Since you cannot access your profile, we will create a temporary profile in safe mode and attempt at installing Windows Updates.
- Boot your computer in Safe Mode. Once in safe mode, press Windows + R, type “Regedit” in the dialogue box and press Enter.
- Once in the registry editor, navigate to the following file path:
HKEY_LOCAL_MACHINE\SOFTWARE\Microsoft\Windows NT\CurrentVersion\ProfileList
- Once you have expanded the folder, you will find several subfolders inside. Click the folder which has ProfileImagePath key pointing towards the system profile path. Once you have selected the folder, double-click on RefCount and change the value from 1 to 0. (Important point: if the said values are already there, then switch the value to any other value and then to the above-said values)
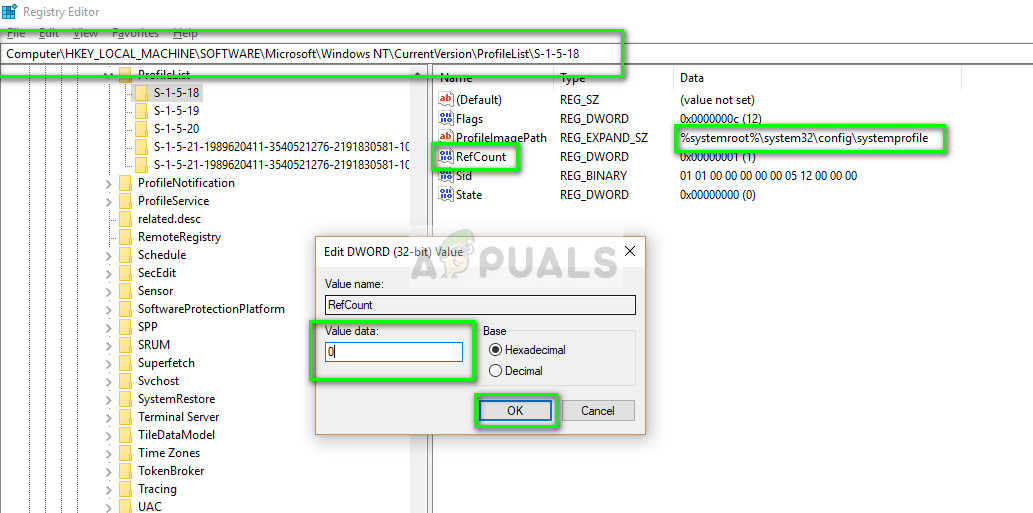
Change Registry Value of ProfileImagePath key to Zero - Press OK to save changes and exit. Restart your computer.
- Once your computer is rebooted, press Windows + S, type “windows update” and open the Settings application.
- Now check for updates and if any are available, install them immediately.
- Restart your computer after the update and check if the problem is solved.
Solution 3: Change Password From Another Account
Another workaround that worked for many people was changing the account password using safe mode and then logging in. This behavior signifies that there may be some conflicts after you changed the affected account and this can be fixed by changing the password which reinitializes the entire process.
- Create a temporary account using the method listed above (by navigating to safe mode). Make sure that you have a backup of the files of the affected account at this point.
- Open Microsoft’s official website and log in to the affected account (using your Microsoft ID).

Sign in at Microsoft Website - Log out of the current account and then log back into the affected account.
If the account is still inaccessible at this point, and the error message is still at your screen, do not close the error message and perform the steps below.
- Right-click on the Windows icon present at the bottom-left side of your Desktop and select Shut down or sign out > Sign out.
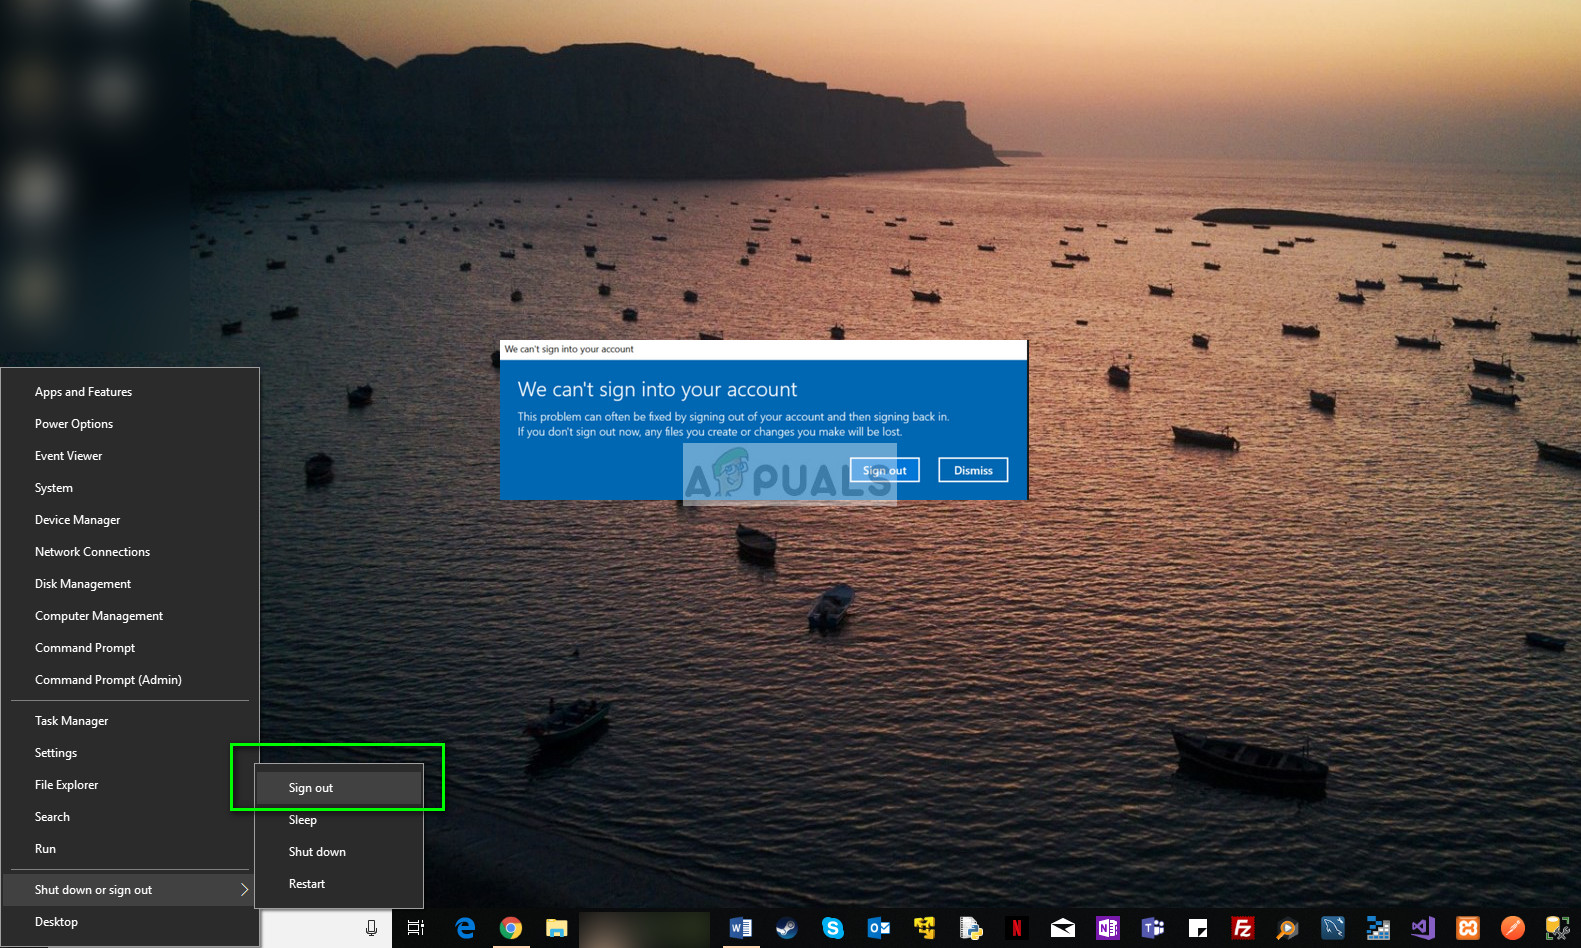
Sign Out of the User Account - Once signed out, sign back in and use the correct password for login. Check if the problem is solved.
Note: You can also change the password if you have a local account by navigating to the user profiles there and change the password from there.
Solution 4: Create a Local Account and Restore Data
If all the above methods don’t work, we can try making a new local account and deleting the old one. Make sure that you have an external hard drive so you can back up all your data and configurations and restore it when you create the new account.
Note: It is advised that you backup your account data before proceeding with this solution.
- Open an administrator account. Type Settings in the start menu dialogue box and click on Accounts.
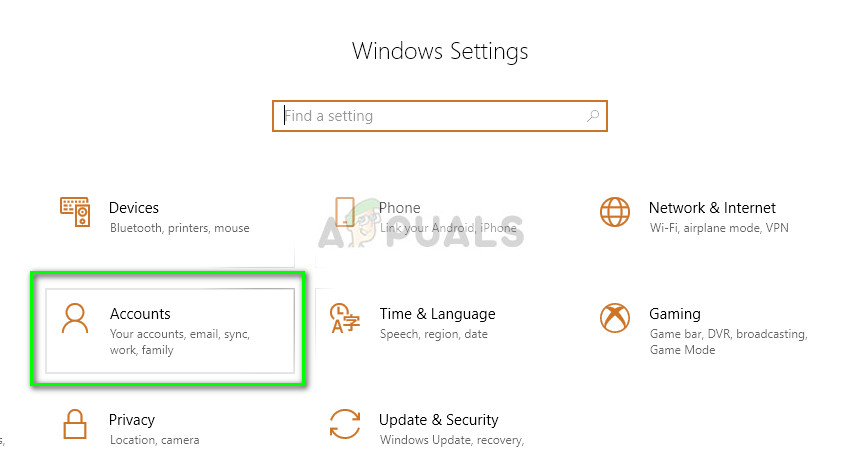
Open Accounts Settings - Now click “Family and other users” options present at the left side of the window.
- Once inside select the menu, select “Add someone else to this PC”.
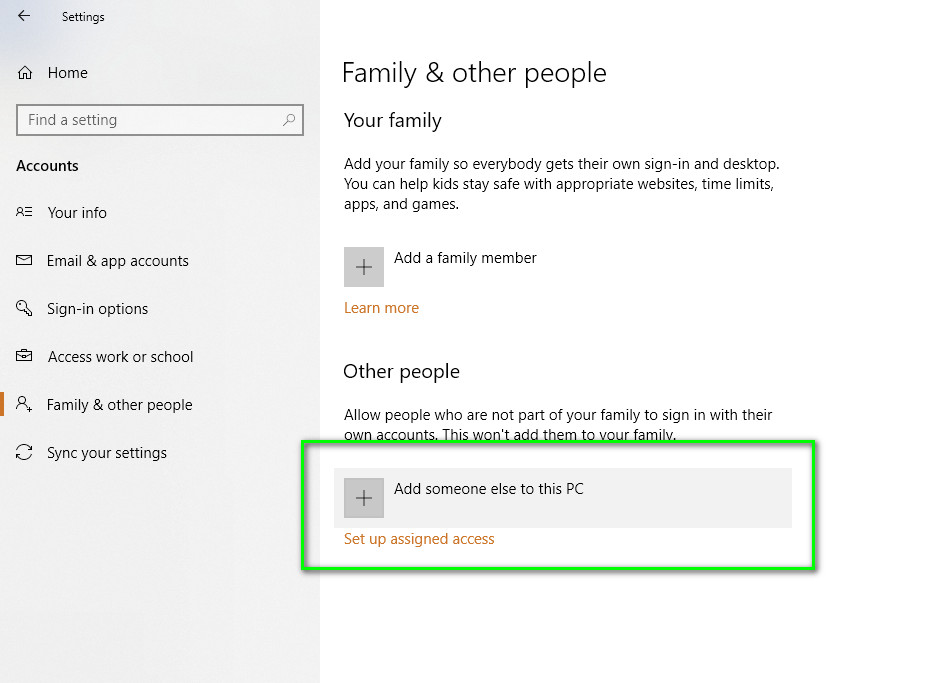
Add Someone Else to This PC - Now Windows will guide you through its wizard on how to create a new account. When the new window comes forth, click “I don’t have this person’s sign-in information”.
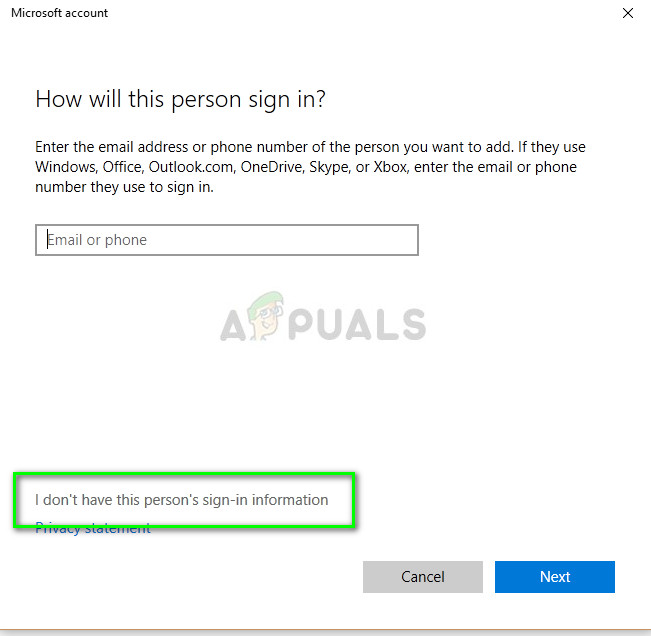
I don’t have this person’s sign-in information - Now select the option “Add a user without Microsoft Account”. Windows will now prompt you to make a new Microsoft account and display a window like this.
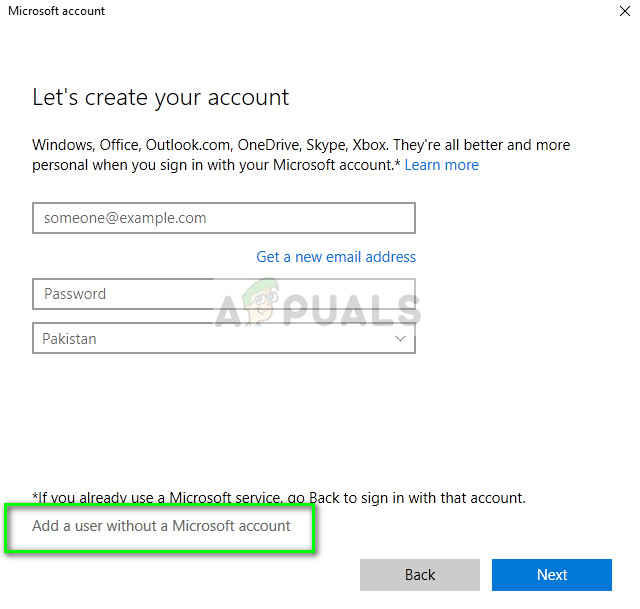
Add a user without Microsoft Account - Enter all the details and chose an easy password which you can remember.
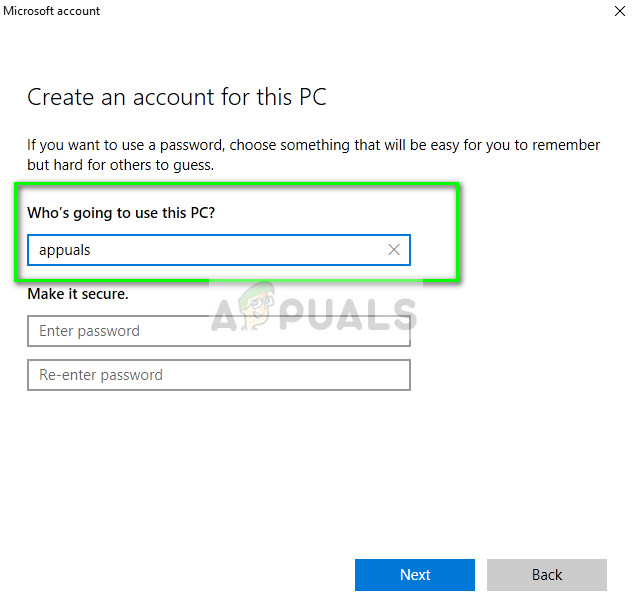
Create an Account for This PC - Check thoroughly if this new local account is working properly and has all the functionalities which you require.
- Now you can easily switch to a new local account, and move all your files to it without any barriers.
Move all the files and test the local account thoroughly. Import all the app settings from the previous using the file path listed above.
- Now navigate to Settings > Accounts > Your Account and select the option “Sign in with a Microsoft Account instead”.
- Enter your username and password and click Sign in.
Now you can safely delete your old account and continue using this one. If you are unable to link your Microsoft account with this new local account, make sure it is logged out from the previous account. You can even consider deleting the account after backing your data. This will automatically log you out and you can log in here without any problems.
If nothing has worked for you, then either perform a system restore or reset windows. In system restore, all the changes made after the restore date will be erased and in Windows reset, all your application and user profiles will be deleted. Hence, make sure that you back up all the essentials before proceeding.


