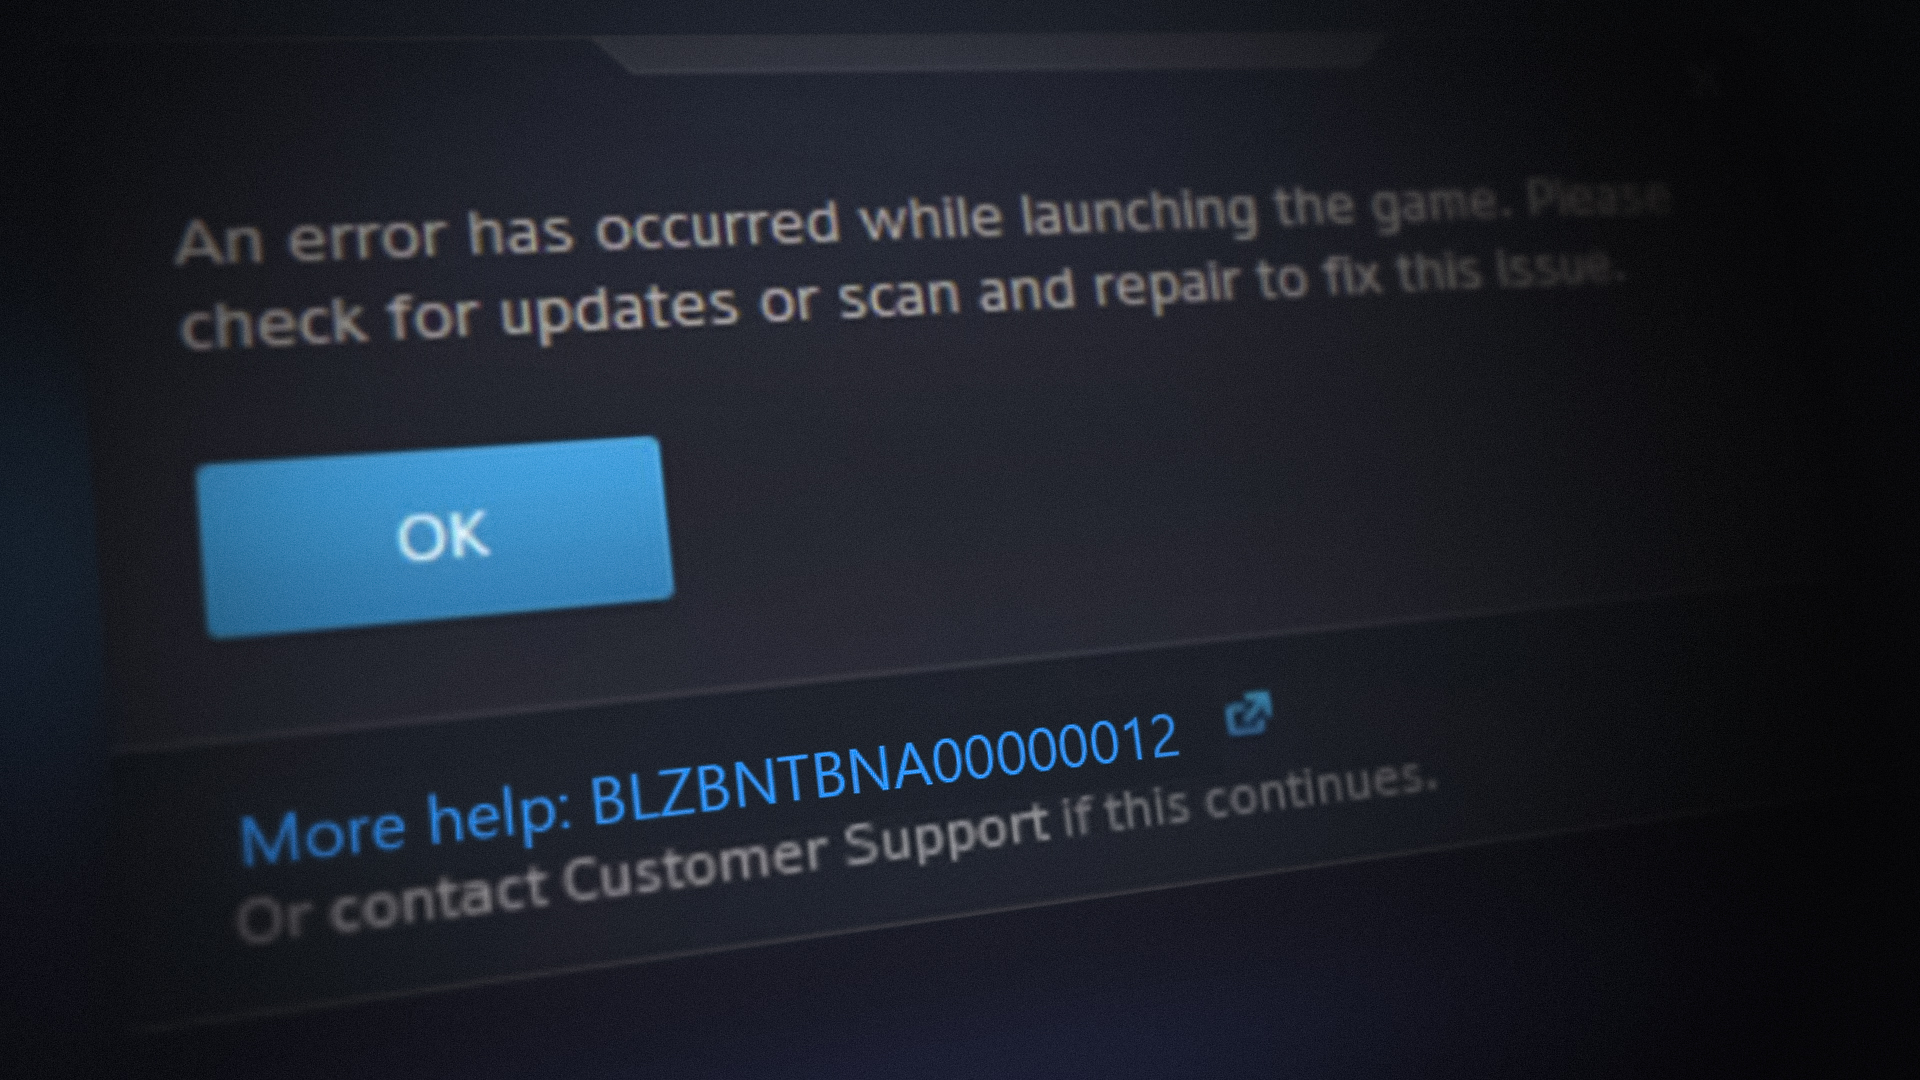
How to Fix Error Code: BLZBNTBNA00000012 on Warzone?
The Blzbntbna00000012 error is one of the most diverse errors of Warzone (especially, Warzone Pacific), but it is mainly reported after a Battle.net client or Warzone update.
You may encounter the Blzbntbna00000012 error in Warzone due to many factors but the following can be regarded as the main ones:
- Corrupt Cache of the Battle.net Client: If the Cache of the Battle.net client is corrupt, then it may result in the Blzbntbna00000012 error.
- Command Line Arguments of Warzone: If Battle.net is configured to launch Warzone in the DirectX 11 mode, then incompatibility of the latest game modules with the previous version of DirectX may cause the issue at hand.
- Location of the Warzone Installation Directory: If the Warzone installation path contains a reserved word (like Desktop, Windows, PC, temp, etc.), then they may cause the Warzone Blzbntbna00000012 error.
- Requirement of Administrator Privileges: If the Battle.net client or Warzone update (especially, after the famous DDoS attack on Blizzard) requires administrator privileges to access the protected system files but the client or game does not have those permissions, then that may cause the Blzbntbna00000012 error.
Relaunch the Battle.net Client
A temporary glitch in the Battle.net modules (especially, the Update Agent) may cause the Blzbntbna00000012 error in Warzone. In this case, relaunching the Battle.net client after closing all the related processes in the Task Manager may solve the problem.
- Exit the Warzone game and close the Battle.net launcher.
- Now, right-click on Windows and select Task Manager.
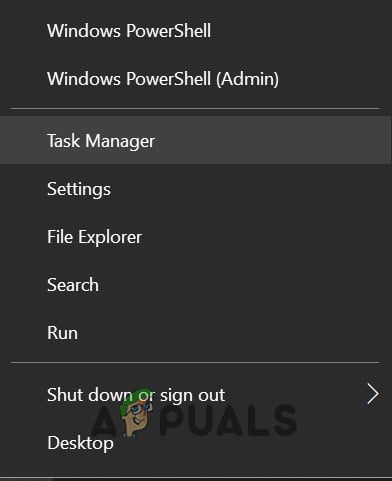
Open the Task Manager from the Quick Access Menu - Then, end all the processes related to Warzone and Battle.net (like UpdateAgent).
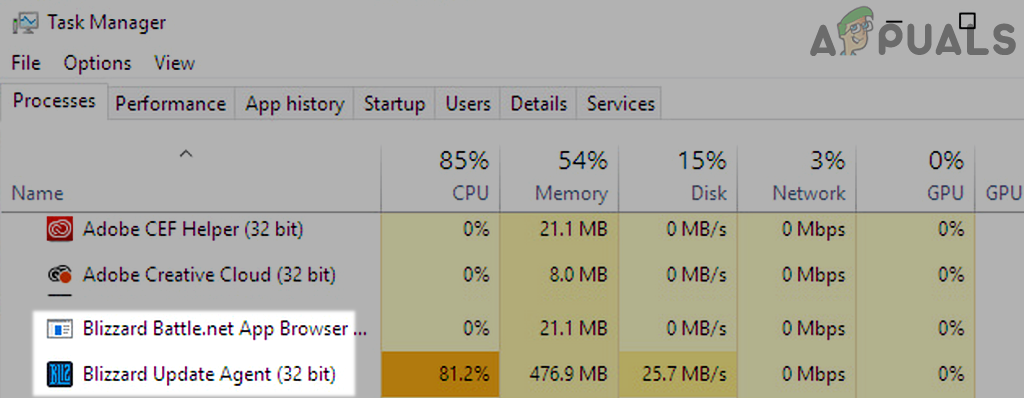
End Tasks of Blizzard Battle net App - Now right-click on the Battle.net client and select Run as Administrator. If it asks to update, select No.
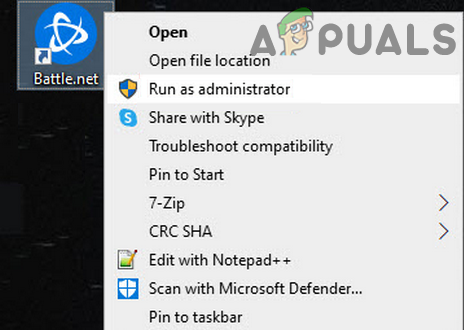
Open the Battle net App as Administrator - Then, again switch to Task Manager and end task related to Update Agent.
- Now switch to Battle.net client and select Warzone.
- Then click on Play and check if Warzone launches without throwing the Blzbntbna00000012 error.
Change the Region in the Battle.net Client
The Blzbntbna00000012 error could also be a result of a temporary glitch of the Blizzard regional server and changing the region in the Battle.net client may solve the problem.
- Open the Battle.net app and near the right of the Play button, click on the globe icon.
- Now select a different region (e.g., if using America, then select Europe), and afterward, click on the Play button to launch Warzone.
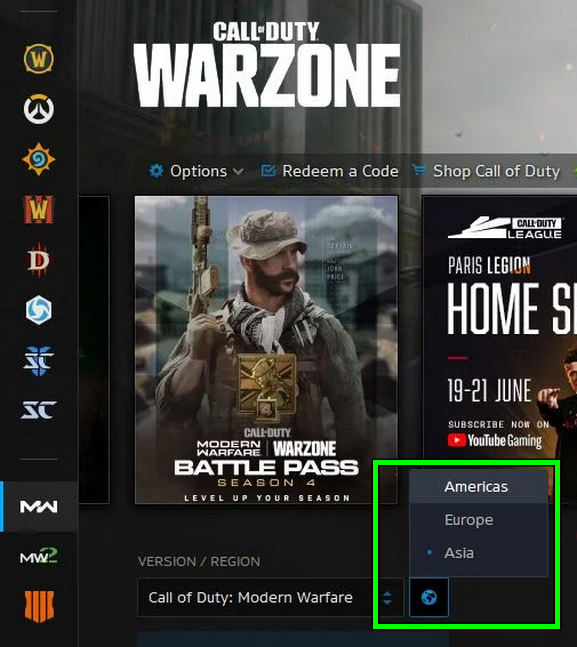
Change Region in Warzone - If it asks to update, let it update, and once launched, check if the game is clear of Blzbntbna00000012 error.
Delete the COD Folder in Documents
COD Modern Warfare’s folder in the user’s Documents directory holds the settings and configurations of Warzone. If the contents of the said folder are corrupt, then it may result in the Blzbntbna00000012 error. In this context, you can fix the error code BLZBNTBNA00000012 by deleting the COD Modern Warfare folder (the game will create a new folder with default settings upon launch) in the Documents directory of the system.
- Firstly, make sure no process related to Battle.net and Warzone is running in the system’s Task Manager.
- Then, right-click Windows and select Run.
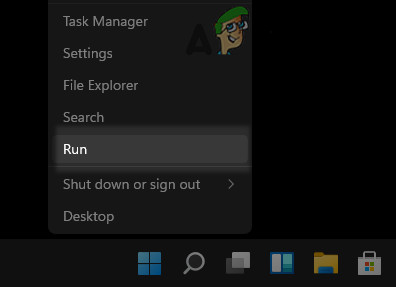
Open the Run Command Box from the Quick Access Menu - Now navigate to the following:
Documents
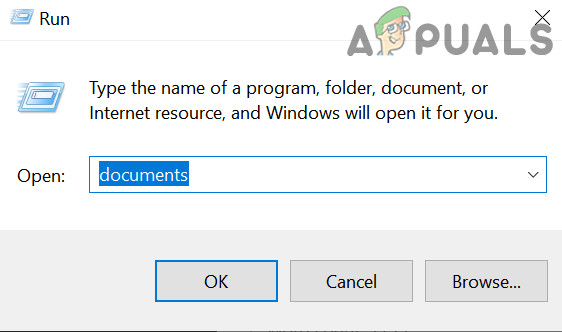
Open Documents Folder Through the Run Command Box - Then delete the COD Modern Warfare folder and launch Warzone to check if its Blzbntbna00000012 error is cleared.
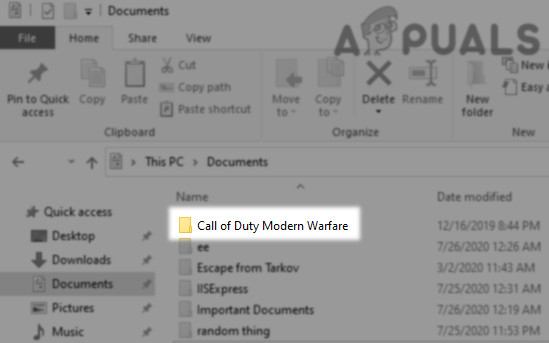
Delete the Modern Warfare Folder in the Documents Directory
Clear the Battle.net Cache
Warzone may show the Blzbntbna00000012 error if the cache of the Battle.net launcher is corrupt. Here, clearing the cache of Battle.net may solve the problem.
- Firstly, make sure to end the Battle.net and Warzone processes in the system’s Task Manager.
- Then, right-click Windows and select Run.
- Now navigate to the following path:
%programdata%
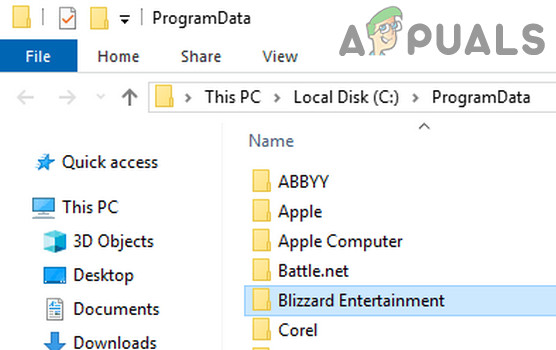
Delete the Blizzard Entertainment Folder - Then delete the folders related to Battle.net and Blizzard (like Blizzard Entertainment).
- Now, navigate to the following paths (one by one) in the Run command and delete Battle.net or Blizzard-related folders:
%appdata%

%localappdata%
- Then launch Warzone and check if the Blzbntbna00000012 issue is resolved.
If not, check if launching the Warzone game in safe mode solves the problem.
Remove Command Line Argument of Warzone in the Battle.net Client
Many users tend to set the Command Line Argument of Warzone in the Battle.net client to launch the game in DirectX 11 mode, but the incompatibility of the old DirectX version with the latest game modules may cause the Blzbntbna00000012 error. Here, removing the Command Line Argument of Warzone in the Battle.net client may solve the problem.
- Open the Battle.net client and select Warzone.
- Now open the game’s Options and choose Game Settings.
- Then delete the argument in the Command Line Argument and uncheck the option of Command-Line Argument.
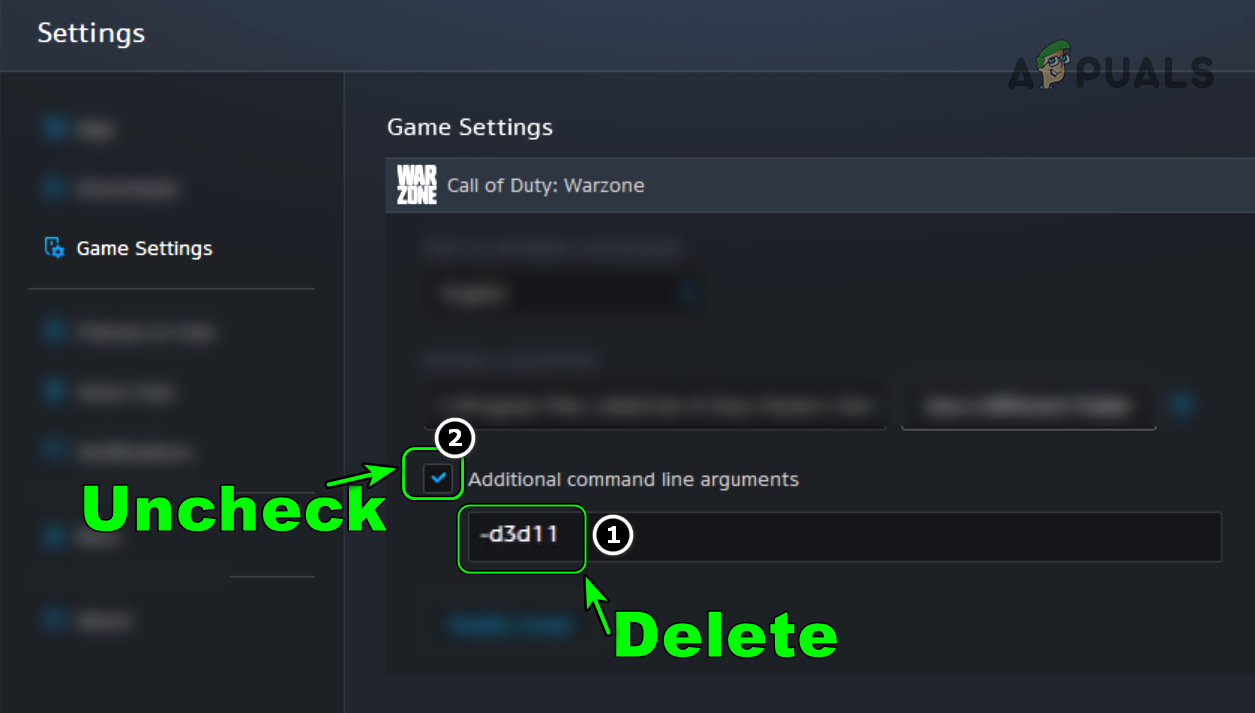
.Remove Additional Command Line Arguments of Warzone - Now save the changes and launch Warzone to check if its Blzbntbna00000012 error is cleared.
- If not, check if repairing the Warzone game in Battle.net solves the problem.
Manually Update the Battle.net Client without Uninstalling it
If the Battle.net client fails to update to the latest build (either due to a network issue or interference from the system’s security application), then manually updating the Battle.net client without uninstalling it may solve the problem.
- Launch Battle.net client and select Warzone.
- Now expand its Options and select Show in Explorer.
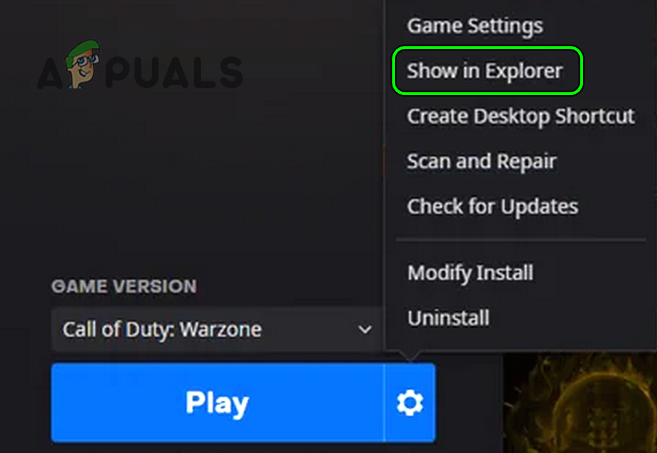
Show Warzone in Explorer - Then rename the Warzone/Modern Warfare folder and close the Battle.net app.
- Now right-click Windows and select Task Manager.
- Then make sure to end all the processes related to Warzone and Battle.net in the system’s Task Manager.
- Now download the latest Battle.net client from the official website and once downloaded, right-click on the downloaded client.
- Then select Run as Administrator and follow the prompts to update the client’s installation.
- Now launch the Battle.net application and do not install Warzone.
- Then open the Settings of Battle.net and select Downloads.
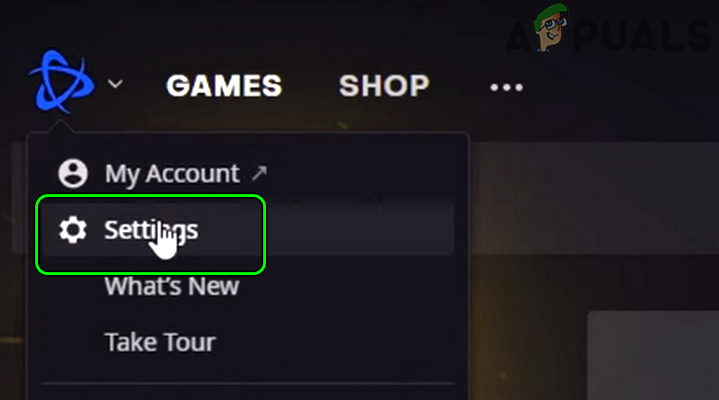
Open Battle.net Settings - Now click on Change in Scan for Games and when asked to, point it to the folder renamed in step 3.
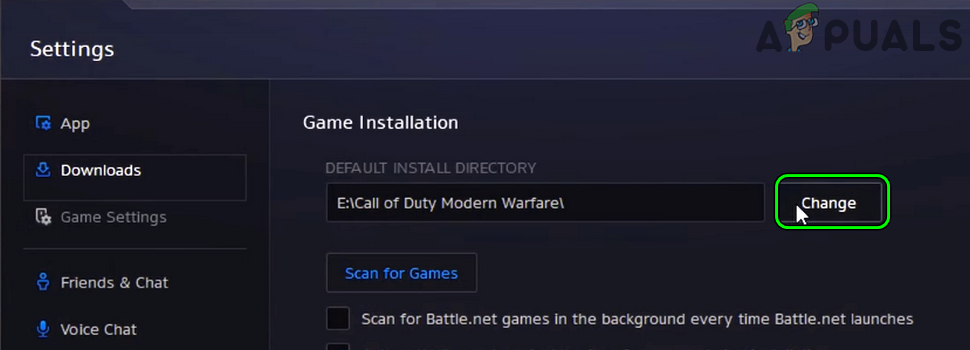
. Click on Change to Point it to the New Installation Directory of Warzone - Then open Warzone through the Battle.net client and check if Warzone is cleared of the Blzbntbna00000012 error.
- If not, check if updating the Battle.net client to the beta version solves the problem.
If the issue persists, check if modifying the Warzone install and only selecting Multiplayer solves the problem.
Rename or Relocate the Warzone Folder
There are some reserved names (Desktop, Windows, Downloads, PC, Temp, etc.) that should not be in the game’s installation path and if your game’s installation has any such name in its installation path, then it may result in the Blzbntbna00000012 error. In this case, renaming or relocating the Warzone folder may solve the problem.
Rename the Warzone Folder Path
- Open the Battle.net client and select Warzone.
- Now, open its Options and select Show in Explorer.
- Now check the installation path of the game in the address bar and if it has any of the reserved names, then rename that directory.
- Close the Battle.net client and make sure to end all of its related processes in the Task Manager.
- Now launch to the Battle.net client and check if it is showing the Play button or Install button. If it is showing the Play button, click on it and check if the game is working fine.
- If the Battle.net launcher shows the Install button for Warzone, then open the Settings of the Battle.net application.
- Now open Downloads and click on Change in Scan for Games.
- Then point it to the installation directory (with the renamed path) and afterward, launch Warzone to check if it is clear of the Blzbntbna00000012 error.
Relocate the Warzone Folder
If renaming the folder did not work, then relocating it may solve the problem.
- Open the Warzone folder (as discussed above) and move it to another folder (preferably, in the root directory of the drive).
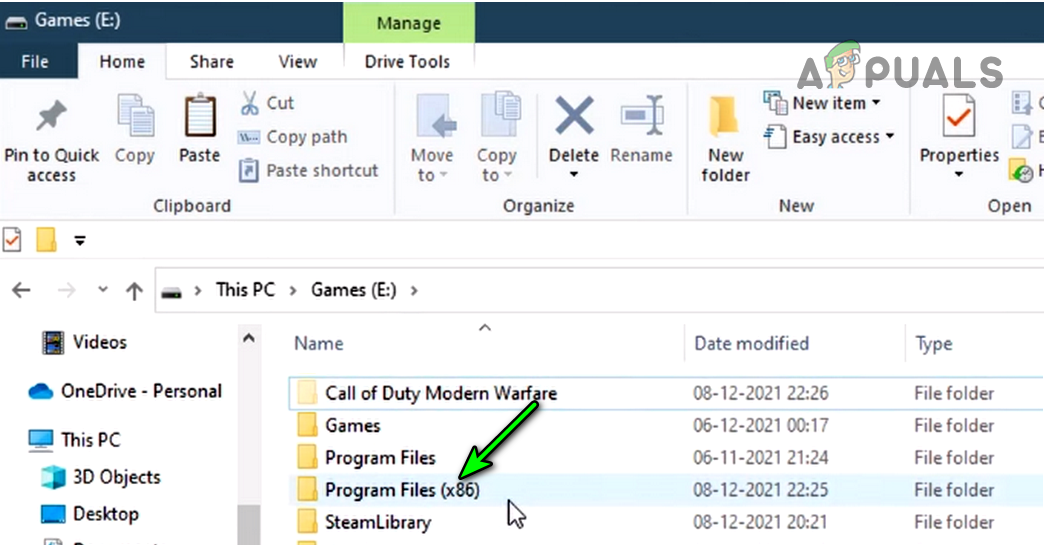
Move COD Modern Warfare Installation Directory to Program Files - Now end all the processes related to Battle.net in the Task Manager and launch Battle.net. Do not worry if it shows the Install button (not Play) for Warzone.
- Then, open the client’s Settings > Downloads > click Change in Scan for Games and point to the new path.
- Now launch Warzone and check if it is operating normally.
- If not, then check if putting the Warzone folder into Programs Files (x86) or in the Battle.net installation directory solves the problem.
Launch as Administrator from the Installation Directory
If the Battle.net client and Warzone game cannot access a protected system resource due to the non-availability of the administrator privileges, then it can cause the Warzone Blzbntbna00000012 error. In this scenario, launching Warzone and Battle.net applications as an administrator may solve the problem.
Launch the Battle.net Client as Administrator
- Right-click on the Battle.net icon and select Run as Administrator.
- Now select Warzone and click on Play.
- Then check if the Warzone game is functioning normally.
- If that did not work, check if launching bootloader.exe as an administrator in the installation directory of the Battle.net client solves the problem.
- If not, check if launching bootstrapper.exe as an administrator in the Battle.net client’s installation directory clears the error.
Keep in mind that to make the process permanent, right-click on the file, head to its compatibility tab, checkmark Run This Program as Administrator.
Launch Warzone as Administrator
- If the issue persists, make sure to end the Battle.net client and Warzone’s processes in the Task Manager.
- Then, open the Battle.net client as administrator and select Warzone.
- Now expand its Options and select Show in Explorer.
- Then, right-click on Modern Warfare Launcher.exe and select Run as Administrator.
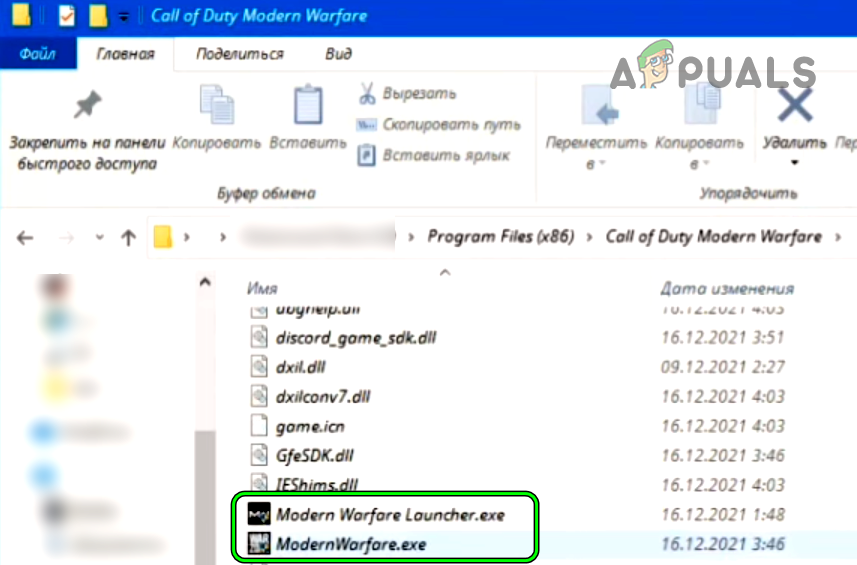
Launch Warzone as Administrator from the Installation Directory - Now wait for a few seconds and then right-click on ModernWarfare.exe.
- Then select Run as Administrator and once Warzone is launched, check if it is clear of the Blzbntbna00000012 error.
- If not, log out of the Battle.net client, launch Warzone as administrator, ignore Battle.net and its sign-in page, then check if the game is launched normally.
If that did not work, end all the Battle.net and Warzone tasks in the system’s Task Manager. Then launch Vanguard and afterward, launch Warzone as administrator from the installation directory to check if that resolves the Warzone error at hand.
If the issue persists, check if launching another COD game and then switching to Warzone solves the problem.
Set Related Processes to Open as Administrator
- Exit Warzone and close the Battle.net client.
- Now make sure to end all the related processes in the system’s Task Manager.
- Then, right-click on the Battle.net client shortcut and select Properties.
- Now, in the Shortcut tab, click on Open File Location, and then, in the installation directory of the Battle.net client, right-click on Battle.net Launcher.exe and select Properties.
- Then head to the Compatibility tab and checkmark Run This Program As An Administrator. Make sure Full-Screen Optimization is unchecked.
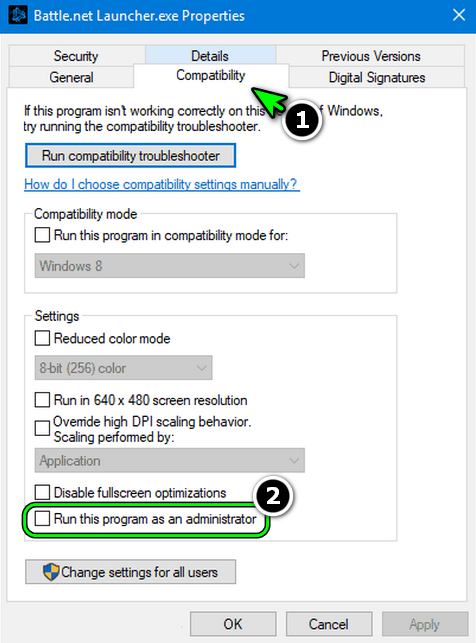
Enable Run This Program as an Administrator for Battle.net - Now click on Apply/OK and repeat the same to Battle.net.exe.
- Then open the Battle.net launcher and select Warzone.
- Now expand its Options and select Show in Explorer.
- Then checkmark Run This Program as Administrator in the Compatibility tab of the following files in the installation directory of Warzone (make sure Full-Screen Optimization is unchecked):
modernwarfare launcher.exe

modernwarfare.exe
- Then open Change High DPI in the Compatibility tab of both files (one by one) and make sure Override High DPI Scaling Behavior is unchecked.
- Now launch Warzone from the Battle.net client and check if it is working fine.
Delete the files in the Data Folder of the Installation Directory of Warzone
- Firstly, exit Warzone and the Battle.net client.
- Then, make sure to end all the processes related to Warzone and Battle.net in the Task Manager.
- Then, navigate to the installation directory of Warzone like:
C/Games/Call of Duty Modern Warfare
- Now open:
Data/data
- Then sort the files by size and delete all the files having sizes 0 KB and 1KB (leave other files as it is).
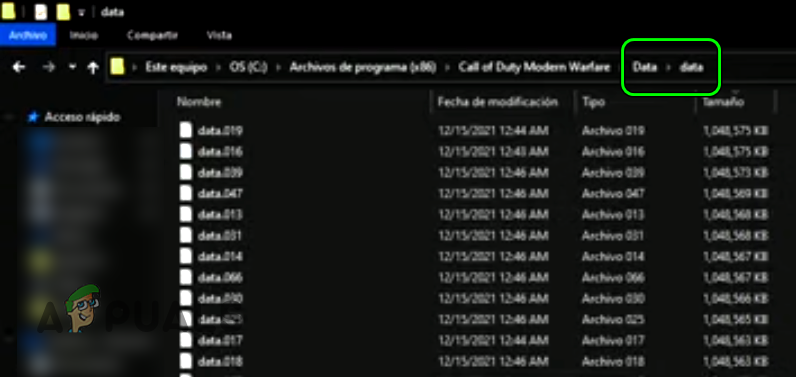
Delete 0 and 1 KB Files in the Data Folder of COD Warfare Installation Directory - Then launch Warzone from the Battle.net client and check if it is clear of the Blzbntbna00000012 error.
- If not, check if deleting files less than 20KB in the Data/data folder of the Warzone installation directory solves the problem.
Disable UAC of Windows
Windows uses UAC to control access to protected and essential system files. If a Warzone or Battle.net process requires access to such a resource but does not have the required privileges, then it can cause Warzone Blzbntbna00000012 error. In such a case, disabling the Windows UAC may solve the problem.
Warning: Proceed at your own risk as disabling the Windows UAC may expose the data/system to threats.
- Click Windows, search and open User Account Control.
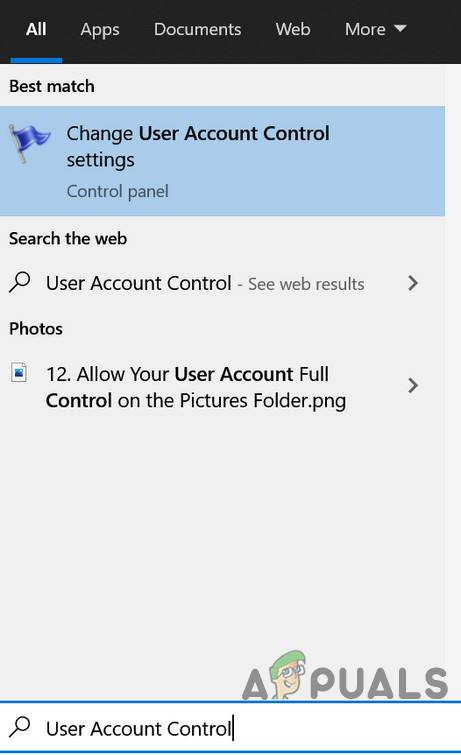
Open User Account Control Settings - Now, in the User Account Control Settings window, slide the slider to Never Notify and click on OK.
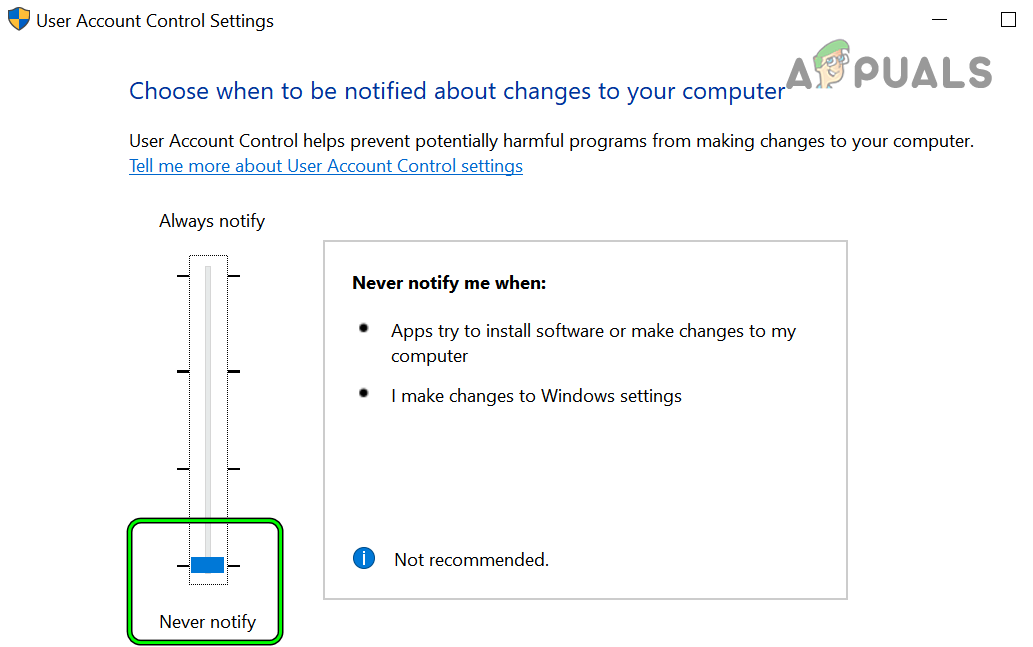
Set UAC to Never Notify - Now, restart your system, and upon restart, launch Warzone to check if it is operating fine.
Disable or Uninstall the System’s Antivirus or Firewall
The Blzbntbna00000012 error in Warzone could be a result of the system’s antivirus or firewall interference with the game’s modules. In this context, disabling or uninstalling the system’s antivirus or firewall may clear the Blzbntbna00000012 error.
Warning:
Advance at your own risk as disabling or uninstalling the PC’s antivirus/firewall may expose the data/system to threats.
- Locate the security product’s icon (e.g., ESET) in the system tray (do not forget to check the hidden icons of the system’s tray) and right-click on it.
- Now, in the menu displayed, select Pause Protection and then confirm to disable the protection. You may also see a UAC prompt, if so, click on Yes.
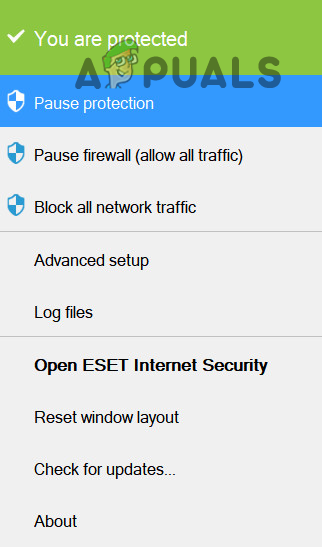
Pause Protection of ESET Internet Security - Then, expand the security software’s menu in the system tray by right-clicking on it and selecting Pause Firewall.
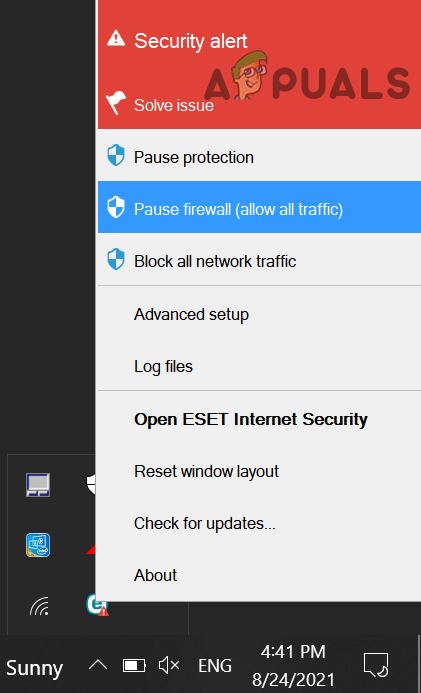
Pause Eset Firewall of Your System - Now confirm to disable the firewall and open the Battle.net client.
- Then launch Warzone and check if it is working fine.
- If not, right-click Windows and open Apps & Features.
- Now click to expand the security application (e.g., ESET) and click on Uninstall.
- Then confirm to uninstall the security software and follow the prompts on the screen to uninstall it.
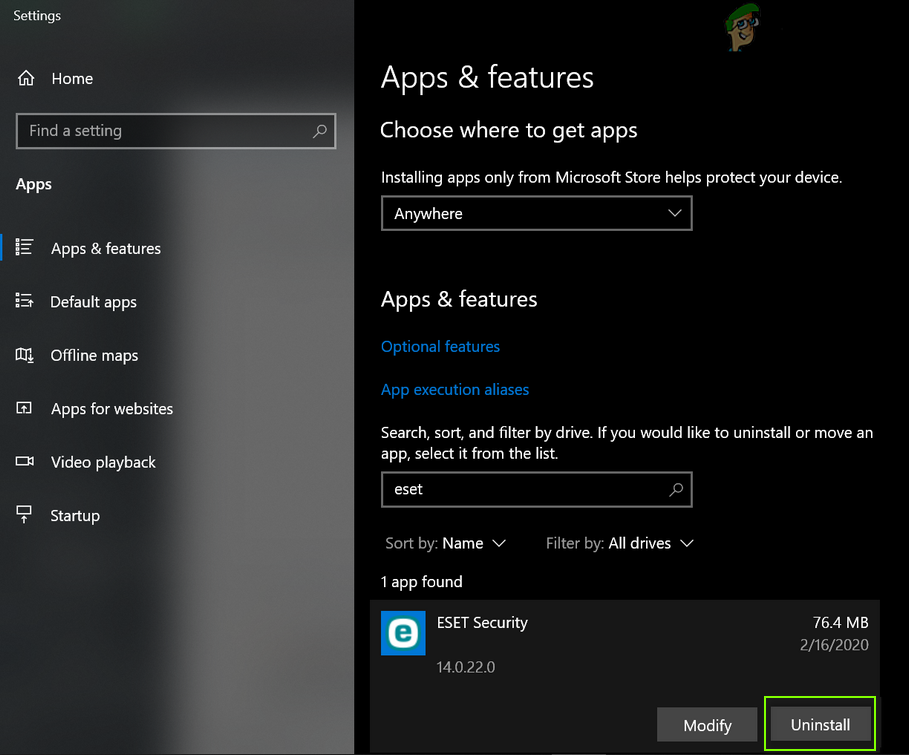
Uninstall Eset Security - Once done, restart your system, and upon restart, launch Warzone to check if it is clear of the Blzbntbna00000012 error.
- If not, check if disabling the Windows Defender (antivirus and firewall) solves the problem.
If the issue was resolved after disabling the antivirus/firewall (either 3rd party or Windows Defender), then make sure to add an exception for the Battle.net launcher and Warzone in the security application (especially, in UDP and TCP inbound rules).
If that did not work, check if using a VPN solves the problem.
Reinstall the Battle.net Client
You may encounter the Blzbntbna00000012 error in Warzone if the installation of the Battle.net client is corrupt. Here, reinstalling the Battle.net client may solve the problem.
- Right-click Windows and select Apps & Features.
- Now expand the Battle.net client and click on Uninstall.
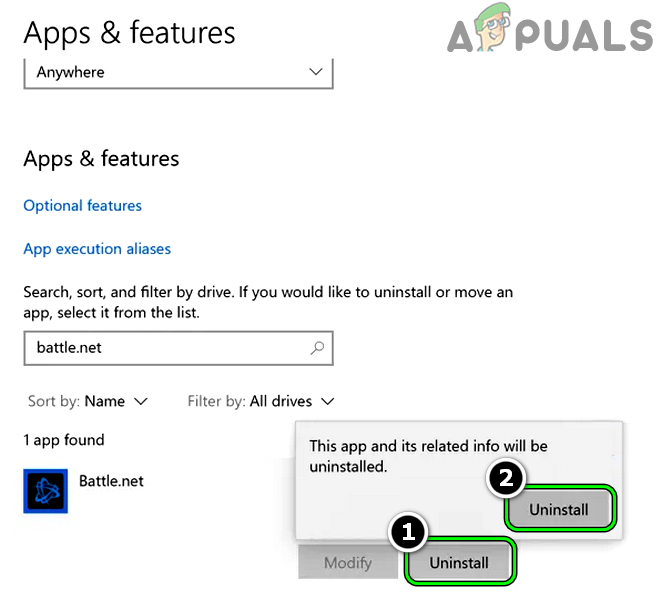
Uninstall Battle.net App - Then confirm to uninstall the Battle.net client and follow the prompts on the screen to complete its uninstallation.
- Once done, restart your system, and upon restart, right-click Windows and select Run.
- Now navigate to the following directories (one by one) and delete the leftovers of the Battle.net installation (any folder related to Battle.net, Blizzard, or Blizzard Entertainment ).
%programdata%

%temp%

%appdata%

%localappdata%
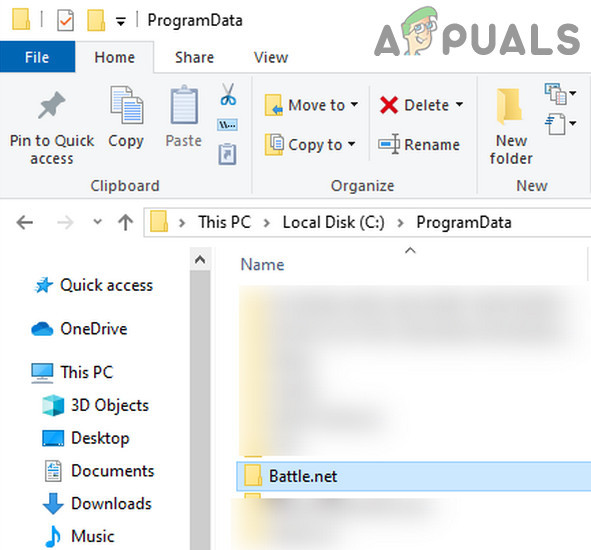
Delete the Battle Net Folder in Programdata Directory - Afterward, download the latest Battle.net launcher and right-click on the downloaded installer.
- Now select Run as Administrator and follow onscreen instructions to complete the installation.
- Once done, right-click on the Battle.net launcher shortcut and select Run as Administrator.
- Now log in using your credentials and open the Battle.net Settings.
- Then, select Downloads and click on Change in Scan for Games.
- Now point it to the Warzone installation directory and afterward, launch the game to check if it is working fine.
Reinstall Warzone
If the issue persists even after reinstalling the Battle.net launcher, then reinstalling Warzone may solve the problem.
- Firstly, do not forget to back up the essential game data.
- Now launch Battle.net and select Warzone.
- Then click on Uninstall and follow the prompts to uninstall Warzone.
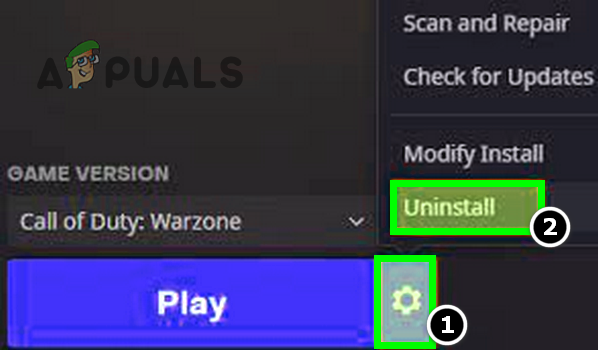
Uninstall Call of Duty Warzone - Once uninstalled, restart your system, and upon restart, open Apps & Features.
- Now check if Warzone is shown as installed, if so, uninstall it and restart your system.
- Upon restart, delete the Warzone’s leftovers from the following directories:
%temp%

%userprofile%\Documents

C:\Windows\Temp

C:\Program Files (x86)\

C:\Program Files\

C:\Program Files\Common Files\Blizzard Entertainment

C:\Users\Public\Games\

C:\Users\Public\Public Documents\Blizzard Entertainment\
- Then restart your system and upon restart, reinstall the Battle.net client (make sure to follow the steps as discussed in the previous solution).
- Now, launch Battle.net client as administrator and reinstall Warzone (100+ GB data).
- Upon reinstall, launch Warzone and hopefully, it will be clear of the Blzbntbna00000012 error.
If reinstalling the Warzone did not work, then check if deleting other Windows user accounts (do not forget to back up the data) solves the problem. If the issue persists, you may reset the system’s Windows to the factory defaults to solve the problem.


Thank you so much man this helped.