How to Fix “Dev Error 5763” on Call of Duty: Warzone?
The dev errors are the most reported errors on the Call of Duty series games and one such error for Warzone is dev error 5763. The error may occur on the game’s launch or during a match, making the game unplayable. Usually, the following type of message is shown:
Warzone Dev error 5763 might occur due to many factors but the following can be categorized as the main:
- Incompatible or Corrupt Graphics Driver: If the system’s updated driver is incompatible with the game or if the driver’s installation is corrupt, then it can cause Warzone to crash with error 5763.
- Low Value of TdrDelay: The value of the TdrDelay is the time the OS waits before it kills a non-responsive driver and if the GPU is taking a bit longer than the TdrDelay value of the OS, then killing of the GPU driver by the Windows OS may cause the Warzone error 5763.
- Misconfiguration of Warzone Settings: There are certain Warzone settings (like Cache Spot Shadows, Cache Sun Shadows, or DirectX Raytracing) that may require a high specs system and if the system cannot properly handle load created by these settings, then it may cause the issue at hand.
- Overclocking of CPU/GPU/RAM or Faulty/Incompatible RAM: Warzone is very picky with overclocking and any type of overclocking can cause the game’s dev error 5763. Moreover, a failing or incompatible RAM may also cause the issue under discussion.
Optimize the Warzone Settings in GeForce Experience
If the Warzone’s settings are not optimal in Nvidia GeForce Experience, then the game may show the dev error 5763 as the graphics fail to be properly rendered by the GPU. In this case, optimizing the Warzone settings in Nvidia GeForce Experience may solve the problem.
- Launch GeForce Experience and in the left pane, select the COD game.

Optimize the Call of Duty Game in Nvidia GeForce Experience - Now, if the Game is not Optimized message is shown, click on Optimize and once done, launch Warzone to check if its error 5763 is cleared.
Disable In-Game Overlay of GeForce Experience
Warzone might start showing the dev error 5763 if the GeForce’s In-Game Overlay is hindering the game’s operation. Here, disabling the In-Game Overly of GeForce Experience (aka Share) may solve the problem.
- Launch GeForce Experience and head to the General tab in Home.
- Now, near the bottom right of the screen, disable Share by toggling its switch to the off position.
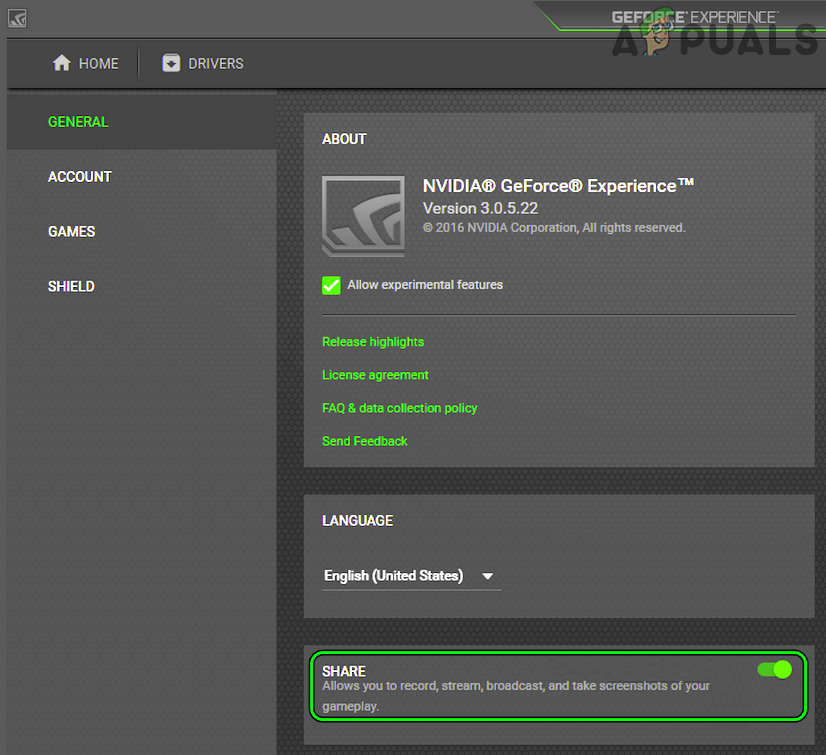
Disable Share Overlay in the GeForce Experience Settings - Then launch Warzone and check if the game’s DirectX issue is resolved.
Disable Problematic Warzone’s Settings
There are different graphics-related settings of Warzone that may make the game unstable on a non-high specs system and cause the dev error under discussion. In such a case, editing the relevant settings may clear the Warzone dev error 5763.
- Launch Warzone and open its Settings.
- Now head to the Graphics tab and disable the following options:
Cache Spot Shadows

Cache Sun Shadows

DirectX Raytracing
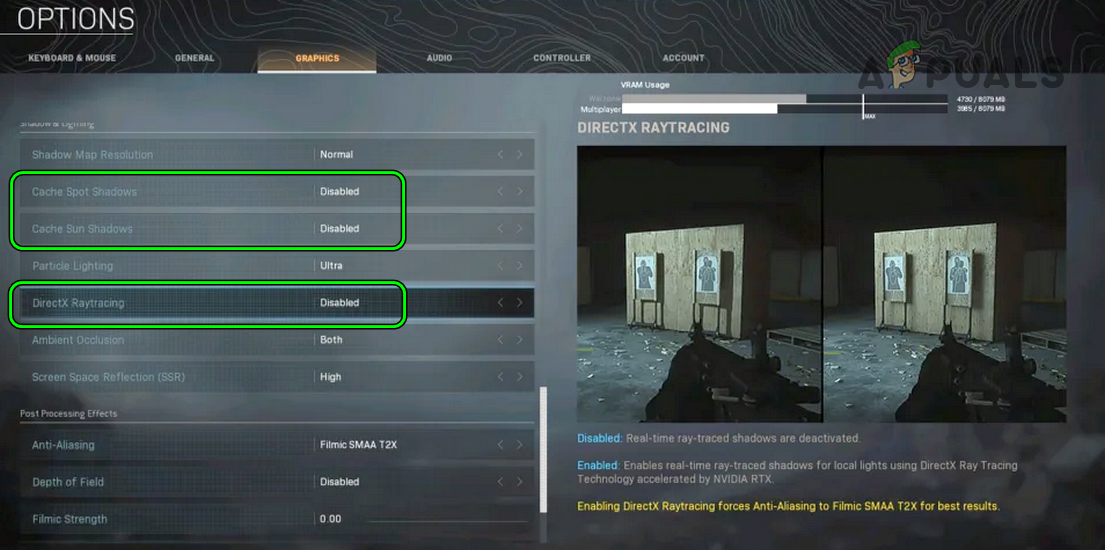
Disable Cache Spot Shadows, Cache Sun Shadows, and DirectX Raytracing of Warzone - Then save the changes made and relaunch Warzone to check if the dev error 5763 is cleared.
Disable Storage Sense in the Windows Settings
If your system is configured to use the Windows Storage Sense, then it can cause the Warzone dev error 5763 as it may automatically be deleting the DirectX cached files or Warzone’s installed shaders. In this context, disabling the Storage Sense in the Windows Settings may solve the problem.
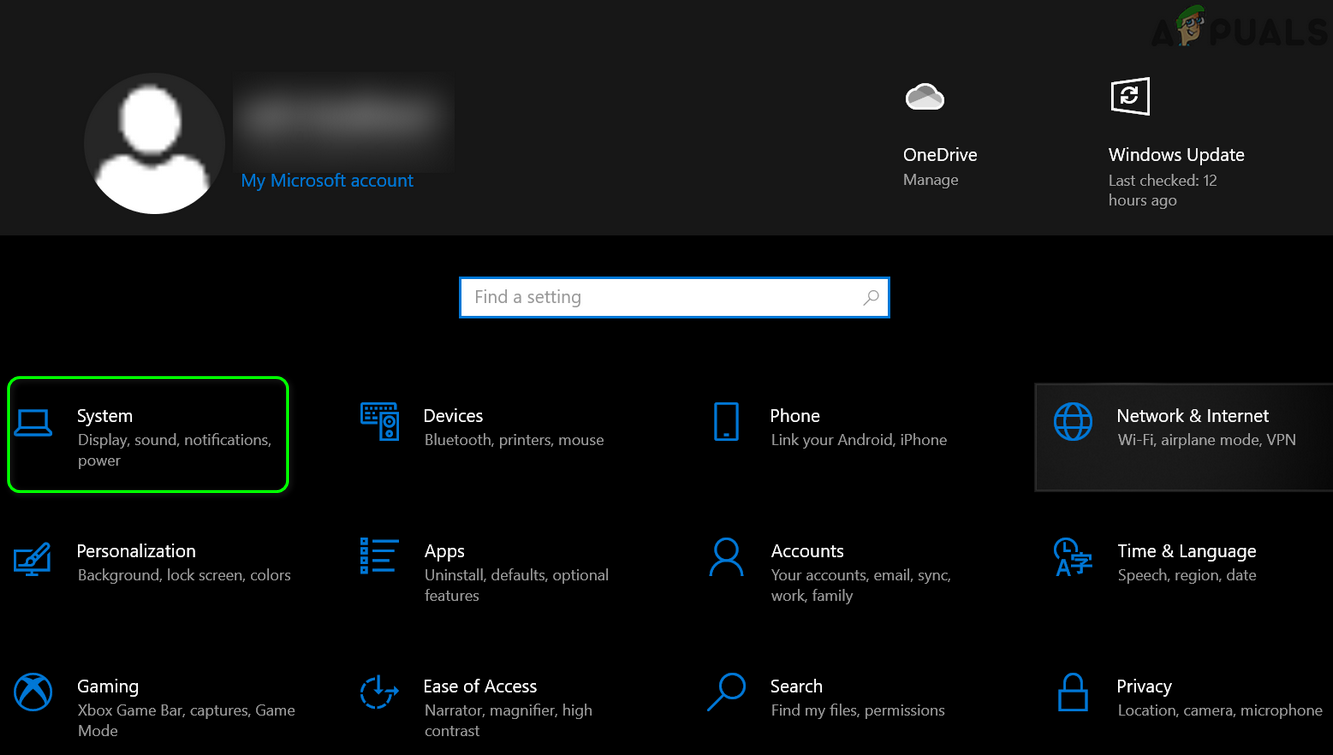
- Right-click Windows and open Settings.
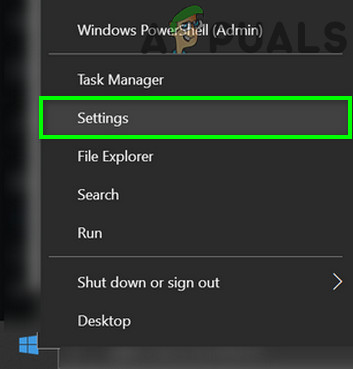
Open Windows Settings - Now select System and in the left pane, head to the Storage tab.
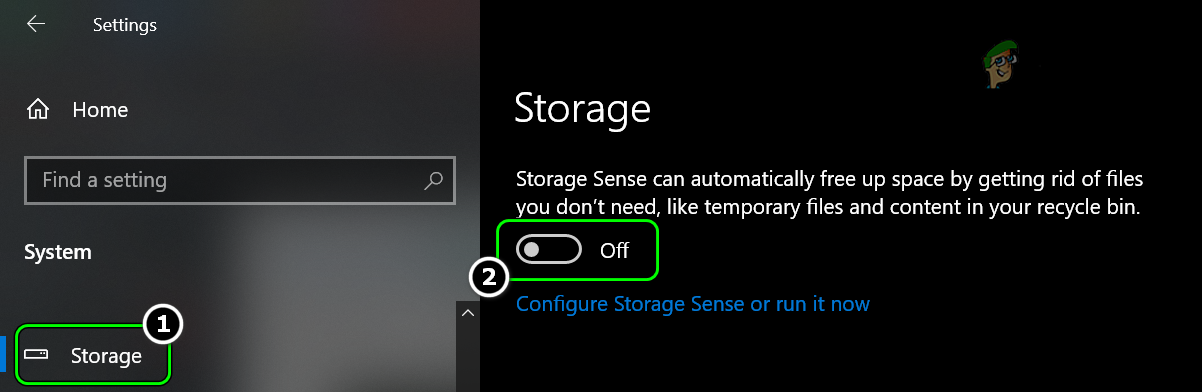
Open System in Windows Settings - Then, in the right pane, disable Storage Sense and open Warzone.
Disable Storage Sense in Windows - Now open the game’s Options and head to the Graphics tab.
- Then select Restart Shaders Installation and wait till the Shaders are installed.
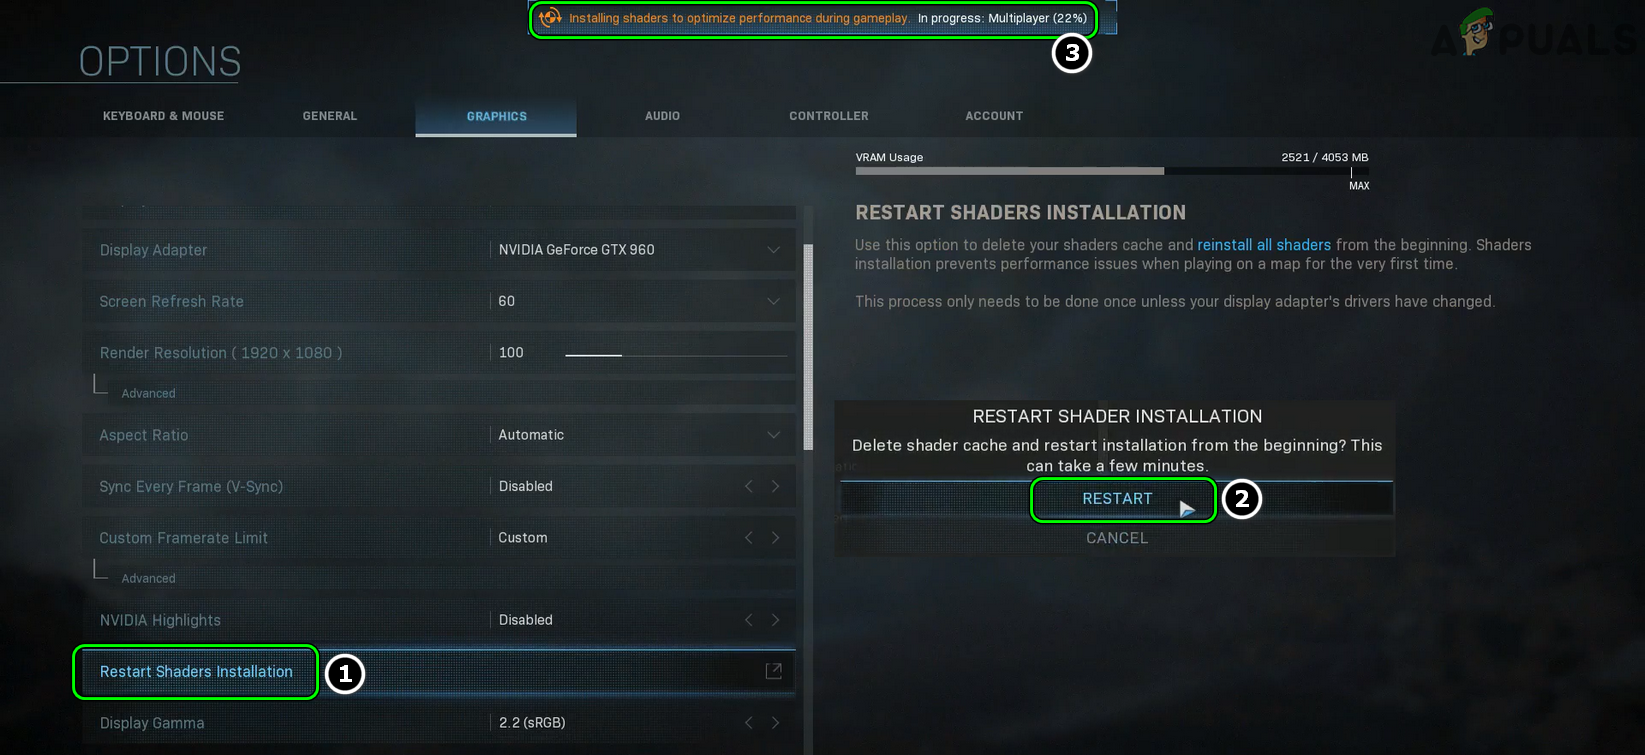
Restart Shaders Installation of the Warzone - Once done, relaunch the Warzone game and check if its error 5763 is cleared.
Edit the Advanced Options File of Warzone
The Advance options file of Warzone is responsible for many of the game’s advanced configurations and a mere misconfiguration of the settings in the Advanced Options file may cause the Warzone dev error 5763. In this scenario, editing the relevant settings of the Advance Options file may solve the Warzone problem.
- Right-click Windows and select Run.
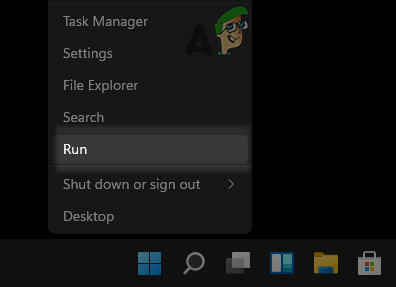
Open the Run Command Box from the Quick Access Menu - Now navigate to the following:
Documents
Open Documents Folder Through the Run Command Box - Then open the Modern Warfare folder and double-click on Players.
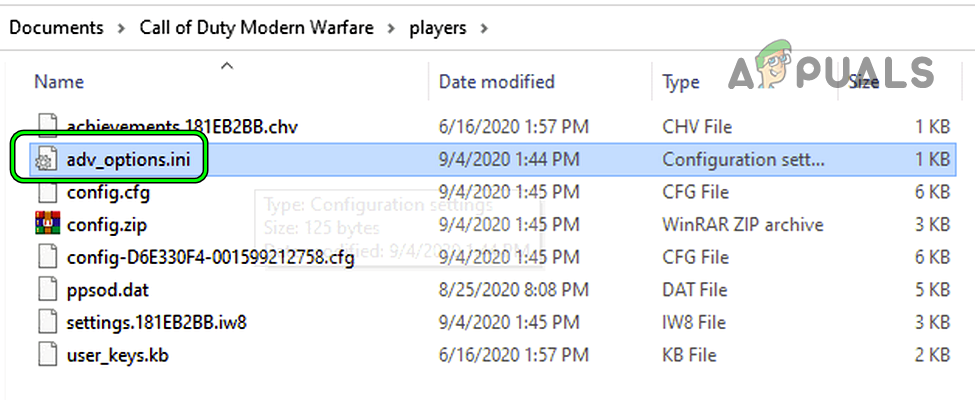
Open Adv_Options.ini File in Notepad - Now open the Advanced Options file (adv_options.ini) with Notepad and set Video Memory Scale to 0.5.
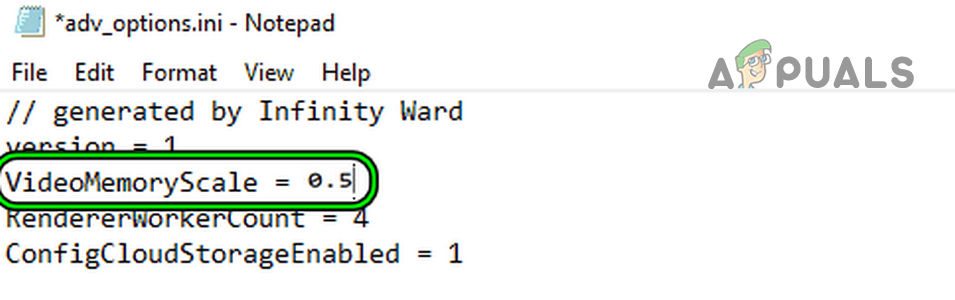
Set VideoMemoryScale of Warzone to 0.5 - Then save the file and open Warzone to check if its DirectX error 5763 is cleared.
- If the issue persists, check if setting the Video Memory Scale to 0.55 clears out the problem.
- If not, check if opening the Advanced Options file of Warzone and setting the RendererWorkerCount to 10 solves the problem.
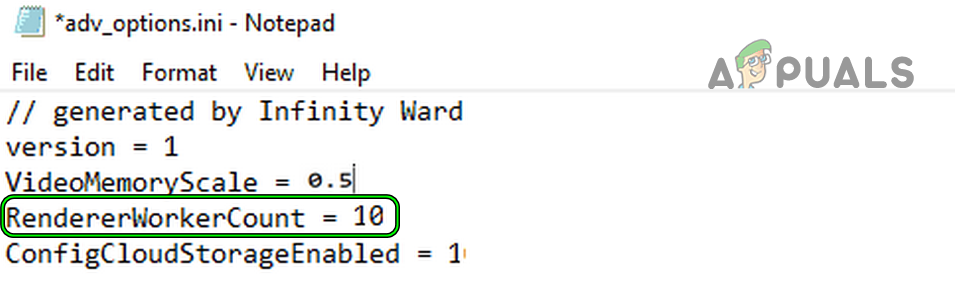
Set RendererWorkerCount of Warzone to 10
Launch the Warzone Game in DirectX 11 Mode
You may encounter the Warzone dev error 5763 if the game’s modules are not compatible with the latest DirectX version of the OS. Here, launching Warzone in DirectX 11 mode may solve the problem (for some users, the game may get a performance hit).
- Open the Blizzard launcher and select Warzone.
- Now open its Options and select Game Settings.
- Then checkmark Additional Command Line Arguments and enter the following:
-d3d11
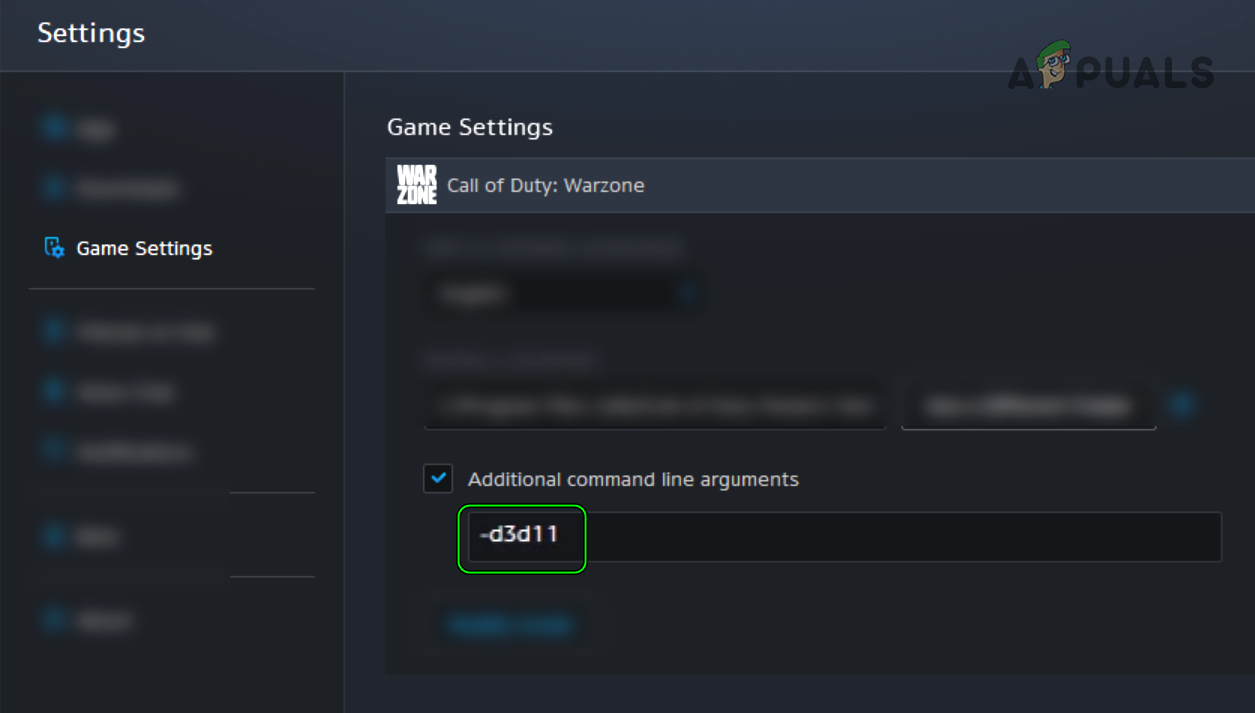
Launch Warzone in DirectX 11 Mode by Using Additional Command Line Arguments - Now save the changes made and reopen the Blizzard launcher.
- Then launch Warzone and check if it is functioning normally.
Roll Back the Graphics Driver of the System
If the dev error 5763 started to occur after a graphics card update, then the incompatibility of the new driver with the system may be causing the Warzone’s crashing, and rolling back the same may solve the Warzone problem.
- Right-click Windows and select Device Manager.
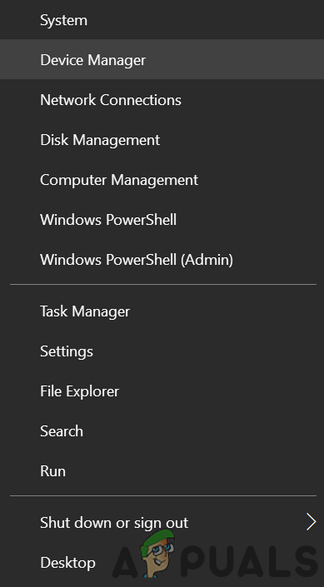
Open Device Manager Through the Quick Access Menu - Now expand the Display Adapter tab and double click on the display device.
- Then head to the Driver tab and click on Roll Back Driver (if enabled).
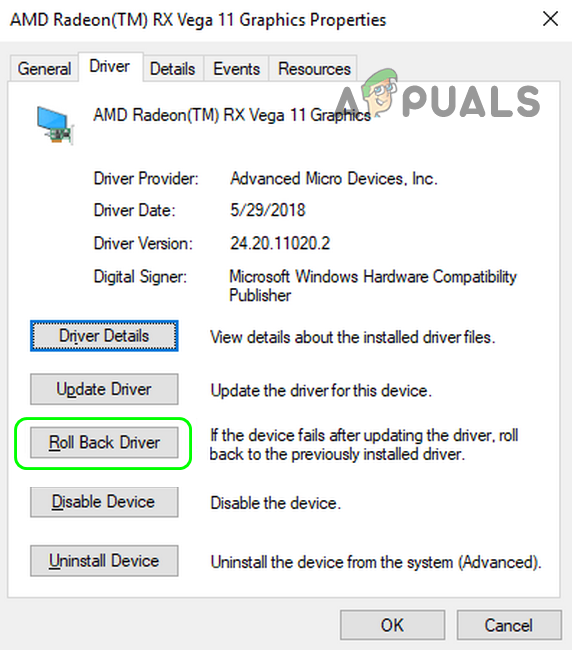
Roll Back the Radeon Driver - Now follow the prompts on the screen to complete the rollback process and once done, restart your PC.
- Upon restart, launch Warzone and check if the game is clear of the error 5763.
Reinstall the Graphics Driver of the System
Warzone might crash with DirectX error 5763 if the system’s graphics driver is corrupt. In this context, reinstalling the system’s graphics driver may solve the Warzone problem. Before proceeding, make sure to download the latest graphics driver of the system from the OEM’s website (like Nvidia).
- Right-click Windows and open Device Manager.
- Now expand Display Adapters and right-click on the graphics device (like Nvidia).
- Then select Uninstall Device and in the next menu shown, checkmark Delete the Driver Software for This Device and click on Uninstall.
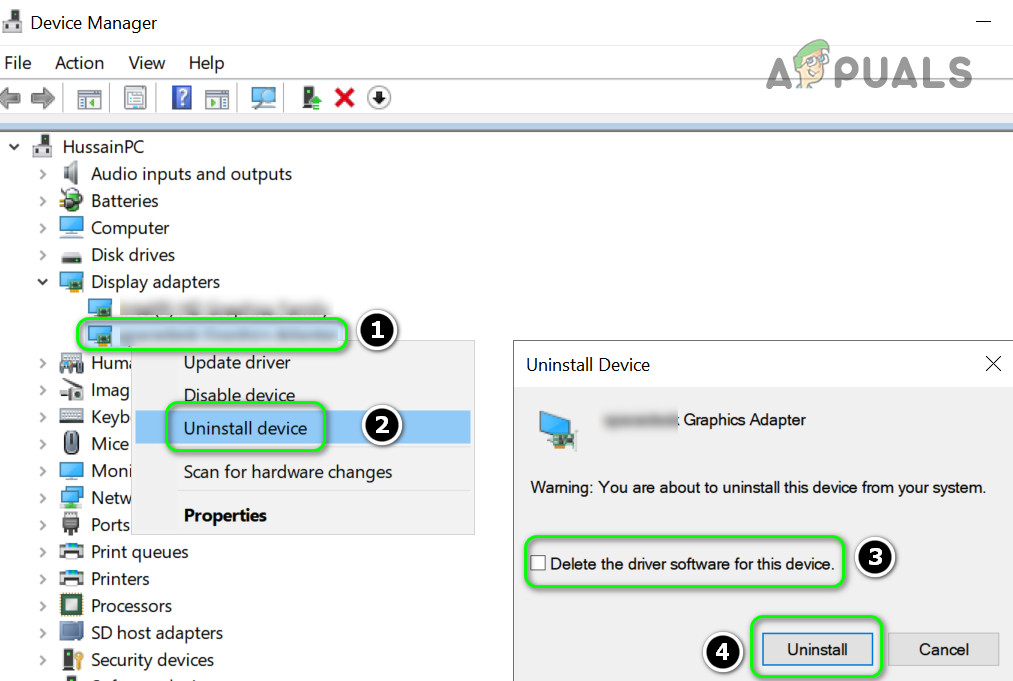
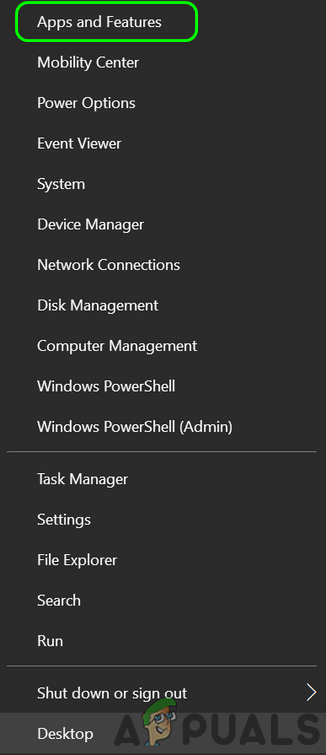
Check the Option of Delete the Driver Software for This Device for the Display Adapter and click on Uninstall - Once uninstalled, right-click Windows and select Apps & Features.
Open Apps & Features - Now expand the OEM’s graphics utility (like Nvidia GeForce Experience) and click on Uninstall.
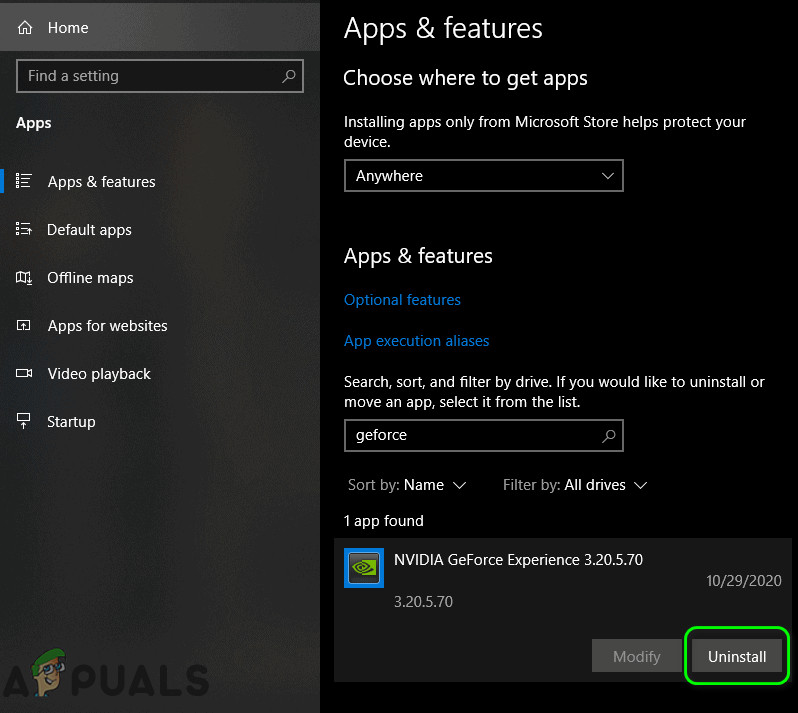
Uninstall Nvidia GeForce Experience - Then confirm to uninstall the utility and follow the prompts on the screen to uninstall the OEM’s utility.
- Once done, restart your system and upon restart, if Windows tries to install a generic driver, let it complete.
- Then launch Warzone and check if it is working fine.
- If not, check if installing the latest graphics driver (with the clean installation option) solves the problem.
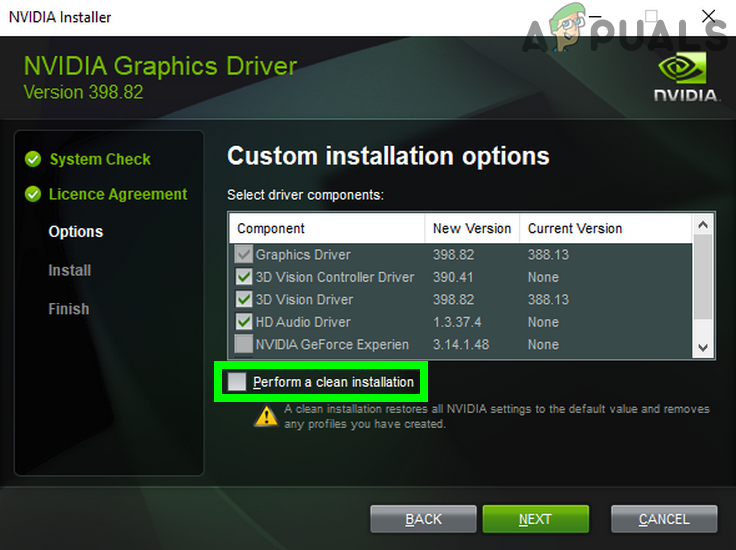
Perform a Clean Installation of Nvidia - If that did not work, check if uninstalling the graphics driver with a 3rd party uninstaller like DDU (Display Driver Uninstaller) and reinstalling the graphics driver (with the clean installation option) clears out the error 5763.
- If the issue continues to occur, check if installing an older version of the graphics driver solves the Warzone DirectX error.
If the issue still persists, check if disabling all the monitors except the primary monitor in the system’s Device Manager (if multi-monitors are being used) solves the problem. Check if changing the PCI-E Y splitter cable of GPU to 2 cables solves the problem.
Edit the System’s Registry to Increase its TdrDelay
Timeout Detection and Recovery delay (TdrDelay) is a Windows technique in which the Windows OS waits a certain amount of time before killing a driver due to a non-timely response. If the TdrDelay is less than what the GPU may take to render a request, then the OS may kill the graphics driver in the operation and thus cause the Warzone to crash with dev error 5763. In such a case, increasing the TdrDelay of the system by editing the system’s registry may solve the problem.
Warning: Advance with extreme caution and at your own risk as editing the PC’s registry is a skillful task and if anything goes wrong, you may cause everlasting damage to your data and system.
- Click Windows, search for RegEdit, right-click on its result, and in the sub-menu, select Run as Administrator.
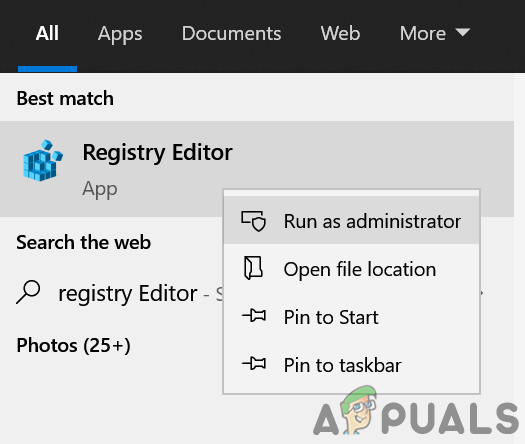
Open Registry Editor as Administrator - Then navigate to the following path:
Computer\HKEY_LOCAL_MACHINE\SYSTEM\CurrentControlSet\Control\GraphicsDrivers
- Now, in the right-pane, check if the TdrDelay value is present (if so, follow steps 6 and onward).
- If not, then in the left pane, right-click on the GraphicsDrivers registry key and select New>> Dword (32-bit) Value.
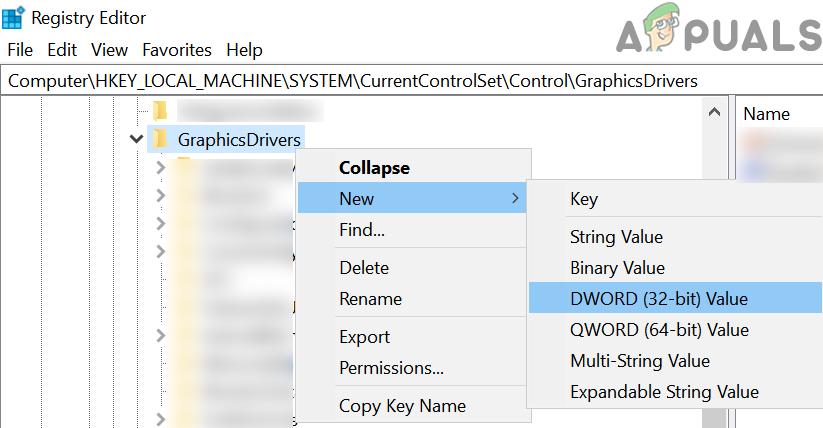
Create a New Dword (32-bit) Value Under GraphicsDrivers Registry Key - Now, name the value as TdrDelay and double click on it.
- Then change the Base to Decimal and set its value to 60.
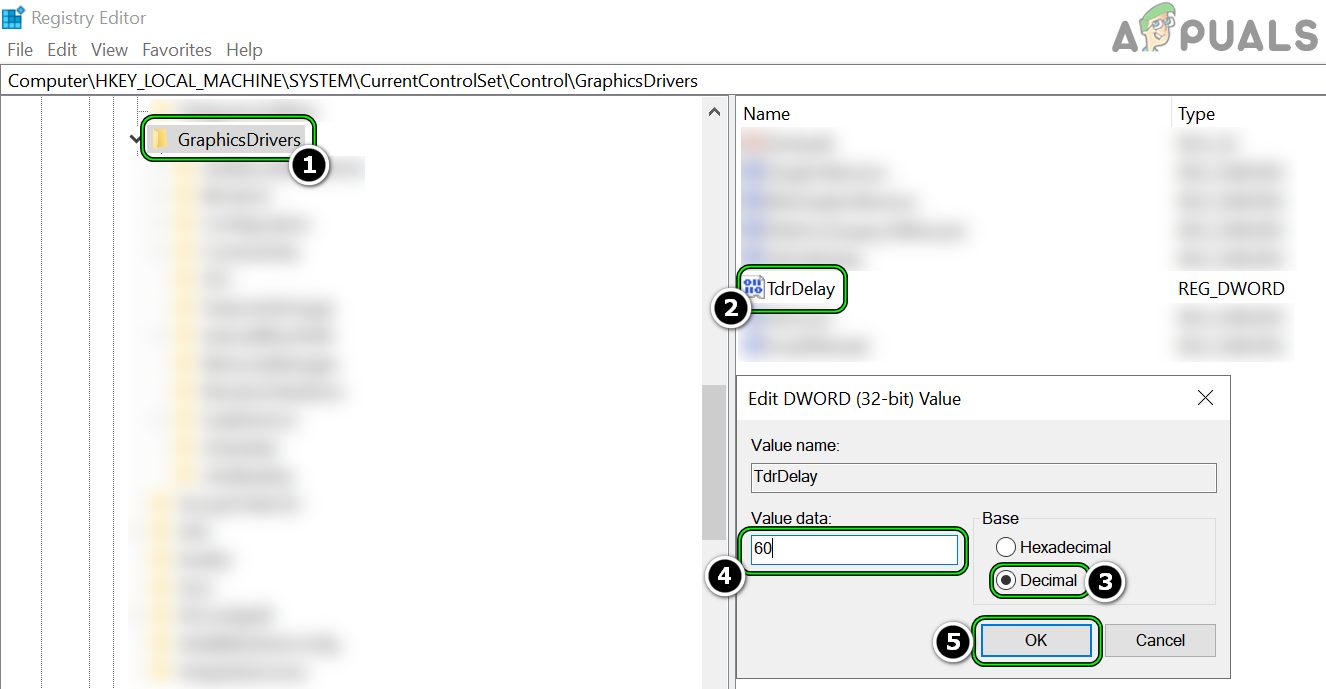
Set TdrDelay to 60 - Again, create another Dword (32-bit) Value and name it as TdrDdiDelay.
- Now double click on it and change the Base to Decimal.
- Then set its value to 60 and close the Registry Editor.
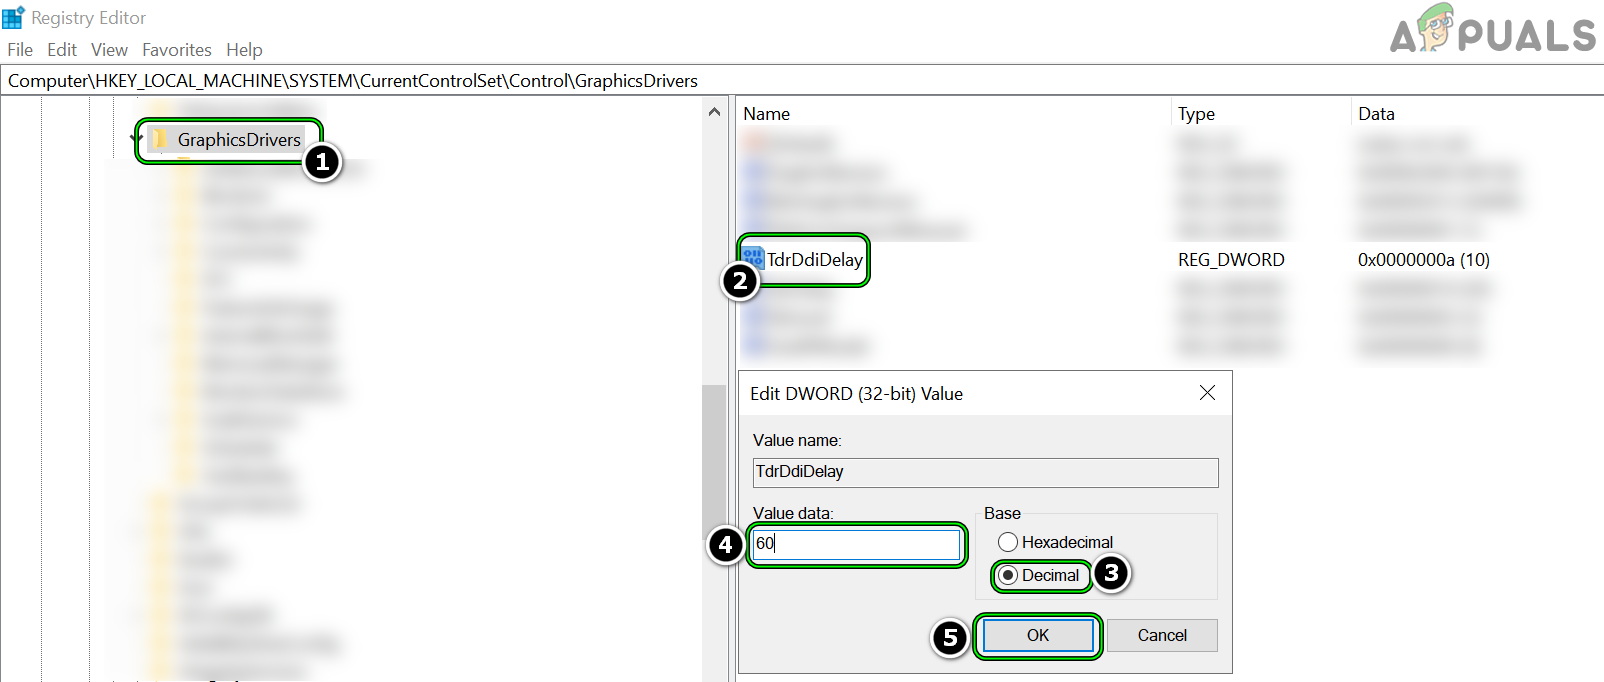
Set TdrDdiDelay to 60 - Now restart your system and upon restart, launch Warzone to check if it is clear of the dev error 5763.
Uninstall MSI Afterburner
MSI Afterburner is one of the top utilities to monitor and overclock a graphic card. If the monitoring or overclocking capabilities of this application is interfering with the Warzone’s game modules, then it may result in the dev error 5763. In such a case, uninstalling the MSI Afterburner may solve the problem.
- Right-click Windows and select Apps & Features.
- Now expand Afterburner and click on Uninstall.
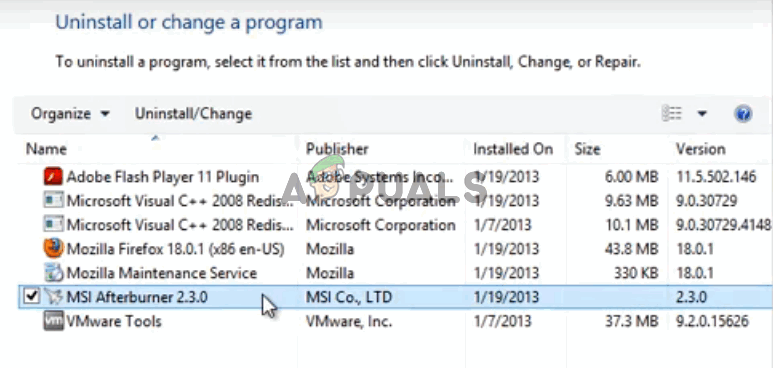
Uninstall MSI Afterburner - Then follow the prompts on the screen to complete the uninstallation of Afterburner and once done, restart your system.
- Upon restart, launch Warzone and check if it is working fine.
- If not, check if performing a clean boot of the Windows PC solves the problem. If so, you may find out the problematic startup application by enabling them one by one till the culprit one is found.
Disable XMP Profile in the System BIOS
Many gaming PCs come with a factory-enabled XMP (Extreme Memory Profile) profile and the overclocking by XMP is a reported culprit to cause the Warzone game to crash with dev error 5763. If your PC has this overclocking XMP profile or similar features like DOCP or EOCP, then that can cause the issue at hand. Here, disabling the XMP profile in the system’s BIOS may solve the problem.
Warning:
Proceed with extreme caution and at your own risk as editing the system’s BIOS is a proficient task and if it does not go well, then you may brick your system while causing undying damage to your data.
- Boot the PC into BIOS and select its M.I.T. tab.
- Now select Advanced CPU Options and click on XMP (Extreme Memory Profile).
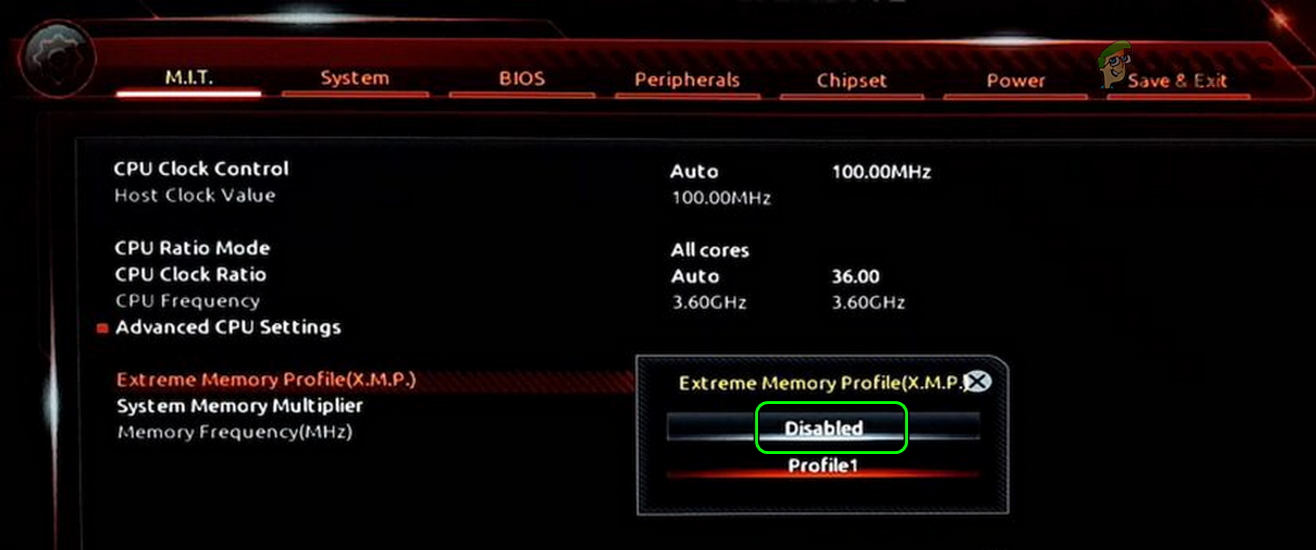
Disable XMP in BIOS - Then select Disabled in the dialogue box and exit BIOS after saving the changes made.
- Now boot your system into Windows and launch Warzone to check if error 5763 is cleared.
Reset the System’s BIOS to the Factory Defaults
Warzone’s crashing with dev error 5763 could be a result of a mere misconfiguration of the system’s BIOS. In this context, resetting the PC’s BIOS to the factory defaults may clear the Warzone’s error 5763.
Warning:
Advance at your own risk as editing the PC’s BIOS is a skillful task and if it goes wrong, you may brick your PC and cause everlasting damage to your data.
- Boot your system into the BIOS and near the right bottom of the screen, click on Restore Settings.
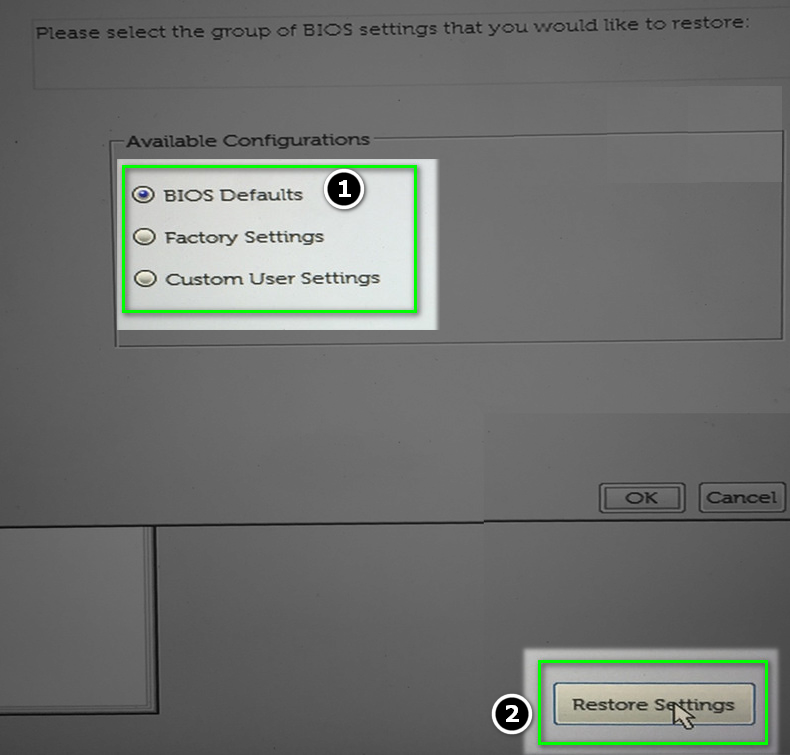
Reset BIOS to Defaults - Then confirm to restore the BIOS settings and once completed, boot the system into Windows.
- Now launch the Battle.net launcher and open Warzone to check if it is operating fine without the dev error 5763.
If that did not work, check if disabling the Energy saving features in the BIOS (like C-states, SATA APM, etc.) and in the Windows Device Manager (especially, for LAN and USB ) solves the problem.
Delete the Warzone’s Files in the Installation Directory
Warzone may cause the dev error 5763 if its files in the game’s installation directory are corrupt and deleting these files may solve the Warzone problem.
- Right-click Windows and select File Explorer.
- Then steer to the installation directory of Warzone and select all the files except folders. Make sure only files are selected and no folder is selected.
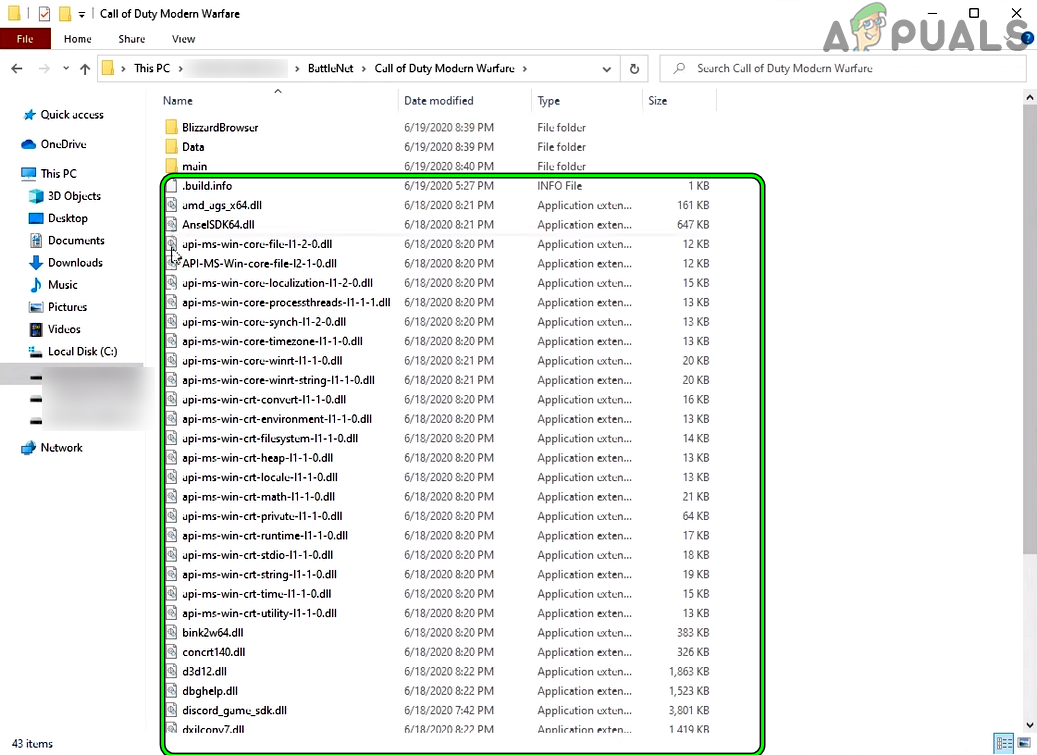
Delete Files in the Installation Directory of Warzone - Now hit Delete and then confirm to delete the files.
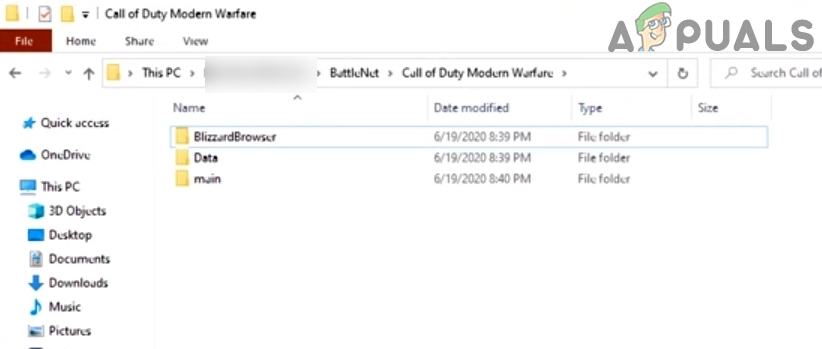
Folders are Present but Files Are Deleted From the Installation Directory of Warzone - Then open the Blizzard launcher and select Warzone.
- Now open its Options and select Check for Updates.
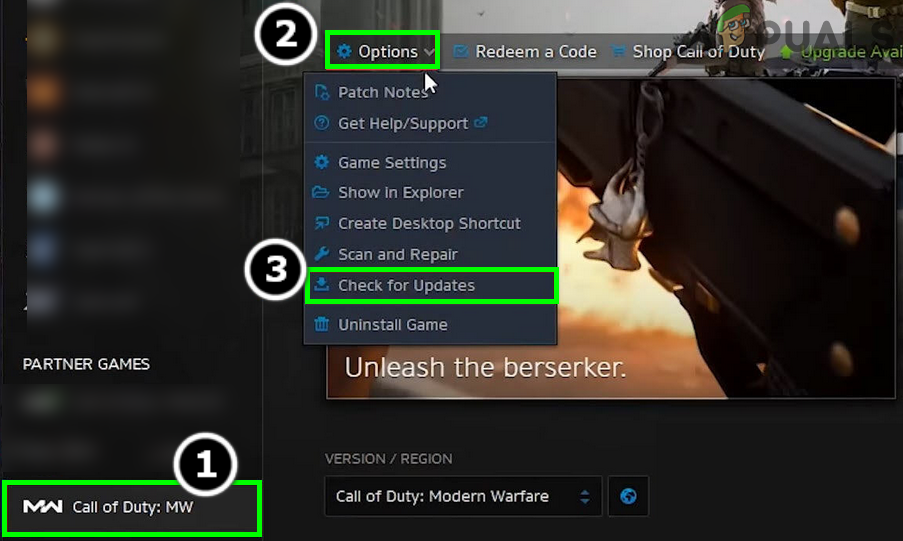
Check for Call of Duty Warzone’s Updates - Once done, launch Warzone and check if it is operating fine without showing the dev error 5763.
If the issue persists, make sure the system’s NAT type is open, proper ports with the exact system IP are forwarded in the router settings, and then check if the game’s DirectX problem is solved.
Reinstall the Warzone Game
Warzone may start showing the dev error 5763 if Warzone’s installation is corrupt. In this case, reinstalling (100GB+ download size) the Warzone game may solve the problem. Before proceeding, make sure to back up the essential info/data of the Warzone game.
- Launch the Battle.net client and in the games, select Warzone.
- Then, open its Options menu and click on Uninstall.
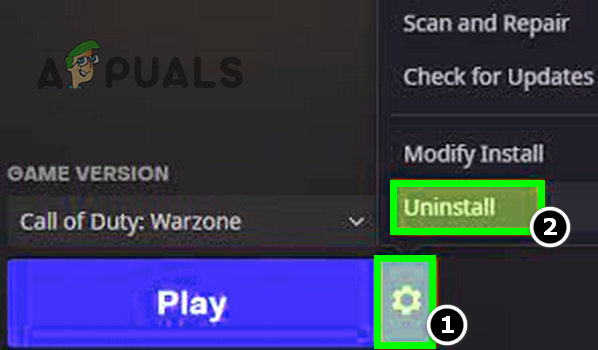
Uninstall Call of Duty Warzone - Now confirm to uninstall the Warzone game and once the uninstallation is complete, restart your system.
- Upon restart, right-click Windows and open Apps & Features.
- Now expand Warzone (if shown in the installed apps) and click on Uninstall.
- Then confirm to uninstall the COD game and follow the prompts on the screen to complete the game’s uninstallation.
- Once completed, restart your system, and upon restart, delete the leftovers of the Warzone game in the following directories:
%temp%

C:\Windows\Temp

C:\Program Files (x86)\

C:\Program Files\

C:\Program Files\Common Files\Blizzard Entertainment

C:\Users\Public\Games\

C:\Users\Public\Public Documents\Blizzard Entertainment\
- Once done, restart your system and upon restart, reinstall the COD Warzone game.
- Once installed, launch Warzone, and hopefully, Warzone will be cleared of the dev error 5763.
Revert the Overclock Settings of System to Stock Speeds
Warzone is reported to not go well with any type of overclocking speeds (either factory overclocked or by the user). As overclocking is a vast topic, we can just say, make sure the overclock settings (CPU, GPU, RAM, etc.) are set to stock speeds (in some cases, underclocking) and then check if the Warzone issue is resolved. Some users reported that removing the base overclock on the GPU worked for them, so, make sure that is not the case with you.
Check The System’s RAMs
If none of the above solved the dev error 5763, then most probably a faulty or incompatible RAM is causing the issue. Firstly, check if increasing the RAM voltage (e.g., from 1.35v to 1.39v) solves the problem. If that did not work, you may remove the RAM sticks one by one and launch the Warzone game till the problematic one is found. You can also use Windows Memory Diagnostic or Memtest to find out a failing RAM. If you have some spare RAM available (or can have from a friend or family), then check if using those RAMs solves the Warzone problem.


