How to Fix Call of Duty Warzone 2 Not Launching Issue?
Call of Duty Warzone 2 will not launch due to several reasons, insufficient permissions of the process, damaged game files, and interference of a third-party application; many factors can come into play.
Upon trying to launch the game, the game process may not even start in some cases, while in others, it will stop as soon as it attempts to start. More often than not, this can be due to the interference of a background process. However, your graphics drivers and Windows version might also contribute to the issue.
We have listed several methods below that you can implement to fix the issue.
1. Disable Third-Party Antivirus Temporarily
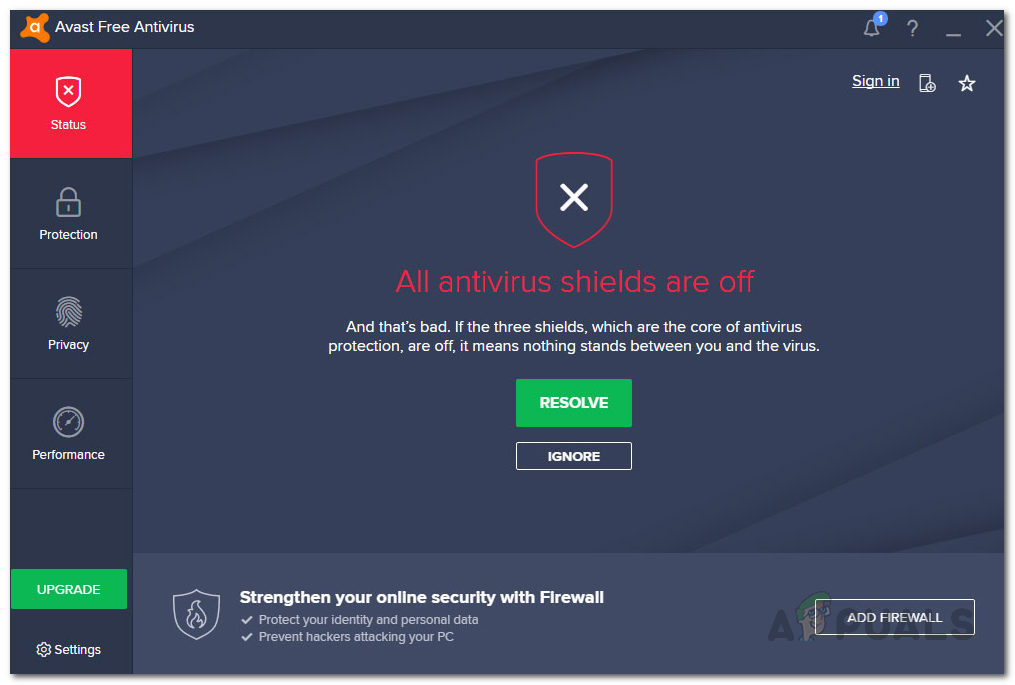
When starting to troubleshoot the problem, your first step should be disabling the security program that is installed on your computer. Having a security program on your computer has various benefits. However, sometimes the security software may interfere with other processes on your computer, which can cause them not to function correctly.
If this case applies to you, and you have a third-party security program on your computer, we recommend disabling the antivirus to see if the game launches. In case it does, you can move towards the permanent solution of whitelisting the game in your antivirus.
Doing so will allow you to keep your computer secure by running the antivirus in the background, and the security program won’t interfere with the game process either.
2. Disable VPN
A VPN client can be another possible cause of Warzone 2 not launching. This can happen when the VPN client hinders the connection the game server is trying to establish with your computer.
Tunneling your connection with a VPN can help you keep safe online as they offer real-time protection. However, it can cause issues as well with specific games. If this scenario is applicable, you can try disabling your VPN client to see if that prevents the problem from occurring.
Disabling a third-party VPN on your computer is pretty simple. Open the VPN app and stop it from connecting to its servers. However, the procedure differs when you are using a Windows VPN connection. To remove a VPN connection on Windows, follow the instructions below:
- First, open the Settings app by pressing the Windows key + I on your keyboard.
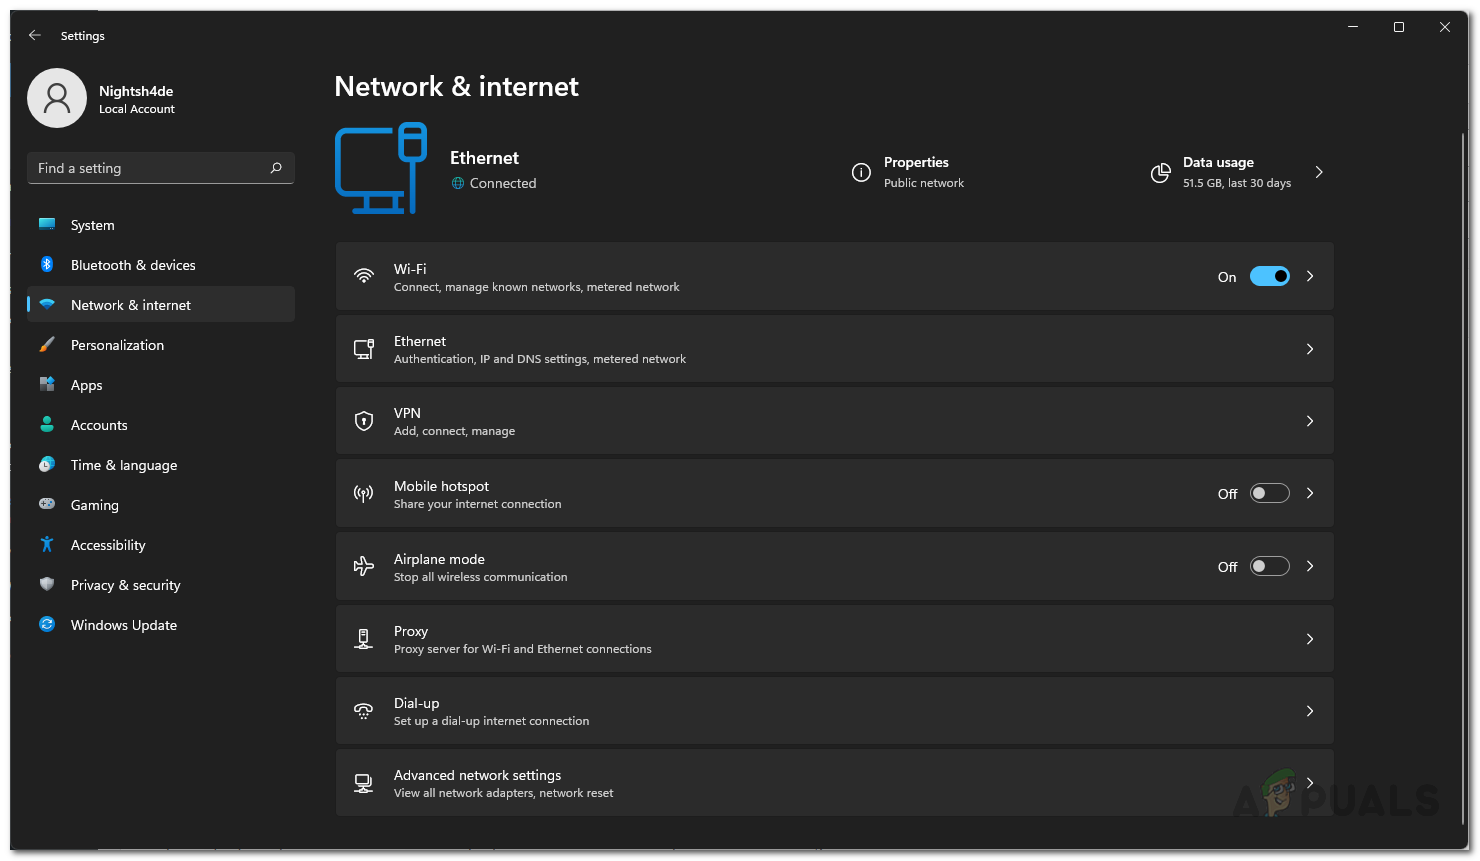
- Make your way to the Network & internet tab in the Settings app.
Windows Settings - There, navigate to the VPN section.
Network Settings - Afterward, click on the down arrow icon next to the Connect button.
- From the additional options, click the Remove button.

Removing VPN on Windows - Once you do that, launch Warzone 2 again to see if it works. If the problem persists, move down to the following method below.
3. Disable In-Game Overlays
In-game overlays are becoming common as they allow you to access an app directly from a game without having to minimize them. However, the app has to interfere with the game process to achieve this.
While this is fine in most cases, certain games might crash or not start at all. When this happens, you will have to disable the in-game overlays in an attempt to resolve the issue.
GeForce Experience and Discord are the most commonly named apps in this scenario. As such, we will take you through the process of disabling the in-game overlay of these apps. Follow the instructions below.
Discord
- Start by opening the Discord client on your computer.
- On the Discord client, click on the Settings icon next to your username.
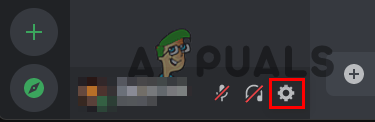
Opening Discord Settings - Then, on the Settings screen, scroll down and switch to the Game Overlay tab on the left-hand side.
- Use the Enable in-game overlay slider on the Game Overlay screen to turn it off.
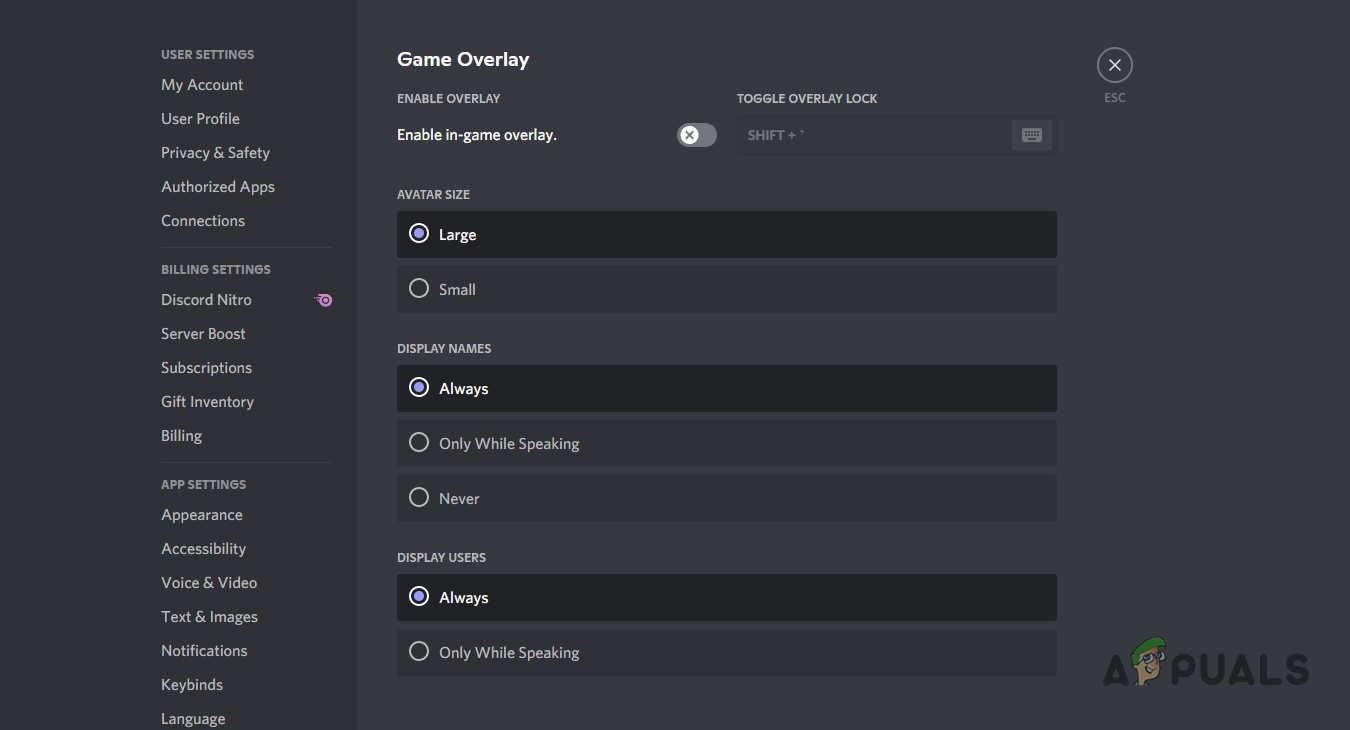
Disabling Discord Overlay
GeForce Experience
- First, go ahead and open GeForce Experience on your PC.
- In the top-right corner, click on the Settings icon.
- On the General settings screen, click on the In-game Overlay slider to disable it.
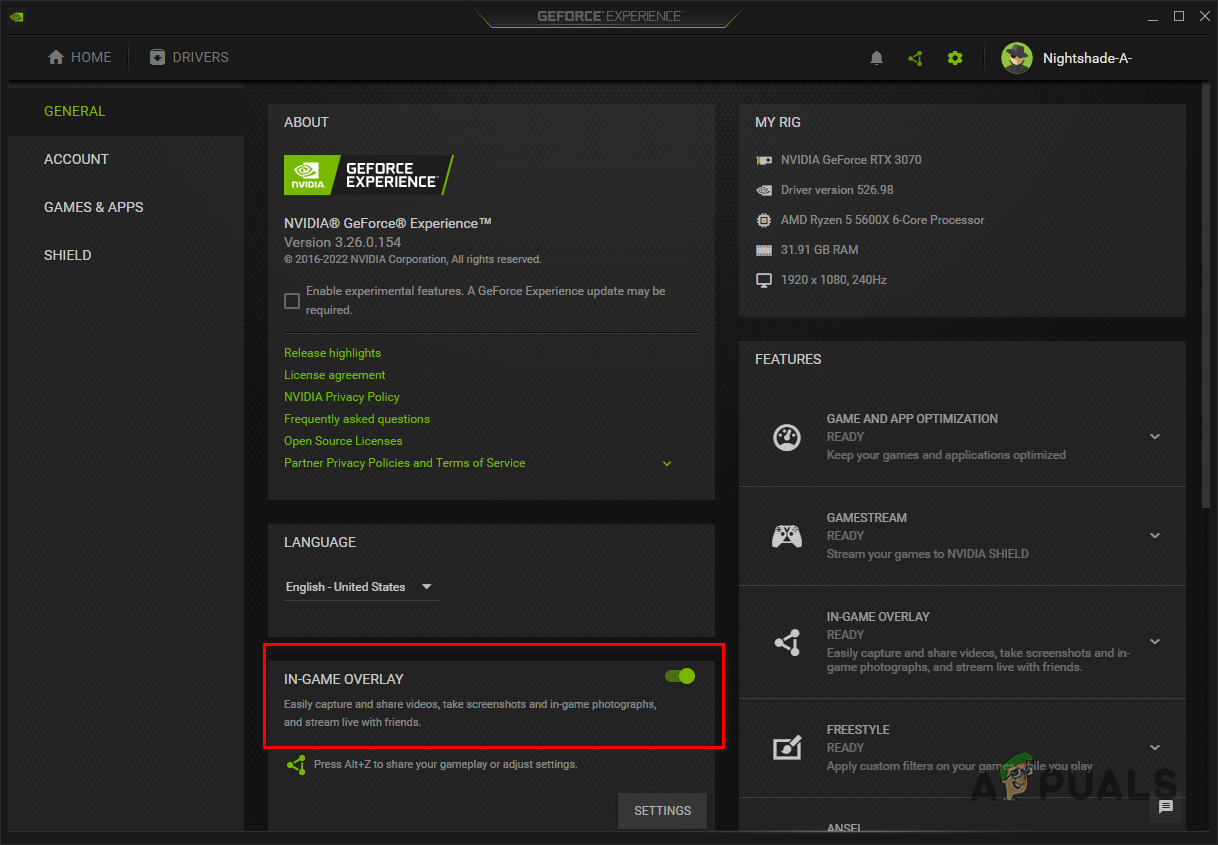
Disabling GeForce Overlay - Once you have disabled the overlays, try launching Warzone to see if the problem persists.
4. Run Steam as an Administrator
The permissions of your game process can be a factor in causing the issue as well. If the game process does not have sufficient permissions in your environment when it tries to launch, other processes may interfere and prevent it from launching.
In such a scenario, you can use the Steam client with administrative privileges. By doing this, you are allowing the subsequent processes started by Steam to have elevated permissions as well. Follow the instructions below to launch Steam with administrative rights:
- First, open the Start Menu and search for Steam.
- On the right-hand side, click on the Run as administrator option.
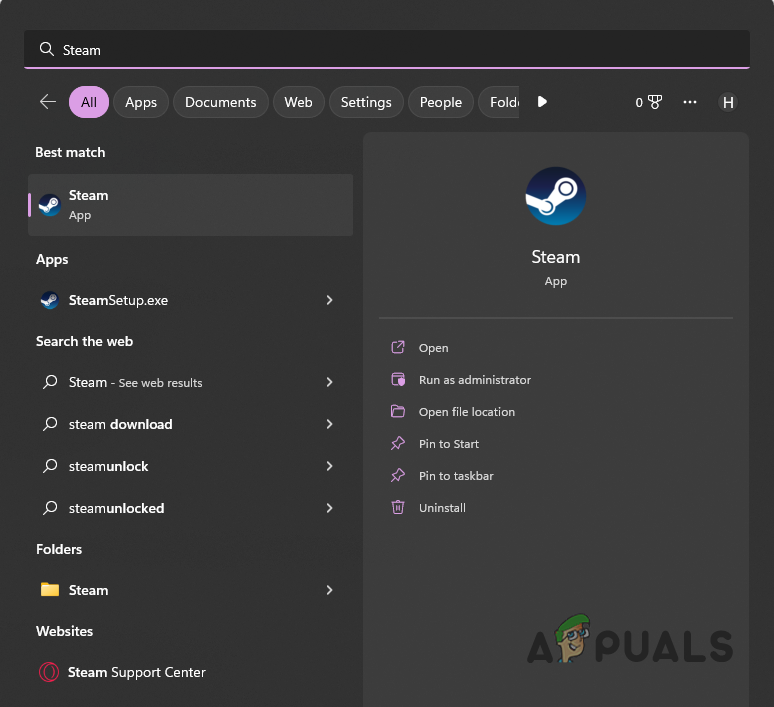
Opening Steam as Admin - Click Yes on the follow-up User Account Control dialog box.
- See if that fixes the issue.
5. Increase Shader Cache Size
Shader optimization is performed when you launch Warzone 2 with the aim of improving the game performance on your computer. In some cases, when the shader cache size is smaller than required, it can prevent the game from launching.
In such a scenario, you can increase the shader cache size via the NVIDIA Control Panel. The shader cache size essentially controls the maximum amount of disk space the graphics drivers are allowed to use to store compiled shaders. Follow the instructions below to increase the shader cache size:
- First, open the NVIDIA Control Panel. You can do this by searching for it in the Start Menu.
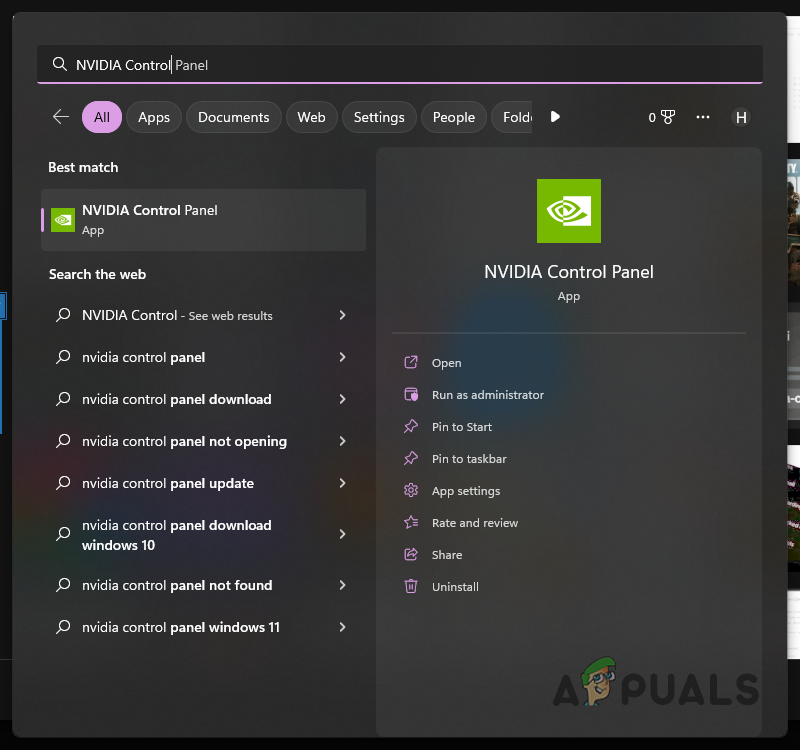
Opening NVIDIA Control Panel - In the NVIDIA Control Panel window, under 3D Settings, go to Manage 3D Settings.
- There, under Global Settings, scroll down and locate Shader Cache Size.
- Increase the Shader Cache Size from its default value. We recommend increasing it to 100 GB.
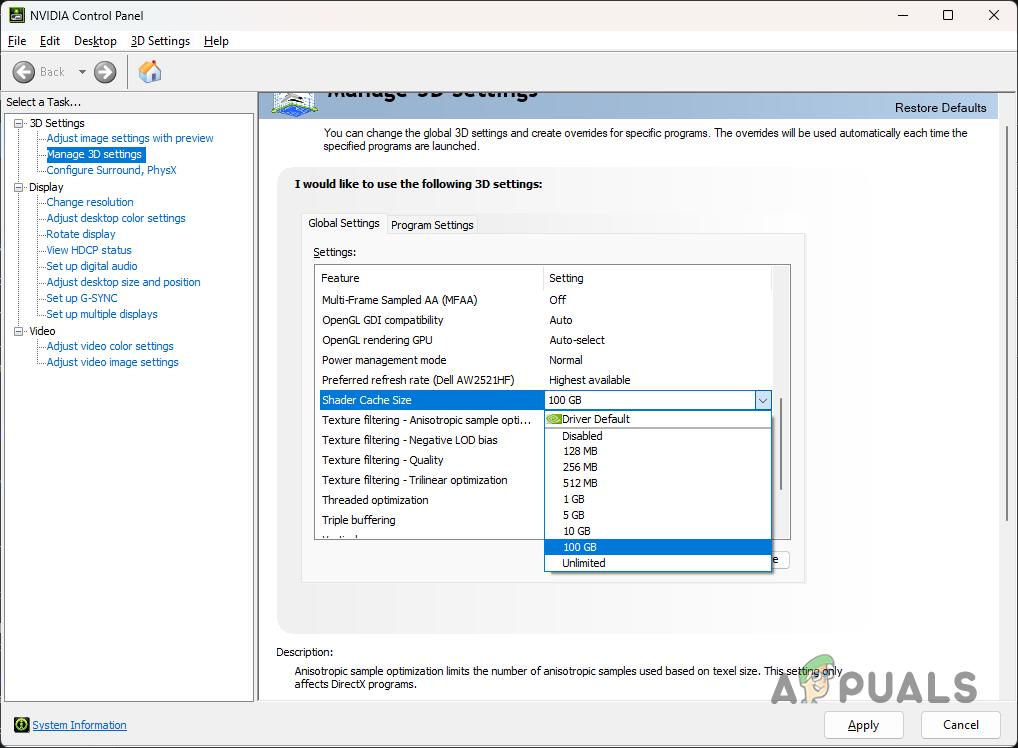
Increasing Shader Cache Size - Once you do that, click the Apply button. See if Warzone 2 launches now.
6. Update Windows
Updating your Windows is vital as the updates contain security patches, new features, and more. In some scenarios, specific games will require you to have a particular version of Windows installed to play the game.
If you are running an older version, it is very likely that the game may fail to launch. As such, you should update your Windows to see if that fixes the problem for you. Follow the instructions down below to do this:
- First, open the Settings app by pressing the Windows key + I on your keyboard.
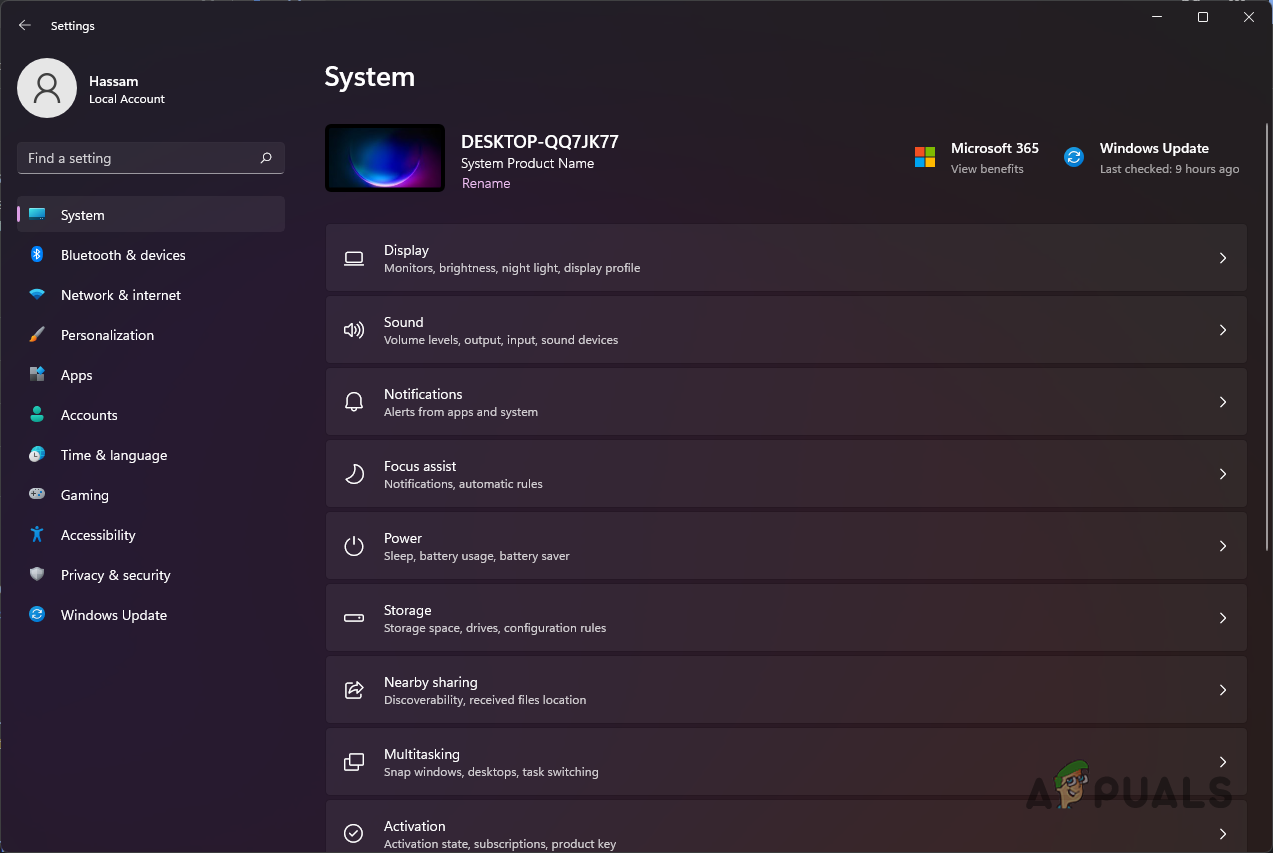
- On the Settings app, navigate to Windows Update.
Windows Settings - There, click on the Check for updates button to download and install any available updates.
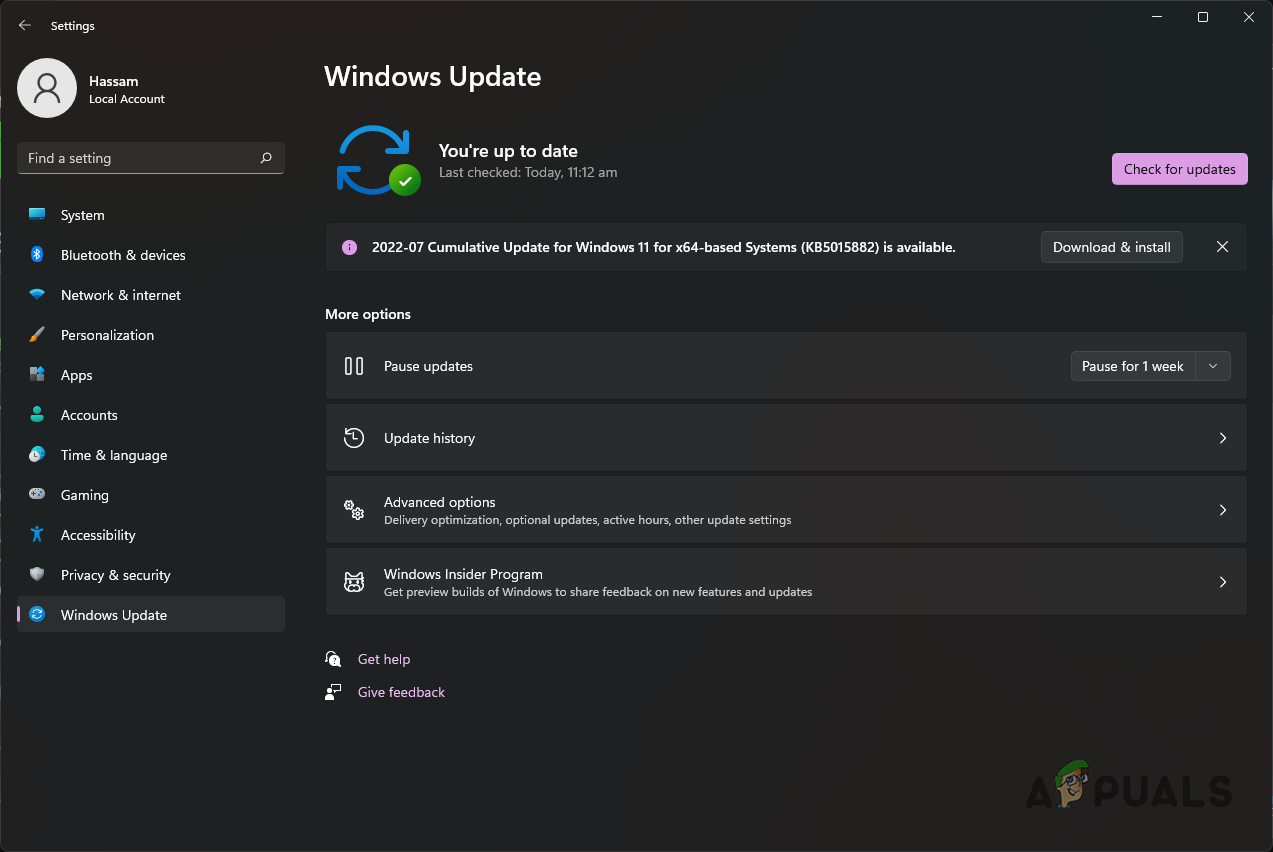
Updating Windows - Once your computer is done installing the updates, try to launch Warzone 2 to see if it works.
7. Reinstall Graphics Drivers
Games rely heavily on the graphics card installed on your motherboard. The graphics drivers on your computer are used to communicate with the graphics card. However, when these drivers are either not up to date or damaged due to a recent Windows update, you will face issues with various applications, especially games.
In such a scenario, you will have to reinstall the graphics drivers on your computer. This will remove any damage to the drivers and update your graphics drivers. You can use a third-party tool called Display Driver Uninstaller (DDU) to uninstall the graphics drivers. The tool uninstalls your video drivers without leaving any traces behind. Follow the instructions below to do this:
- Start by downloading the latest version of DDU from the official website here.
- Extract the downloaded file to any desired location and then navigate to it.
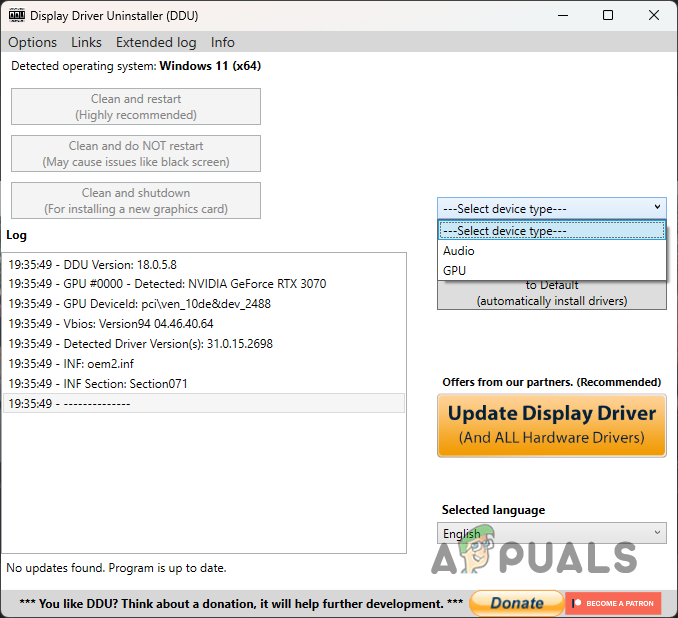
- Inside the extracted directory, open the Display Driver Uninstaller.exe file.
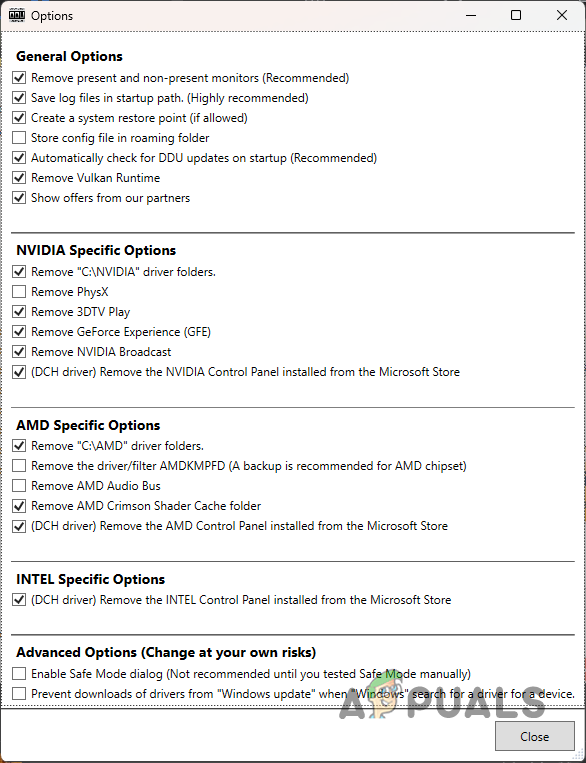
- On startup, you will be shown a General Options window. You can go through the various options available, but you are not necessarily required to enable any additional option.
DDU General Options - Then, on the DDU window, choose GPU from the Select device type drop-down menu.
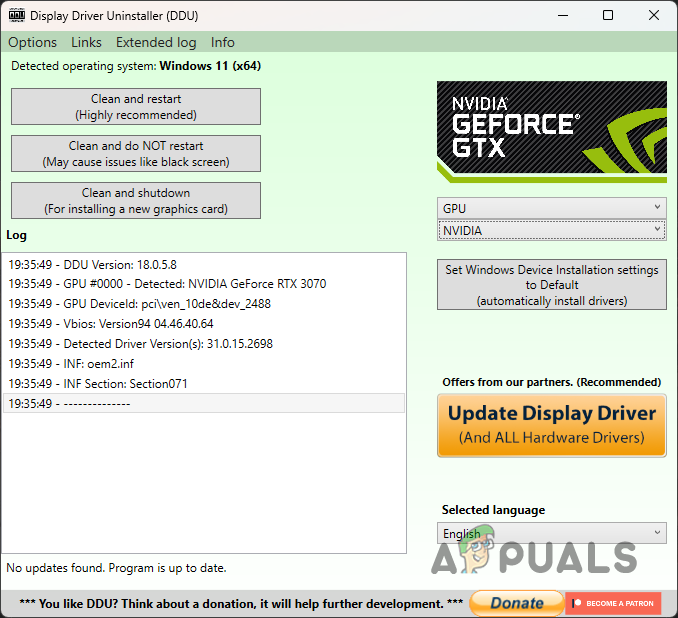
Choosing Device Type on DDU - Afterward, choose your manufacturer from the drop-down menu underneath.
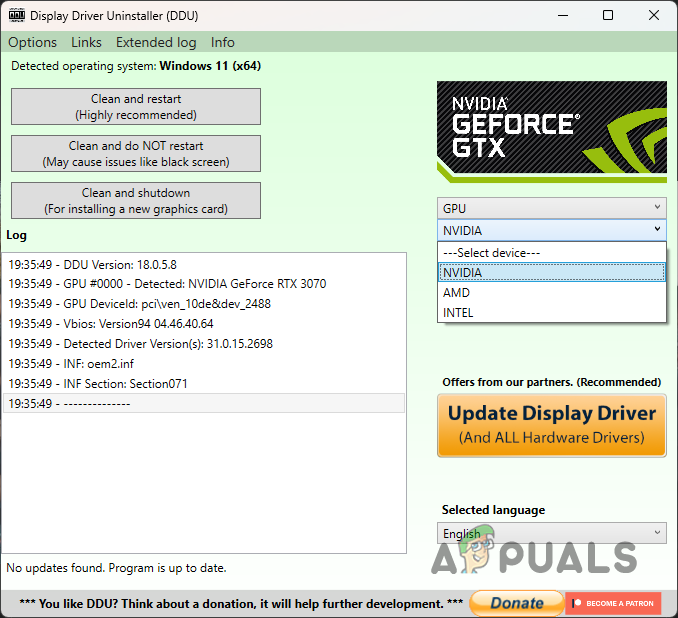
Choosing GPU Manufacturer - Finally, click the Clean and restart button to uninstall your graphics drivers.
Uninstalling Graphics Drivers on Windows - After uninstalling the drivers, head to your manufacturer’s website and download the latest drivers available.
- Install the drivers and then see if the issue occurs.
If you started experiencing the issue recently and the game worked before, it might be due to a recent automatic update of your graphics drivers. In such a scenario, we recommend downloading an older version of your graphics drivers from the manufacturer’s website after uninstalling them. See if that helps you.
8. Repair Game Files
Another possible cause of the problem can be your damaged or corrupted game files. In some scenarios, you might even be missing specific game files, due to which the game fails to launch correctly.
Such an issue can be quickly resolved by simply repairing the game files. You can do so on both Steam and Battle.net. Follow the instructions for your respective client to do this.
Steam
- Open the Steam client on your computer and navigate to your Library.
- There, right-click on Call of Duty Warzone 2 and choose Properties from the drop-down menu.
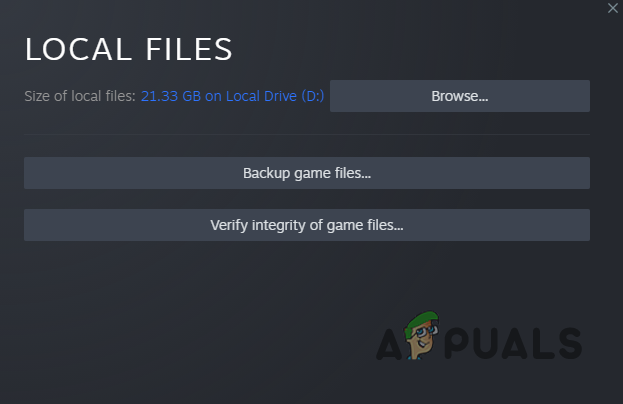
- On the Properties window, switch to the Local Files tab.

Navigating to the Local Files tab - There, select the Verify integrity of game files button.
Verifying Integrity of Warzone 2 Files - Wait for the scan to complete.
Battle.net
- First, open the Battle.net client on your PC.
- Once the Battle.net client is open, click on Call of Duty Warzone 2.
- There, click on the gear icon next to the Play button.
- Then, select the Scan and Repair option from the menu that appears.
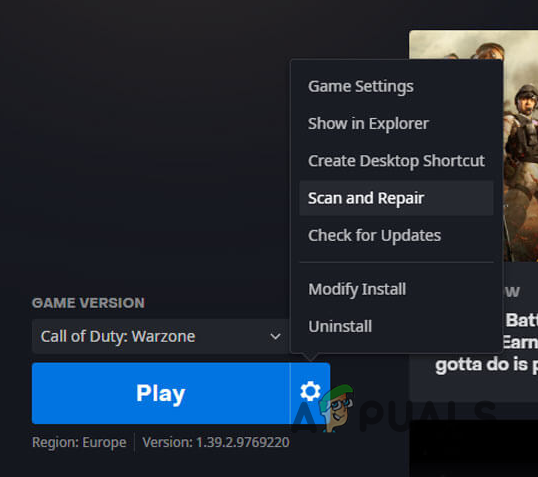
Repairing Warzone 2 on Battle.net - Wait for the process to finish. After that, see if the game works now.
9. Enable AVX in BIOS (if applicable)
Vector processors follow a different model than your typical CPU architecture. It is really helpful in computing-intensive workloads. AVX is an extension of this architecture that your processor uses.
To play Warzone 2, you need to have AVX enabled in your BIOS configuration. Often, users disable AVX for overclocking and other purposes, leading to the problem mentioned.
To enable AVX, you need to first figure out if your CPU supports it. This can be done quickly via the CPU-Z utility. Alternatively, you can also use other third-party utilities like HWiNFO. To know if your CPU supports AVX, follow the instructions below:
- First, download and install the CPU-Z utility on your computer from their official website here.
- Once you have installed the utility, go ahead and run it.
- On the CPU tab, look at the Instructions block.
- If your CPU supports AVX, it will be mentioned there. If you find AVX, it means your CPU does support it.
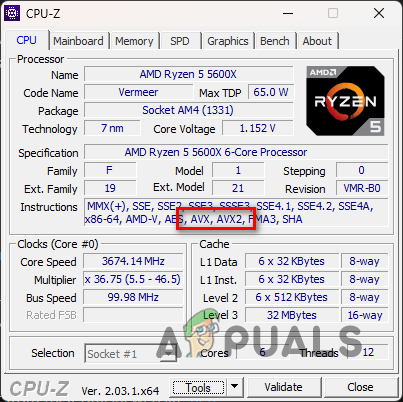
Checking AVX Compatibility - In such a scenario, go ahead and restart your computer and boot into BIOS. Look for the AVX setting and enable it.
- Once you do that, see if the problem goes away.
10. Perform a Clean Boot
Finally, if none of the above methods has resolved the problem for you, it is very likely that a third-party program is preventing the game from starting up.
You can verify your suspicion by performing a clean boot in such a scenario. A clean boot starts your computer with only the required Windows services running in the background.
You can try running the game in clean boot to see if it launches. If it works in a clean boot, it will be evident that a third-party program causes the issue. Thus, you can start enabling the services again one by one to find out the culprit. Follow the instructions below to perform a clean boot:
- First, open the Run dialog box by pressing the Windows key + R on your keyboard.
- In the Run dialog box, type in msconfig and hit Enter.
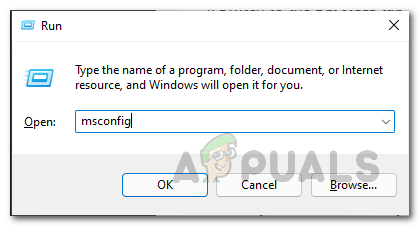
Opening Windows System Configuration - This will bring up the System Configuration window.
- Switch to the Services tab and tick the Hide all Microsoft services checkbox.
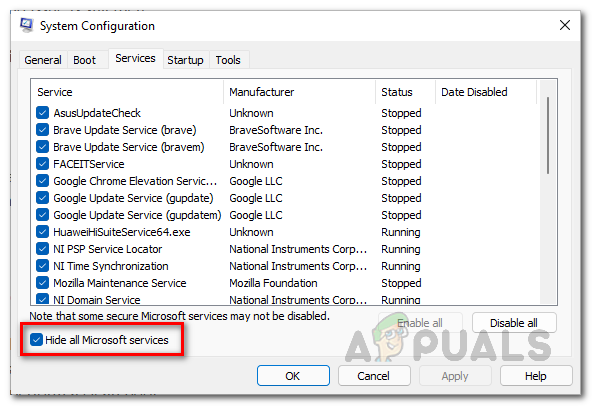
Hiding Microsoft Services - After that, click the Disable all button and follow it up by clicking Apply.
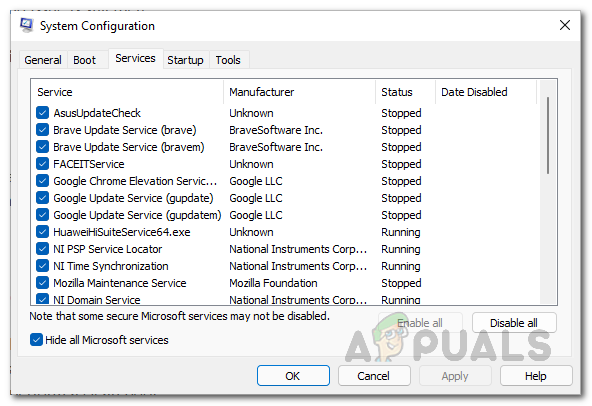
Disabling Third-Party Services - Then, switch to the Startup tab and click on the Open Task Manager option.
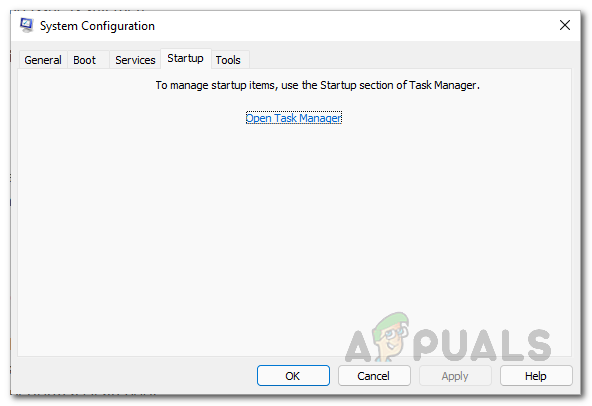
System Configuration Startup tab - On the Task Manager window, select each app one by one and click the Disable option to prevent it from running on startup.

Disabling Third-Party Apps on Startup - With that done, restart your computer. Your computer should now perform a clean boot. See if a clean boot fixes Warzone 2 not launching issue.


