VPN Not Working on Windows 11? Try these fixes
After upgrading to Windows 11, multiple users have been experiencing issues while trying to connect to their VPN. As it turns out, the problem seems to surface only after the user has upgraded to the newest edition of Windows. This can be caused by different factors which include some third-party applications interfering with the VPN client or when the client is being blocked by the Windows Firewall. Regardless of the cause of the problem, in this article, we are going to show you how you can get rid of the issue and start using your VPN again so just follow through.
As it turns out, many users initially reported that they were unable to connect to NordVPN after upgrading to Windows 11 which was later resolved by the dev team pushing out software updates. However, in addition to that, the issue does not seem to be related to NordVPN any longer as users using different VPN services have been experiencing issues while using a VPN client. Like we have mentioned already, this problem is often related to some interference that is being caused by a random third-party application on your computer. It has been reported by multiple users that the problem was essentially caused for them by the presence of third-party apps such as Killer Wireless Suite for the killer WiFi cards and more.
In addition to that, when your VPN client is not allowed to send out requests from your PC, it will not be able to establish a connection. This is often caused when the Windows Defender Firewall blocks it. In such a scenario, you will have to simply whitelist the application. With that said, let us get started and show you the different methods that you can use to resolve the problem at hand. So, without further ado, let us jump right into it.
Reinstall VPN
As it turns out, the first thing that you should do when you encounter the problem in question is to reinstall the VPN client on your computer. As it happens, when you upgrade your operating system, it is possible that the VPN client files may have been damaged due to which it isn’t able to function properly. In addition to that, the configuration of the client can also cause it to not work properly especially after you upgrade your system.
Therefore, go ahead and try reinstalling the VPN application that you use as a first attempt in order to resolve the issue. In case that doesn’t fix the problem for you, do not worry as we have plenty more, simply move on to the next method one down below.
Reinstall WAN Miniports
Windows has a number of drivers in order to communicate with the hardware on your system. WAN Miniports are essentially drivers that are used for different types of network connections. Among these, the WAN Miniport (IP), WAN Miniport (PPTP) and WAN Miniport (IPv6) are used when it comes down to VPN connections.
Therefore, if there is an issue with either of these drivers, the VPN client will obviously not be able to connect. In such a scenario, you will have to simply reinstall the said drivers to circumvent the problem. To do this, follow the instructions given down below:
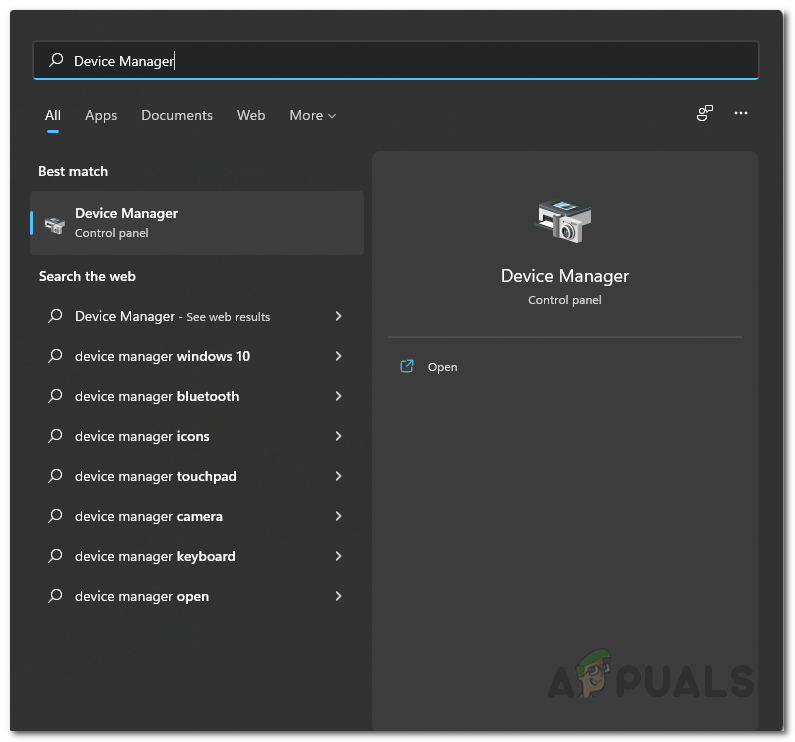
- First of all, open up the Device Manager by searching for it in the Start Menu.
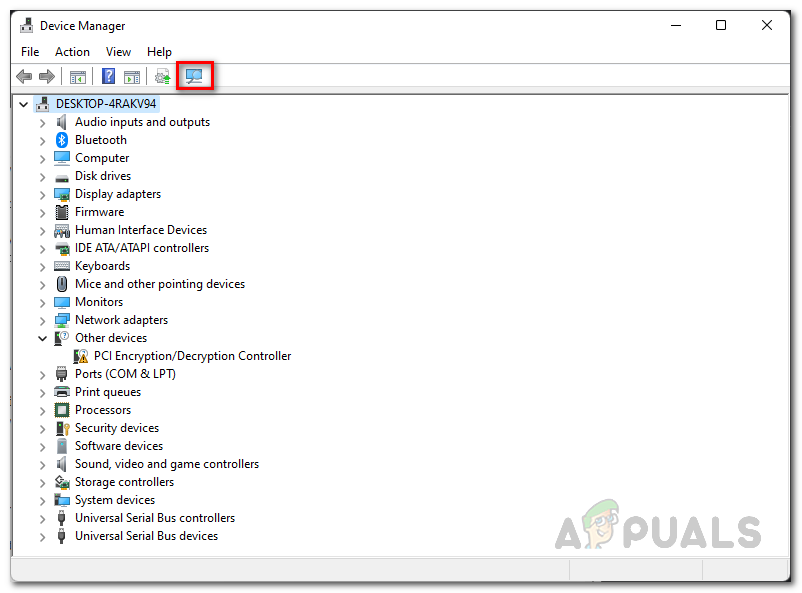
Opening up Device Manager - On the Device Manager window, expand the Network adapters list.

Device Manager - From the list, right click on WAN Miniport (IP), WAN Miniport (PPTP) and WAN Miniport (IPv6) one by one and from the drop down menu, choose Uninstall device.
- Once you have done that, at the top, click on the Actions drop down menu and then click on the Scan for hardware changes option. Alternatively, you can also click the provided icon as shown in the picture.
Scanning for Hardware Changes - With that, the drivers should now be reinstalled.
- After doing that, open up the VPN client again to see if the problem persists.
Allow VPN through Windows Firewall
Another possible reason that the VPN client may not be able to establish a connection can be the Windows Defender Firewall blocking the outgoing requests. As it turns out, Windows Defender Firewall is essentially responsible for controlling the inbound and outgoing requests of your computer. Therefore, if an app is being blocked by the Windows Firewall, it won’t be able to establish a connection with the outside world.
In such a scenario, what you can do is simply whitelist the application so that it is able to send and receive requests freely. To do this, follow the instructions that are given down below:
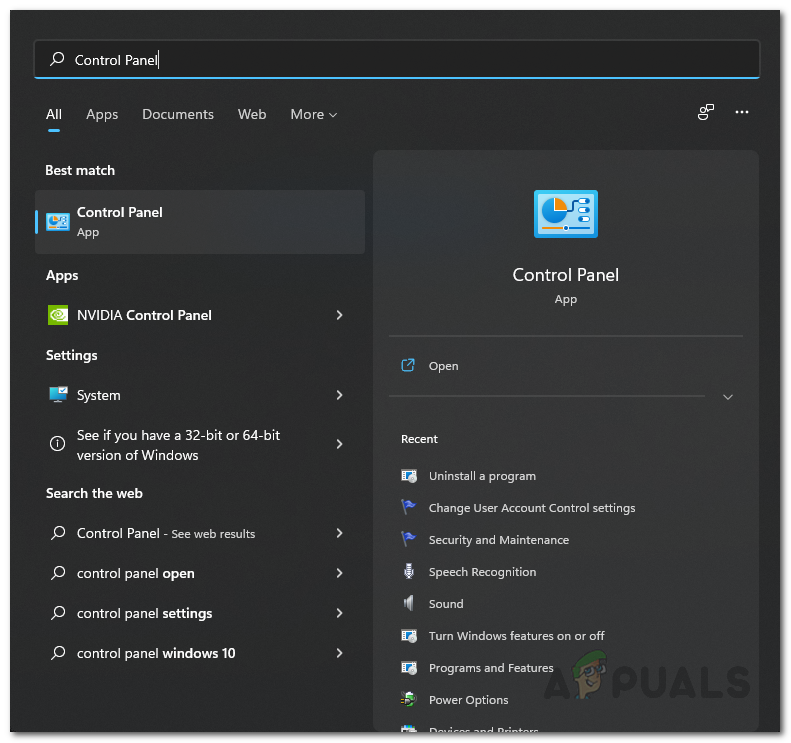
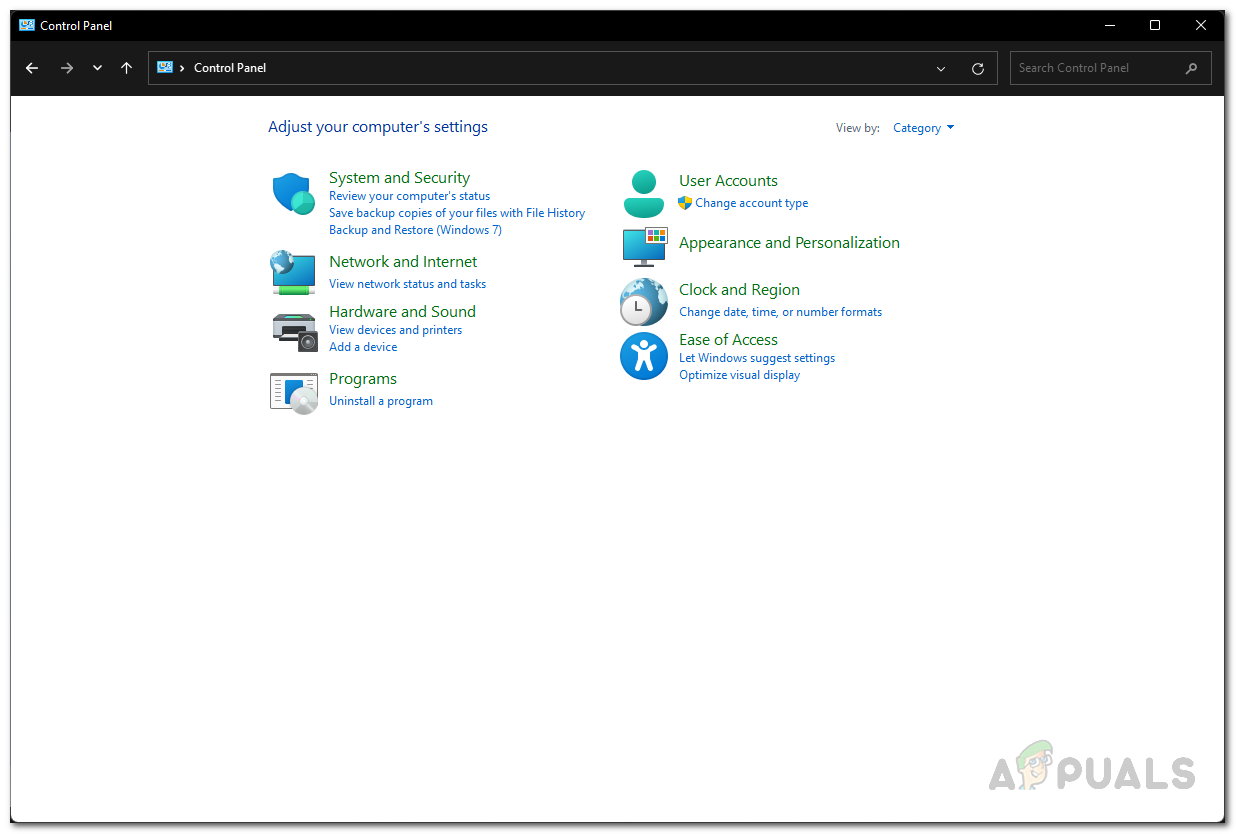
- First of all, open up the Control Panel by searching for it in the Start Menu.
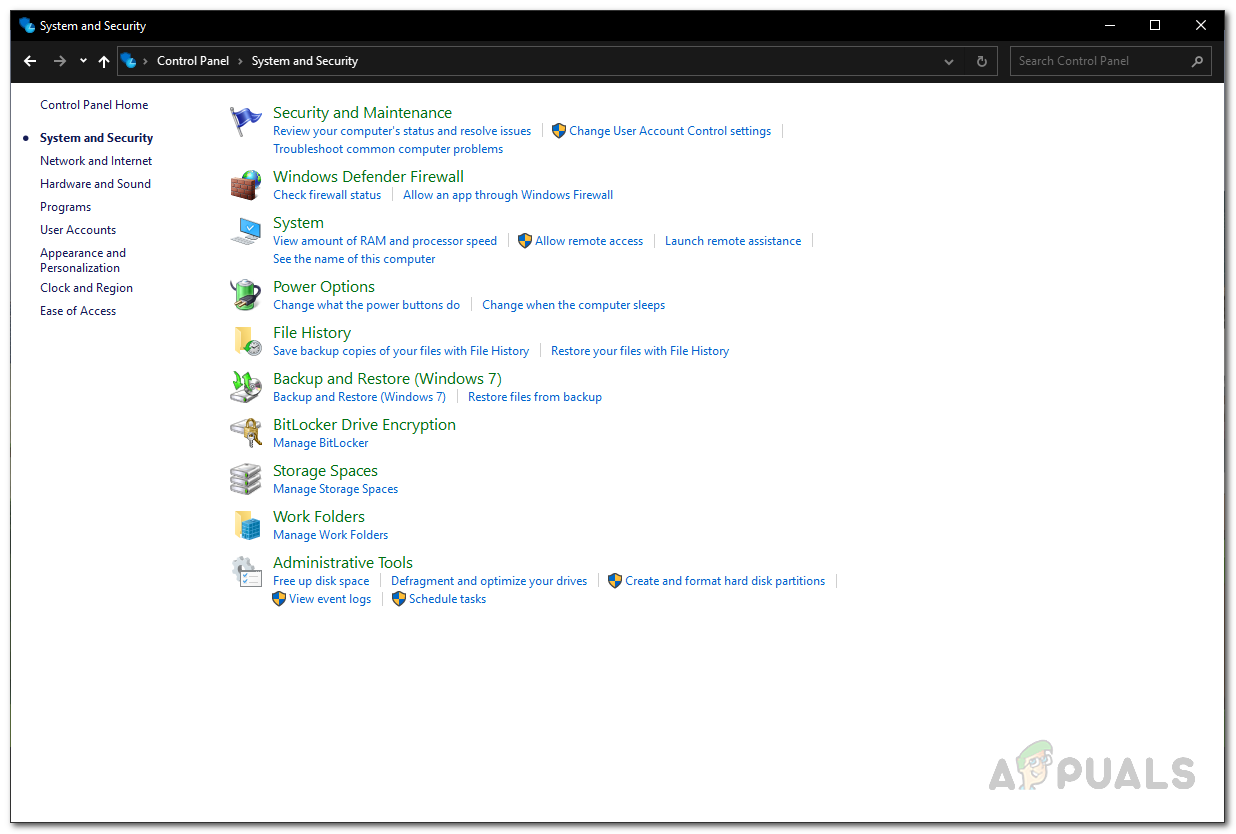
Opening up Control Panel - On the Control Panel window, go to System and Security.
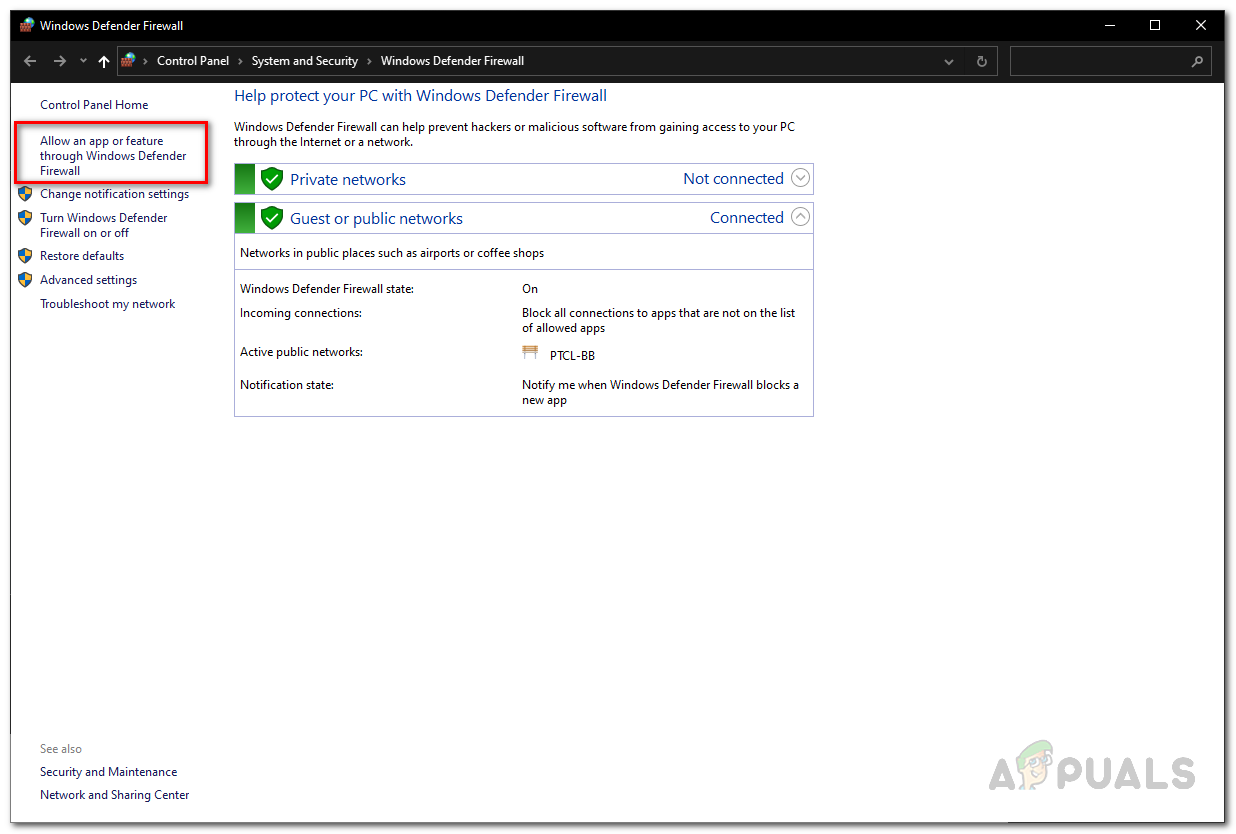
Control Panel - There, click on the Windows Defender Firewall option.
Control Panel System and Security - Then, on the left hand side, click on the Allow an app or feature through Windows Defender Firewall option.
Windows Firewall Settings - Once you are there, click on the Allow another app button provided. If it is grayed out, click on the Change settings button at the top and then click on Allow another app.
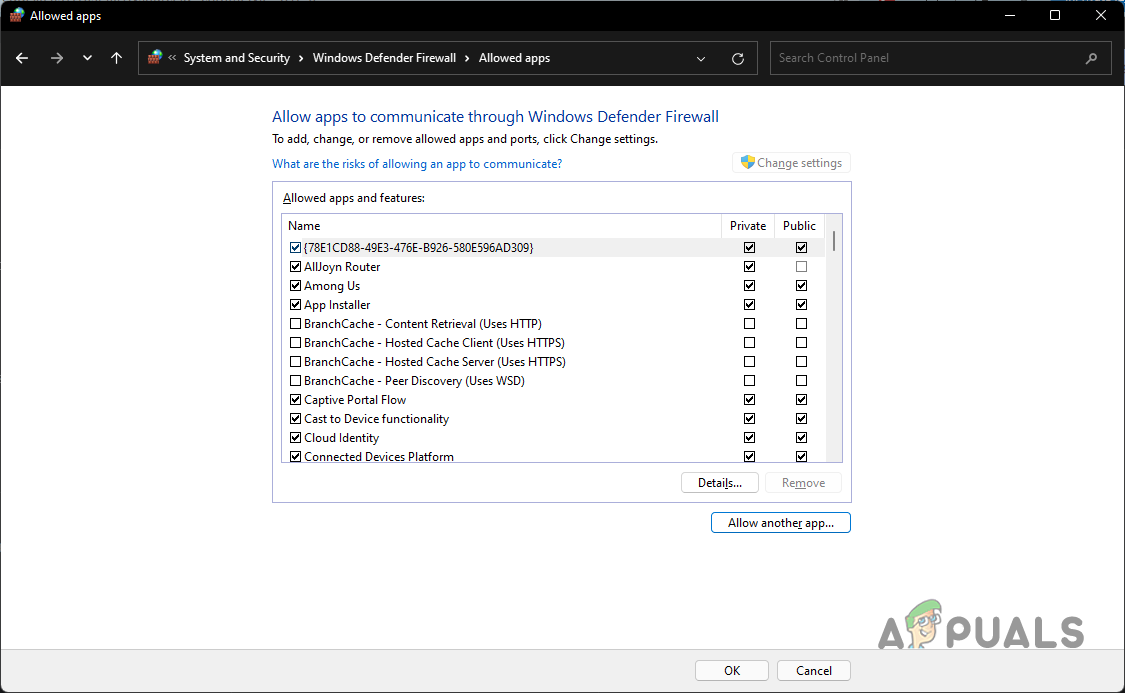
Allowing Another App through Firewall - Browse to the installation directory of the VPN app and open the .exe file.
- After that, tick the Private and Public checkbox in front of it.
- Once you have done that, click on the OK button.
- Finally, try to open up the VPN client again to see if the problem is still there.
Perform a Clean Boot
Finally, if the above methods do not solve the problem for you, then the issue is probably being caused by a third party application that is present on your system. As it turns out, in some cases, the third party applications that are running in the background can interfere with the VPN which prevents it from working properly. There have been multiple reports of third party software causing the said issue from different users.
In such a scenario, what you can do is perform a clean boot. A clean boot essentially allows you to start your operating with only the Microsoft services in the background. This means that the third party applications are blocked from starting up on startup. If the VPN client works properly in a clean boot, it will be evident that the issue is being caused by a third party app on your PC. In such a case, you can try to turn on the services one by one to figure out which app is causing the issue. Follow the instructions given down below to perform a clean boot:
- To start off, open up the Run dialog box by pressing Windows key + R on your keyboard.
- In the Run dialog box, type in msconfig and then press the Enter key.

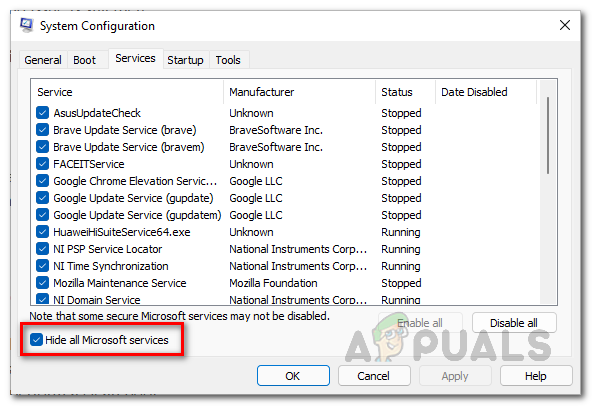
Opening up System Configuration - The System Configuration window will be brought up. There, switch to the Services tab.
- After that, click on the Hide all Microsoft services checkbox.
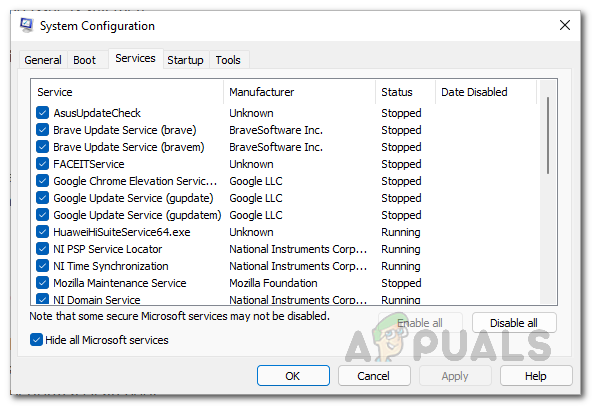
Hiding Microsoft Services - Follow that up by clicking the Disable all button and then click the Apply button.
Disabling Third-Party Services - Once you have done that, switch to the Startup tab and click on the Open Task Manager option.
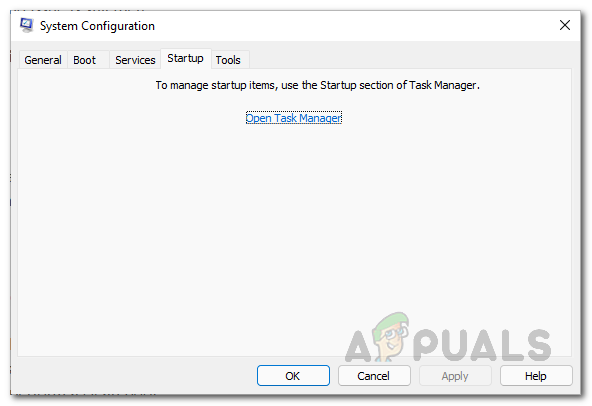
System Configuration Startup Tab - On the Task Manager window, select the apps one by one and click the Disable button.

Disabling Apps on Startup - After that, restart your computer.
- Once your PC boots up, open up the VPN client to see if the problem is still there.


I also discovered that if I unchecked the Shrew Soft Lightweight Filter in the Network properties that allowed me to connect to my VPN as well.