NordVPN not Working on Windows 11? Try these fixes
Fix: 'Failed to reach NordLynx adapter' error on Windows 11
Some users have been experiencing an issue with NordVPN on their Windows 11 computers. Most of them have been experiencing the “Failed to reach NordLynx adapter” error message while trying to connect to a server. The error message usually appears due to compatibility issues with the new operating system. A lot of users initially started facing this issue in the Insiders Preview and due to that, there are quite a few methods available that can actually help you resolve the problem. The problem was addressed by the developer team as well and with the official launch of Windows 11, there are still some users who are encountering the problem. In this article, we will be showing you how to resolve the mentioned problem quite easily so just follow along.

As it turns out, the problem occurs because NordVPN is not able to reach the NordLynx adapter. NordLynx is essentially a new VPN protocol that improves the time it takes to connect to a server, making it really faster and also helps in improving the overall connection speeds. In addition to that, it also keeps the users activity online private which is always a plus point. If you have recently upgraded to Windows 11 and are facing an issue with your NordVPN, you certainly are not alone. Fortunately, there are a number of different fixes available that have actually fixed the problem so several other users who were facing the error message in question. With that said, let us get started and show you just that, so without further ado let us jump right into it.
Run NordVPN in Compatibility Mode
Like we have mentioned above, the reason you are encountering the mentioned problem is mainly due to compatibility issues. This happens when the Windows 11 build that you are on is not compatible with the NordVPN application that you have installed on your computer. In such a scenario, what you can do is run the application in compatibility mode. This allows you to run an application like it would run on an older version of Windows, thus, removing any compatibility problems that may be causing the issue. To do this, follow the instructions that are given down below:
- First of all, navigate to where NordVPN is installed.
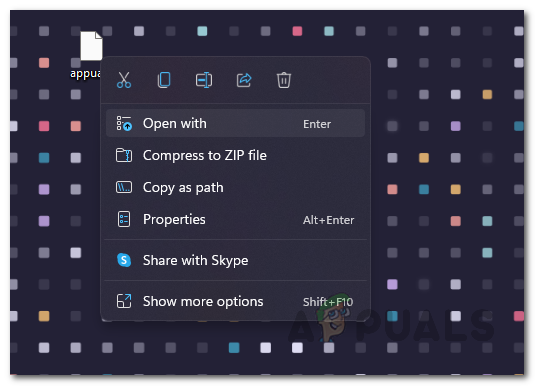
- Right-click on the application and from the drop-down menu, choose Properties.
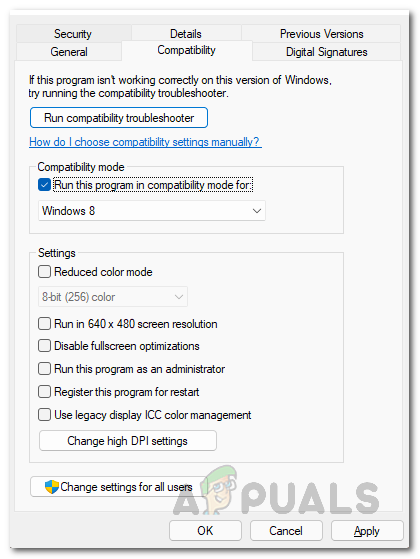
Navigating to Open With - On the Properties window, switch to the Compatibility tab.
- Now, on the Compatibility tab, click the Run this program in compatibility mode for checkbox.
Enabling Compatibility Mode - After that, from the drop-down menu, choose a previous Windows version. As per user reports, using Windows 7 seems to have fixed the issue for several people.
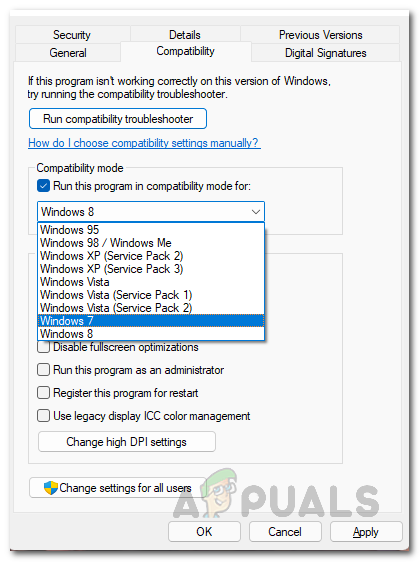
Choosing Windows Version for Compatibility Mode - Once you have done that, click Apply and then hit OK.
- After that, go ahead and run the application and check if the problem still appears.
Change VPN Protocol Settings
As it turns out, another way that you can resolve the issue in question is to change the connection protocol of NordVPN. This has been reported by the NordVPN support team as well so this is very likely to fix the problem for you. The VPN protocol settings can be changed in the NordVPN Settings. In addition to that, we will also be disabling the auto-connect feature that stops it from choosing a VPN protocol and server automatically. By doing this, it will be forced to use the connection protocol that we choose. To do this, follow the instructions given down below:
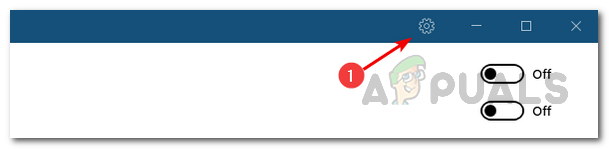
- First of all, go ahead and click the gear icon on the top right corner of the application to open up the Settings screen.
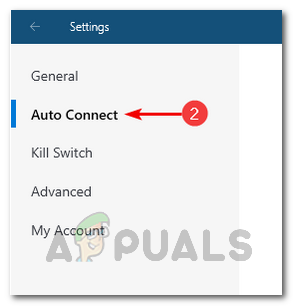
Opening up NordVPN Settings - Then, on the left hand side, switch to the Auto Connect tab.
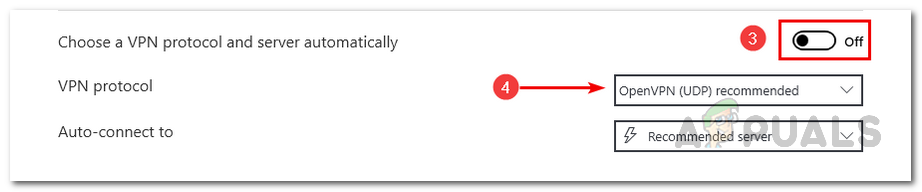
Navigating to Auto Connect Settings - There, first, go ahead and disable the Choose a VPN protocol and server automatically option by clicking the slider provided next to it.
- After you have done that, next to the VPN Protocol option, from the drop down menu, choose the OpenVPN (TCP) option.
Changing NordVPN Protocol Settings - Once you have done that, go ahead and try to connect to a server to see if the problem still occurs.
Reinstall NordVPN TUN Drivers
NordLynx is a new technology that offers better speeds, improved connections and privacy when you are connected to a server. In addition to the above two methods, another way of fixing the problem in question would be to reinstall the drivers associated with the NordVPN Tunnel. A VPN tunnel is basically used to protect your online activity and data from other prying eyes that includes your ISP or any other third-party. When you are connected to a NordVPN server, your connection goes through a secure and encrypted tunnel which as a result protects your activity. This is referred to as the NordVPN Tunnel or a VPN Tunnel in general. To reinstall the drivers for this on your computer, follow the instructions given down below:
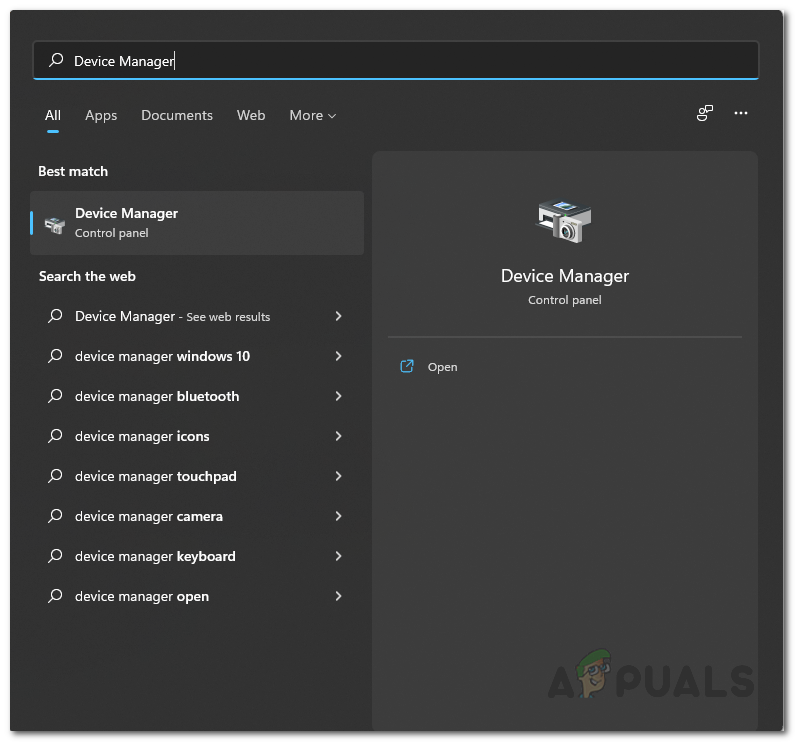
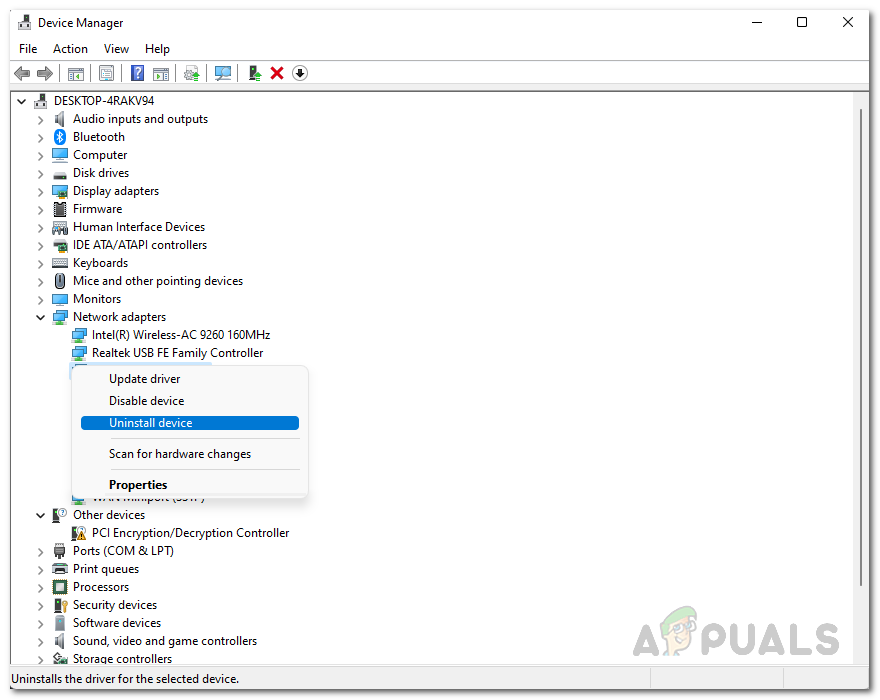
- First of all, go ahead and open up the Device Manager by searching for it in the Start Menu.
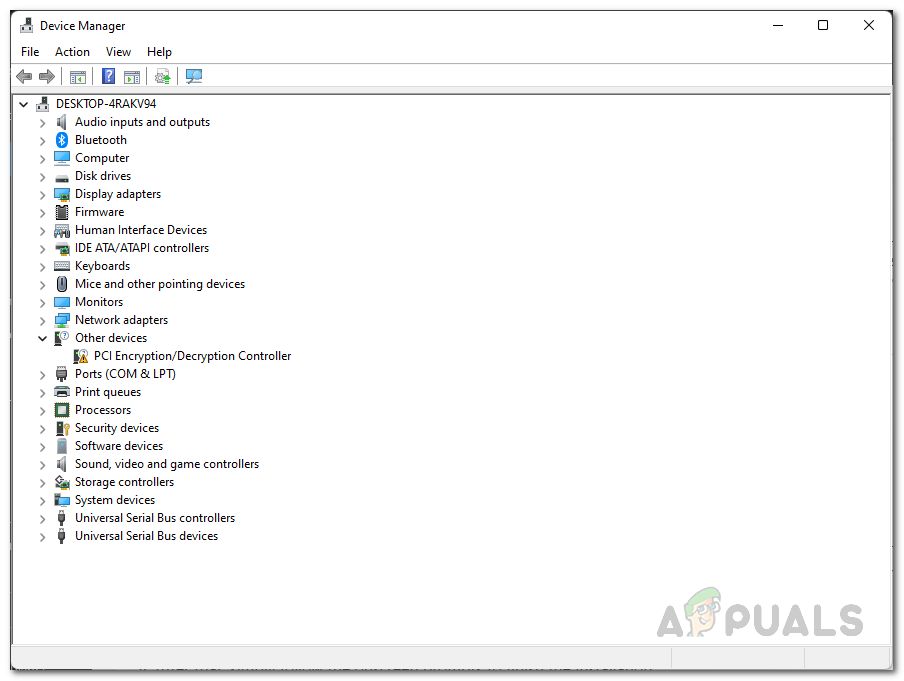
Opening up the Device Manager - Once you have opened it up, expand the Network adapters list.
Device Manager - From the list of drivers, right-click on NordLynx Tunnel and choose the Uninstall device option.
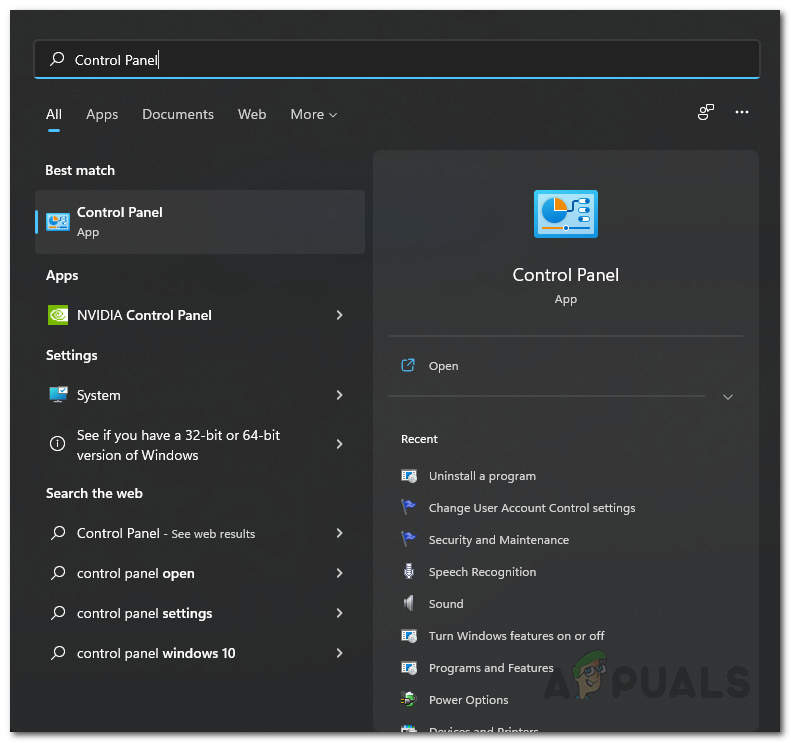
Uninstalling Driver - After you have uninstalled the driver, open up the Start Menu and search for the Control Panel. Open it up.
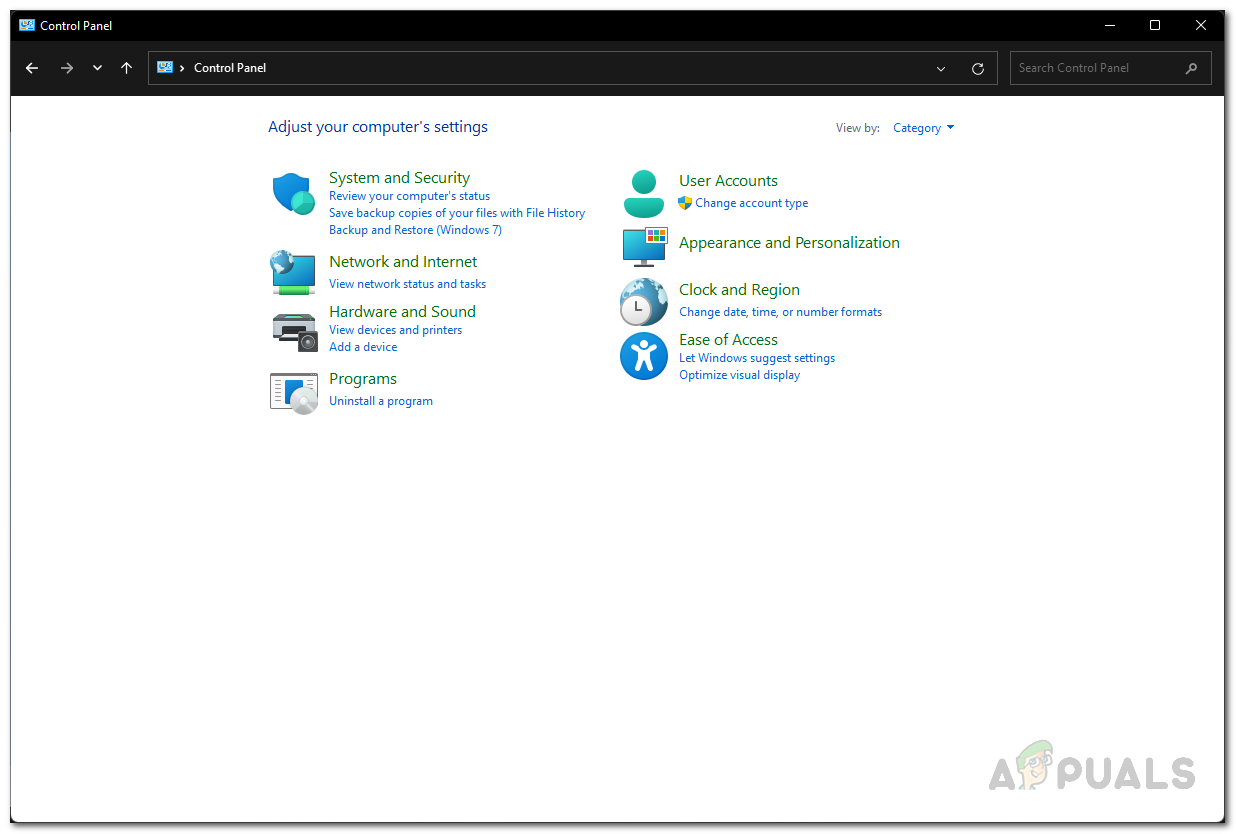
Opening up the Control Panel - On the Control Panel window, click on the Uninstall a program option under Programs.
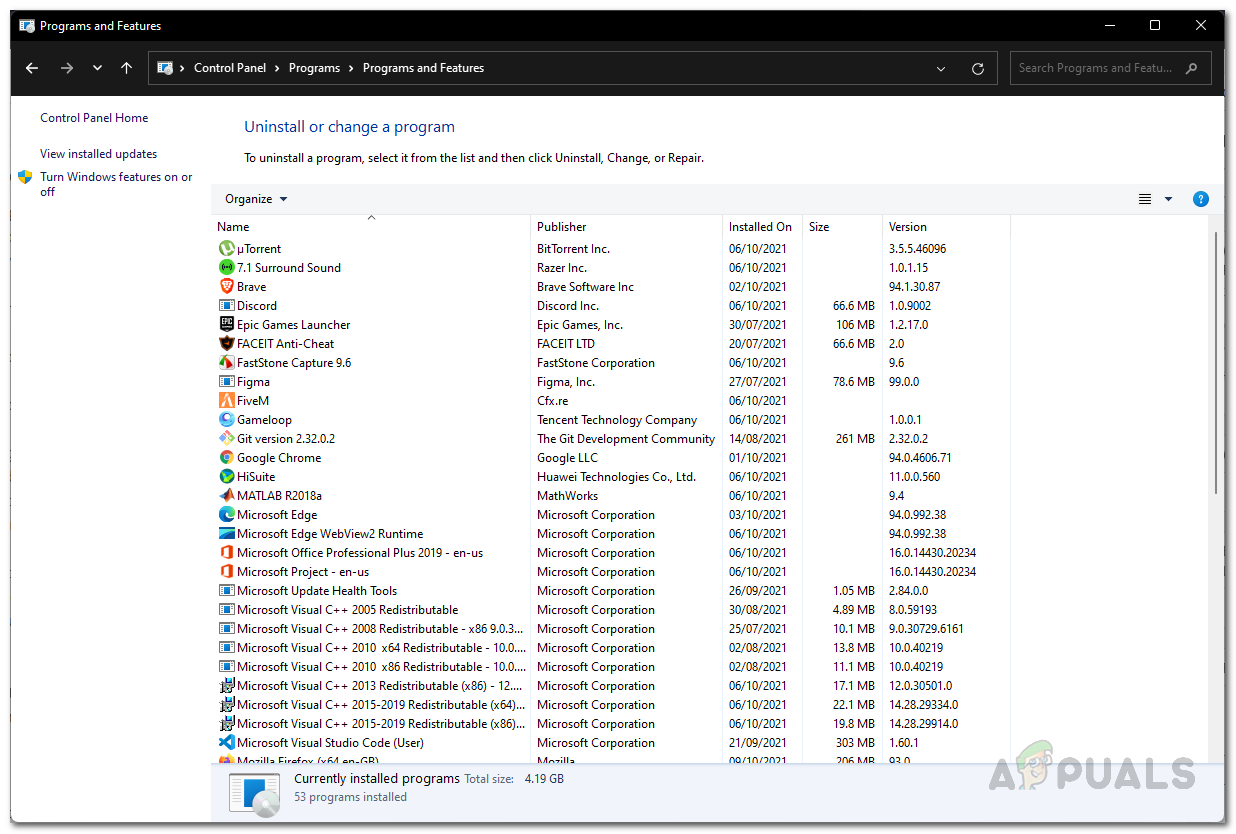
Control Panel - From the list of applications installed on your computer, locate NordVPN Network TUN. Double-click on it to uninstall it.
Looking for NordVPN - After doing that, go ahead and restart your computer.
- Once your PC boots up, download the NordVPN TUN drivers by clicking here.
- Go ahead and run the setup to install them.
- Once you have done that, try to connect to a server to see if the issue is still there.
Reinstall Network Drivers
As it turns out, one user reported that they managed to fix the issue after reinstalling their network drivers. This includes all the drivers mentioned under the Network adapters list except the LAN/ethernet, WiFi and bluetooth drivers. It is possible that doing this may fix your problem as well so it is certainly worth a try. To do this, follow the instructions that are given down below:
- First of all, open up the Device Manager through the Start Menu.
Opening up the Device Manager - Then, on the Device Manager window, go ahead and expand the Network adapters list.
Device Manager - Right-click on each driver and click Uninstall from the drop down menu except your WiFi, ethernet or LAN, and bluetooth driver.
- Once you have done that, right-click on Network adapters and choose the Scan for hardware changes option.
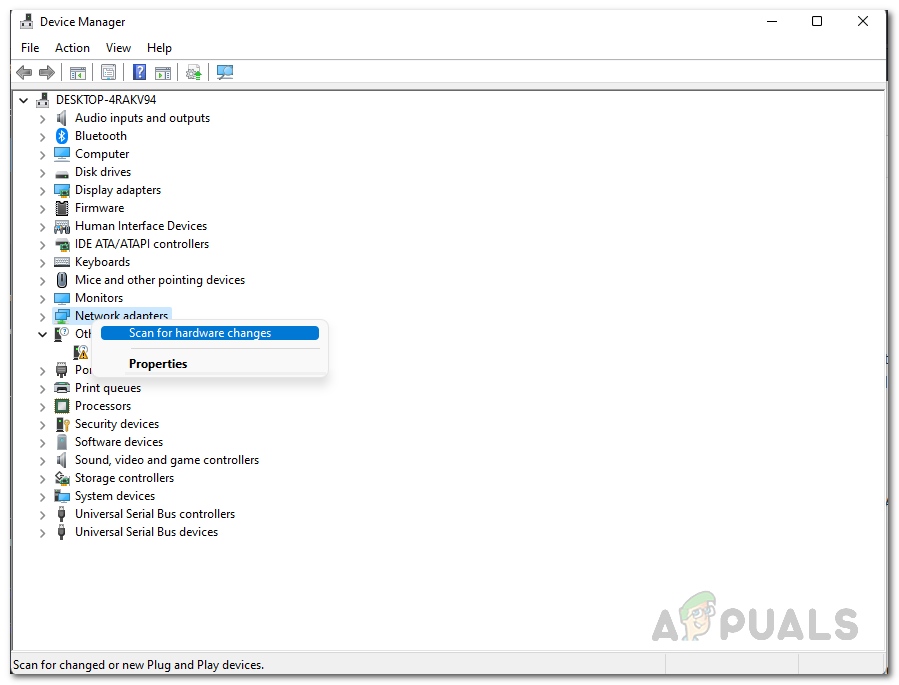
Scanning for Network Adapter Changes - Doing this will reinstall the drivers so wait for that.
- Once you have done that, go ahead and try to connect to a server to see if the problem is still there.
Update NordVPN
As we have mentioned earlier, the primary reason the error message occurs on Windows 11 is due to compatibility issues. Now that Windows 11 has been officially released, the developer team has released updates that address these compatibility issues so that you can easily upgrade to Windows 11 without having to worry about this. In some cases, you may be experiencing the issue because you have not updated your NordVPN application and are running an older version. In such a scenario, to resolve the problem, you will simply have to update your NordVPN application. In addition to that, you may not get the update in which case you will have to uninstall the application from your system and then reinstall it by downloading the setup from the website. To uninstall the application, follow the instructions down below:
- First of all, open up the Control Panel by searching for it in the Start Menu.
Opening up the Control Panel - Then, on the Control Panel window, click the Uninstall a program option.
Control Panel - From the list of applications available, go ahead and uninstall all of NordVPN applications by double clicking it.
Looking for NordVPN - Once you have done that, go ahead and download the latest setup available from NordVPN’s website.
- Install the application on your system and then see if the issue is still there.


I uninstalled and downloaded from my NordVPN account online and Quick Connect worked first time. Build 22000.194 of Windows 11.