What is “Virus:Win32/Neshta.A” on Windows Defender?

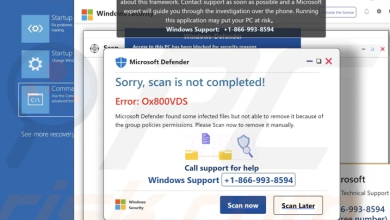
The Virus:Win32/Neshta.A on Windows Defender is a file virus that affects Windows executable files. If you see this error, it’s likely that you’re using Windows Security. When your computer detects this virus, a notification from Windows Defender will appear, alerting you that your PC is infected with this virus.
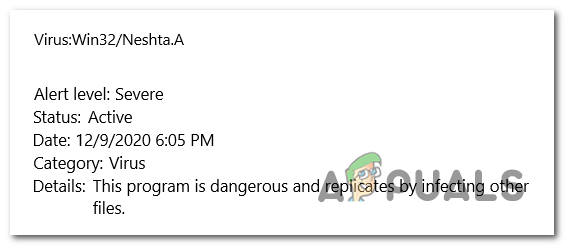
Showing you how to fix the Virus:Win32/Neshta.A on Windows Defender

What is the Win32/Neshta.A?

The Win32/Neshta.A is a file virus that affects Windows executable files from your computer. It can be used for various harmful activities, including data theft, system corruption, and the spread of the infection to other files.

This virus spreads through infected files and can infiltrate your computer in various ways, such as downloading an infected file or opening an infected email attachment, among other methods.

How to fix this issue?

There are a few ways that you can eliminate the Win32/Neshta.A virus from your computer. Here are the methods:

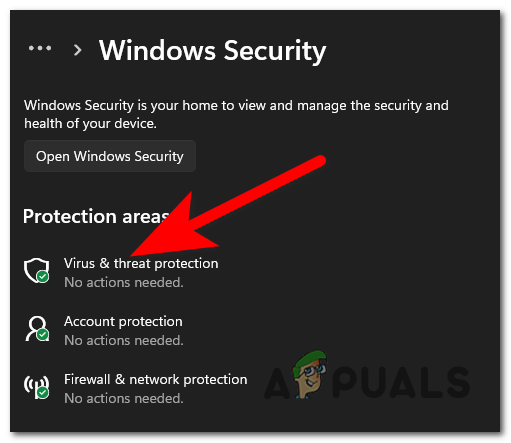
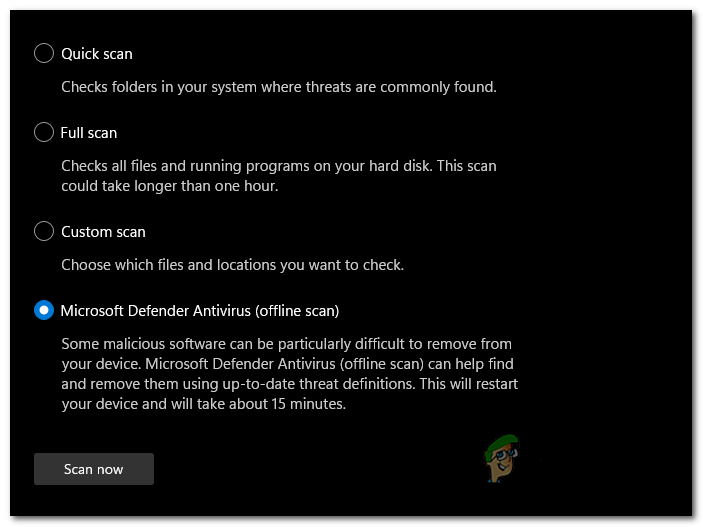
1. Perform a Windows Defender Offline scan

You should start by performing a Windows Defender Offline scan. This scan will go through all of your computer’s files scanning for every harmful file. All the malware files will be removed from your computer.

This scan could take up to 15 minutes, depending on the number of files. You can perform it from the Windows Defender settings.

Here’s how you can do it:

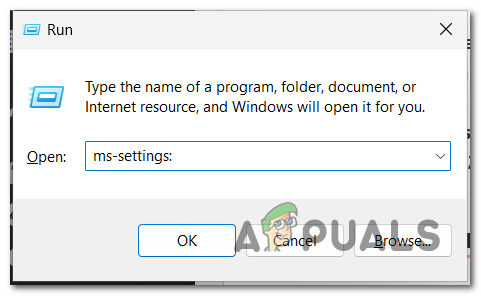
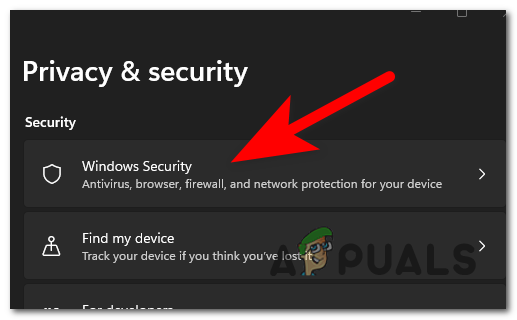
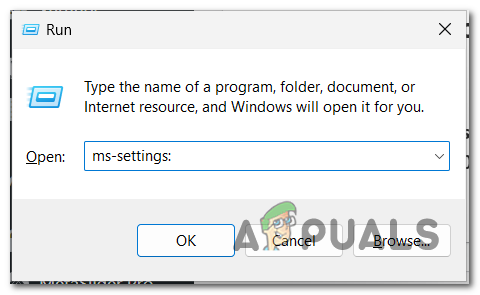
  1. Press the Windows key + R to open a Run dialog box.
  2. Type inside the search bar ‘ms-settings:‘, then press Enter to open the Windows Settings.
Opening the Windows Settings
  • Select the Privacy & security section, then go to Windows Security.
  • Accessing the Windows Security settings
    Accessing the Windows Security settings
  • Now you need to select the Virus & threat protection section.
  • Accessing the Virus & threat protection
    Accessing the Virus & threat protection
  • You need to click on the Scan options button.
  • Accessing the Scan options
    Accessing the Scan options
  • You will be able to see 4 different scan options. Select the Microsoft Defender Antivirus (offline scan) option and click on Scan now.
  • Performing the Windows Defender offline scan
    Performing the Windows Defender offline scan
  • Wait until the scan is complete. It can take a few minutes, depending on how many files you have.
  • When the scan is complete, the Win32/Neshta.A virus should be removed.
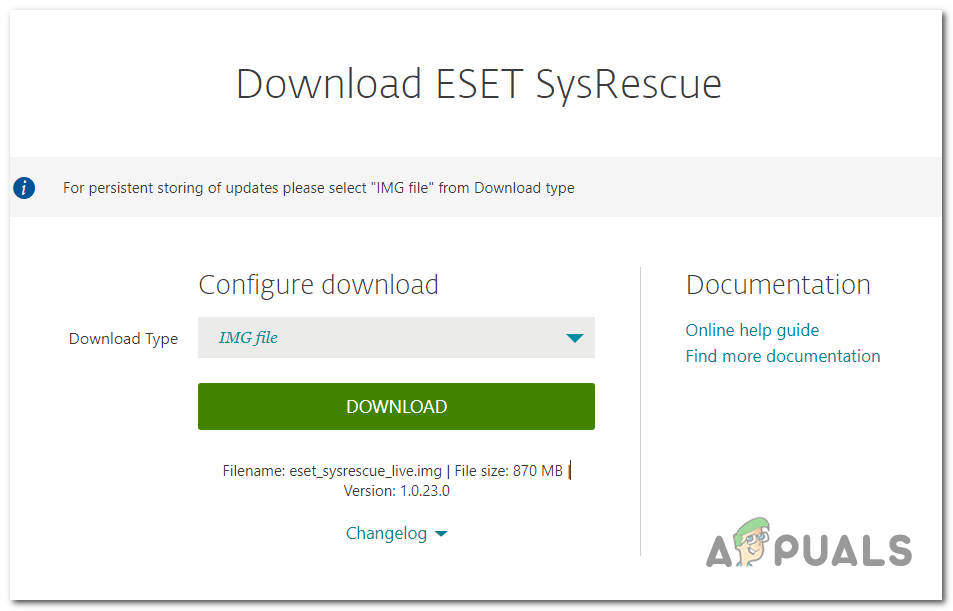
  • 2. Run the ESET SysRescue scanner

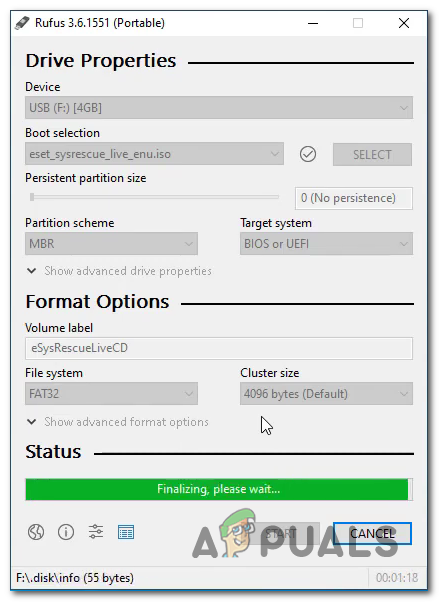
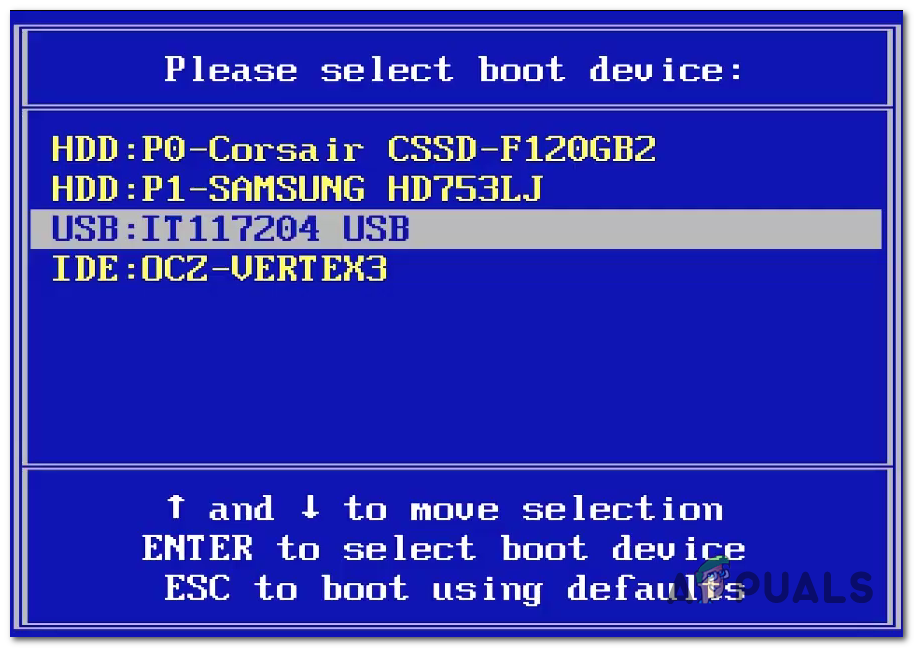
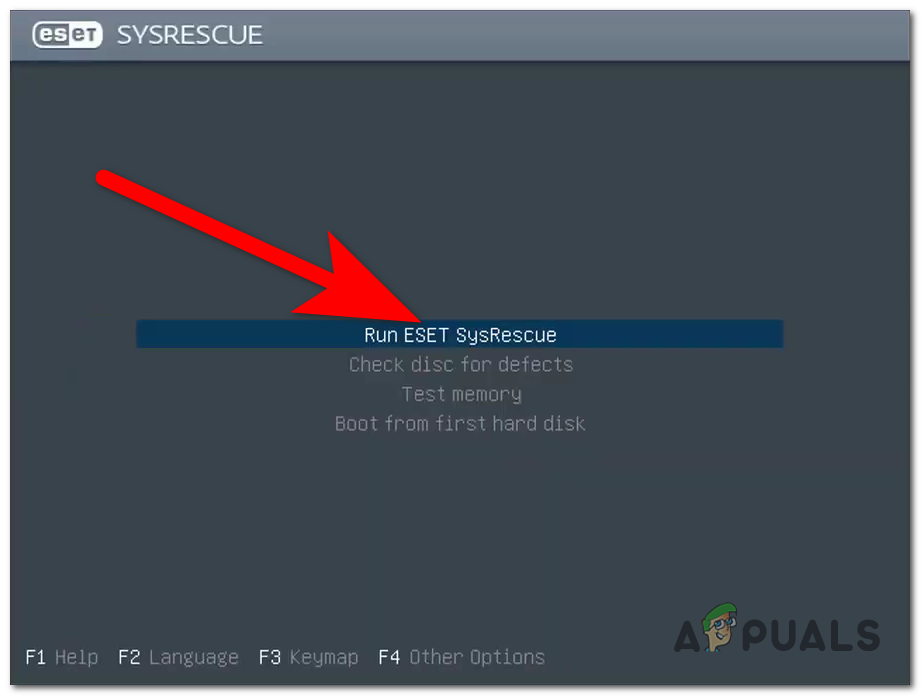
    Another thing that you can try is to use the ESET SysRescue to perform a scan and remove threats from bootable USB drives, CDs, or DVDs.

    This method is very successful when it comes to eliminating viruses because it has direct access to your disk.

    You can download the needed file from the internet. Create a USB access and scan your computer.

    Follow the next steps to see how to do this:

    1. Visit the ESET official site and download the SysRescue Live scanner. For a Live USB, you need to download a .IMG.
    Downloading the scanner
    Downloading the scanner
  • You will also need an app that can create bootable USB flash drivers like Rufus.
  • Plug the empty USB flash drive into the computer.
  • Now open Rufus and load the ESET ISO image, then press Start.
  • Loading ESET SysRescue on USB flash drive
    Loading ESET SysRescue on USB flash drive
  • Once the process is complete, you need to restart your computer to boot from the USB flash driver in your Boot Menu.
  • Boot from the USB flash drive
    Boot from the USB flash drive
  • Select the Run ESET SysRescue button.
  • Running the ESET SysRescue
    Running the ESET SysRescue
  • You need to accept the terms, then you will be able to continue.
  • Go to the On-demand scan section and click on Smart scan.
  • Performing a Smart Scan
    Performing a Smart scan
  • Once the scan is complete, the Win32/Neshta.A virus should be removed.
  • You can close the ESET SysRescue and boot into your Windows.
  • 3. Reset the browser to the original factory state

    This virus might also infect your browser. In this case, the best thing you can do is reset your browser to the original factory state.

    It can be done from the settings of your browser. The process might differ from browser to browser.

    Here are a few guides about how to do this:

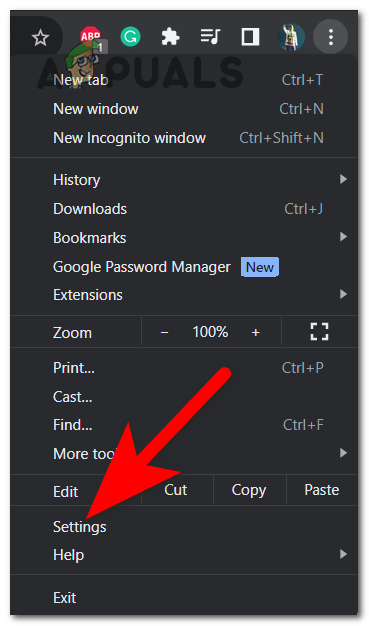
    3.1 Reset Chrome settings to Default

    This can be done from the Chrome Settings. Here’s how:

    1. Click on the three dots in the top right corner and click on Settings.
    Opening the Chrome Settings
    Opening the Chrome Settings
  • From the left side of the screen, select the Reset settings section.
  • Now click on the Restore settings to their original defaults button.
  • Click again on the Reset settings button and your browser will be in the default state.
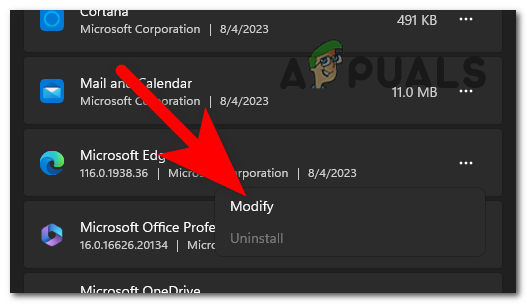
  • 3.2 Reset Microsoft Edge settings to Default

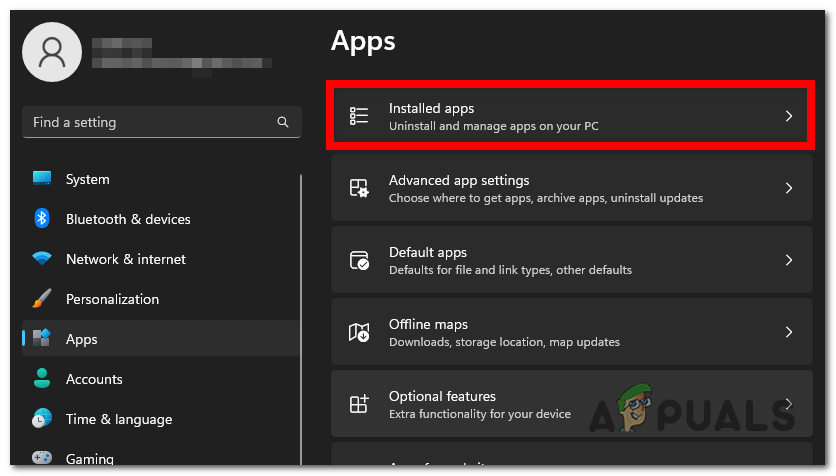
    You can reset the Microsoft Edge from the Windows Settings, not needing to navigate inside the browser. Here’s how you can do it:

    1. Open a Run dialog box by pressing the Windows key + R and type inside the search bar ‘ms-settings:‘.
    Opening the Windows Settings
    Opening the Windows Settings
  • Select the Apps tab and click on the Installed apps.
  • Opening the installed apps section
    Opening the installed apps section
  • Now search for Microsoft Edge. When you find it, click on the three dots and click on Modify.
  • Resetting Microsoft Edge
    Resetting Microsoft Edge
  • When you do this, you will also install the latest updates for this browser.
  • 3.3 Reset Firefox settings to Default

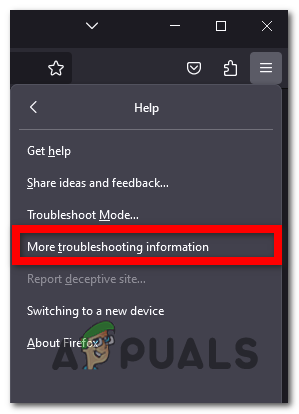
    To be able to reset Firefox, you need to go to the Help section. There you will be able to use the troubleshooter in order to refresh Firefox. Here’s how:

    1. Select the three bars icon from the top right corner and click on Help.
    2. Now click on More troubleshooting information.
    Accessing More troubleshooting information
    Accessing More troubleshooting information
  • On the right side of the screen, you will be able to see the Refresh Firefox… button. Click on it and your browser will restart completely.
  • Refreshing Firefox
    Refreshing Firefox
  • Confirm the process and wait until it is complete.
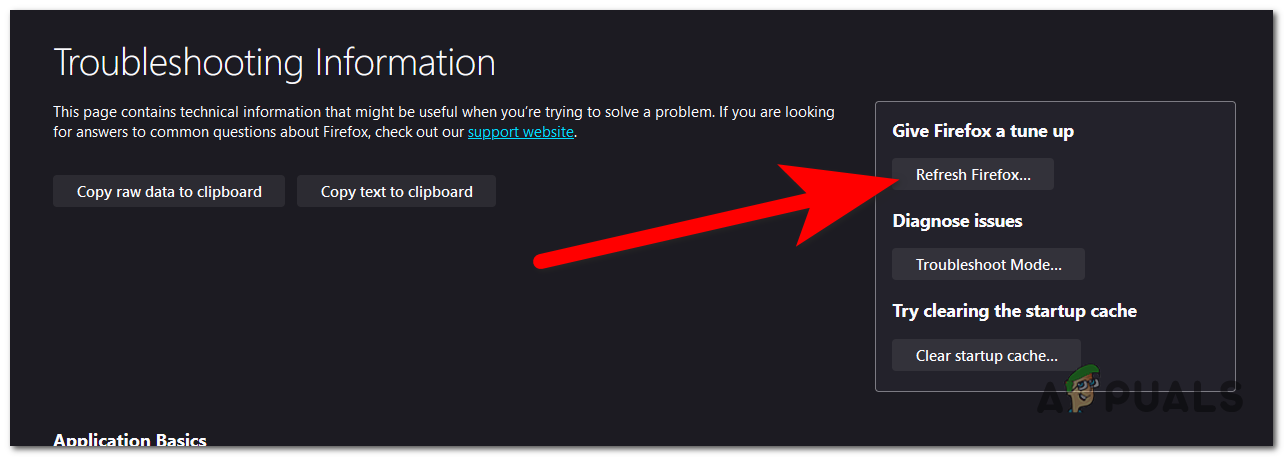
  • Now every trace of the Win32/Neshta.A should be eliminated from your browser.

    4. Use the Microsoft Safety Scanner

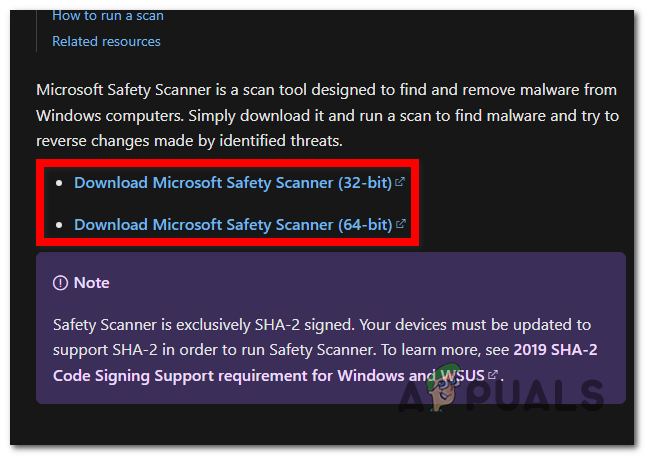
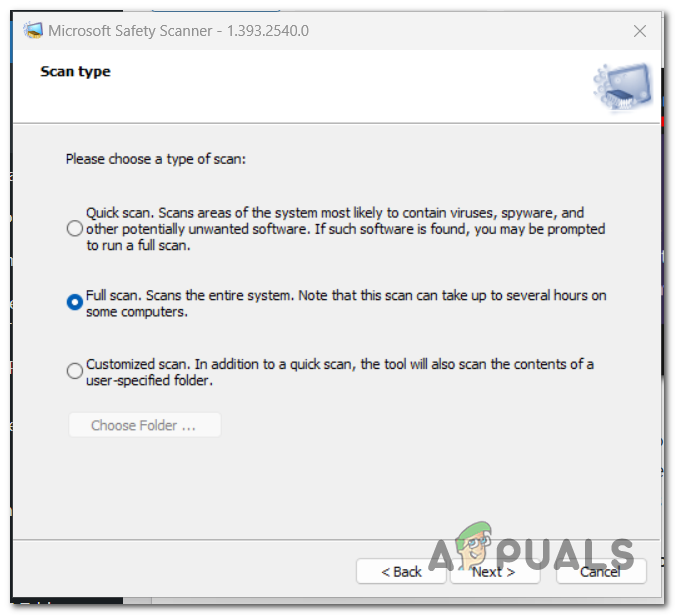
    The Win32/Neshta.A virus can be easily removed using the Microsoft Safety Scanner. It is a scan tool that was made to eliminate malware from the computer.

    This scan tool can be downloaded from the Microsoft site. Once installed, you can use it on your computer.

    Here are the steps on how to use it:

    1. Visit the official Microsoft site and download the Microsoft Safety Scanner.
    Downloading the Microsoft Safety Scanner
    Downloading the Microsoft Safety Scanner
  • Click on the installer and proceed with the installation.
  • Once you get to Scan type, perform a Full scan to ensure that all the viruses are removed.
  • Performing a Full scan
    Performing a Full scan
  • When the scan is complete, the Win32/Neshta.A has been eliminated completely.
  • ABOUT THE AUTHOR

    Raza Arshad


    Raza Arshad is a certified Google IT Support Professional. With a keen eye for detail and a passion for problem-solving, he excels in identifying and resolving bugs and Windows-related issues. Armed with a deep understanding of computer systems, Raza effortlessly navigates through complexities to pinpoint the root cause and implement effective solutions. His exceptional skills in bug detection and Windows troubleshooting make him a valuable asset in any IT support team.