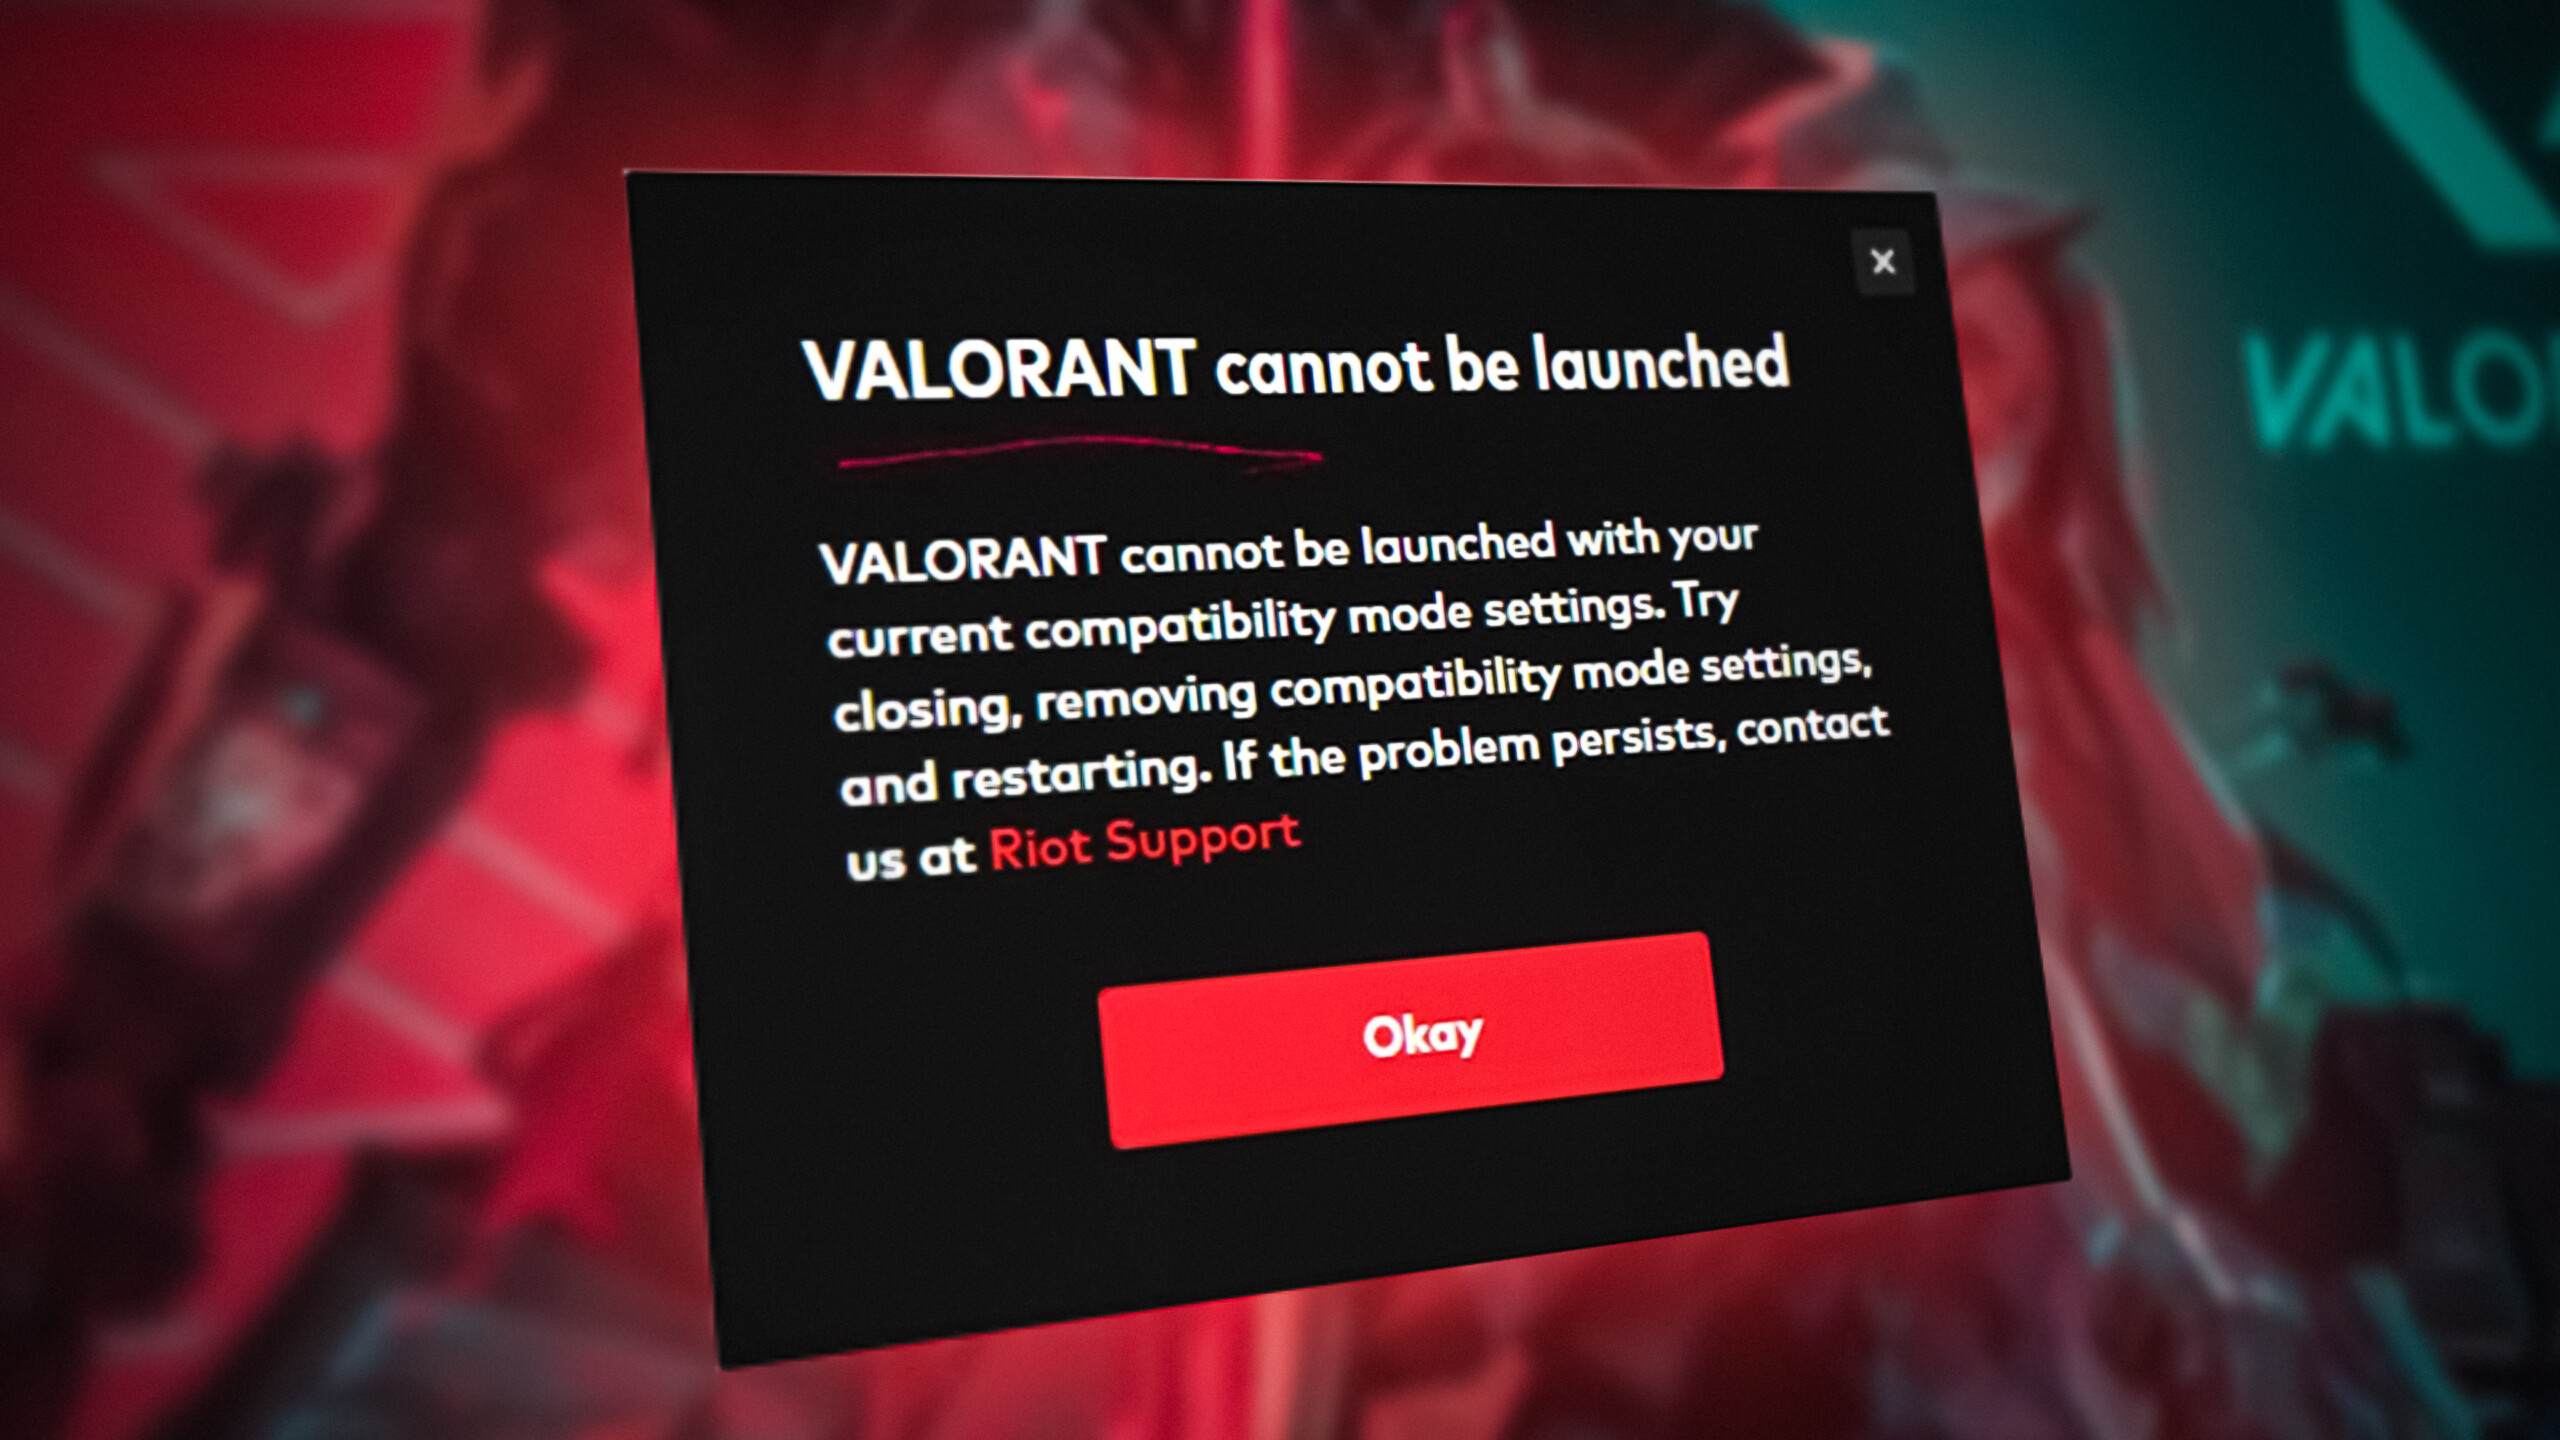
Valorant Won’t Launch? Try these fixes
Unsupported custom Resolutions, badly edited configuration files, outdated graphics drivers, not having Administrator privileges or even unsupported VPN or DNS settings are some of the common culprits when it comes to Valorant not launching or crashing at either startup or loading screen.
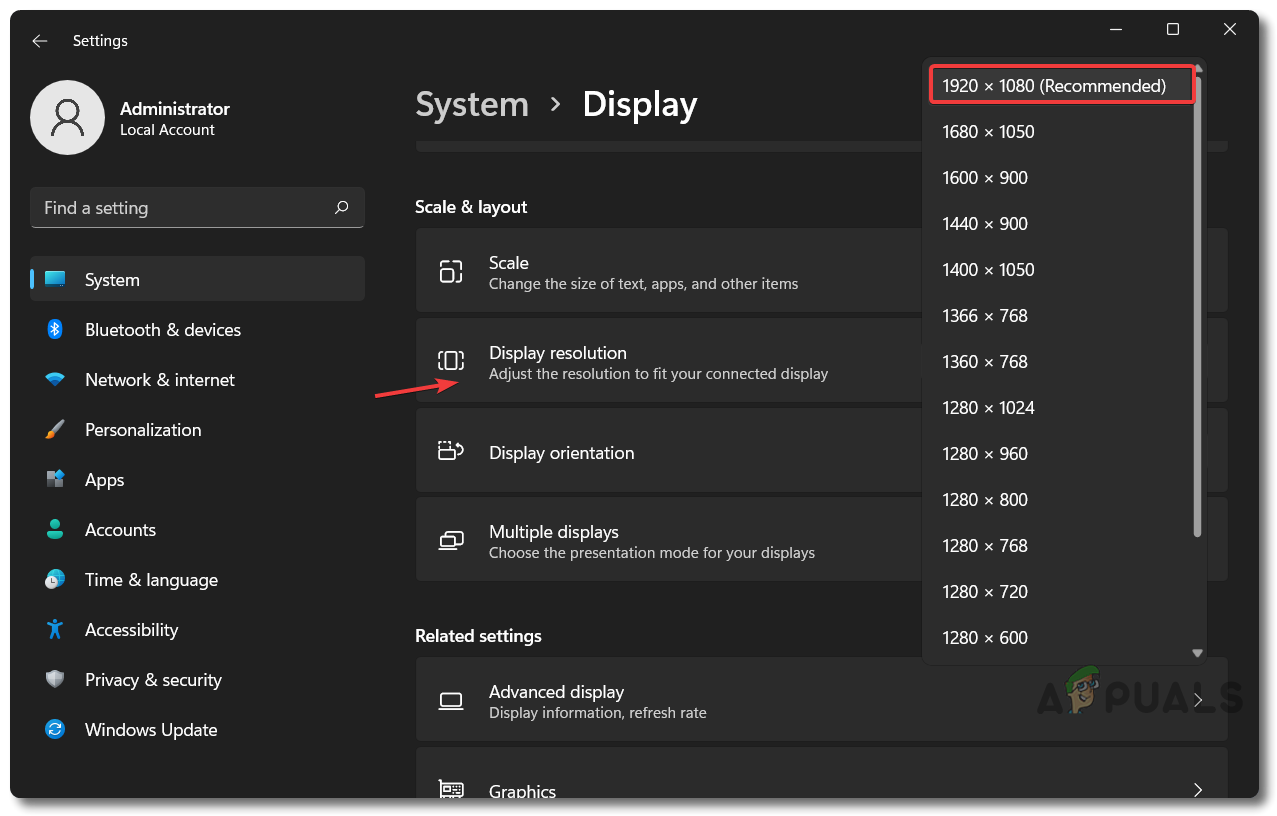
Below, we have mentioned some of the most possible reasons as to why your Valorant is either crashing at startup or not launching at all. It’s often the case that low enough system specification can be the reason for Valorant to not launch properly or not launch at all. Even though Valorant is built explicitly with low-end systems in mind, it is still safe to check the official Valorant system requirements to ensure there is no problem from that end preventing it from launching. Below are the official system requirements for Valorant. Note: On Windows 11, we also require TPM 2.0 and UEFI Secure Boot in order to run Valorant. Outdated DirectX files can also be the direct or indirect cause of Valorant to crash at startup or not launch at all. You can troubleshoot this issue by updating them from the links below: Bad or odd desktop screen resolutions can also be the direct or indirect reason for Valorant to not start, crash at startup, or at the loading screen as unsupported screen resolutions cause many issues. Follow the steps mentioned below to change desktop screen resolution and fix the issue:
Check System Requirements
Minumum (30fps) Recommended (60fps) High-End (144+fps) OS Windows 7 64-bit Windows 10 64-bit Windows 10 64-bit CPU AMD Athlon 200G or Intel Core 2 Duo E8400 AMD Ryzen 3 1200 or Intel Core i3-4150 AMD Ryzen 5 2600X or Intel Core i3-9400F GPU AMD R5 200 or Intel HD 4000 AMD R7 240 or Nvidia GT 730 AMD R7 370 or Nvidia GTX 1050 Ti VRAM 1GB 1GB 1GB RAM 4GB 4GB 4GB Storage 20GB 20GB 20GB Update DirectX and Other Prerequisites
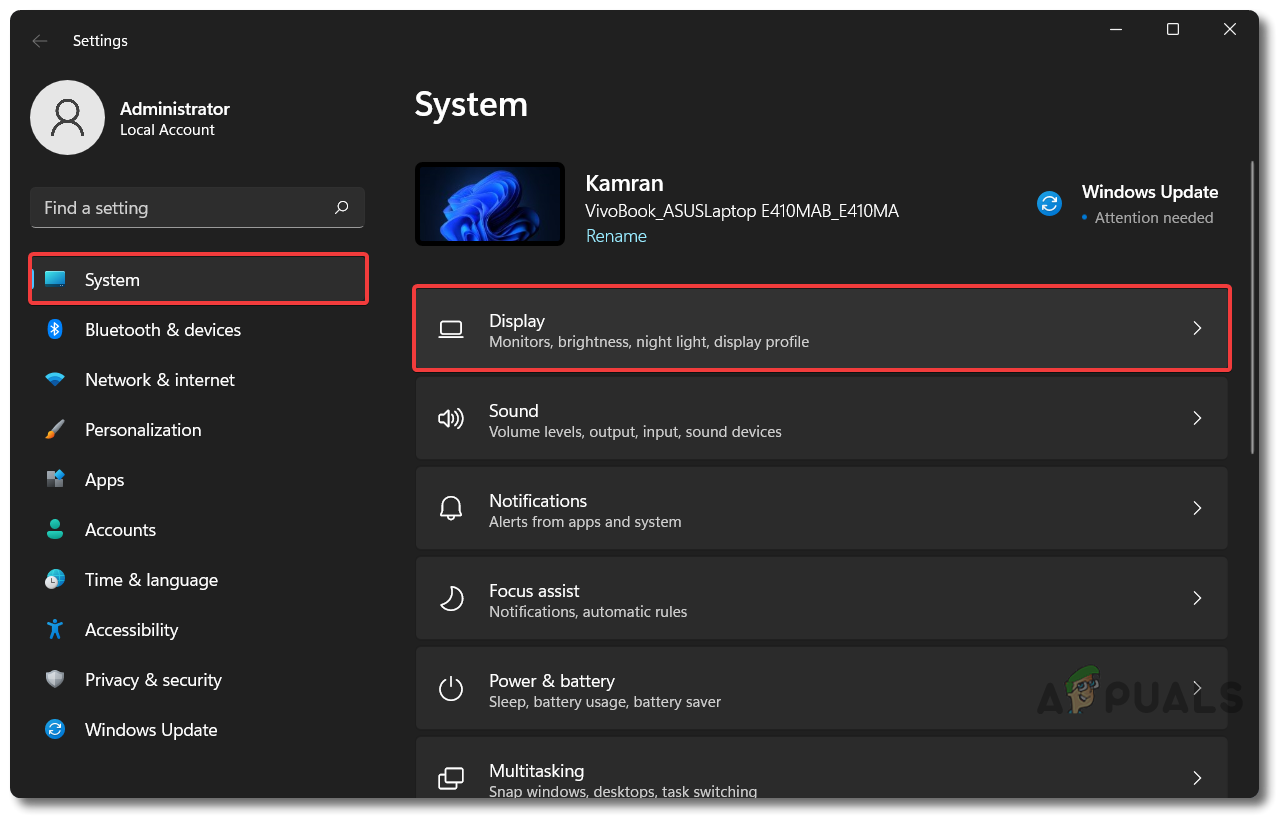
Change Your Computer Resolution
Update Windows & Graphics Drivers
Outdated Windows OS or graphics drivers from respective vendors like Nvidia, AMD, or Intel can also aid in the cause of Valorant and other games not launching or suddenly crashing at startup. We can easily fix this by updating our respective Windows and Graphics drivers. Follow the steps below:
Update Your Windows OS
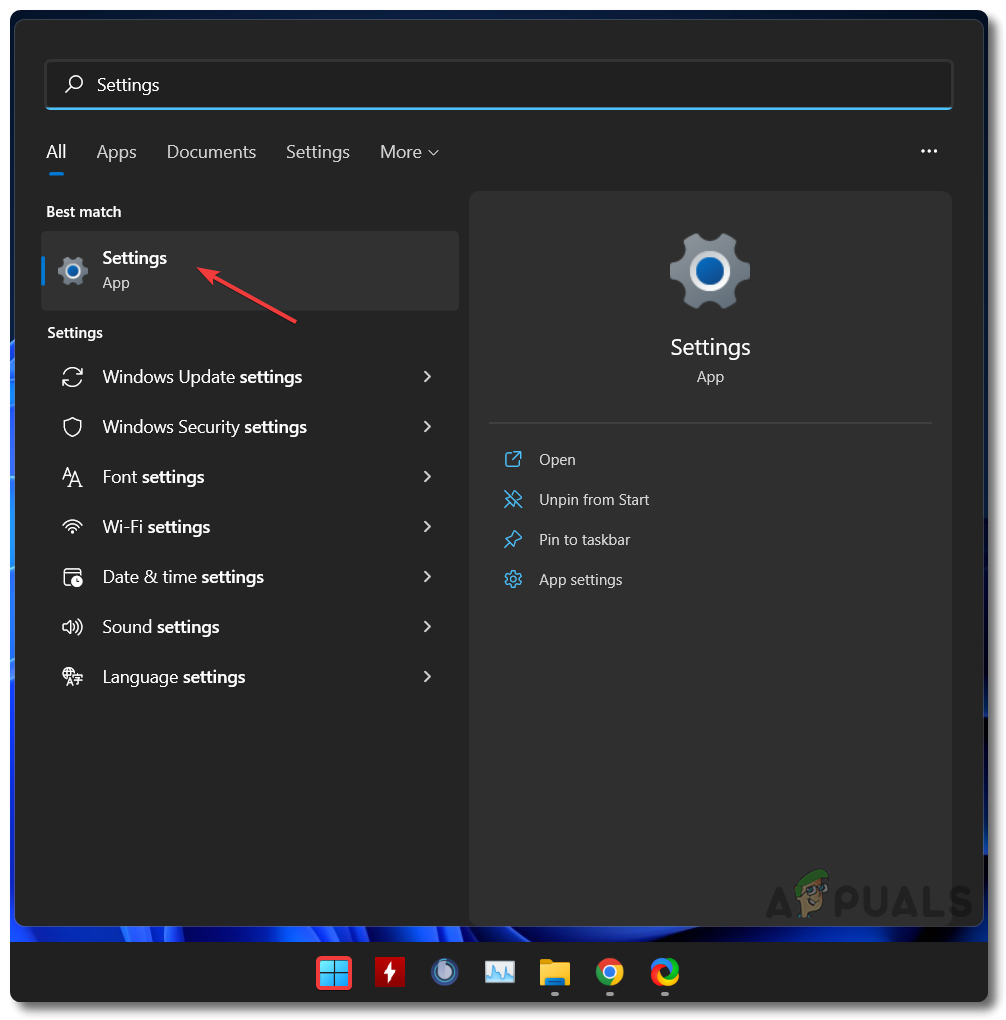
- Click on Start Menu and type Settings
Start Menu To Settings Menu - Go to Settings and click on Windows Update at the bottom of the left sidebar
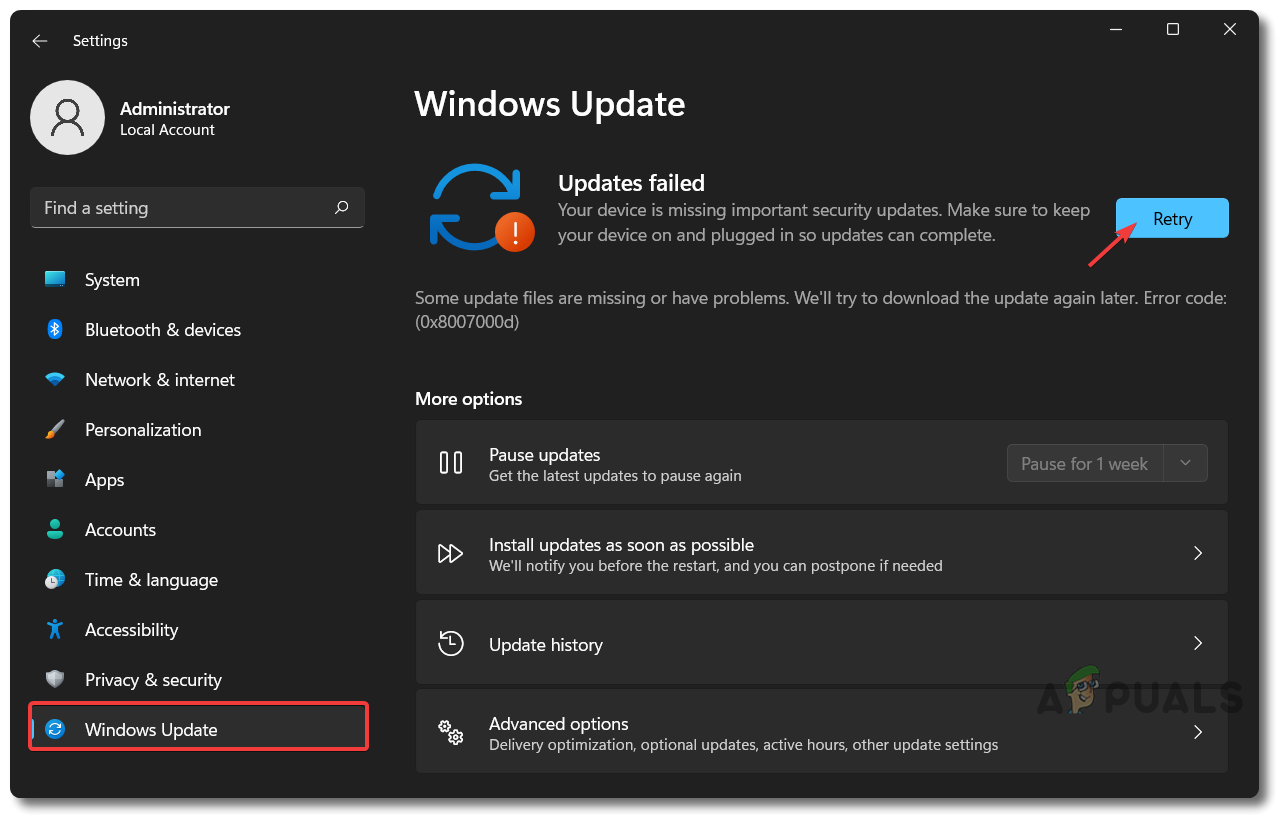
Check For Windows Update - Click on Check for Updates and wait for it to search and download the required windows updates
- After it is finished downloading and installing the required window updates click on Restart Now.
Update Your Graphics Drivers (Nvidia)
- To update your Nvidia Graphics Drivers, go to the following link and click Download
- Once Geforce Experience is finished downloading, install it and Run as Administrator
- Then log in with your Nvidia ID or make a new one if you don’t have one already
- Navigate to the Drivers tab at the top left of the window, click Check for Updates and click Download if there is any update available
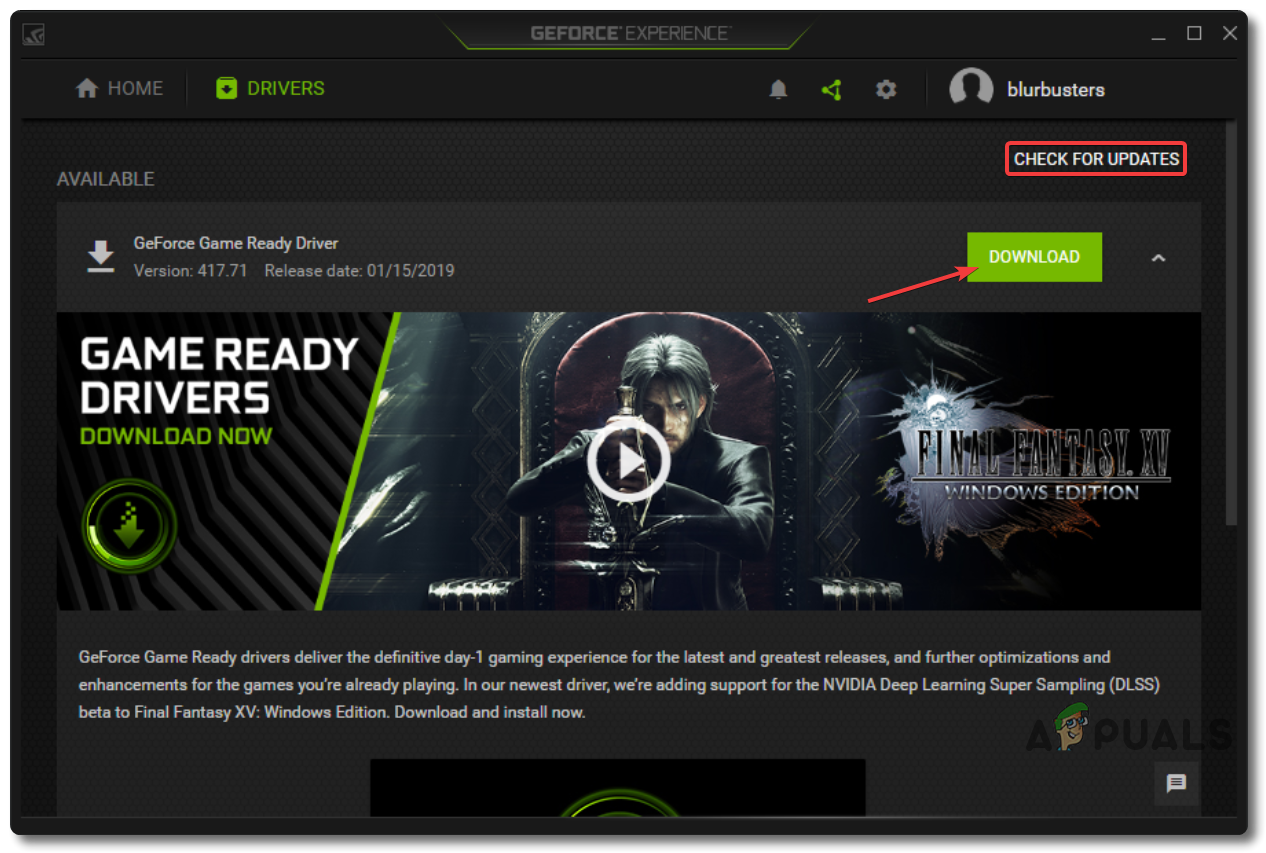
Update Nvidia Geforce Graphics Drivers - After downloading, select Express Installation and follow the instructions to complete the installation process
- After the whole process is finished click Reboot Now to finish the installation and let the changes take effect
Update Your Graphics Drivers (AMD)
- To update your AMD Graphics Drivers, go to this link and download AMD Software: Adrenalin Edition
- After downloading, Install it and run it with Administrator privileges
- Upon opening, click Check for Updates and it will show you a driver update for your respective AMD Graphic Card if there is one available
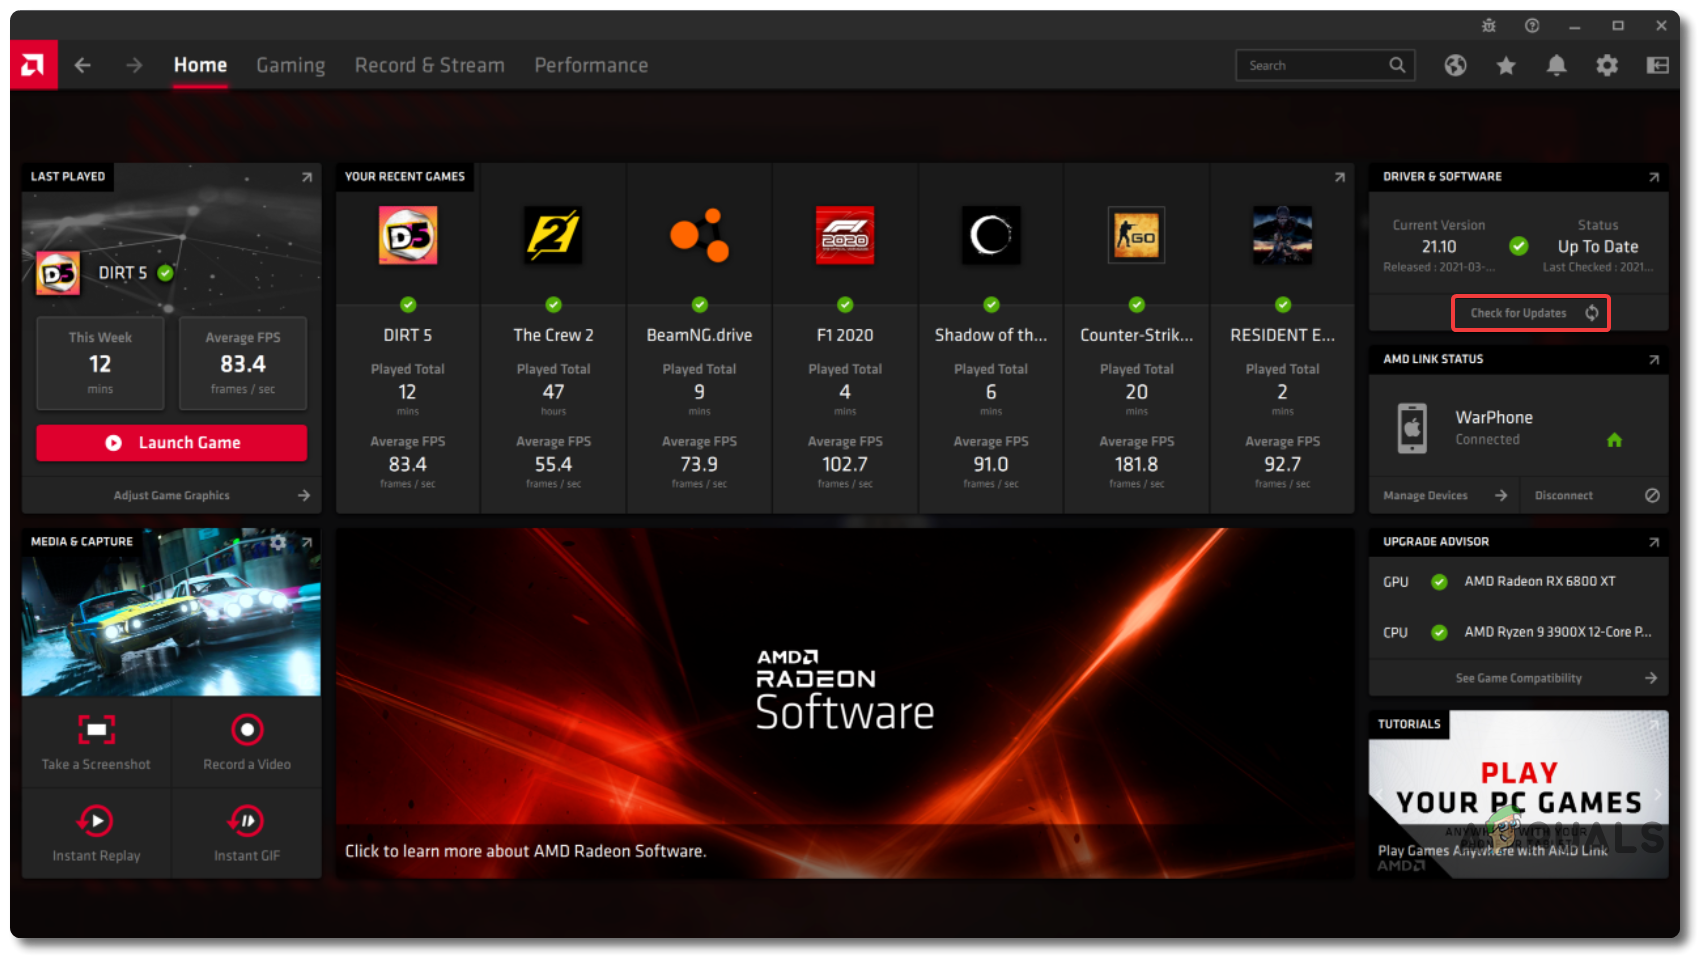
Update AMD Radeon Graphics Drivers - Follow the instructions and click on Restart Now to complete the installation and for the changes to take effect
Update Your Graphics Drivers (Intel)
- To update your Intel Graphics Driver, go to the following link and click on the button saying Get Started
- Click on Download Now under Intel® Driver & Support Assistant
- After downloading open it, tick the I agree to the license terms and conditions section and click Install
- After the installation is finished, open it and let it scan your system for any outdated drivers
- After it is finished scanning your system for any outdated drivers, click on the Download button to download outdated drivers with the updated ones
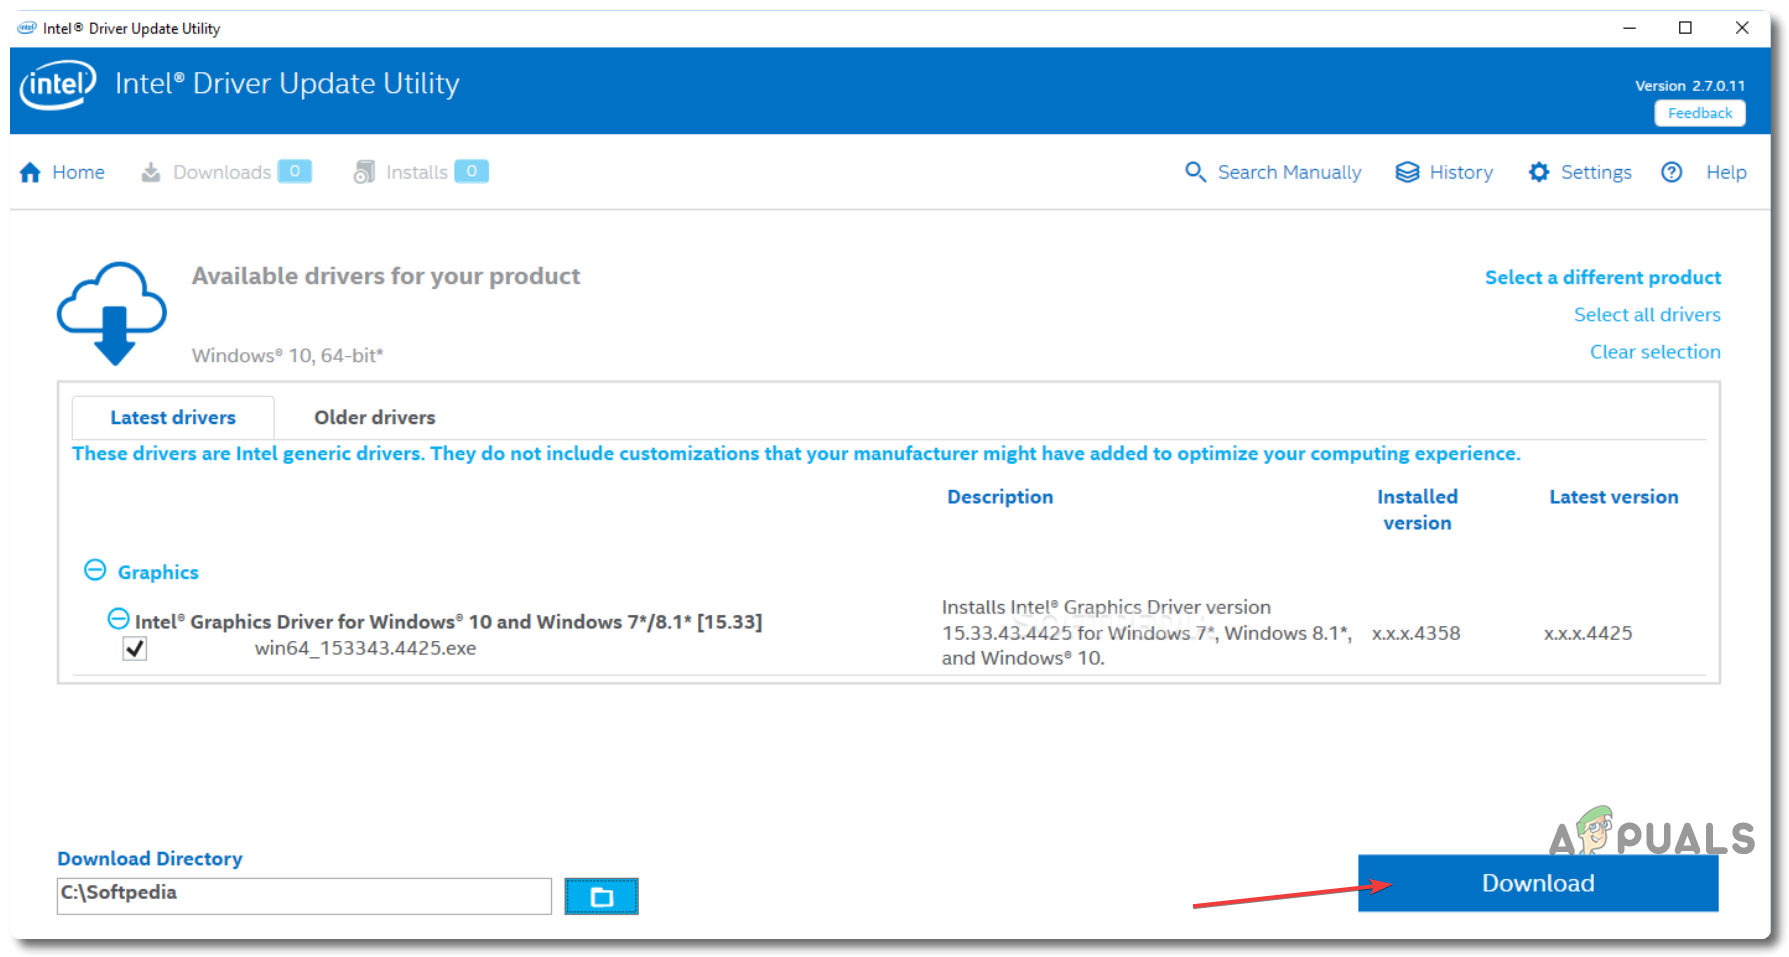
Update Intel Graphics Drivers - After it is finished downloading the updated drivers, click Install and then Reboot once it’s finished installing for all the changes to take effect
Check Valorant Instance Running in Background
Sometimes the issue of Valorant not launching can also arise due to an instance of Valorant already running in the background and not completely shutting down after the previous session was done and the game was shut down. It is quite a common issue that occurs in all Windows-based PCs or Laptops and you can easily fix it by closing the Valrorant.exe running in the background from the Task Manager. To do that, follow the steps below:
- Click on Start Menu and type Task Manager
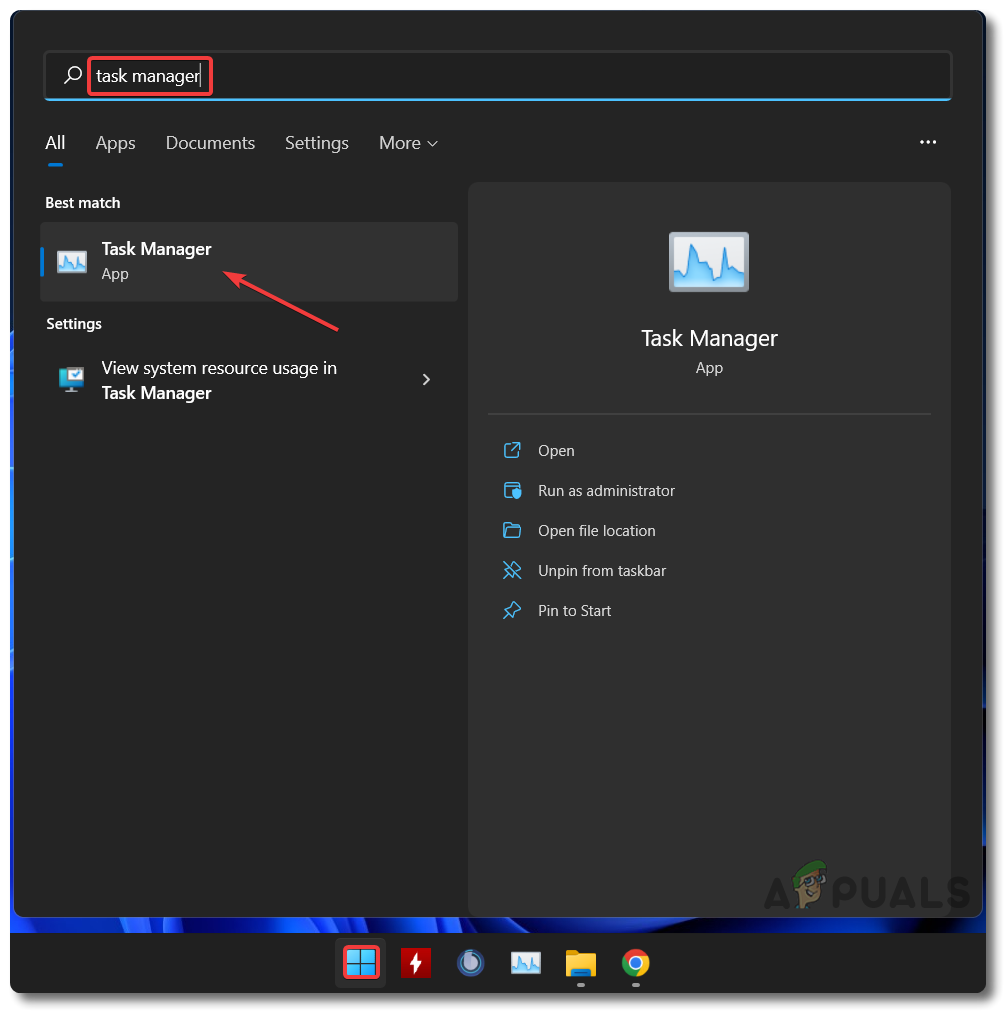
Start Menu To Task Manager - Open it, click on More Details, and to the first tab Processes
- Find Valorant.exe and close it by right-clicking on it and selecting End Task.
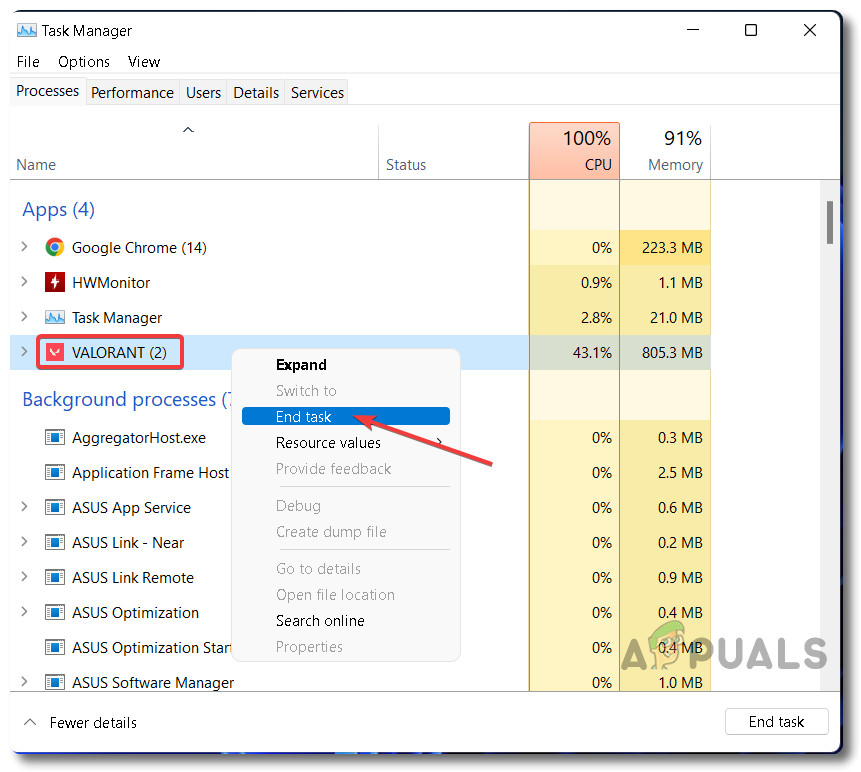
Close Out Valorant Instance From Task Manager
Reset Network Settings
Valorant is an online-only game that requires an internet connection to even launch and run. Resetting network settings can also help in fixing the issues regarding Valorant not launching as having bad network settings can be the sole cause of Valorant not getting a stable connection to its servers and crashing or not starting up at all. To fix it follow the steps below:
- Click on the Start menu and type Settings
Start Menu To Settings Menu - Open Settings and click on Network & Internet from the left-hand navigation pane
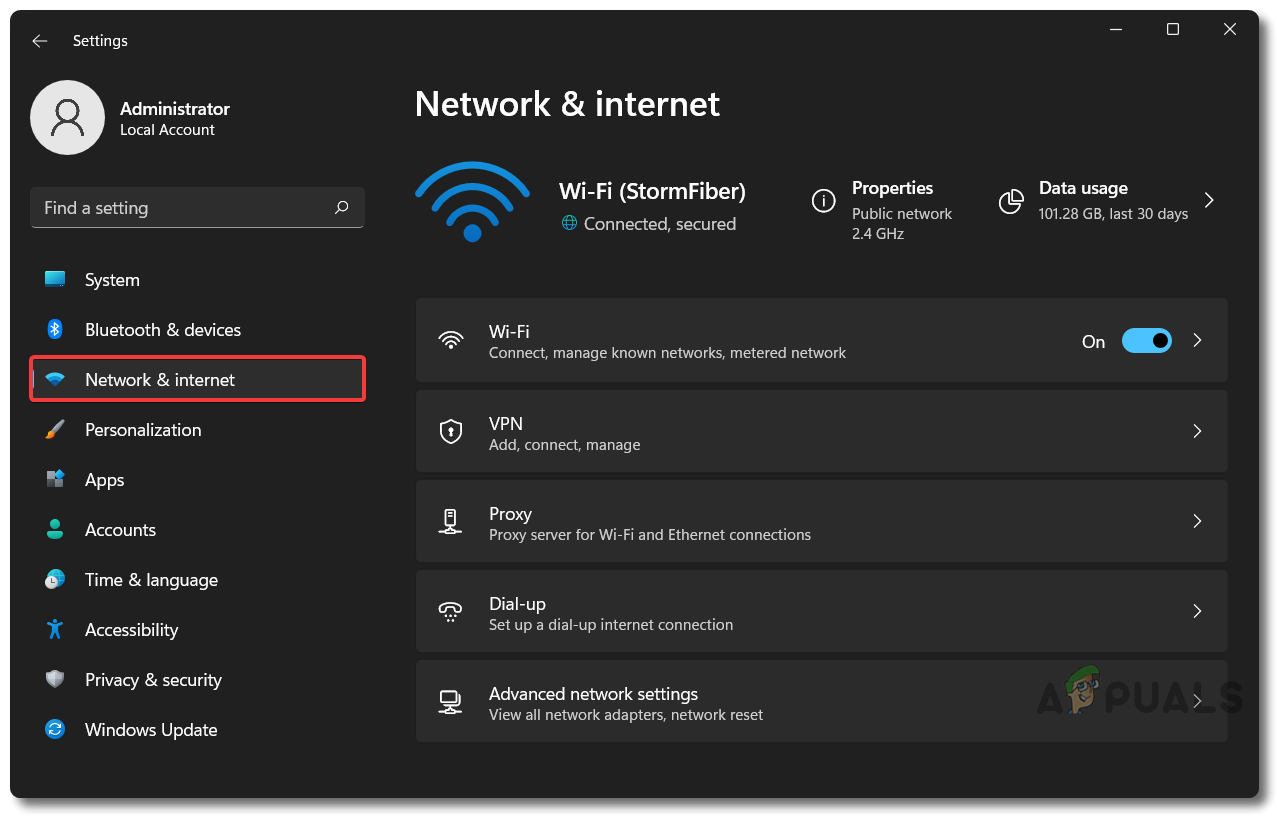
Settings to Network & Internet Settings - Click on Advanced Network Settings at the bottom of the page
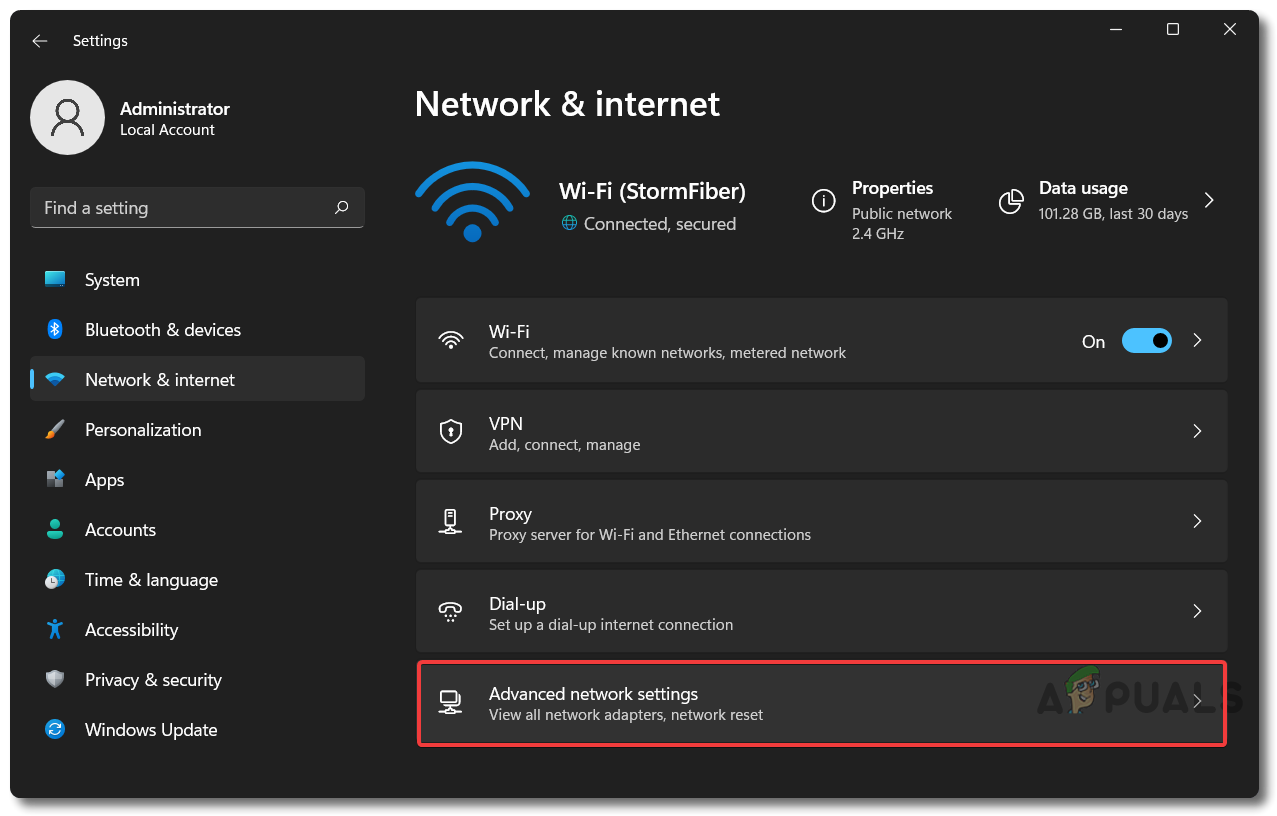
Network & Internet Settings to Advanced Network Settings - Now click on Network Reset under More Settings
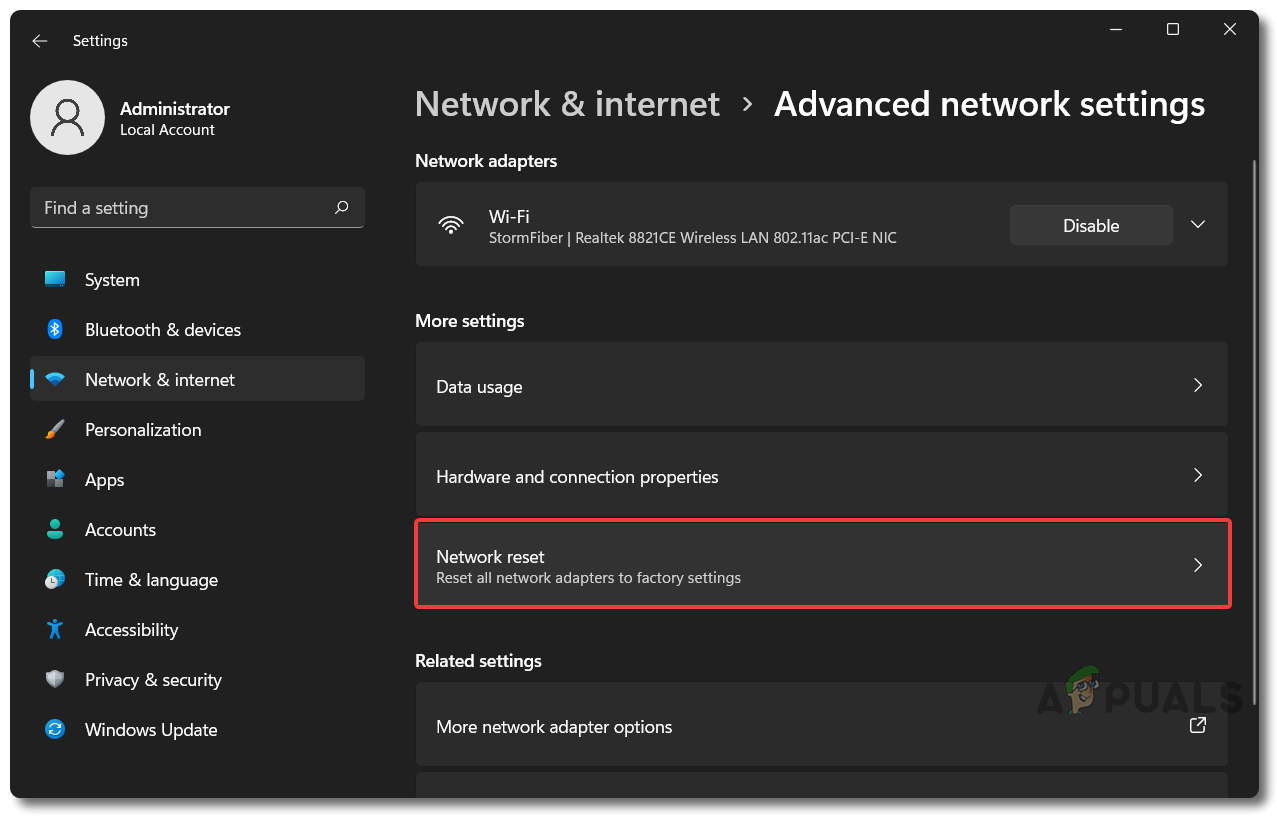
Advanced Network Settings to Network Reset - Click Reset Now.
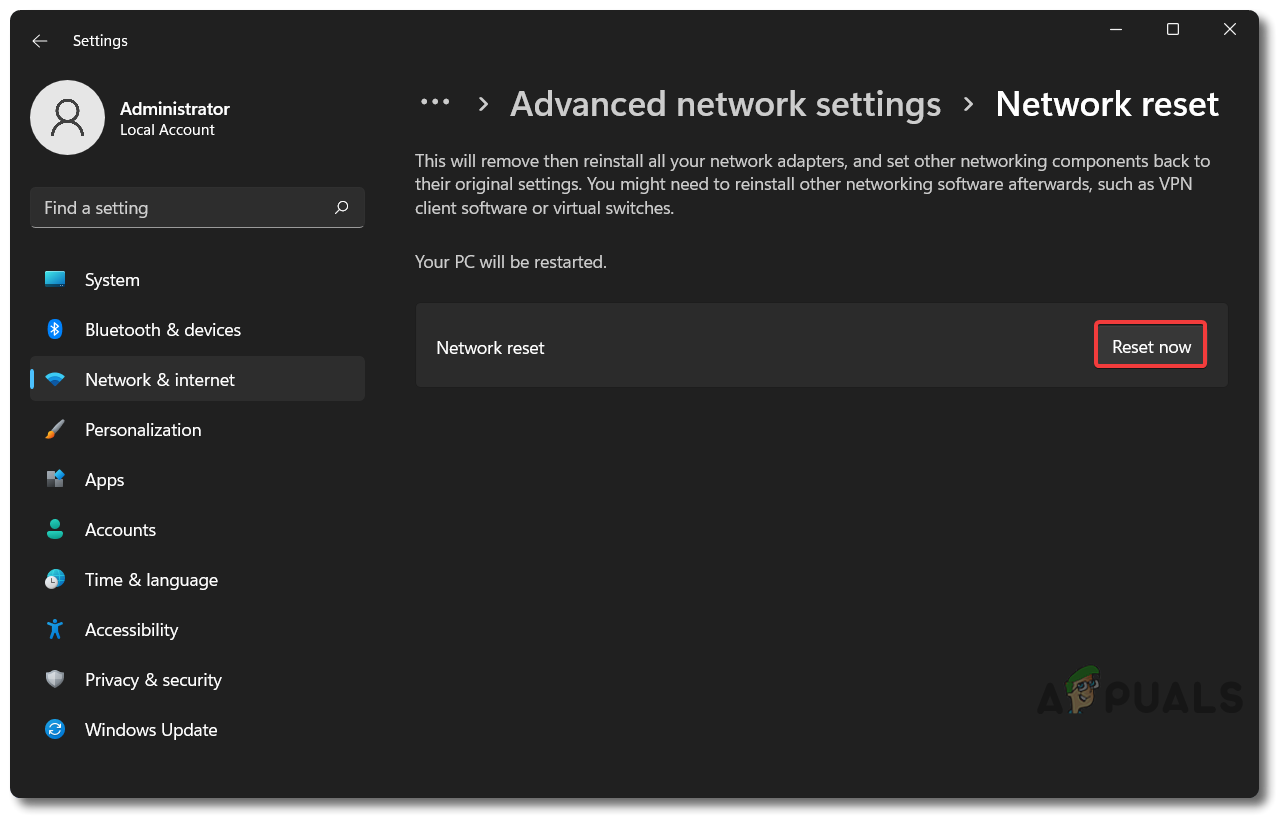
Network Reset to Reset Now
Note: Don’t forget to turn off any VPN that you are using as it can also cause Valorant to crash or not start at all.
Enable TPM 2.0 and UEFI Secure Boot (Windows 11 only)
If you are running Windows 11 OS on your computer, then Vanguard (Valorant’s Anti-cheat) will strictly require you to have TPM 2.0 and UEFI Secure Boot turned on from your motherboard’s BIOS, or else Vanguard won’t run upon opening Valorant and the game will crash with the Error Code: VAN 1067, or It will crash with this error message: “This build of Vanguard requires TPM version 2.0 and secure boot to be enabled in order to play.” preventing you to go anywhere beyond Valorant’s loading screen and play the game. Below are the steps mentioned on how to turn TPM 2.0 and UEFI Secure Boot on for Asus motherboards only, so please find your respective motherboard brand settings on the internet or the instructions manual that came with the motherboard.
Enabling TPM 2.0 on Intel Motherboards
- Upon starting up the computer press F2 (or your respective Bios key) to get into Bios settings
- Press F7 after entering Bios settings to go into the Advanced Mode
- Navigate to the Advanced tab and click on PCH-FW Configuration
- Then change PTT from Disable to Enable to activate TPM 2.0 and press OK
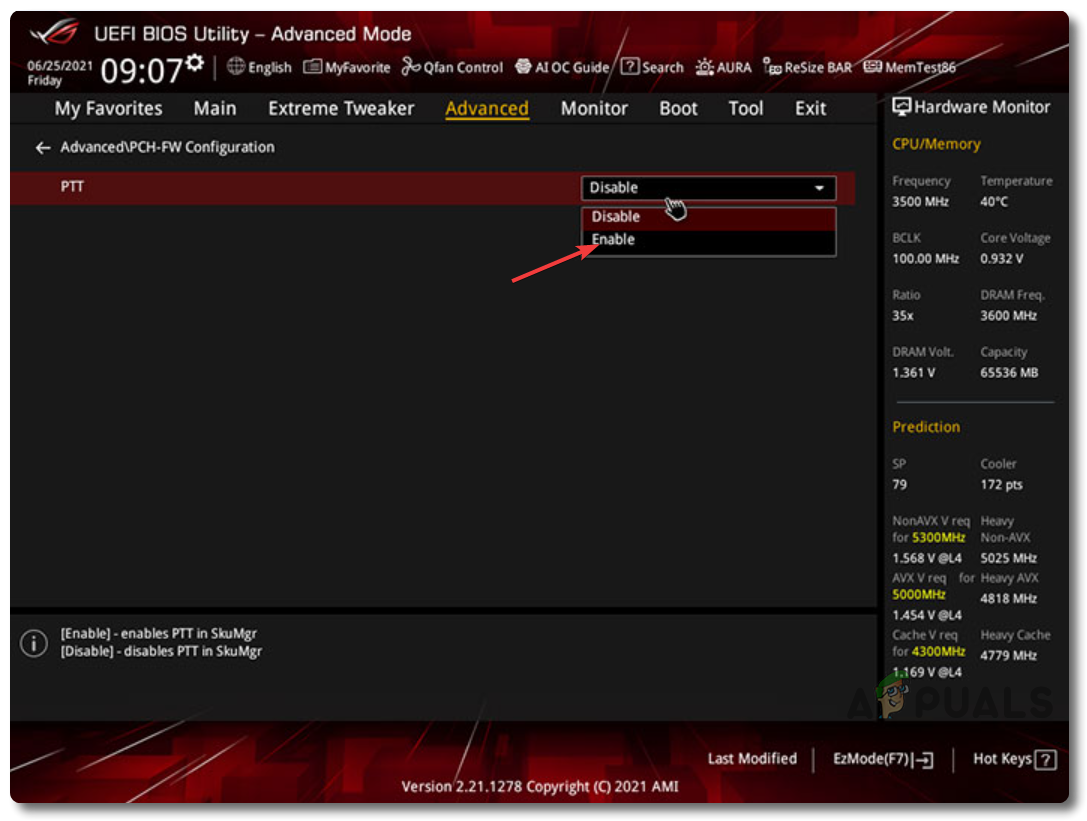
Enable TPM 2.0 For Intel Motherboards
Enabling TPM 2.0 on AMD Motherboards
- To enable TPM 2.0 on AMD motherboards, Open Bios Settings, go to Advanced Mode then the Advanced tab, and click on AMD fTPM
- Then switch TPM Device Selection from Discrete TPM to Firmware TPM and press OK.
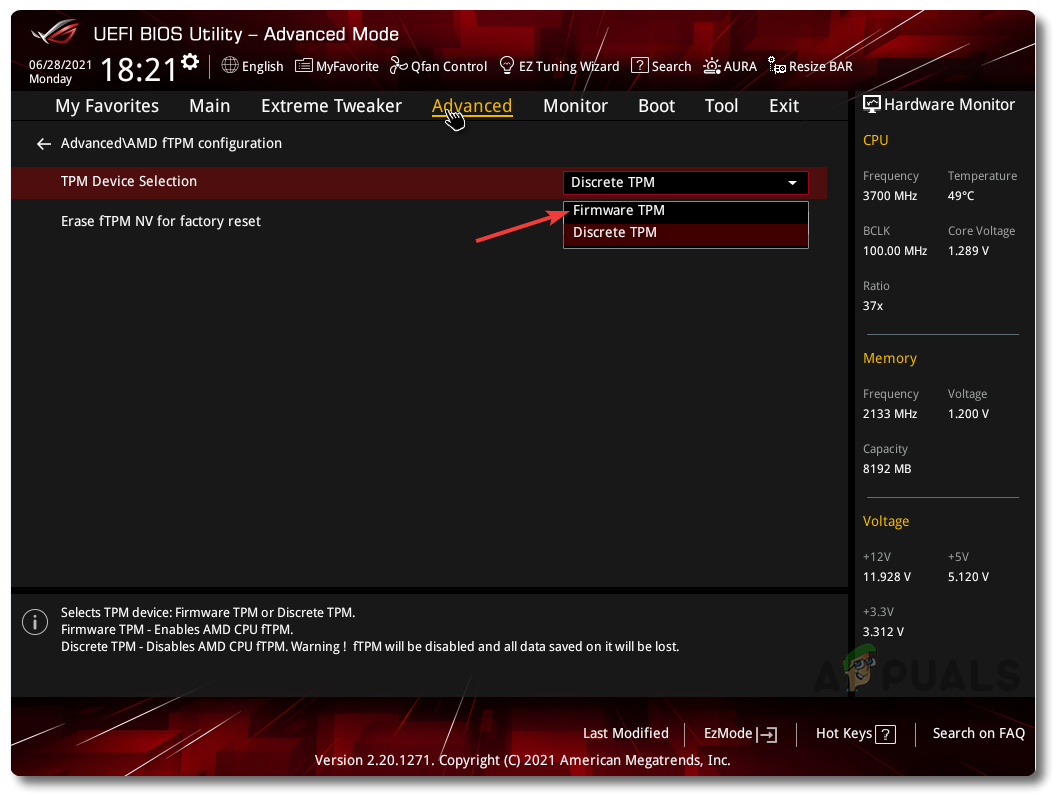
Enable TPM 2.0 For AMD Motherboards
Enabling Secure Boot
- To enable Secure Boot, open Bios Settings and navigate to the Boot tab and click on Secure Boot
- Then change OS Type from Other OS to Windows UEFI Mode to enable Secure Boot.

Enable Secure Boot on Asus Motherboards
Note: UEFI Secure Boot and TPM 2.0 can only be enabled if your own motherboard from your respective vendor supports it by default.
Run Valorant in Compatibility mode
You can try running Valorant in Administrator Mode along with other compatibility settings if the problem still prevails and the above-mentioned solutions don’t fix the problem for you. Below are the steps to do so:
- Go to your Valorant install location (Default: C:\Riot Games\VALORANT\live), right-click on VALORANT.exe, and click on Properties
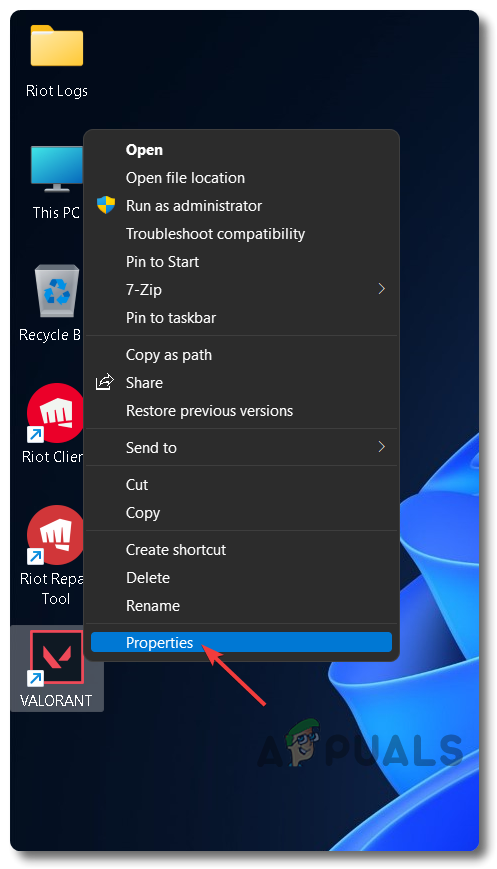
Open Valorant Properties - Go to the Compatibility tab and tick Run as an Administrator
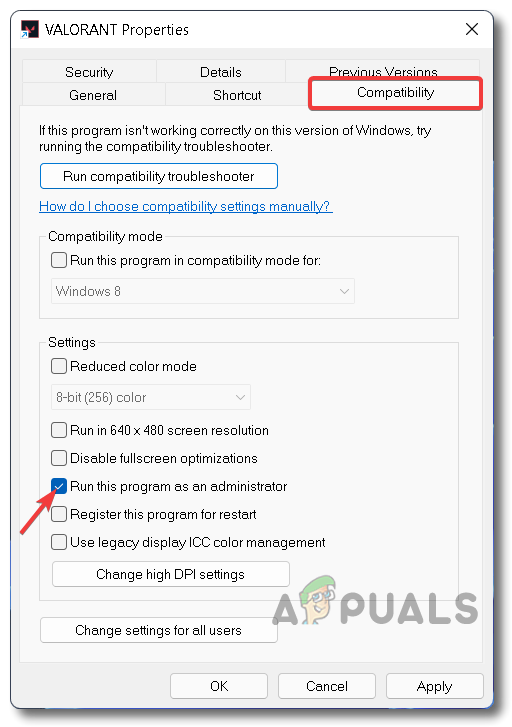
Tick Run As An Administrator - Click on Run this program in compatibility mode and select Windows 7 or 8 (OPTIONAL)
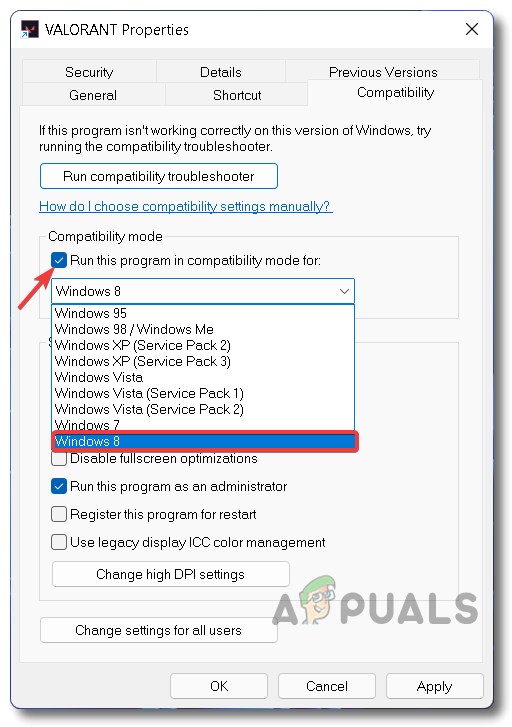
Run This Program in Compatibility Mode For Old Windows - Additionally, you can also tick Disable Fullscreen Optimizations and click on Change high dpi settings
- Tick Override high DPI scaling behavior. Scaling performed by: and select Application
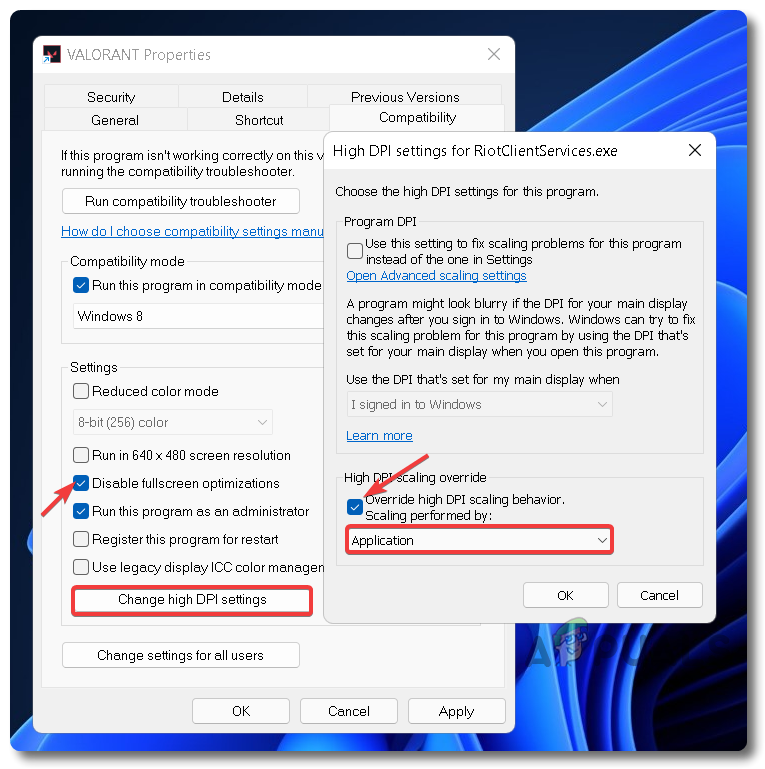
Additional Optimization Settings For Valorant
Note: Steps 4 and 5 will help will provide better fps along with lower input lag and can also help with general optimization of Valorant.
Delete Configuration Files
Configuration Files—short for Config Files are files that are required by the respective game or game engine to read the configurations and parameters in which the desired game is to launch. Config Files are usually text (.txt) files that save information like resolution, aspect ratio, graphics quality, etc. Bad, unsupported, or corrupted config files can also cause Valorant or other games to not launch or crash at startup. You can easily fix this by deleting the Valorant config files as this will reset them once you launch Valorant again. Follow the steps below to do so:
- Open File Explorer and navigate to the following path: C:\Users\<Username>\AppData\Local
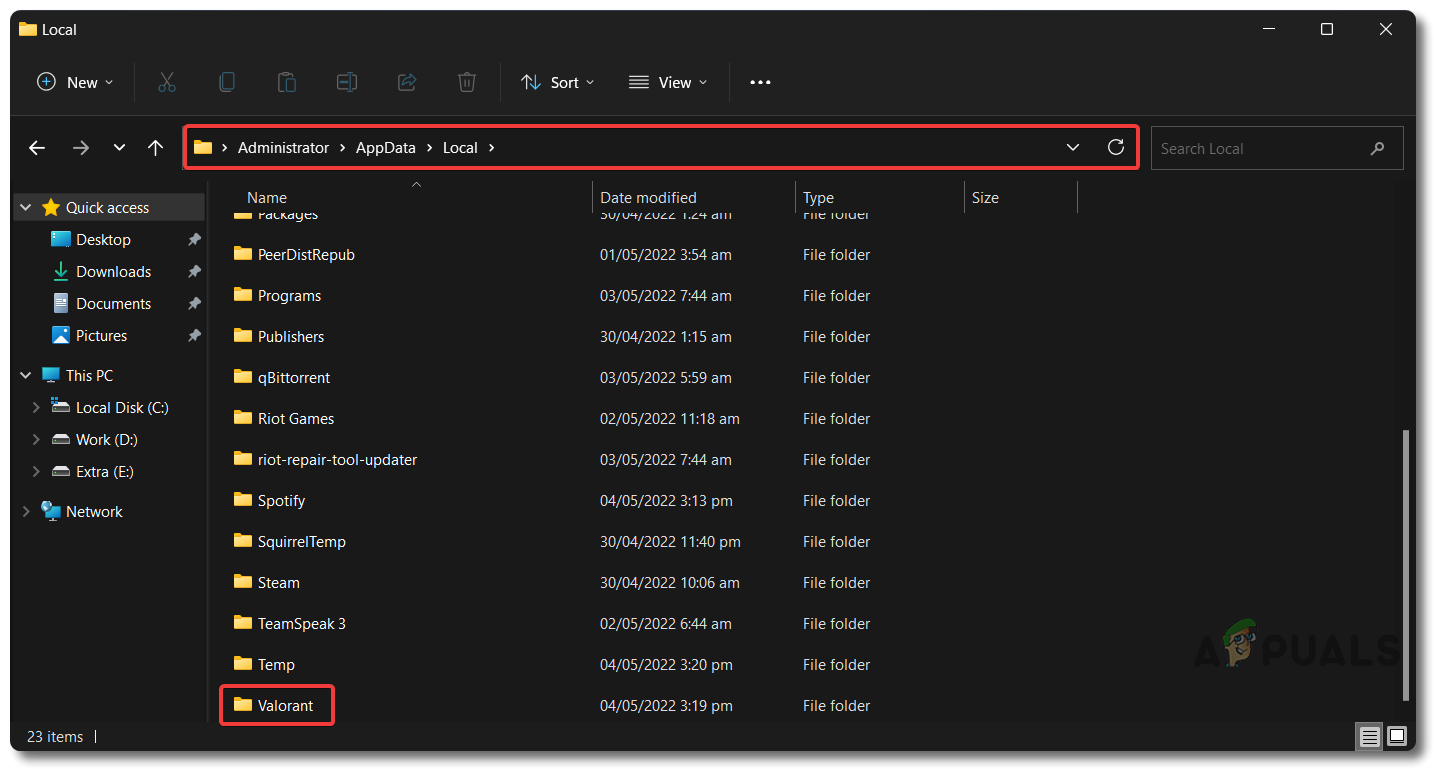
File Explorer to Valorant Local AppData - Locate the folder named Valorant, right-click on it, click Delete, and press Yes to confirm.
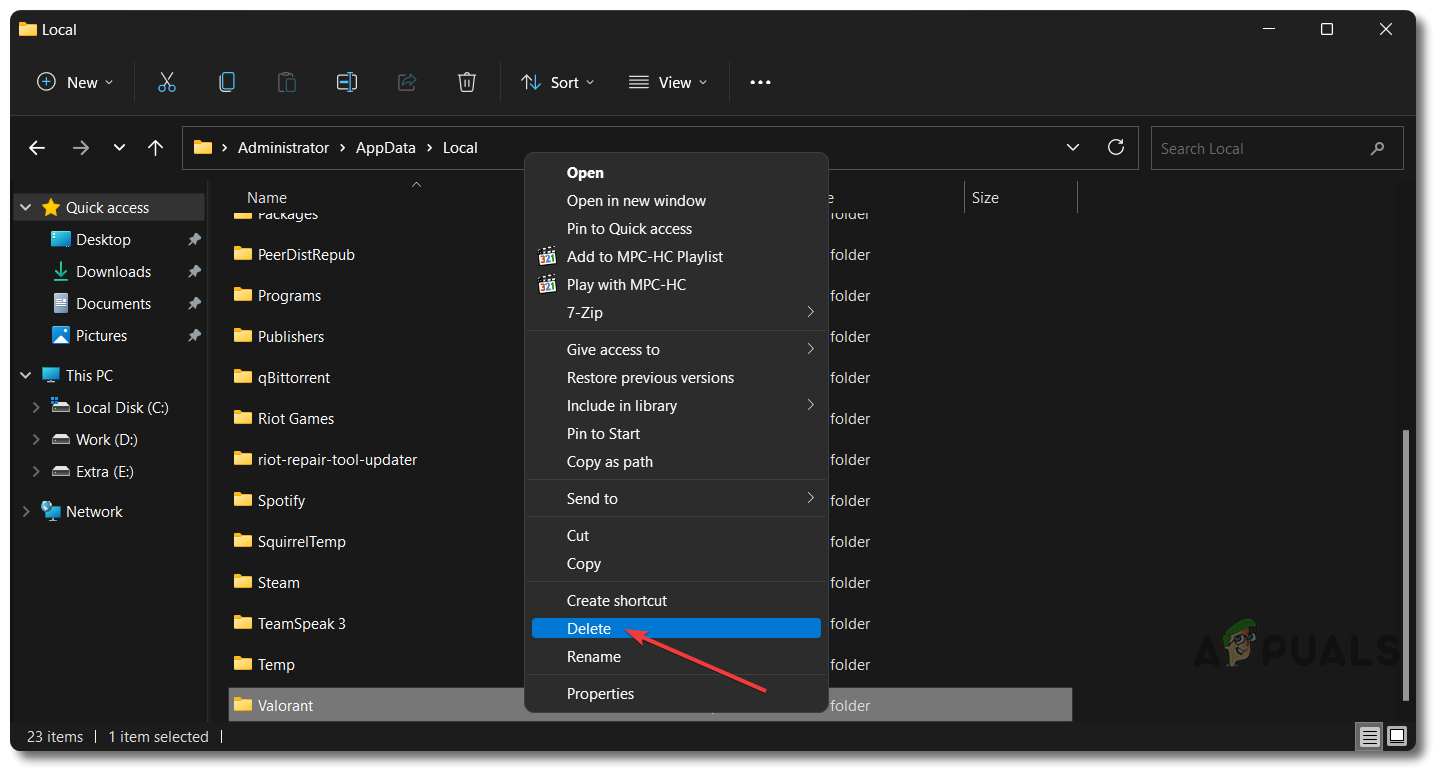
Delete Valorant Local Config Files
Add an Exclusion in Windows Security/Defender
Another reason for Valorant to not launch could be the interference from your third-party Antivirus software or even with Windows Security/Defender that comes pre-installed with all Windows OS. You can troubleshoot this by either adding Valorant as an exclusion in Windows Security/Defender or completely disabling the Windows Security/Defender Real-time Protection to test if it fixes the issue for you. Follow the instructions below:
- Click on Start Menu and type Windows Security
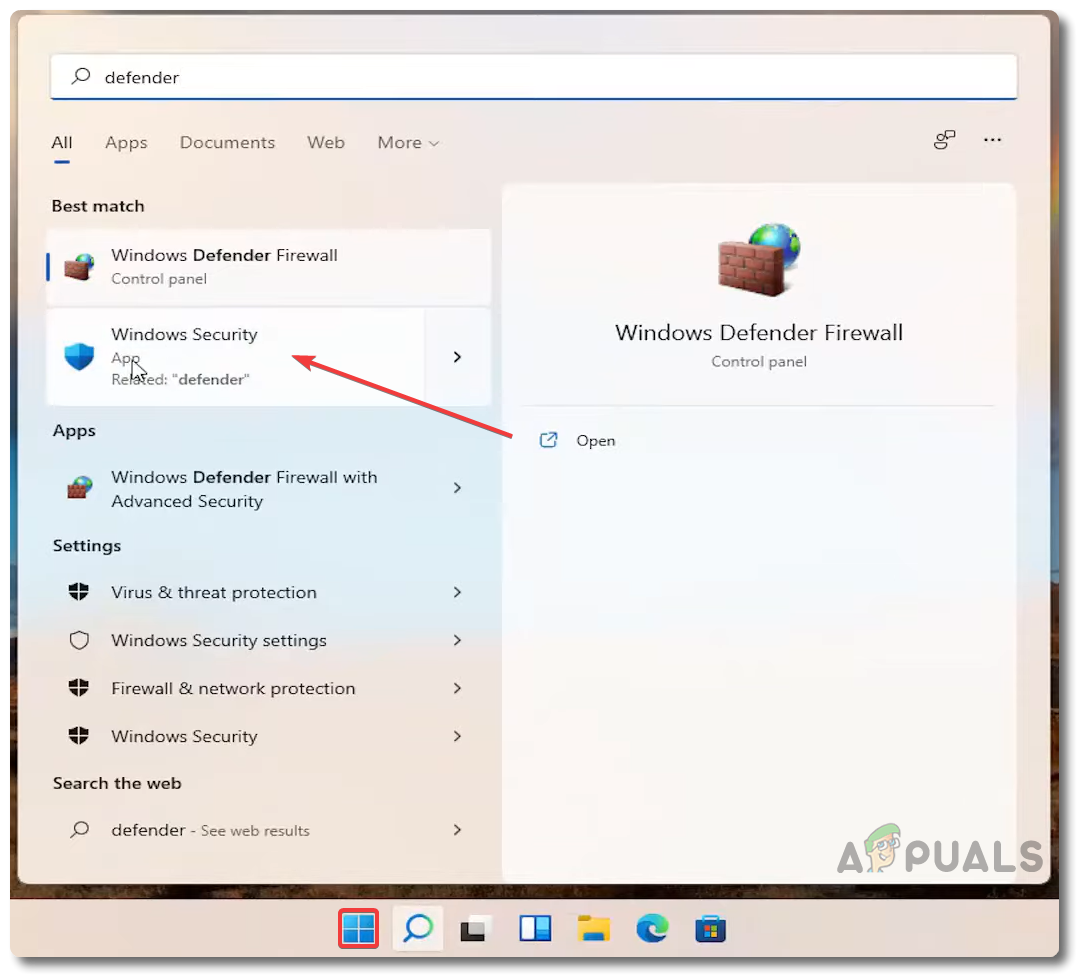
Start Menu to Windows Security - Open Windows Security and click on Virus & Threat Protection from the left-hand navigation pane
- Click on Manage Settings under Virus & Threat Protection Settings|
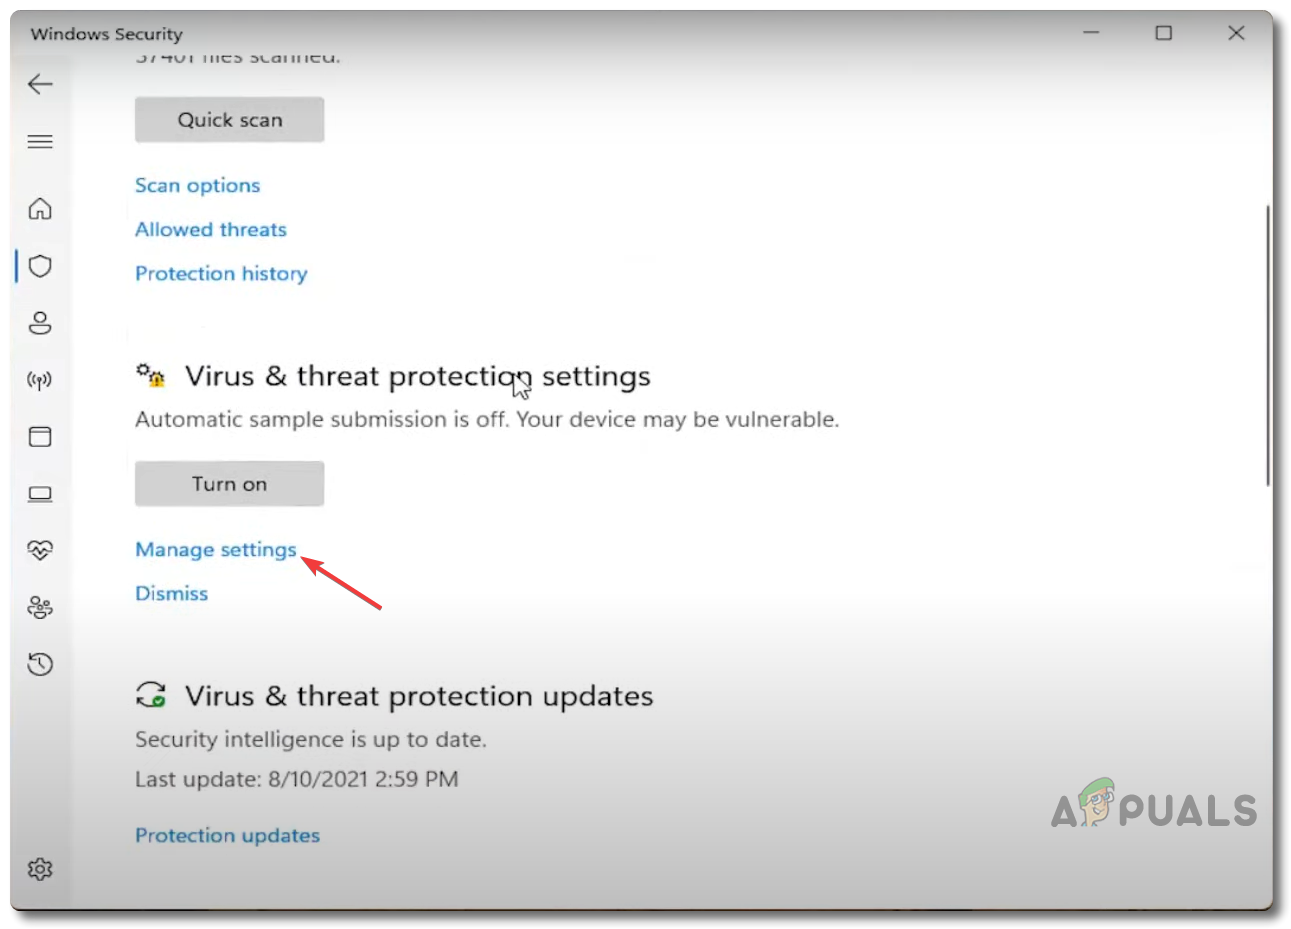
Virus & Threat Protection Settings - Now scroll down to the bottom of the page and click on Add or Remove Exclusion under Exclusions
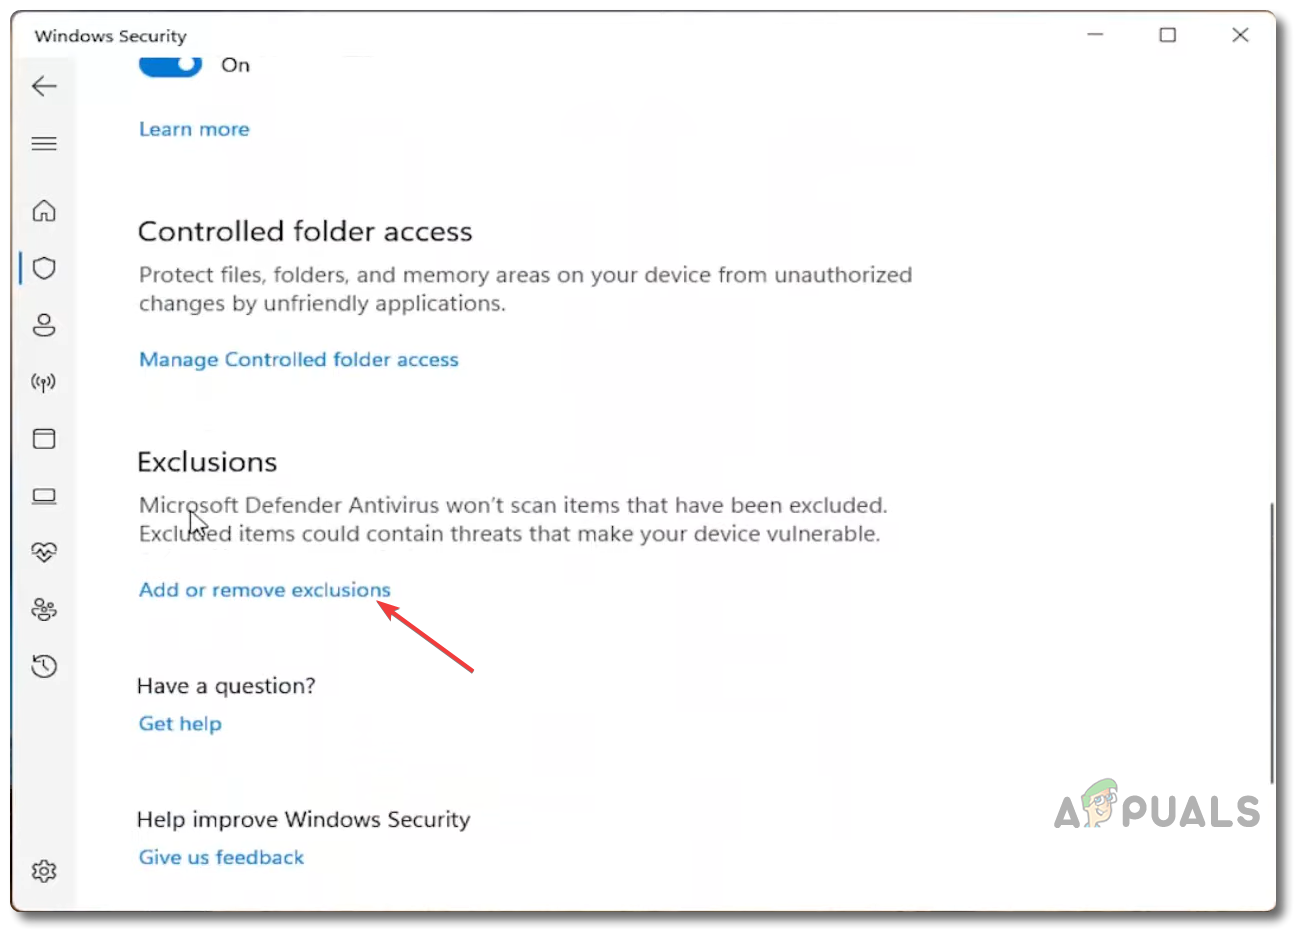
Windows Security Add or Remove Exclusions - Click on Add an Exclusion and select Folder
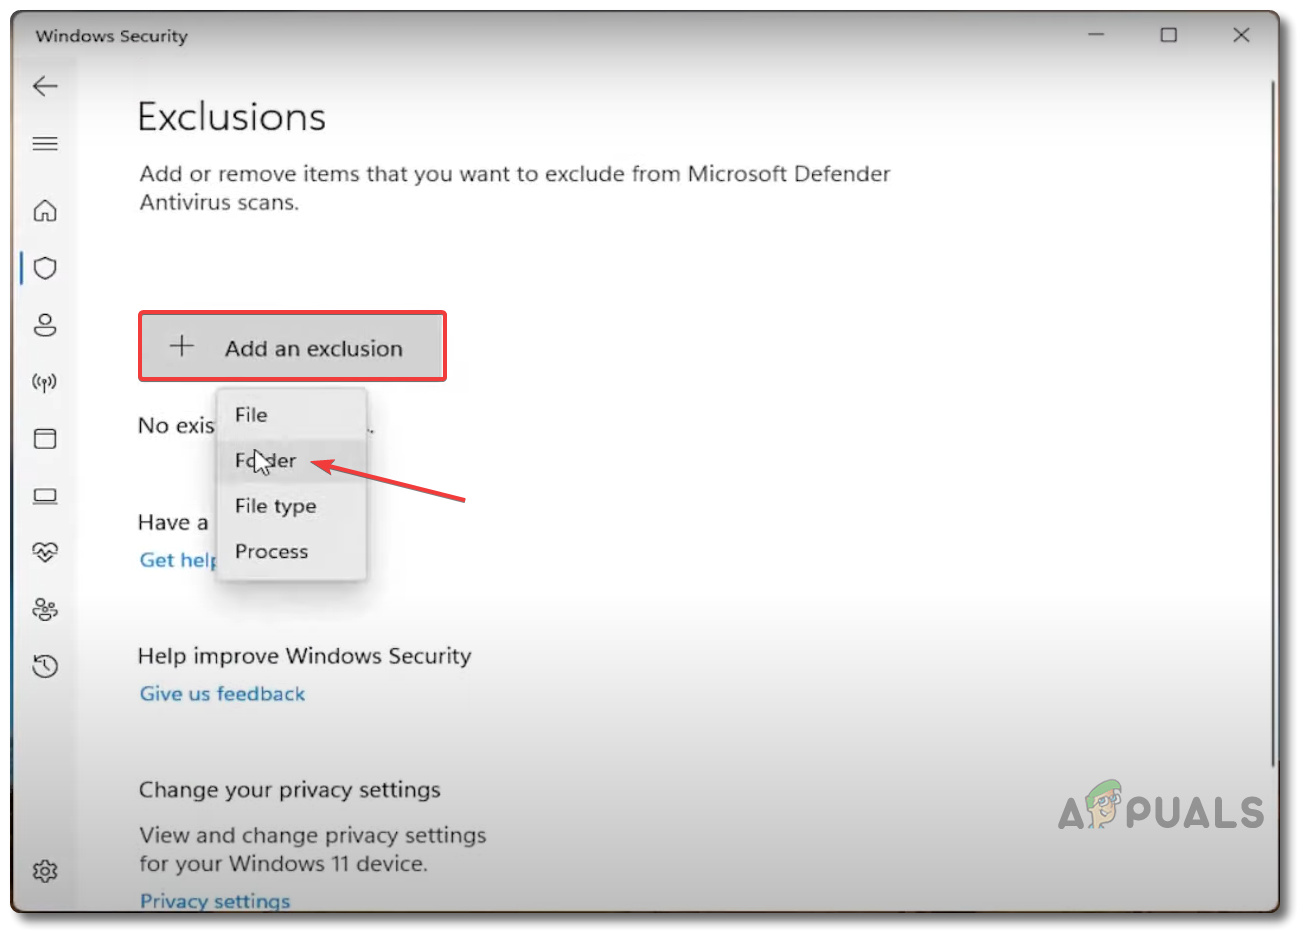
Windows Security Add an Exclusion Folder - Now add the following folders to the Windows Security Exclusions list: C:\Riot Games and C:\Program Files\Riot Vanguard
Note: Please select your own installation locations where you have installed Riot Vanguard and Valorant.
Turn off Windows Security/Defender Realtime Protection
If for some reason adding your Valorant and Vanguard files and folders still doesn’t fix the issue for you then you can try completely turning off Windows Security/Defender Real-time Protection to troubleshoot the issue. Follow the steps below to do so:
- Click on Start Menu and type Windows Security
Start Menu to Windows Security - Open Windows Security and click on Virus & Threat Protection from the left-hand navigation pane
- Click on Manage Settings under Virus & Threat Protection Settings
Virus & Threat Protection Settings - Now turn off Real-time Protection
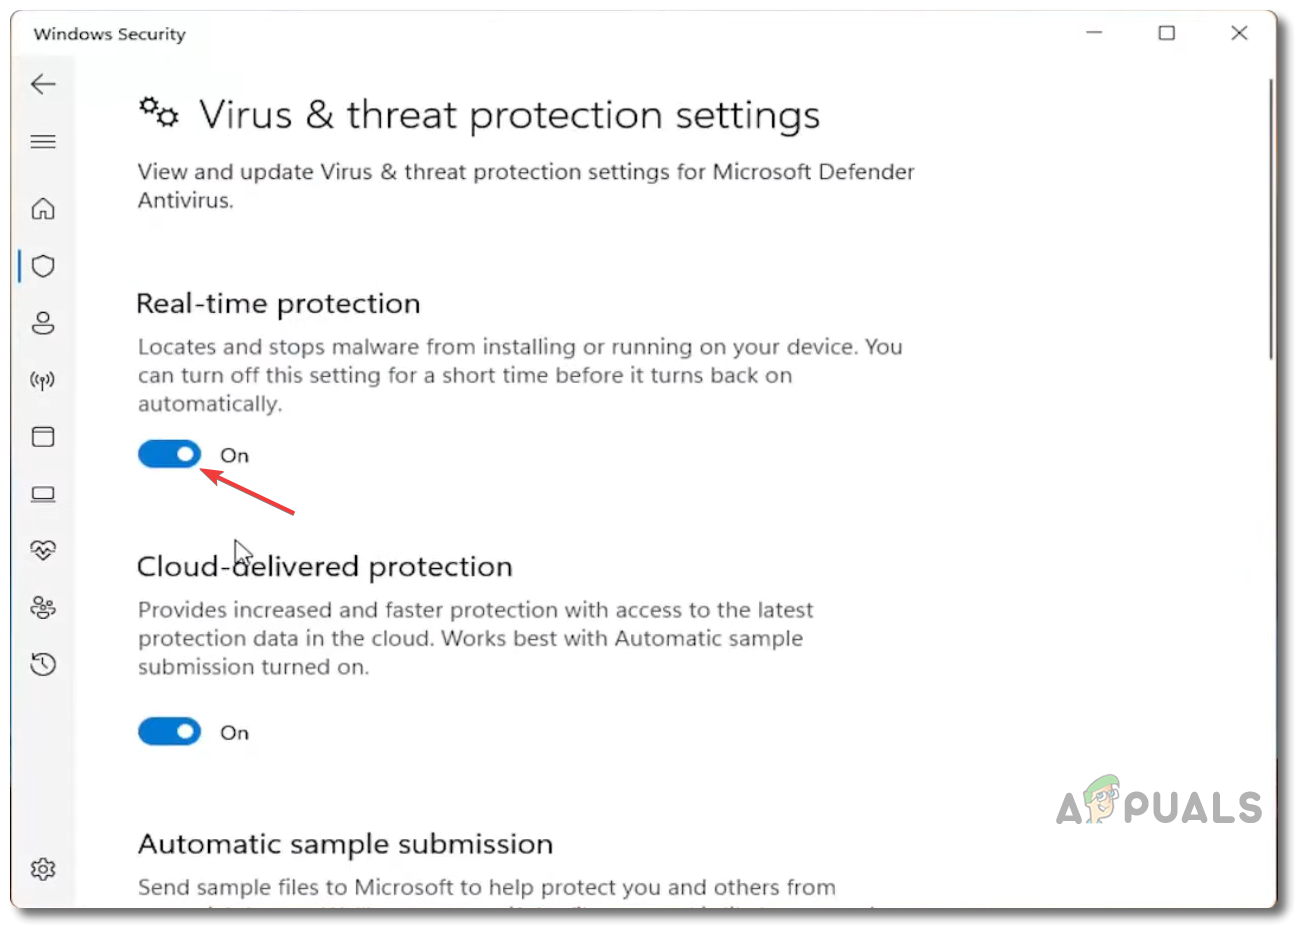
Windows Security Turn off Realtime Protection
Note: If you are using any third-party antivirus program then try to find the same settings under then and disable them respectively.
Uninstall & Reinstall Vanguard
In some cases, it is possible that your Vanguard is bugged or corrupt and might be causing Valorant to crash at startup or not launch at all. In this case, you can try uninstalling and reinstalling the Vanguard to see if it fixes your issue or not. To do so follow the steps below:
Uninstall Vanguard
- Go to your system tray icons, find Vanguard, and right-click on it
- Hover over your mouse to More > Uninstall Vanguard
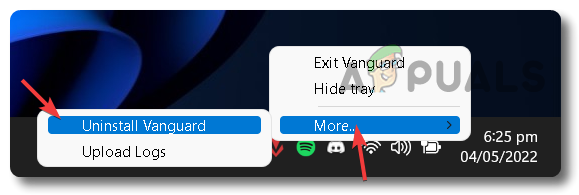
Uninstall Vanguard from Tray Icon - It will then ask “Are you sure you want to continue?” click Yes
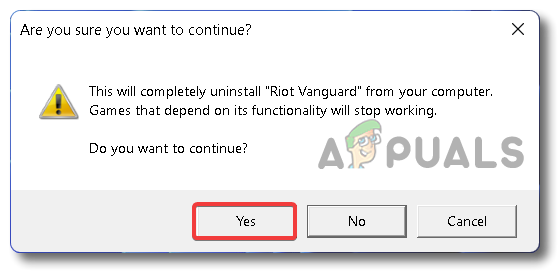
Press Yes to Confirm Vanguard Uninstall - Wait for the process to finish uninstalling Vanguard and then Restart your system once done.
Uninstall Vanguard Using Command Prompt
If, for some reason, the above-mentioned process doesn’t work or fails then you can try manually uninstalling Vanguard from the Command Prompt using a command line. Follow the steps below:
- Click on Start Menu and type Command Prompt or CMD
- Right-click on the command prompt and select Run as Administrator
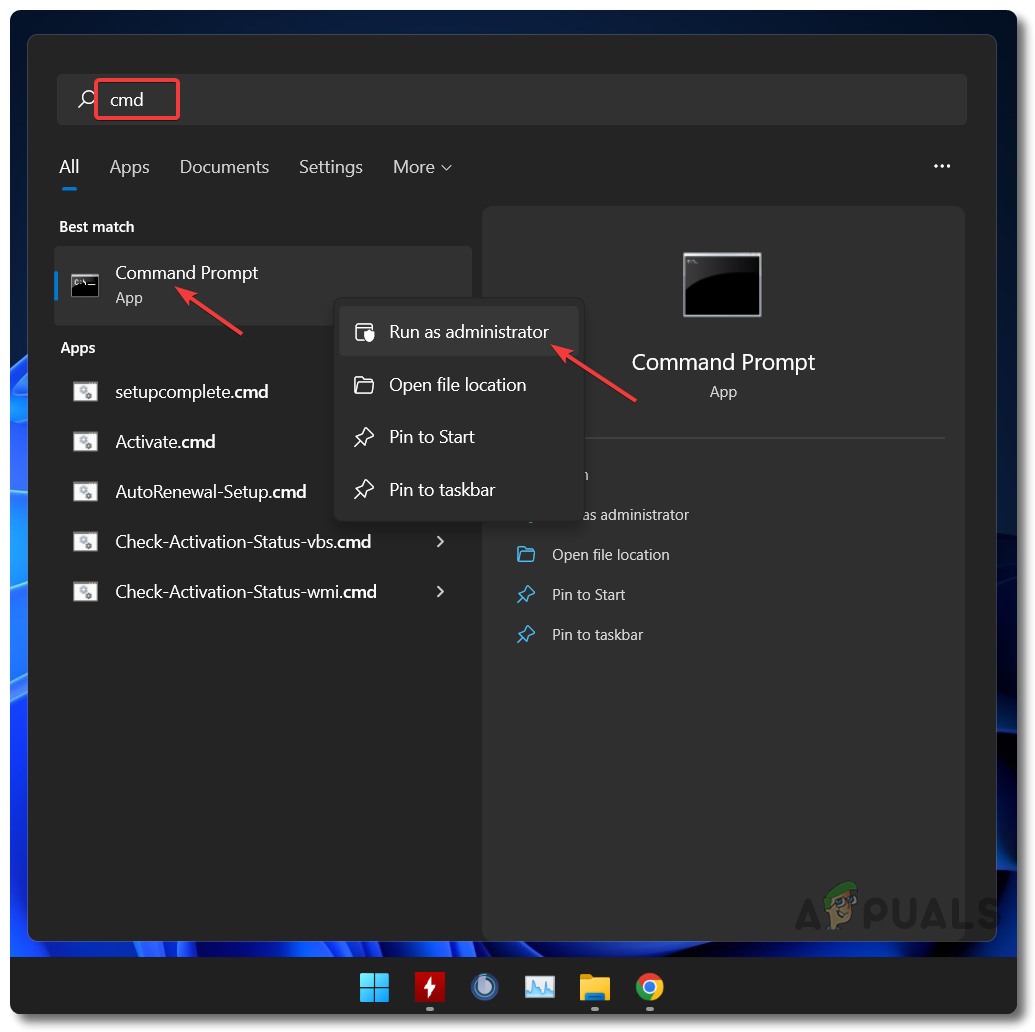
Start Menu to Command Prompt - Now type the following commands one by one and press enter: sc delete vgc and sc delete vgk in succession
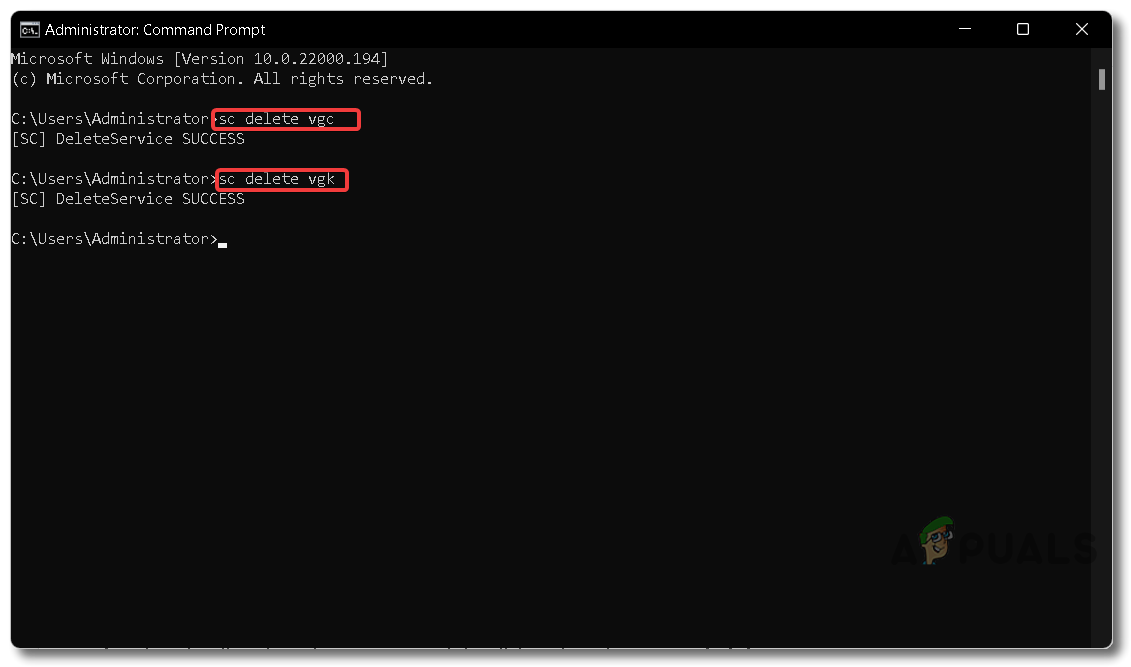
Uninstall Vanguard Completely Using Command Prompt - Reboot your PC and go to Riot Vanguard’s install location (Default: C:\PROGRAM FILES\)
- Right-click on the folder named Riot Vanguard and Delete it.
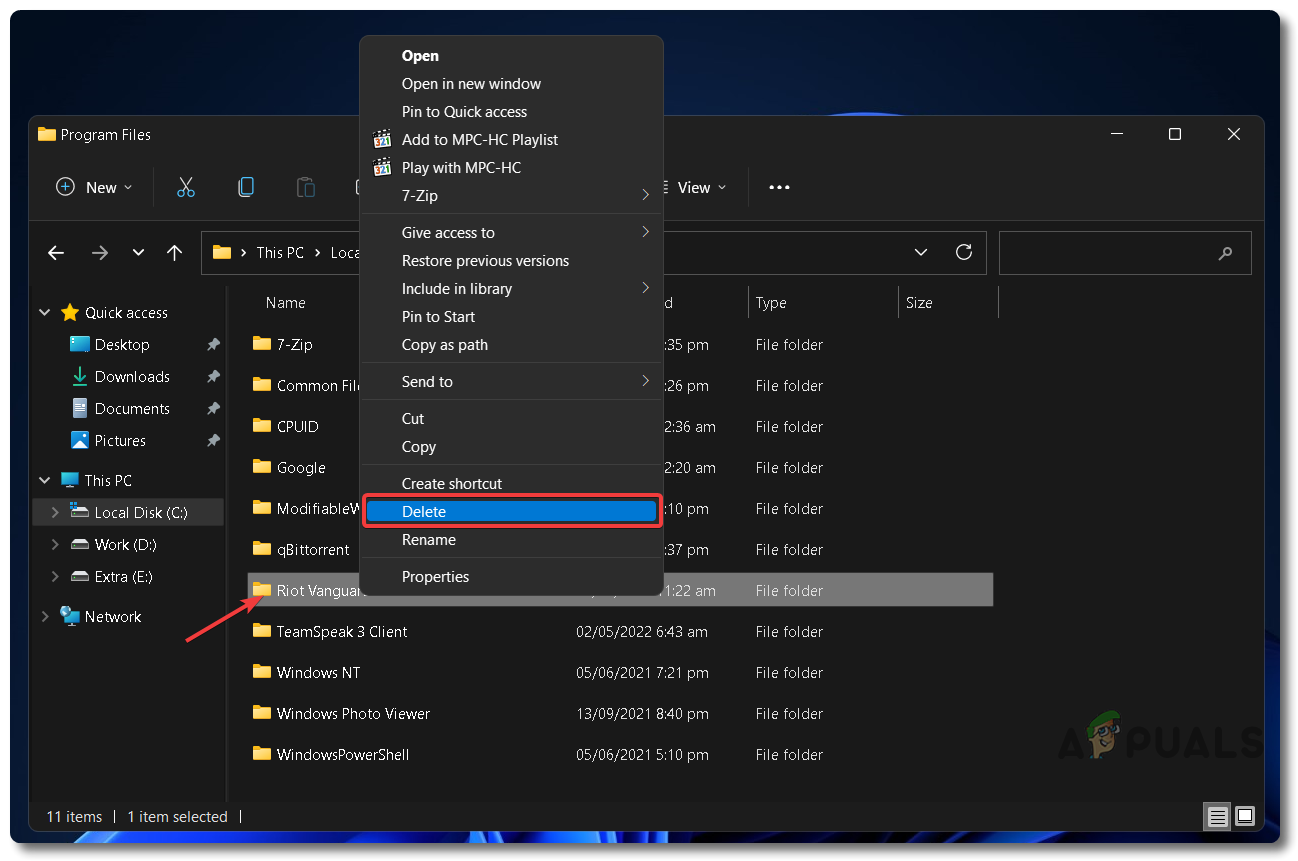
Confirm Deletion of Riot Vanguard Leftover Files
Reinstall Vanguard/Valorant
- To reinstall Vanguard just open your desired browser of choice and go to this link
- Sign in with your Riot Account or make a new one if you don’t have one already
- Click on Play Free and then click Download on the next page
Download Valorant - After downloading the Valorant’s setup, right-click on it and Run as Administrator
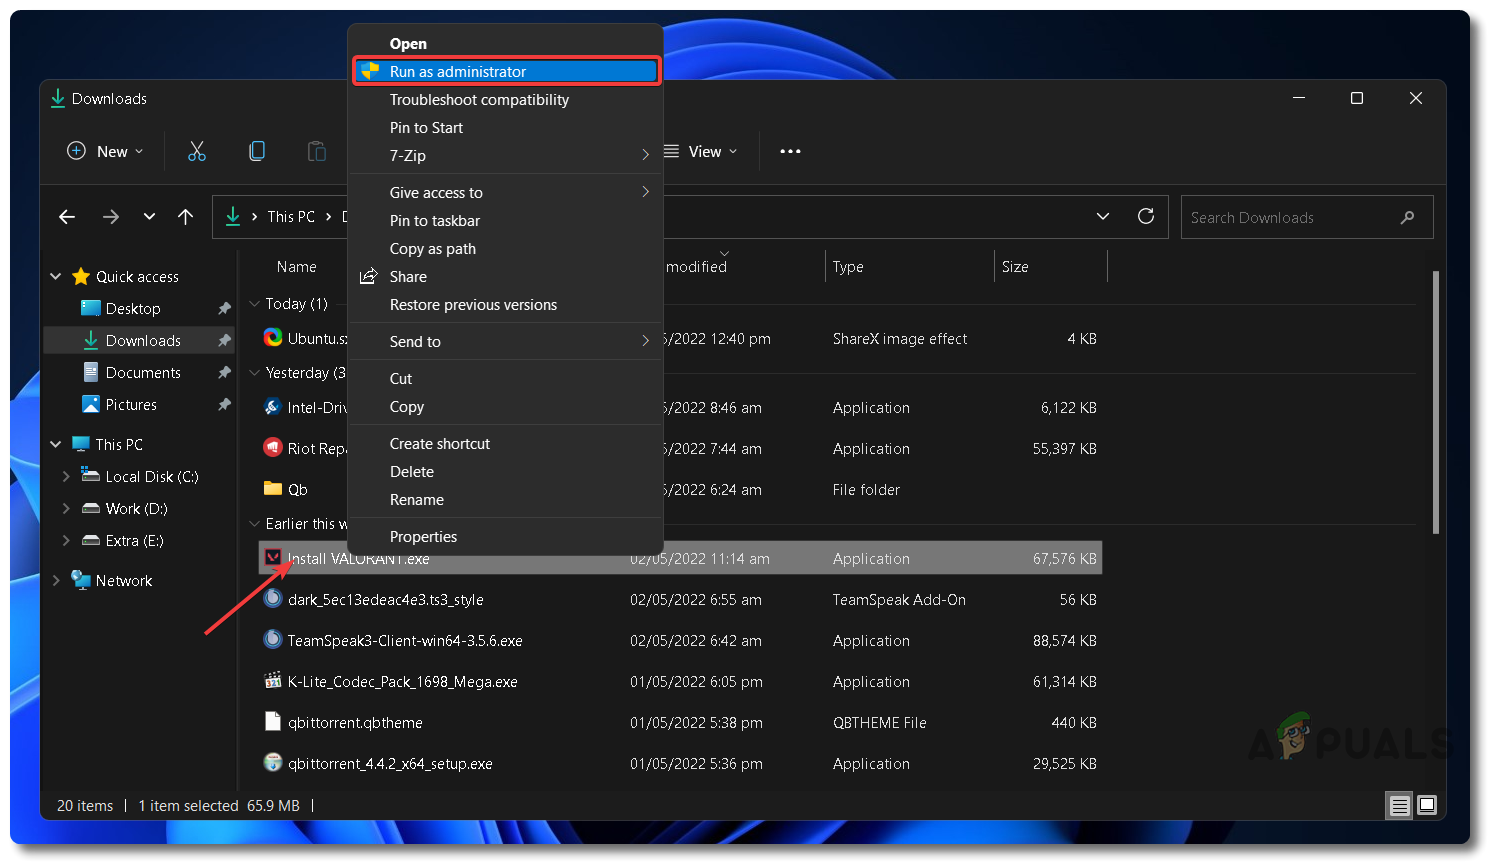
Running Valorant Setup File with Administrative Privileges - Select the install location and click on Next > Install.
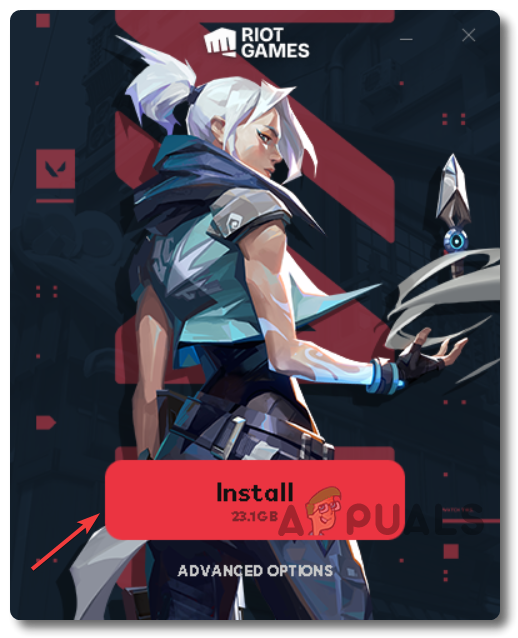
Install Valorant - Restart your PC after the setup has finished installing Riot Vanguard.
Note: Reinstalling Vanguard will also automatically repair your Valorant in case you have some valorant files corrupted or are missing some files.
Install a Fresh Copy of Valorant
If all else fails to fix the issue of Valorant crashing at startup or not launching at all, then you what you can try is to completely uninstall and try reinstalling a fresh copy of Valorant. To do so, follow the steps below:
Uninstall Valorant
- To uninstall Valorant, first, click on the Start menu and type Settings
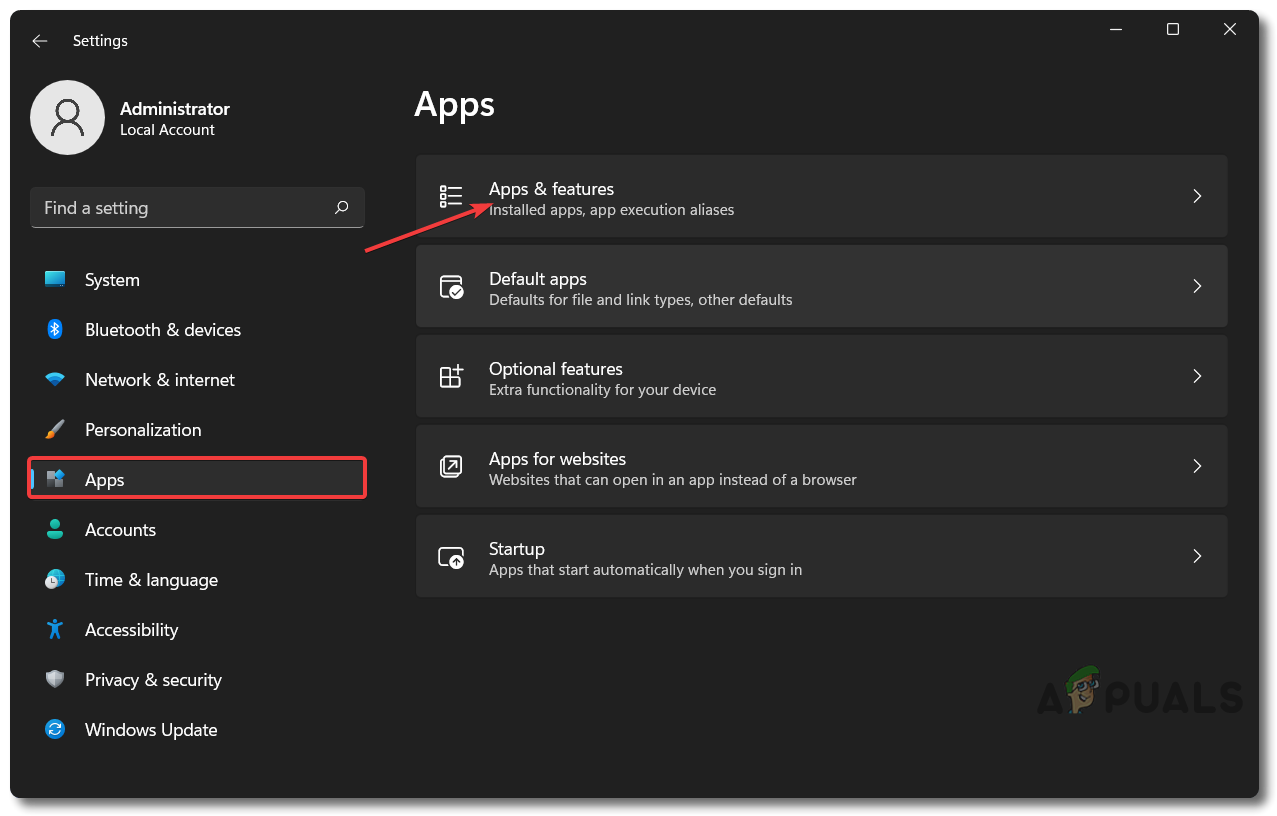
Start Menu To Settings Menu - Open Settings and navigate to Apps from the left-hand navigation pane
- Click on Apps & Features, and it will bring up the list of all applications and games installed on your PC
Apps Settings to Apps & Features - From there, either type Valorant in the search bar or manually navigate to Valorant
- Click on the three-dot menu in front of Valorant and select Uninstall.
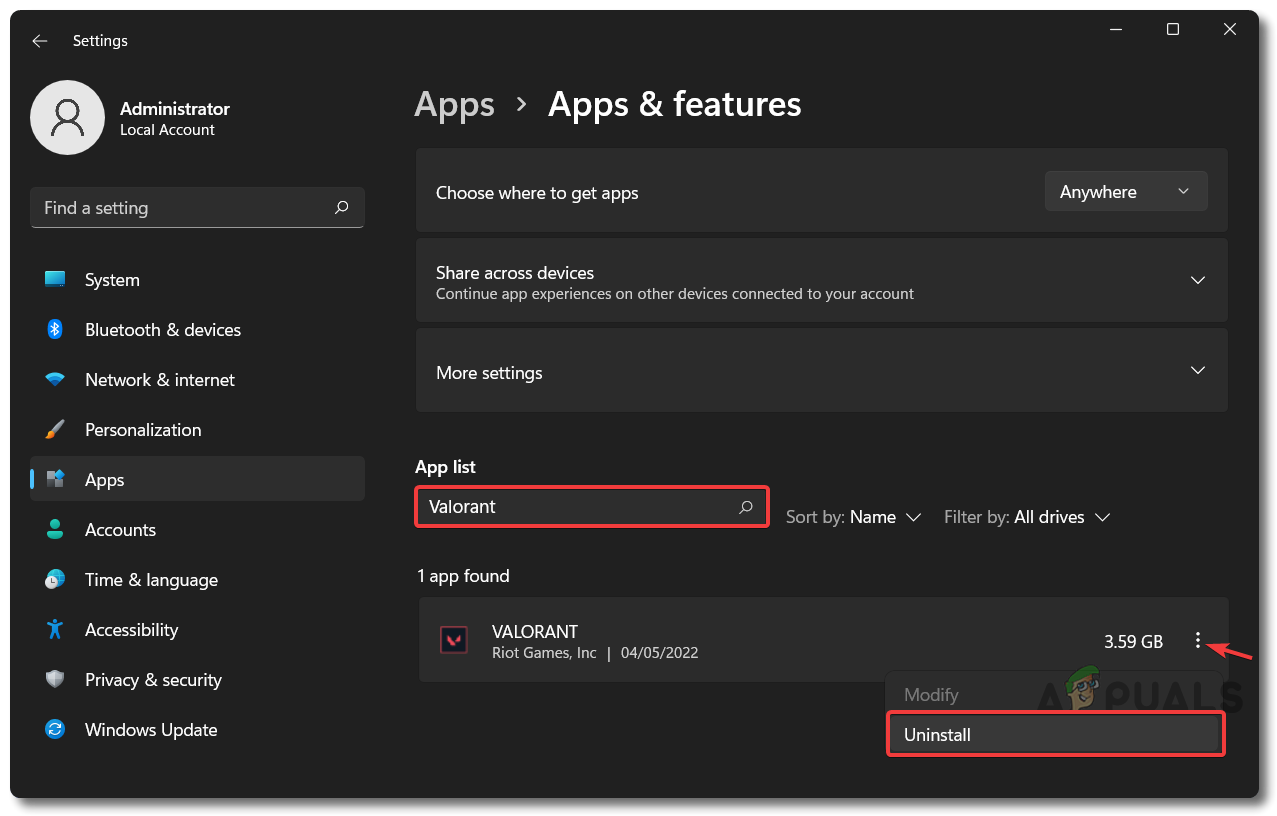
Uninstall Valorant
Reinstall a Fresh Copy of Valorant
To install a fresh copy of Valorant along with its anti-cheat Vanguard Anti Cheat please follow the steps mentioned above under the section: Reinstall Vanguard/Valorant.
Contact Riot Support
If all else fails then you can try to contact Riot Support and explain the problem to them along with sending them system and valorant logs using Riot Repair Tool (RRR) to help them identify and fix the issues with ease. The Riot support staff is usually very responsive and most of the time replies within 24hrs of you sending them a request. Follow the steps below to contact them:
- Open your desired Browser of choice and navigate to the following link
- Sign in with your Riot Account and click on Submit a Ticket
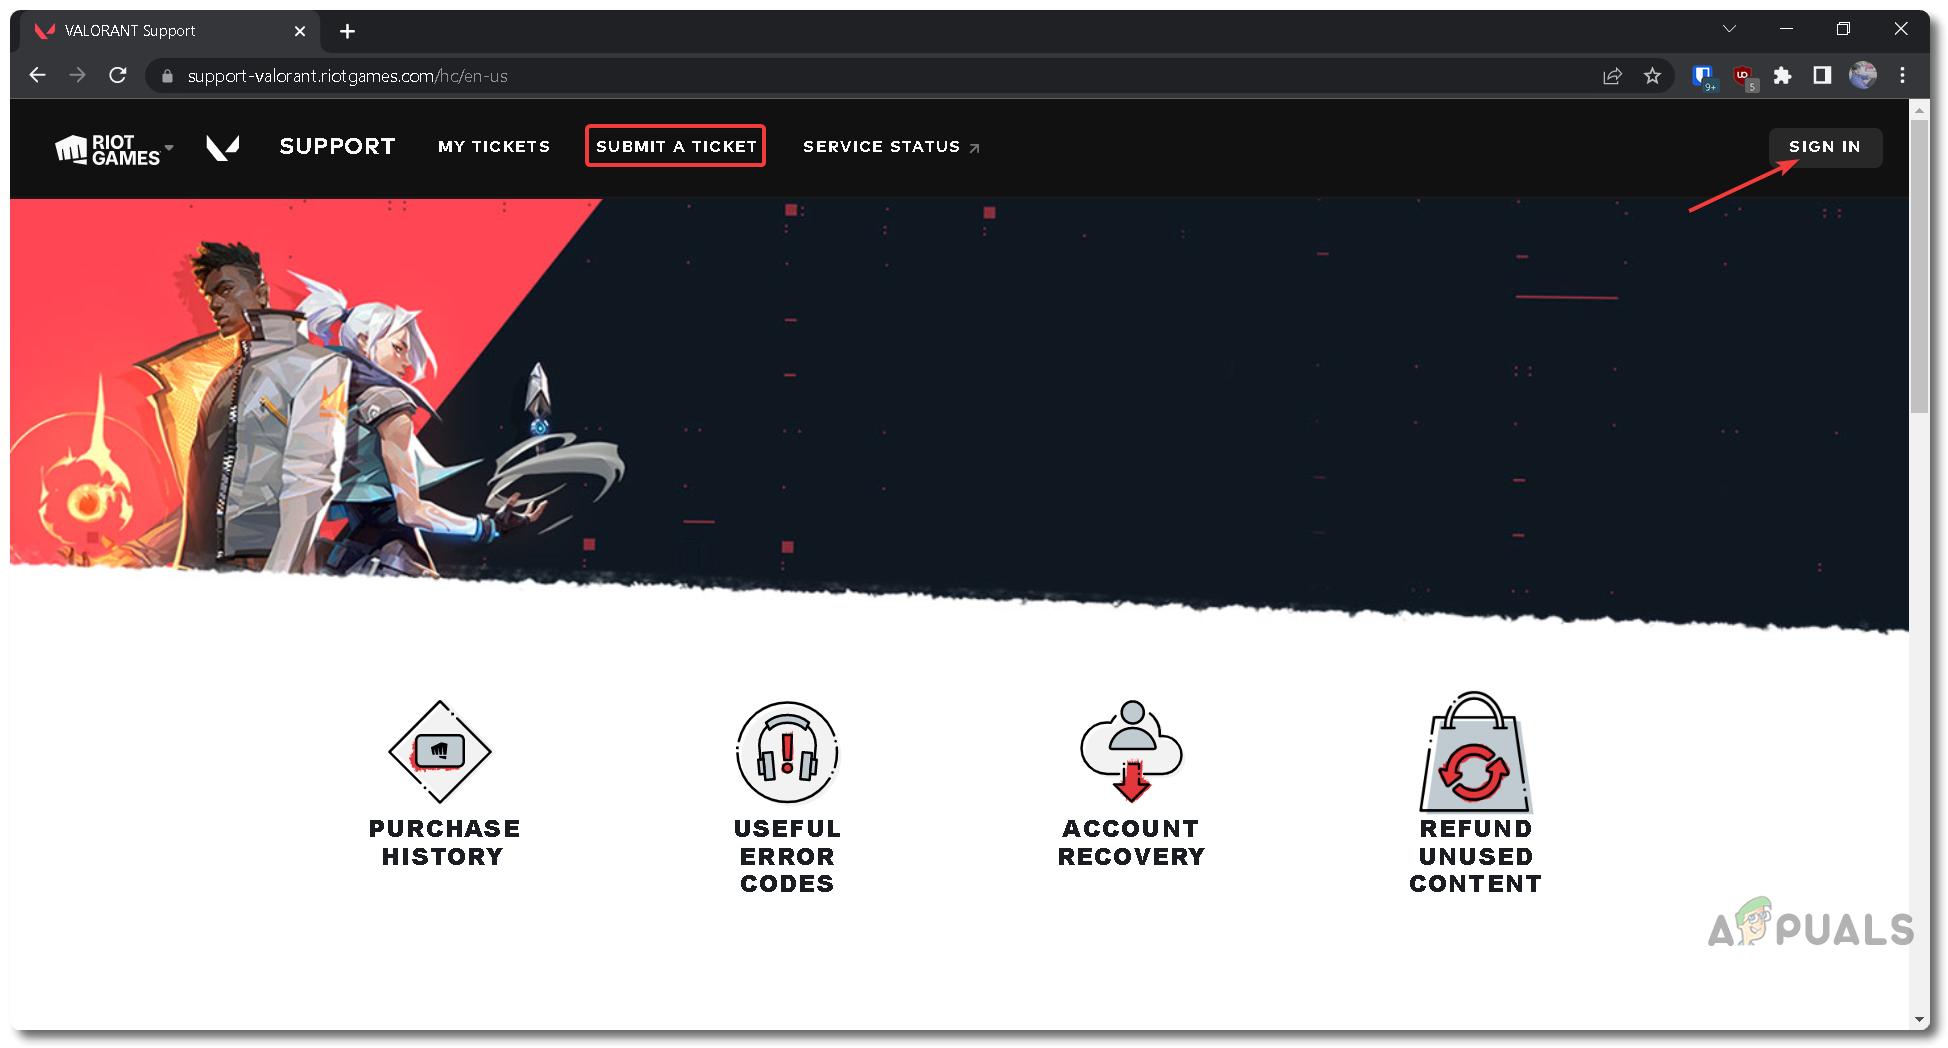
Submit A Ticket To Riot Support - Under Request Type, select: Tech Issues: Install, Patch, Lag or Crashes
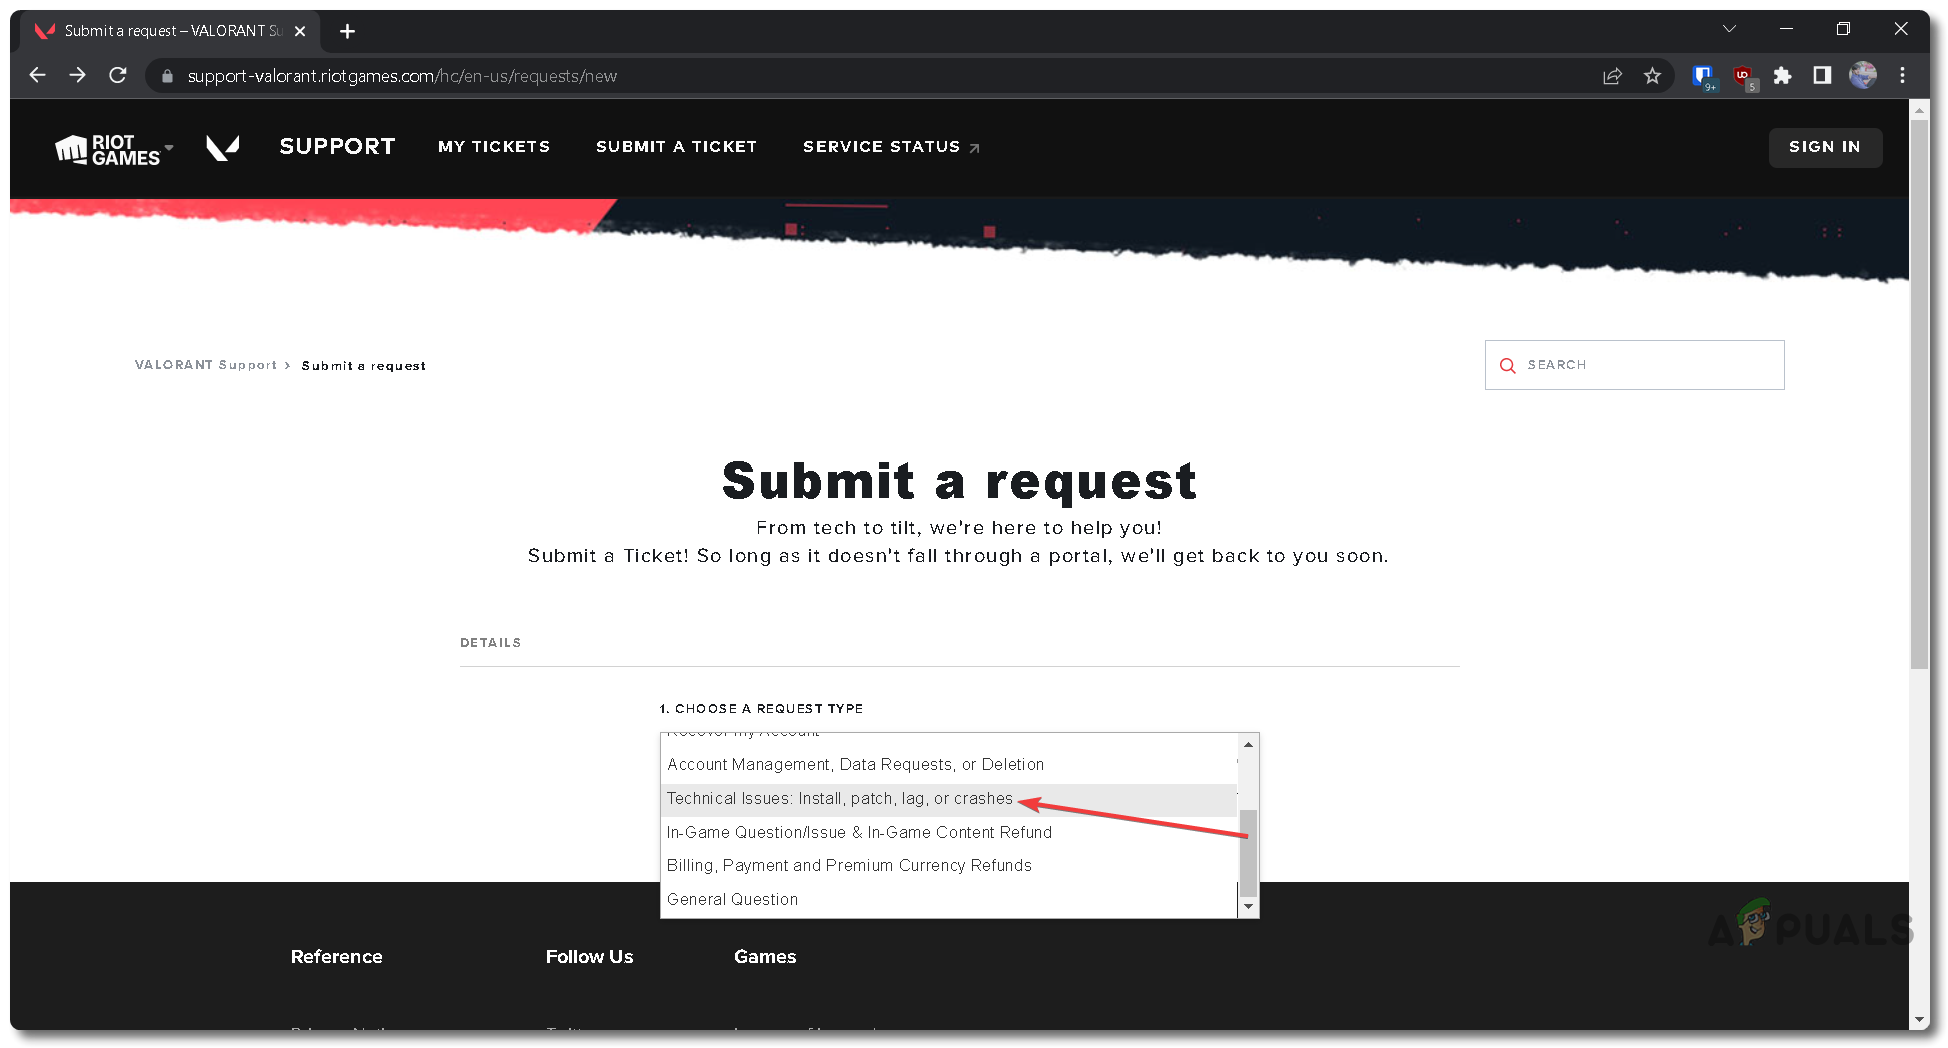
Riot Support Ticket Request Type - Fill out the Subject and Description with the best possible title and explanation of your issue along with the rest of the stuff below
- Attach any files/logs below (optional) and click Submit
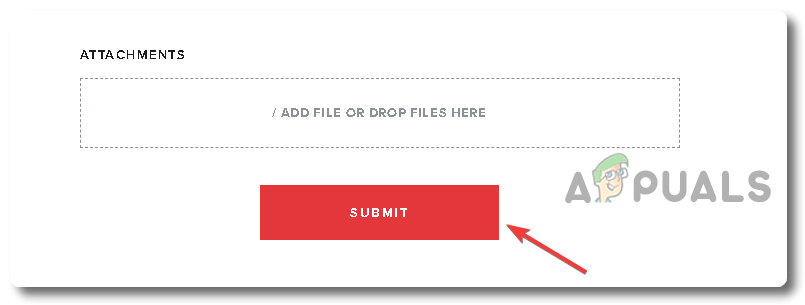
Riot Support Ticket Submit Now
Creating Logs Using Riot Repair Tool
In many cases, Riot Support asks for system and game logs from you to better troubleshoot and solve the problems that you are having that are preventing you to launch Valorant or making it crash at startup. To do so, follow the steps below:
- Click on the following link to download the official Riot Repair Tool (RRT) from Riot Games
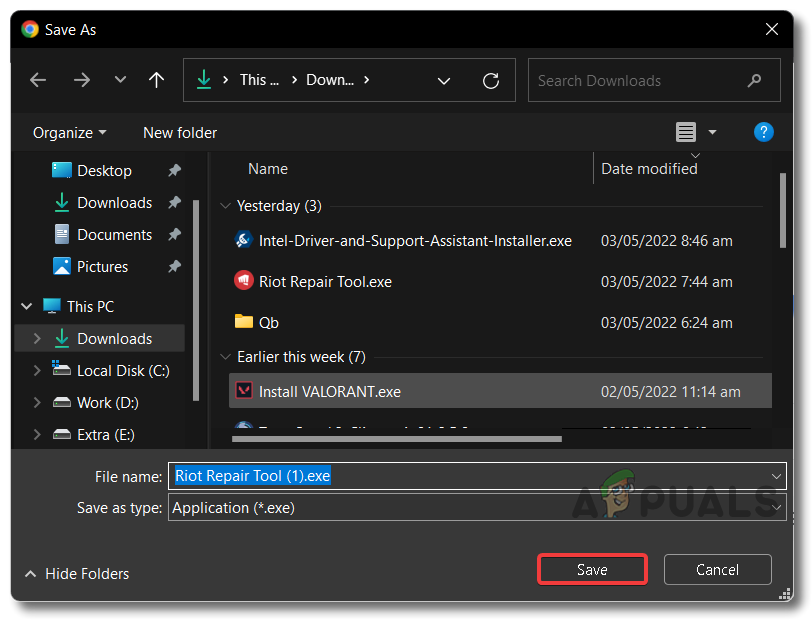
Riot Repair Tool Download - After downloading, right-click on the file and select Run as Administrator
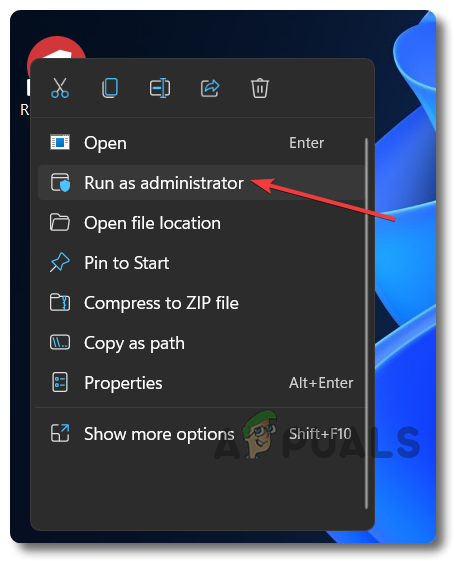
Riot Repair Tool Run As Administrator - Tick Valorant out of all the options presented and click Start
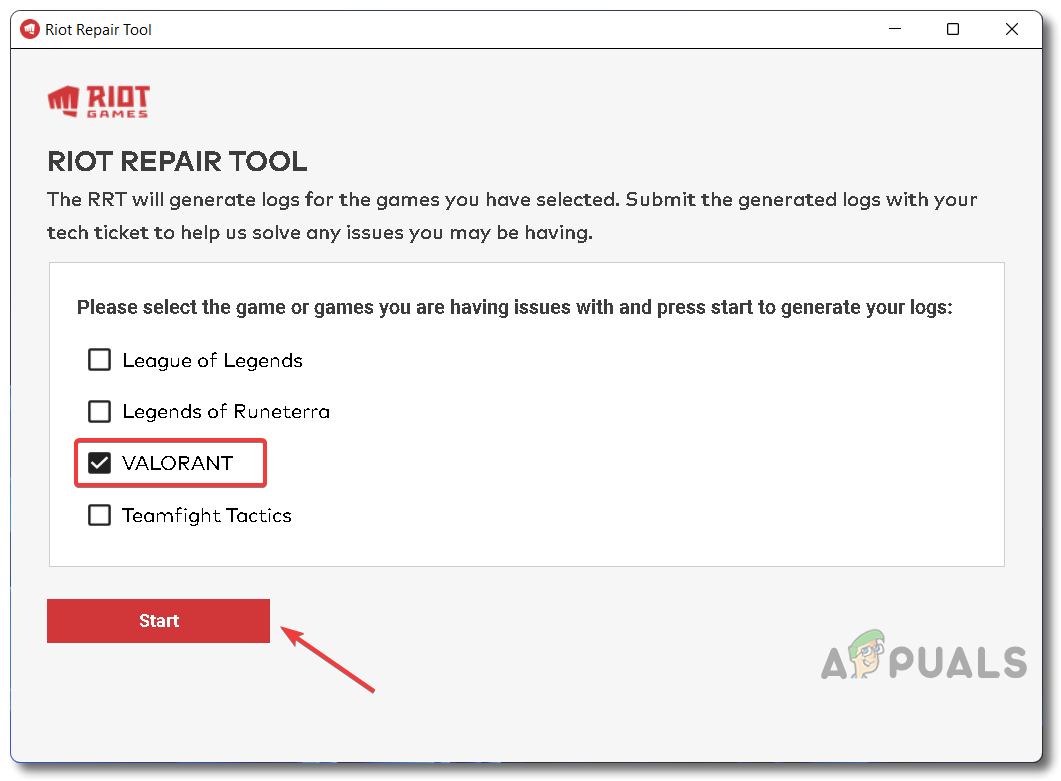
Check Valorant from Riot Repair Tool and Start - After Riot Repair Tool is finished generating logs, click on Open Folder
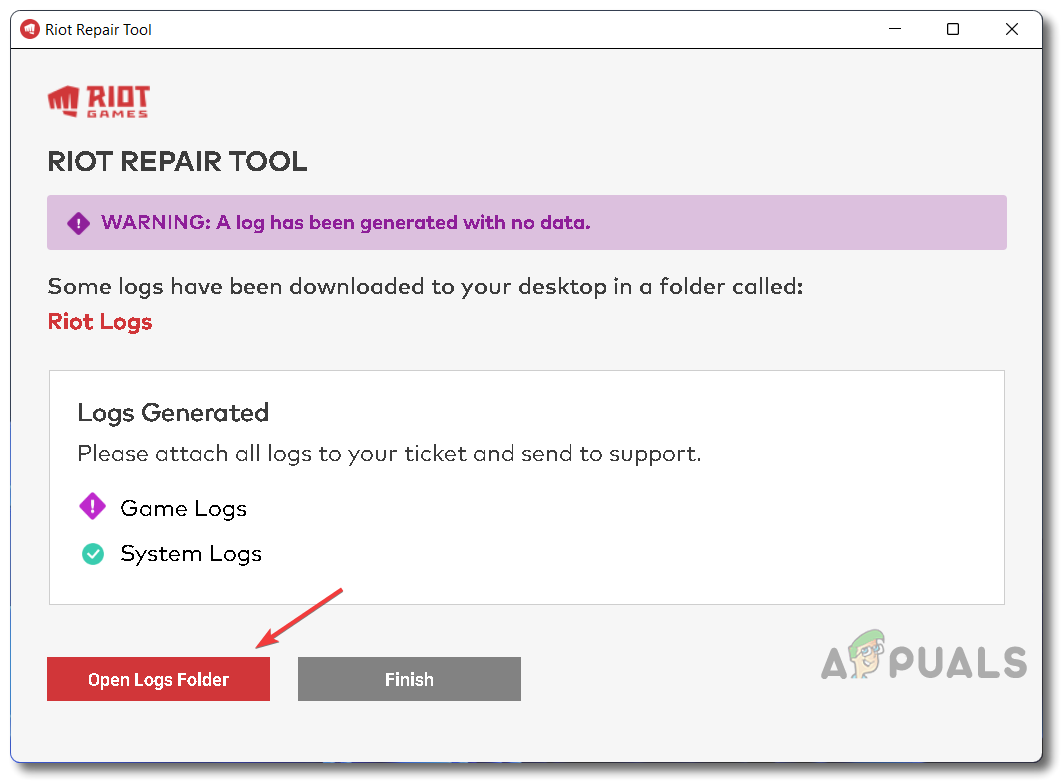
Open Logs Folder from Riot Repair Tool - Copy and attach both System Logs and Game Logs to send them to Riot Support when contacting them.
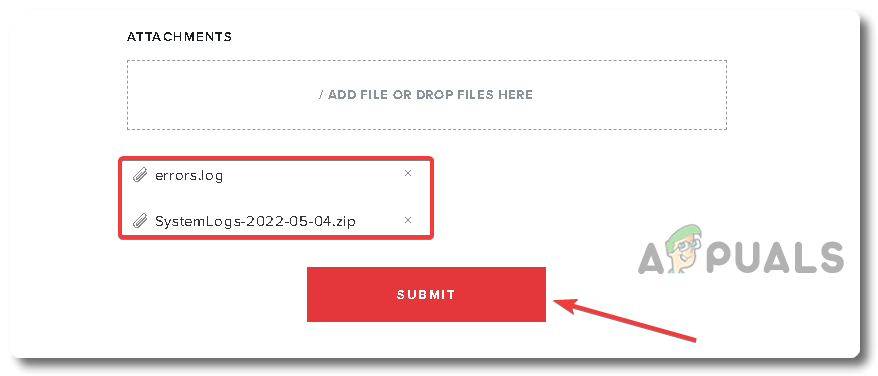
Attach Game Logs and System Logs and Submit to Riot Support
Above, we have explained all the possible scenarios that could be the direct or indirect reason for your Valorant to crash or not launch at all, to begin with along with all the possible ways to troubleshoot and fix them. Please consult a professional if everything mentioned above fails to troubleshoot or completely fix the problem for you.


