How to Fix Valorant Crashing on Windows?
Many players have been facing an issue where their Valorant game keeps crashing continuously. This can be really frustrating as it is repetitive and thus prevents you from enjoying the game. As it turns out, the reason that you face this problem can be due to a number of causes which includes third-party software on your system interfering with the process or in some cases, outdated graphics drivers. The game can crash at any given moment so it is not restricted to the main menu or being in game, rather it can crash at any random time. This issue has affected a lot of people and due to that, there are quite a few ways that can help you in resolving this which we will mention in this article so you don’t have to worry.
Valorant is a really famous game and it rose to popularity really quickly due to its similarities with CS:GO. As it turns out, the problem that you are facing can vary depending on your system as we mentioned above. This includes the usual third-party interference or outdated display drivers however that is not it. In addition to that, there are quite a few other reasons that may result in the problem in question. Therefore, before we get started with the different solutions available that will help you in fixing the issue, let us first go through the causes of it so that you are able to isolate the source of the problem in your case. With that said, let us get started.
What Causes Valorant to Crash Randomly?
- Insufficient Game Permissions — One of the reasons that you may encounter the game crashing is when the game is running with insufficient permissions. This can often happen when a service in the background is intervening with the game process due to which it crashes. In such a scenario, you will have to run the game as an administrator to fix the problem.
- Outdated BIOS — Another reason that you may face this problem is when you are running outdated BIOS on your system. BIOS is something that usually people don’t keep track of as it isn’t used usually which is why it can skip the eye. However, it is an important part of your computer and having an obsolete version can cause several issues including this one. Therefore, you will have to simply update your BIOS to resolve the problem.
- Outdated Windows — In addition to the BIOS, running the game on an old version of Windows can also cause the problem to occur. This can often happen due to compatibility issues in which case you will have to update your Windows to the latest version available to resolve the problem.
- Outdated Graphics Drivers — Another thing that can play a vital role in causing the problem to appear is outdated graphics drivers. Having outdated graphics drivers is not really ideal as it can result in several problems especially when you are playing games on your computer. Therefore, in order to fix this, you will have to make sure that your graphics drivers are up to date.
- Overclocking — In some cases, the problem can also be caused by an overclocked CPU or GPU. This has been reported by multiple users who were facing it and to resolve it, you will simply have to remove the overclocking from your hardware.
- Third-Party Software — One of the most common reasons for such issues is the interference of a third-party software on your system with the game. This can be anything on your system, from your third-party antivirus program to any other random application. The Samsung Printer Manager has been also one of the known applications that result in this issue. Regardless, to resolve this, you will have to get rid of the interfering application on your system.
- Valorant CPU Priority — Finally, one of the last things that may end up causing the issue on your computer is the priority of the game on your CPU. This can often happen when you have another high priority application running which can cause the game to crash because of its lower priority as the processing power is given more to the other application. To fix this, you will simply have to increase the priority of your client and game.
Solutions to Fix Valorant Crashing Problem
Now that we have gone through the potential causes of the problem in question, we can finally get started with showing you the various solutions that are available which can help solve your problem. So, without further ado, let us get right into it.
Run Valorant as an Administrator
As it turns out, the first thing that you should do when encountering the issue in question is to go ahead and run the game as an administrator. Problems like these can often be related to insufficient permissions which can be easily resolved by running it as an admin. When you run the application as an administrator, it will have more than enough permissions to run smoothly and the intervention of another service won’t get to it easily. To run the game as an administrator, follow the instructions given down below:
- First of all, make sure that your game is closed completely. Close the client completely as well.
- Then, open up the Start Menu and search for Valorant.

Searching for Valorant in Start Menu - On the result shown, right-click and from the drop-down menu choose the Run as administrator option.
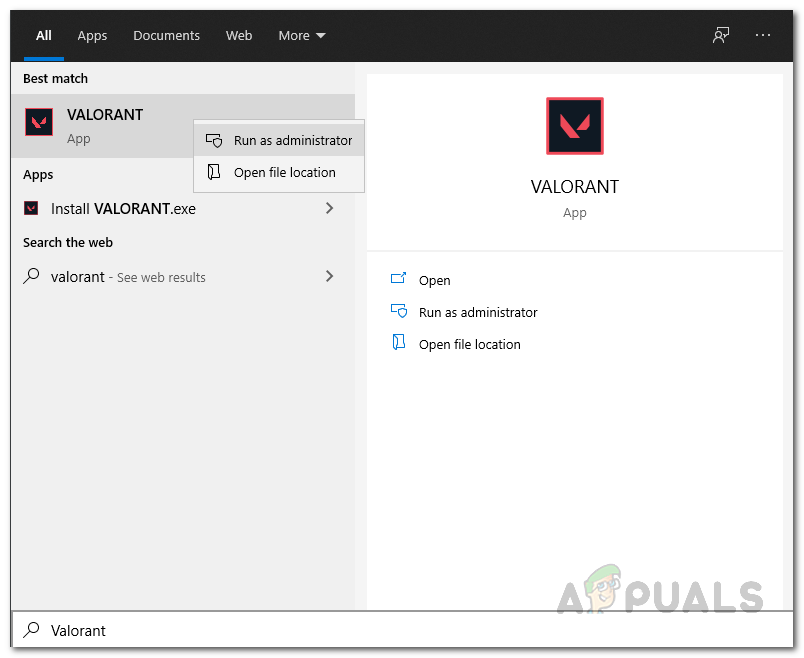
Opening Valorant as an Admin - Then, on the follow up UAC dialog box, click the Yes button.
- Once the game has started as an administrator, see if it still crashes. In case it doesn’t, you can edit the properties of the launcher to always run as an administrator from the compatibility tab.
Increase CPU Priority
Another thing that you can do while facing the problem mentioned here is to increase the CPU priority of the game. What happens is when you have another application that has a higher priority than Valorant, the CPU will process the tasks of that application first in place of Valorant which can cause the game to crash in some issues. To deal with this, you will simply have to increase the CPU priority via the Task Manager. For this, follow the instructions given down below:
- First of all, go ahead and open up the client.
- Once it is open, right-click on your taskbar and from the menu that appears, choose the Task Manager option.
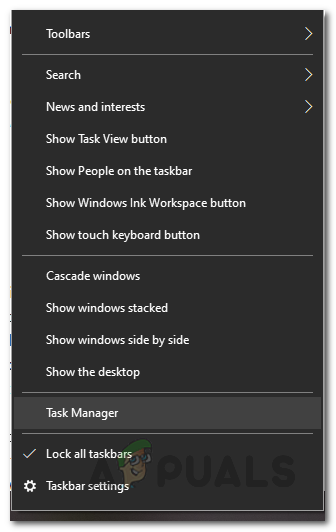
Opening Task Manager - On the Task Manager window, switch to the Details tab.
- From the list of processes, look for the Riot Client processes.
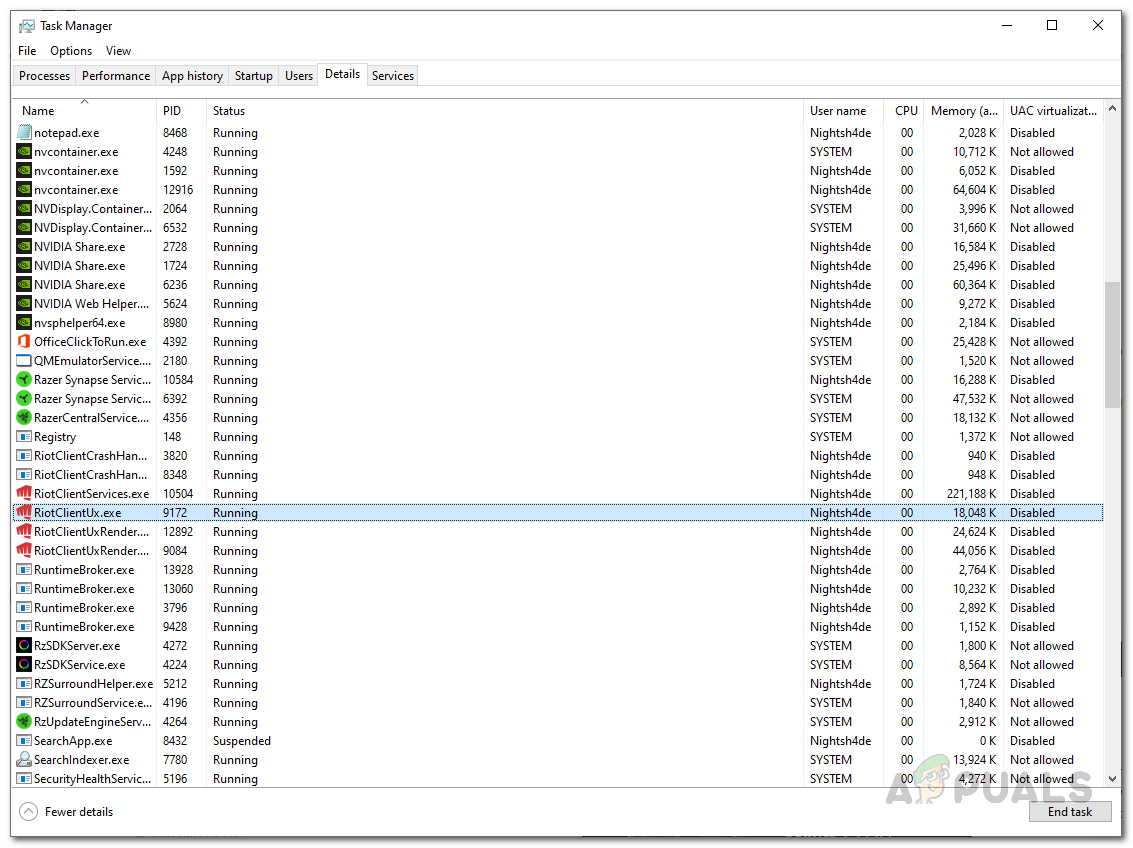
Locating Riot Processes - For all the processes, right-click on them one by one and from the drop-down menu, choose Set Priority > Above Normal.
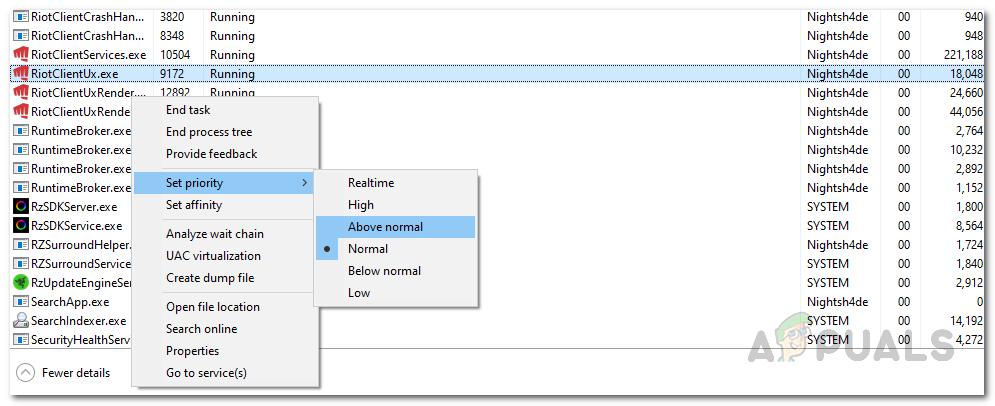
Changing CPU Priority for Riot Client - After doing that, go ahead and launch the game and then repeat the same process for the Valorant process in the Details tab.
- Once you have done all of that, go ahead and play the game to see if the problem still appears.
Update Graphics Drivers
Like we have mentioned, running games on outdated versions of graphics drivers is never a good idea. Graphics drivers are really important on your system especially when it comes to playing games on the system. Therefore, it is important to make sure that the graphics drivers installed on your system are up to date. The best way of doing this would be to uninstall the graphics drivers via the Device Manager and then download the latest version available from your manufacturer’s website. To uninstall graphics drivers on your system, follow the instructions given down below:
- First of all, open up the Start Menu and then search for Device Manager. Open it up.
- Once the Device Manager window is open, go ahead and expand the Display adapters list.
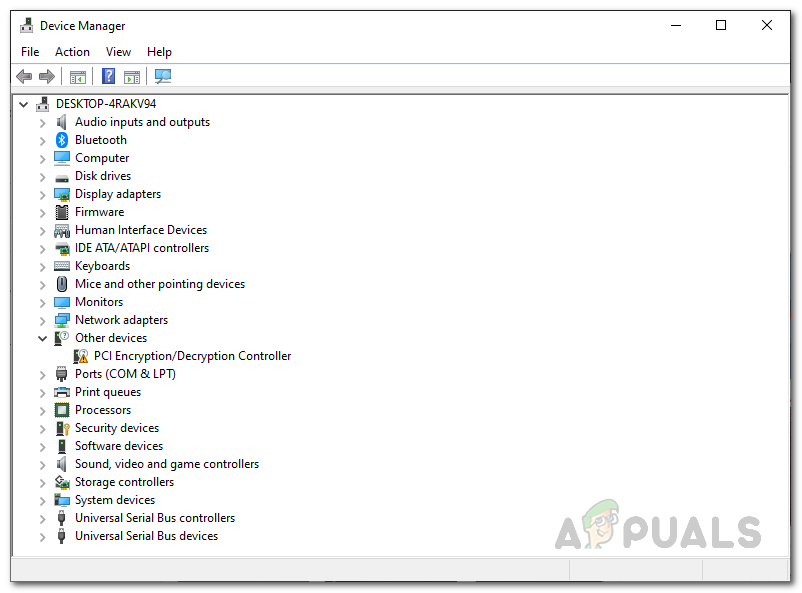
Device Manager - Then, from there, right-click on your graphics driver and from the drop-down menu choose the Uninstall device option.
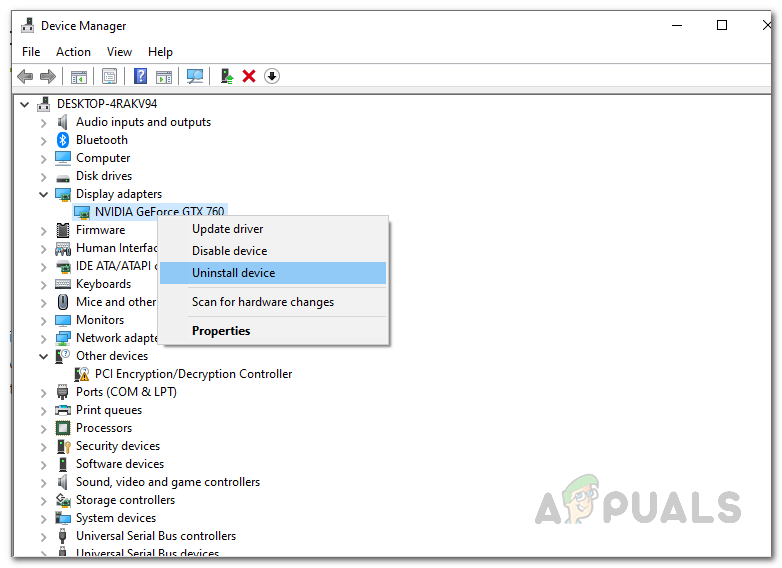
Uninstalling Graphics Drivers - After you have uninstalled the graphics drivers, go ahead and download the latest drivers available from your manufacturer’s website. Once downloaded, install them on your system and then reboot your computer.
- Once you boot up, start Valorant and see if you still crash.
Update Windows
As it turns out, in addition to the graphics drivers, running the game on an old version of Windows can also trigger various issues. These problems are often due to compatibility issues where the game requires the latest version due to a specific feature or fix. Therefore, if you haven’t updated Windows for quite a while, now would be a good time as any to go ahead and install the latest version available. This can be done via a few simple steps, follow through:
- First of all, open up the Windows Settings app by pressing the Windows key + I shortcut on your keyboard.
- When the Settings app opens up, navigate to the Update and Security option.
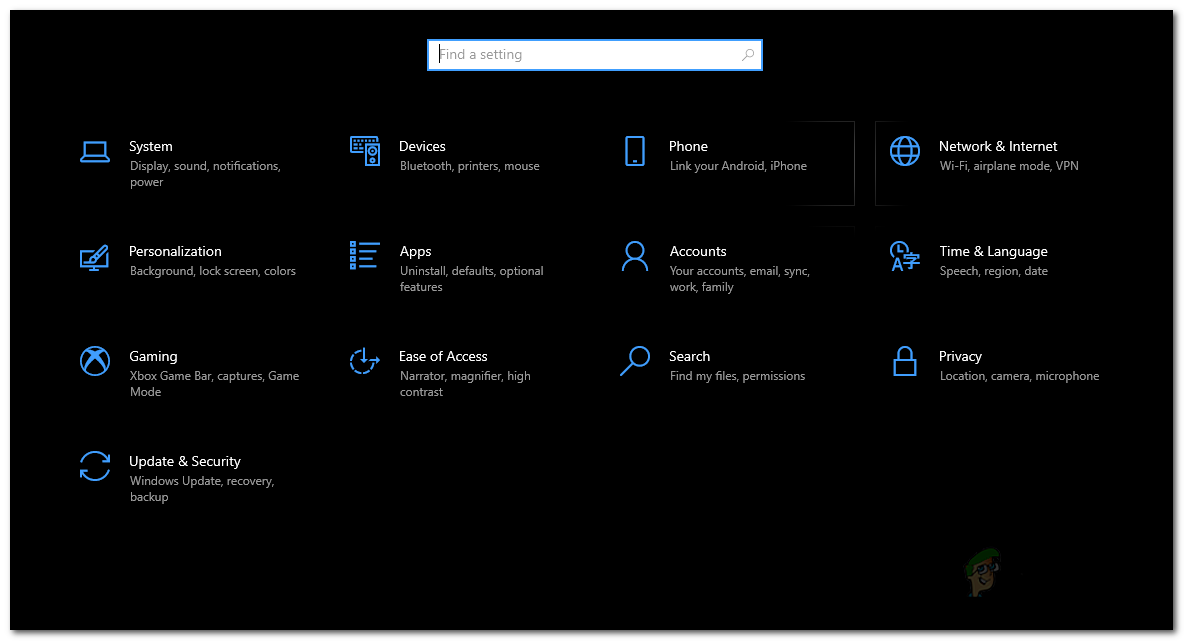
Windows Settings - There, on the Windows Update tab, click the Check for Updates option.
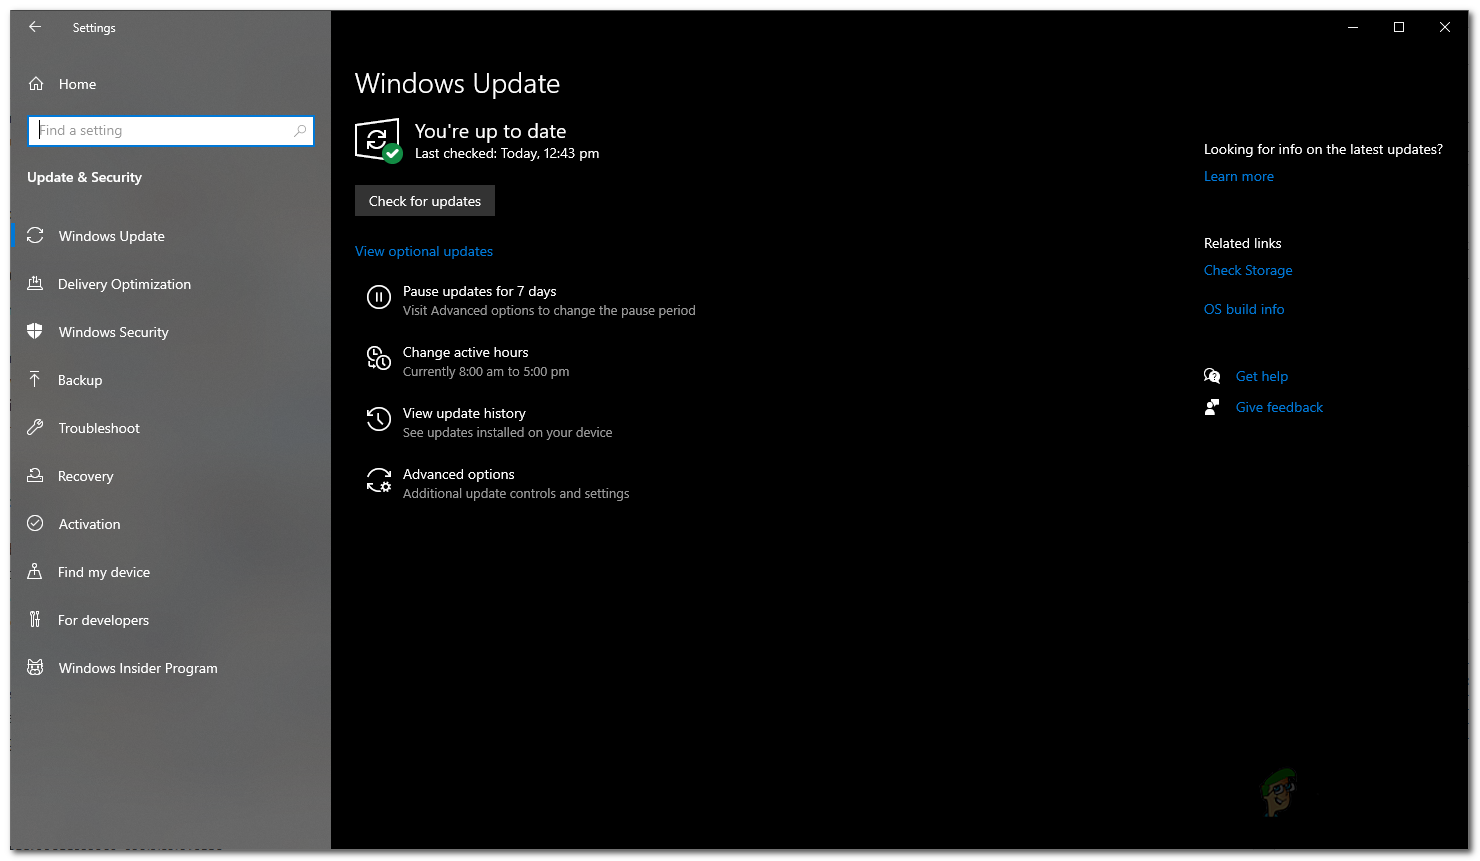
Checking for Windows Updates - Windows will check for any updates available and then install them on your system.
- Once your Windows has installed the updates, try playing the game to check if the crashes still occur.
Remove Overclocking
Overclocking is usually a good option as it lets you get more of your hardware for free. However, in some cases, this can cause some issues with certain games and cause it to crash. Therefore, if you have overclocked your PC, you will have to remove the overclock from your CPU or GPU and then see if the problem is still there. This has been reported by several users who overclocked their systems and later found that it was causing the game to crash. Removing the overclock fixed the problem for them so it might do the same for you as well. Thus, go ahead and remove any overclocks that you have applied and then try playing the game to check it for any crashes.
Update BIOS
As we have mentioned earlier, keeping your BIOS out of date is not really a good option as it contains several fixes and optimizations when it comes to the overall performance of your hardware. We don’t really use the BIOS menu that much in our daily lives due to which it usually slips the eye and most of us forget to update it. However, this is an important part of your computer system and you will have to make sure that it is up to date.
To update your BIOS, you will have to go to the website of your motherboard’s manufacturer and then search for any BIOS updates for your specific model. You can often find utilities published by the manufacturer to make this whole process easy so you can also opt for that. Once you have updated the BIOS on your system, open up the game to see if the problems are still there.
Perform a Clean Boot
Finally, if none of the above solutions have worked out for you, then it is likely due to the interference of a third-party program on your system with the game process. This can often be caused by the third-party antivirus software that you have installed on your system. In addition to that, the Samsung Printer Manager is also known to cause crashing issues with Valorant. If you have any of these apps installed, you will have to disable or uninstall them from your system and then see if the problem persists. In some cases, the problem can also be due to a different third-party program that may be lying around on your system. Figuring this out is usually difficult, however, to verify our suspicion, you can perform a clean boot and see if the game works fine in clean boot.
Clean boot basically starts Windows with only the required services running in the background so all of the third-party applications are disabled. To perform a clean boot, follow the instructions given down below:
- First of all, open up the Run dialog box by pressing the Windows key + R shortcut.
- Then, in the Run dialog box, type in msconfig and then hit the Enter key.
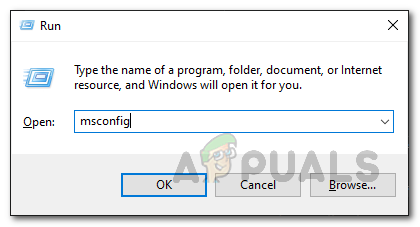
Opening System Configuration - This will open up the System Configuration window.
- On the System Configuration window, make your way to the Services tab.
- Once there, go ahead and click the Hide all Microsoft services checkbox.
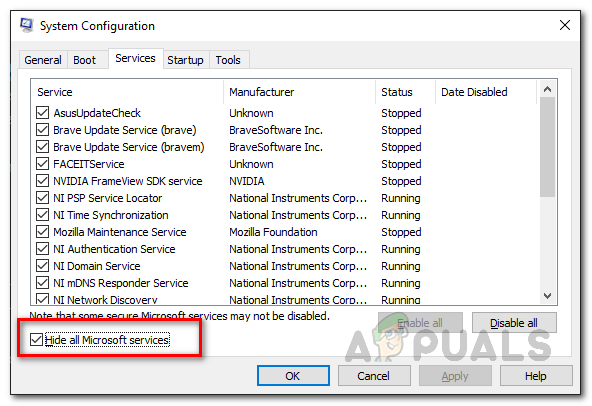
Hiding all Microsoft Services - After doing that, click on the Disable all button to disable the rest of the services. Click Apply.
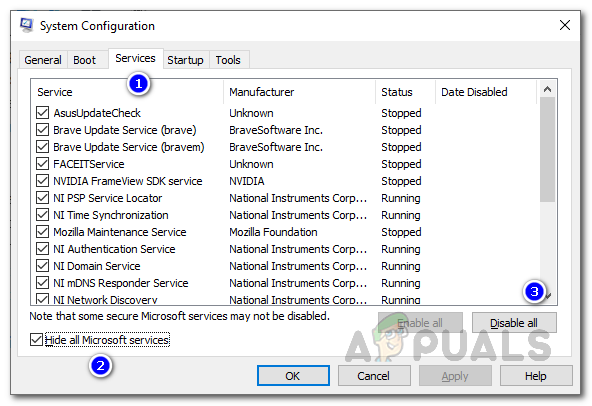
Disabling Third-Party Services - Then, after disabling the services, switch to the Startup tab and click on the Open Task Manager option.
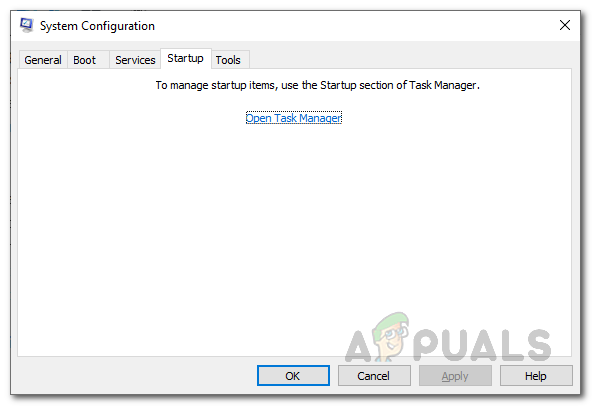
Opening Task Manager - On the Startup tab of the Task Manager, choose all the applications one by one and click the Disable button at the bottom.
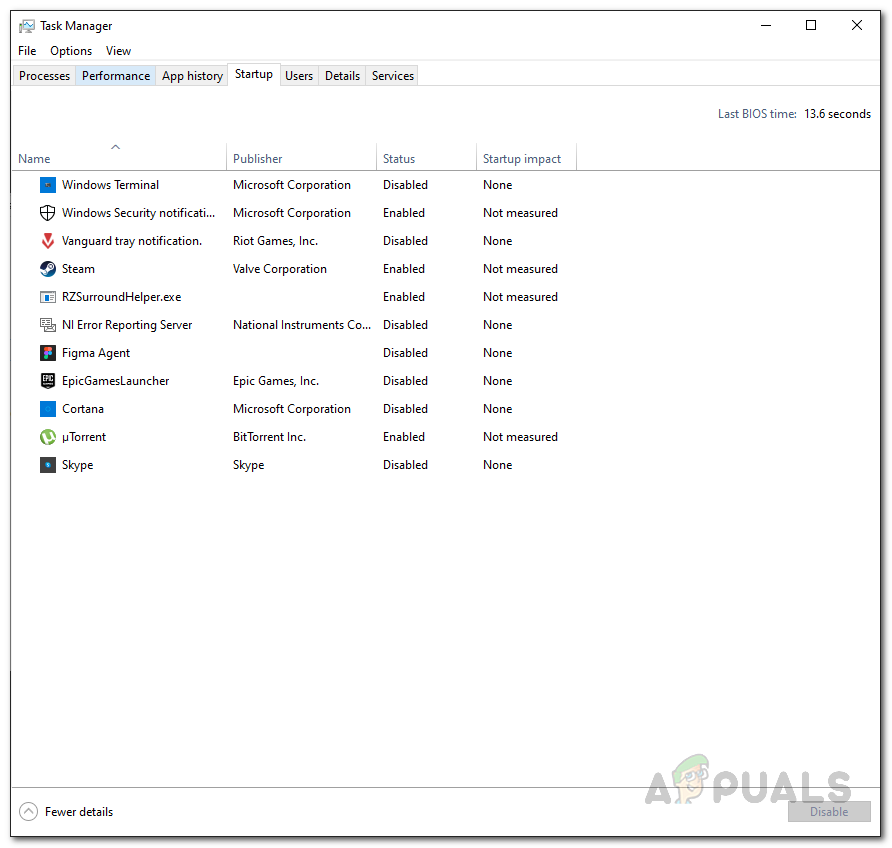
Disabling Startup Applications - Once you have done that, go ahead and restart your system. Your computer will perform a clean boot.
- As it boots up, open up the game and see if the problem is still there.
- In case the problem has faded, that means the problem was indeed caused by a third-party application and what you can do at this point is using the System Configuration, enable one application via the Services tab at a time and keep checking if the issue persists after each reboot.
- This way, you will find the application that is causing the issue. Get rid of it once found.


