Valorant Error Code 57 on Windows 10 (Fix)
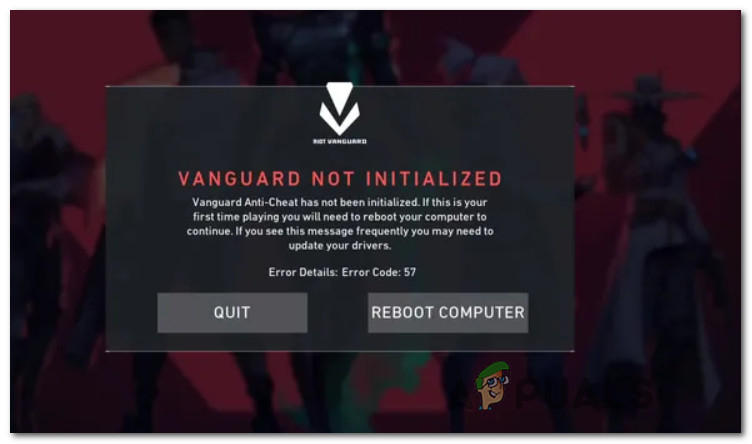
Some PC gamers attempting to launch Valorant are seeing the Valorant Error Code 57 (Vanguard Not initialized) after the game’s anti-cheat fails to initialize. This issue is mainly reported to occur on Windows 10.
After investigating this issue thoroughly, it turns out that there are several fairly common scenarios that will trigger this particular error on a PC. Here’s a shortlist of potential culprits that might be responsible for the Valorant Error Code 57:
- Anti-Cheat engine glitch – In most cases, this issue will occur due to a fairly common glitch that forces the game launcher to believe that the anti-cheat engine is missing even though it’s properly installed. In this case, you can fix the problem by restarting your PC and launching the game once the next startup is complete.
- Corruption among the Vanguard files – If the issue doesn’t go away after a restart, chances are you’re dealing with some kind of file corruption that is affecting the anti-cheat engine files. In this case, you need to uninstall the Riot Vanguard installation from an elevated command prompt before forcing Valorant’s launcher to reinstall the missing dependencies.
- VGS service is disabled – A manual user intervention or a system optimizing tool can also keep the Vanguard Anti-Cheat service (VGS) Disabled even if when Valorant is actively calling for this dependency. If this scenario is applicable, you should be able to fix this issue by changing the startup type of the VGS service via the Services screen or the MSConfig screen.
- Inconsistent DNS – As it turns out, this error code can also be related to a bad DNS range that is affecting your PC’s ability to establish connections with certain game lobbies. Other users facing the same problem have reported that they managed to get this fixed by flushing or switching your DNS to the range provided by Google.
Now that you are familiar with every potential cause that might be triggering this error code, here’s a short list of methods that other affected users have successfully used to resolve the 57 error code and launch Valorant normally:
1. Restart your PC
The issue is most likely related to an inconsistency having to do with the anti-cheat engine developed by Riot. If the issue originates from a glitch rather than from some type of corrupted system files, a simple system restart should do the trick and allow you to launch the game without encountering the same Vanguard Not initialized error.
Several affected users have reported that once they’ve restarted their PC, they were able to start Valorant without the same issues – It’s commonly believed that this sometimes happens due to a conflict between the main anti-cheat Vanguard service and another 3rd party service.
if you already restarted your PC and you’re still getting the same error code when attempting to launch the game, move down to the next potential fix below.
2. Reinstall Riot Vanguard via elevated CMD
Since the issue is most likely related to an inconsistency with the Vanguard Anti-Cheat engine and the method above didn’t work for you, the next step should be to reinstall every Riot Vanguard dependency to ensure that no file corruption is responsible for the error code 57.
You can uninstall the anti-cheat engine via the GUI menu, but our recommendation is to do it from an elevated Command Prompt in order to ensure that you have the necessary permissions to perform the uninstallation.
Follow the instructions below to temporarily uninstall the anti-cheat engine on Valorant from an elevated Command Prompt before forcing the game to reinstall it from scratch:
- First things first, ensure that Valorant, its launcher, and any associated background process are closed.
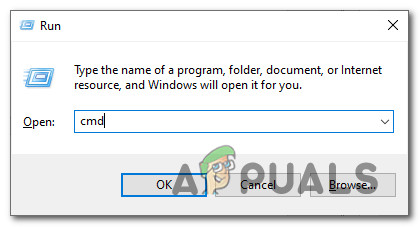
- Press Windows key + R to open up a Run dialog box. Inside the text box, type ‘cmd’ and press Ctrl + Shift + Enter to open up an elevated Command Prompt.

Opening an elevated CMD prompt - When you see the UAC (User Account Control), click Yes to grant admin access.
- Inside the elevated Command Prompt, type the following commands and press Enter after each one to delete the Vanguard anti-cheat installation and every associated dependency:
sc delete vgc
sc delete vgk
- After both commands are processed successfully (and you see the success message for both commands) go ahead and close the elevated Command Prompts.
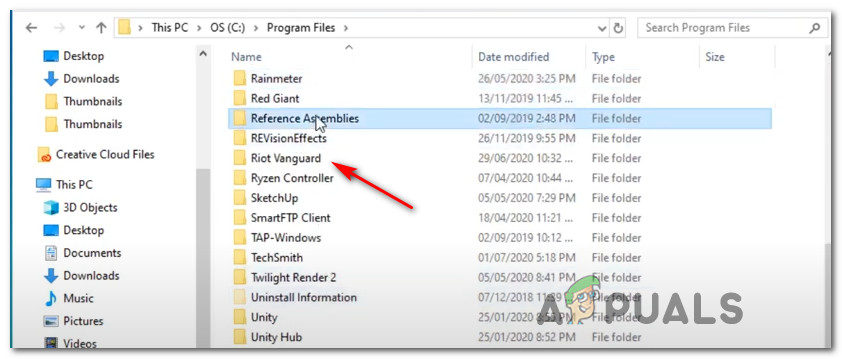
- Open File Explorer and navigate to Program files (on your OS driver) to locate the Riot Vanguard folder. This folder should contain some remnant files that you need to delete before triggering the reinstallation of the anti-cheat engine.
- When you arrive at the correct location, right-click on the Riot Vanguard folder and click on Delete from the context menu that just appeared.
Deleting the Riot Vanguard folder Note: In case the system won’t let you delete the folder, it most likely means some processes belonging to the anti-cheat engine are already in use. To fix this issue, press Ctrl + Shift + Esc to open up Task Manager, then access the Processes tab and close off the Vanguard Tray notification service.
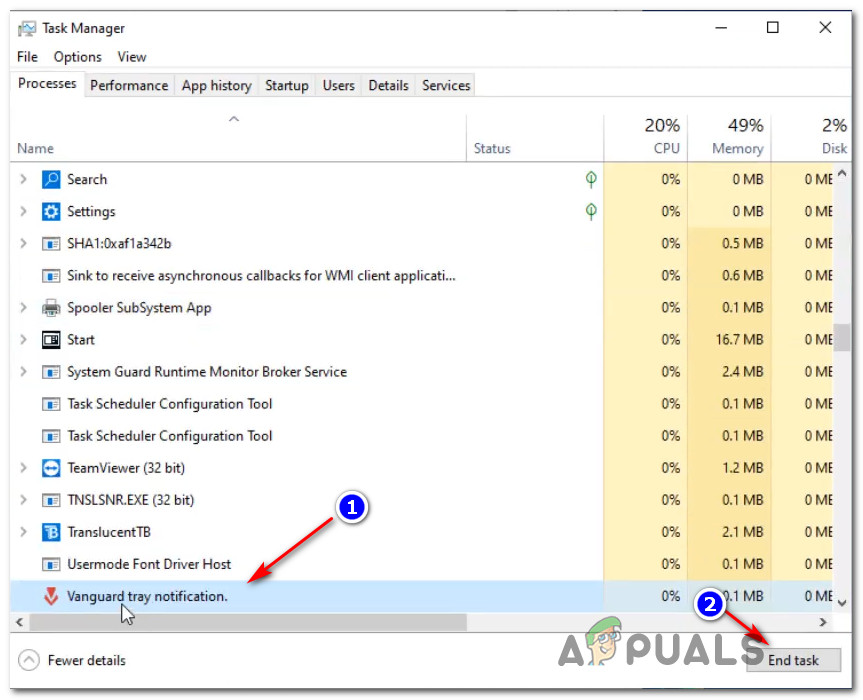
Disabling the Vanguard process - After you delete the Vanguard folder, reboot your computer, then open up Valorant once again after the next startup is complete.
Note: To ensure that the installer has the necessary permissions, open the launcher with admin access by right-clicking on it and clicking on Run as Administrator. - When this happens, Valorant will automatically detect that the Vanguard Riot Anti-Cheat engine is missing and will download the latest version and install it all over again.
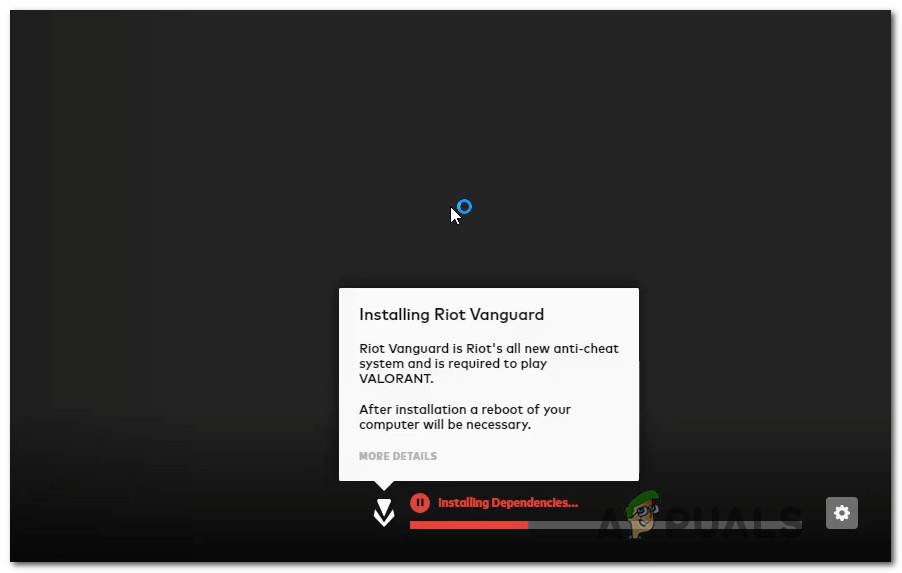
Installing Vanguard engine - Wait until this operation is complete, then reboot your computer one final time and see if the problem is still occurring.
In case the same error is still popping up at the initial launch screen of Valorant, move down to the next potential fix below.
3. Changing the Startup Type of the VGS service
If you made sure to reinstall the entire VGC dependency and the same error code still occurs, chances are you’re dealing with a VGC service that cannot be called into action when needed (even after the Anti-Cheat engine is installed).
This is a fairly common occurrence among games using 3rd party resource optimizers like SystemCare, Piriform, WinOptimizer, etc.
What happens in most cases is the 3rd party tool ends up modifying the default behavior of the VGS service in order to save system resources. – While this isn’t a problem with most apps, Vanguard Riot operates differently so its main service readily available and configured to Automatic.
If this scenario looks like it could be applicable, follow the instructions below to access the Services screen and modify the default startup type of the VGS service:
- Press Windows key + R to open up a Run dialog box. Inside the text box, type ‘services.msc’ and press Enter to open up the Services screen.
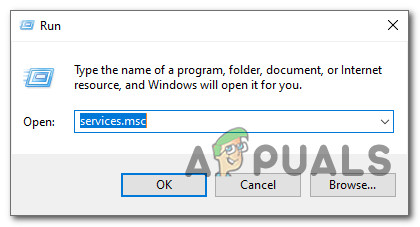
Accessing the Services screen - When you’re prompted by the UAC (User Account Control), click Yes to grant admin access.
- Once you’re inside the Services screen, scroll down through the list of active Services and locate the vgs service.
- When you see it, right-click on it and choose Properties from the context menu that just appeared.

Accessing the VGS service - Once you’re inside the Properties screen of the vgc service, access the General tab from the menu at the top.
- Inside the Properties menu, set the Startup type to Automatic (if it’s not set already), then click on Start to force start the service into action.
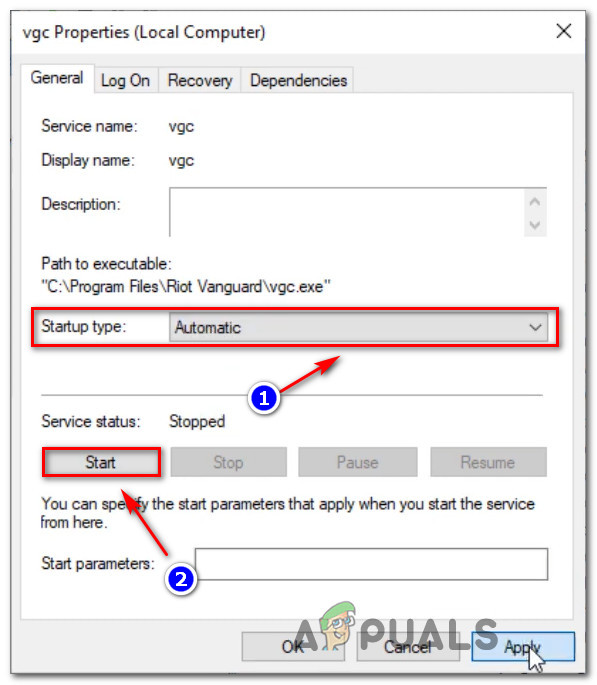
Forcing the VGS service to start - Once you’ve ensured that the VGS service is started, launch Valorant once again conventionally and see if the problem is now fixed.
If you’re still seeing the same Valorant Error Code 57 when attempting to launch the game, move down to the next potential fix below.
4. Enabling the VGS service from MSConfig
If enabling the VGS service from the Services screen was not effective in your case, it’s possible that the service (VGS) is stopped at a system level (most likely at a system level).
Several users that we’re also dealing with this problem have reported that they finally managed to fix this issue by accessing the MSConfig utility and enabling the VGC service from the Services screen.
If you’re looking for specific instructions on how to implement this yourself, follow the steps below:
- Press Windows key + R to open up a Run dialog box.
- Inside the newly appeared Run box, type ‘msconfig’ and press Enter to open up the System Configuration utility.

Opening MsConfig - If you see the UAC (User Account Control) prompt, click Yes to grant admin access.
- Once you’re inside the System Configuration menu, access the Services screen, scroll down through the list of active services and locate the entry named vgc.
- After you locate the correct entry, check the associated box to enable it, then click on Apply to enforce the changes you just made.
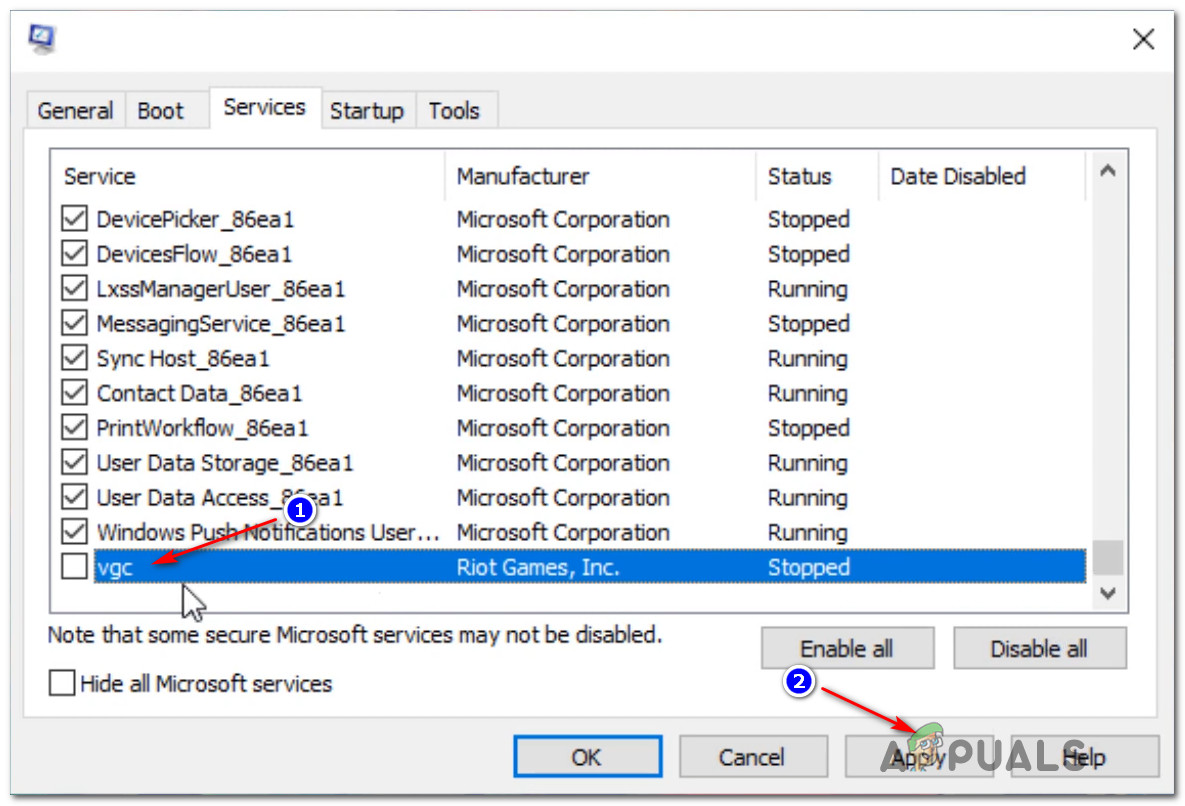
Enabling the VGS service - Once you’ve ensured that the VGS service is started, launch the game once again and see if the issue is now fixed.
5. Flushing or Switching your DNS
If none of the fixes above have worked in your case, there’s only one possible culprit left to investigate – a Domain Name Address (DNS) inconsistency.
This scenario is even more likely if you’re encountering similar errors when launching other multiplayer games while connected to the same network.
It’s possible that your ISP has assigned your router a DNS address that makes it hard for your computer to maintain connections with certain servers
In this case, you can resolve the issue in 2 different ways:
- Flush the DNS and then fore an IP / TCP renewal from an elevated CMD prompt.
- Make the switch to the DNS provided by Google to facilitate improved network reliability.
Our recommendation is to start with sub guide A (Flushing and renewing your DNS) and see if it ends up fixing the problem with launching Valorant. If the same problem is still appearing, move over to sub guide B (making the switch to the DNS provided by Google).
A. Flushing & Renewing your DNS Config
- Press Windows key + R to open up a Run dialog box. Next, type ‘cmd’ and press Ctrl + Shift + Enter to open up an elevated Command Prompt. When you’re prompted by the User Account Control (UAC), click Yes to grant admin access.
Opening a Command Prompt - Once you’re inside the elevated Command Prompt, type the following command and press Enter to flush the current DNS:
ipconfig /flushdns
- Next, type the following command and hit Enter once again to renew the IP configuration:
ipconfig /renew
- Once the IP has been renewed, you can close the elevated Command prompt and launch Valorant again to see if the problem is fixed. In case it’s not move down to option B.
B. Switching to Google DNS
- Start by pressing Windows key + R to open up a Run dialog box.
- Inside the Run box, type ‘ncpa.cpl’ and press Enter to open up the Network Connections menu.

Opening the Network Connections menu - Inside the Network Connections menu, go ahead and right-click on the network that you’re actively using. In case you’re currently connected to a wireless network, right-click on Wireless Network Connection (Wi-Fi), then click on Properties from the context menu that just appeared.
Note: If you are connected via a wired cable, right-click on Ethernet (Local Area Connection) instead. - Inside the Properties window, go ahead and click on the Networking tab from the menu at the top.
- Next, go to the module named This connection uses the following items and select Internet Protocol Version 4 (TCP / IPv4), and click on the Properties button.
- Click on the General tab, then enable the toggle associated with Use the following DNS server address.
- Next, go ahead and replace the Preference DNS Server and Alternate DNS server with the following values:
8.8.8.8
8.8.4.4
- After the values have been adjusted accordingly for TCP / IPV4, do the same thing with Internet Protocol Version 6 (TCP / IPv6) and make sure you use the following values instead:
2001:4860:4860::8888
2001:4860:4860::8844
- Save the changes, then open Valorant once again and see if the issue is now fixed.
Setting up Google’s DNS


im checking the dns flushing method and when typing ipconfig /renew it shows thisWindows IP ConfigurationNo operation can be performed on Ethernet while it has its media disconnected.
No operation can be performed on Local Area Connection* 1 while it has its media disconnected.
No operation can be performed on Local Area Connection* 12 while it has its media disconnected.
No operation can be performed on Bluetooth Network Connection while it has its media disconnected.Ethernet adapter Ethernet: Media State . . . . . . . . . . . : Media disconnected
Connection-specific DNS Suffix . :Wireless LAN adapter Local Area Connection* 1: Media State . . . . . . . . . . . : Media disconnected
Connection-specific DNS Suffix . :Wireless LAN adapter Local Area Connection* 12: Media State . . . . . . . . . . . : Media disconnected
Connection-specific DNS Suffix . :Wireless LAN adapter Wi-Fi:
…….