How to Fix Windows Installation Error – 0x80070001
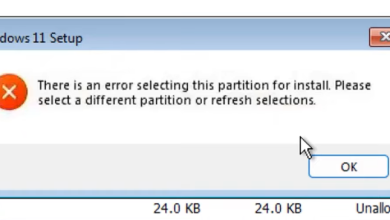
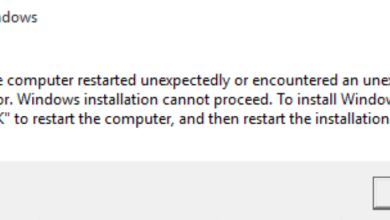
The error 0x80070001 generally appears when you try to install or update an operating system, application, or driver. It typically states ‘Windows cannot install required files. The file may be corrupt or missing. Make sure all files required for installation are available, and restart the installation’.
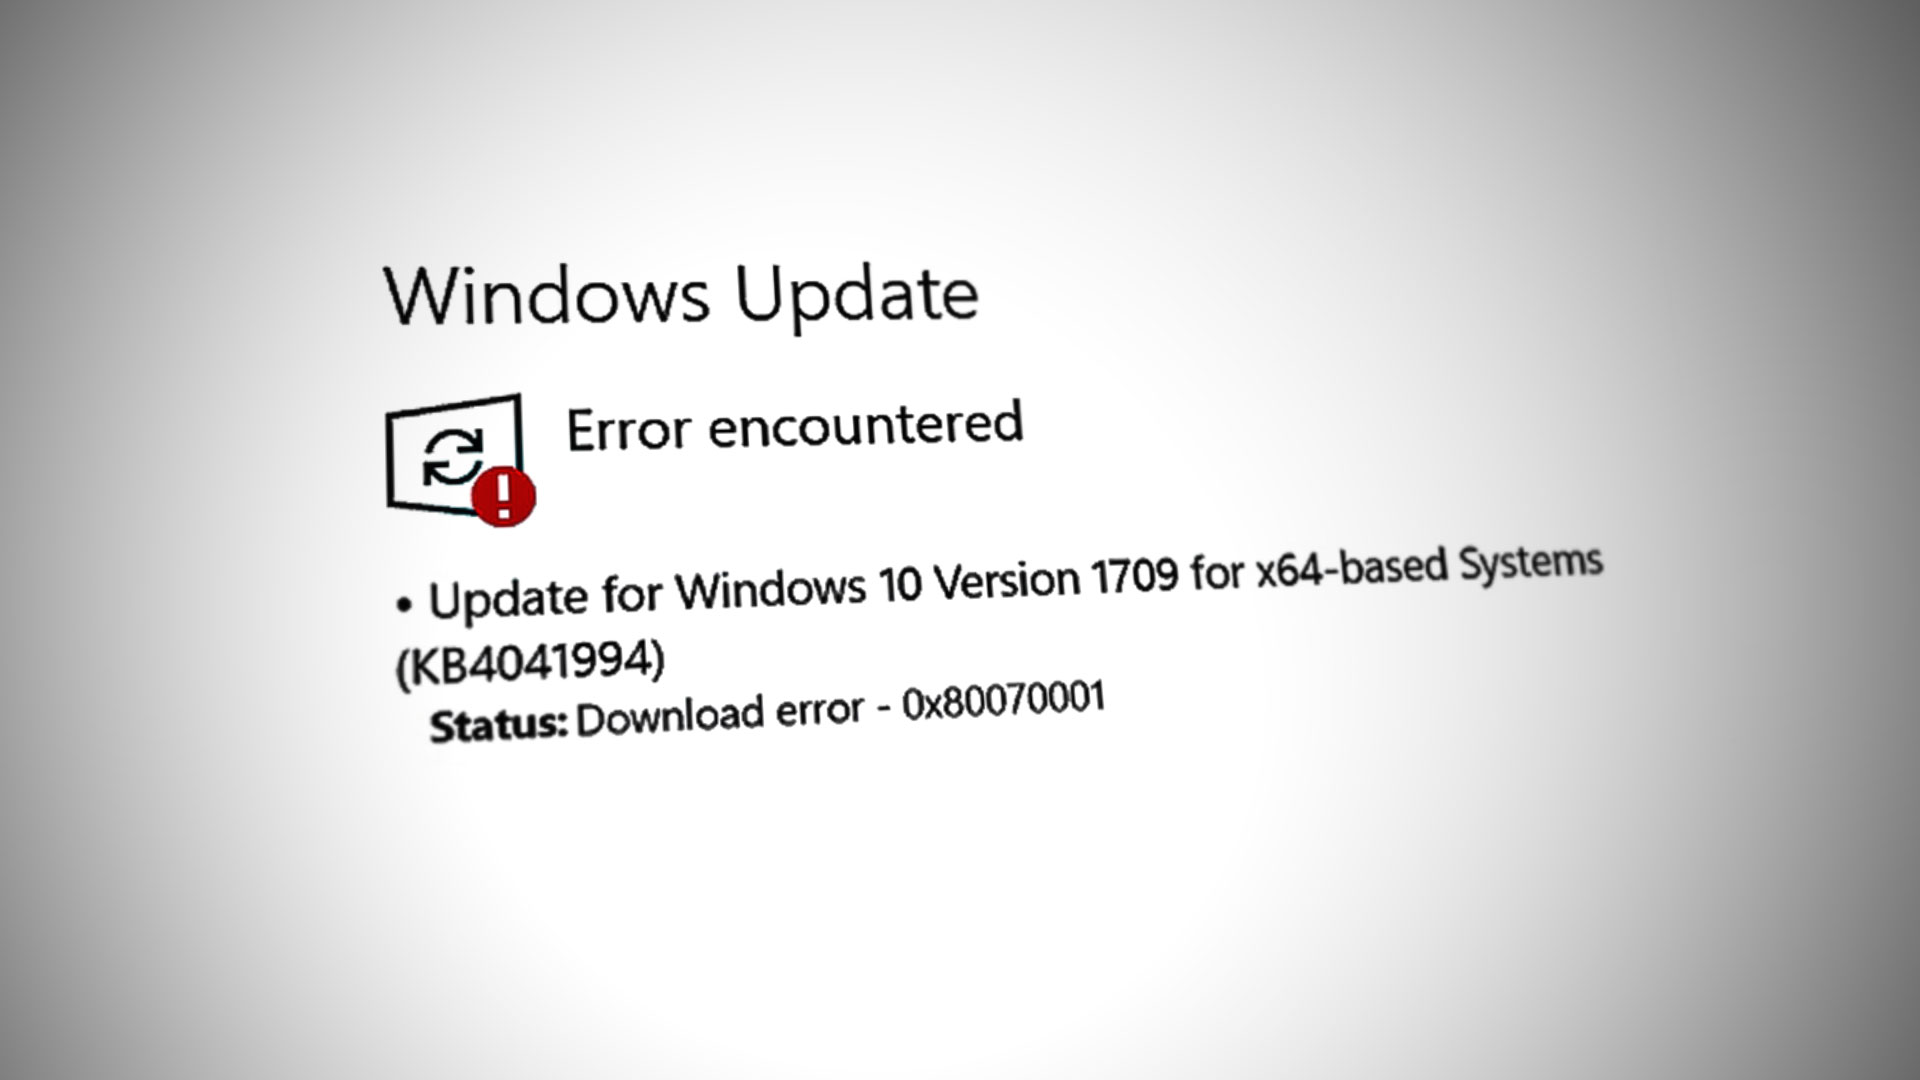
This error indicates that the Windows Installer has failed to copy a required file from the installation media to the hard drive during installation. This could be due to various reasons such as corrupt installation files and incompatibility issues.
Below, we take a look at the troubleshooting methods that can help you resolve this error once and for all. Proceed with the one that fits your situation the best.
1. Convert the disk (If applicable)
If you are encountering the error while trying to install Windows 11 on your system with your OS partition configured to Dynamic disk, then the disk type is causing the problem.
With a dynamic disk, you can create a volume that spans multiple physical disks. It is typically used for advanced storage configurations, such as fault tolerance, software RAID, and multiple boot configurations. However, not all versions of Windows support dynamic disks. This is why, to avoid encountering installation problems when attempting to install Windows, it is recommended to use a basic disk instead of a dynamic disk.
This process can result in data loss so make sure you have backed up the data on the dynamic disk to be safe.
Here is how you can change the disk type to fix the problem:
- Press the Win + R keys together to open Run.
- Type diskmgmt.msc in Run and click Enter.
- In the Disk Management window, right-click the volume you want to convert to a basic disk and choose Delete Volume.
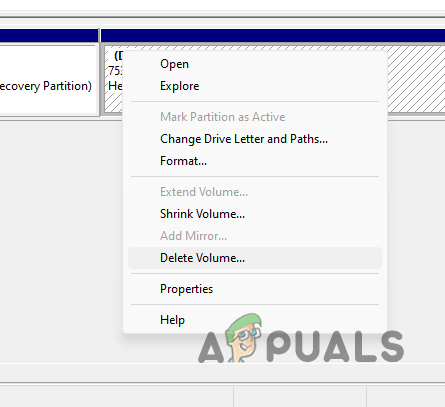
Deleting Volume - Now, right-click the dynamic disk and select Convert to Basic Disk.
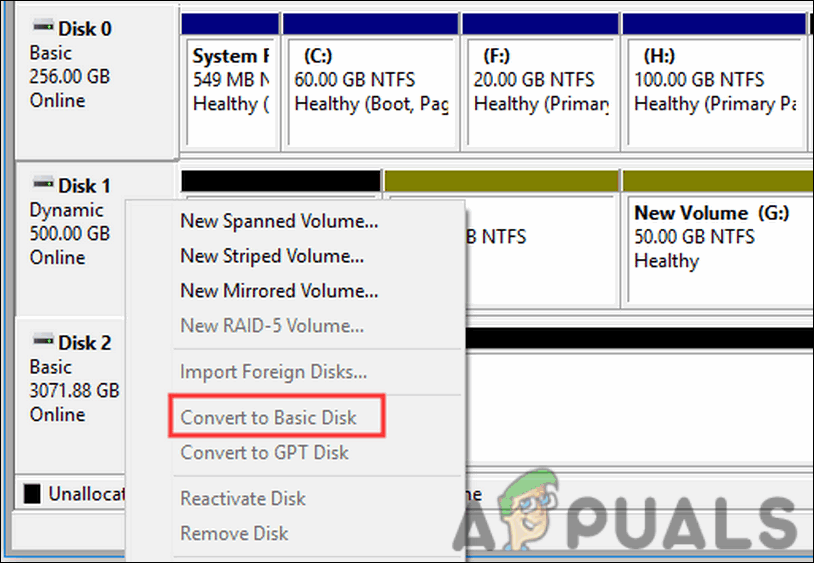
Convert to the basic disk - Follow the on-screen instructions to proceed.
- After the conversion process has been completed, you can add new volumes to the basic disk by right-clicking unallocated space and selecting New Simple Volume.
Once this is done, you can try installing the new Windows version. Hopefully, the error will not appear again.
2. Delete the unnecessary files
This error can also pop up if you have insufficient disk space.
As we mentioned earlier, the 0x80070001 error often occurs when Windows cannot copy files from installation media to the hard drive during installation or update. This can happen if there isn’t enough free space on the hard drive to accommodate the installation files.
If this scenario is applicable, then this error can be avoided by deleting unnecessary files and freeing up space on the SSD before installing. One easy way of doing this is by using the Disk Cleanup utility of Windows. It is a built-in tool in Windows that allows you to free up space on your hard drive by deleting unnecessary files. The utility scans your hard drive and identifies files that are no longer needed, such as temporary files, log files, cached files, and other system files.
Here is how you can use it:
- Press the Win + S keys on your keyboard to open the Windows Search utility.
- Type Disk Cleanup in the search area and click Open.
- Once you are in the Disk Cleanup window, select the SSD drive that you want to clean up and click OK.
- Next, select the types of files that you want to delete, such as temporary files, recycle bin files, and system files, and click OK.
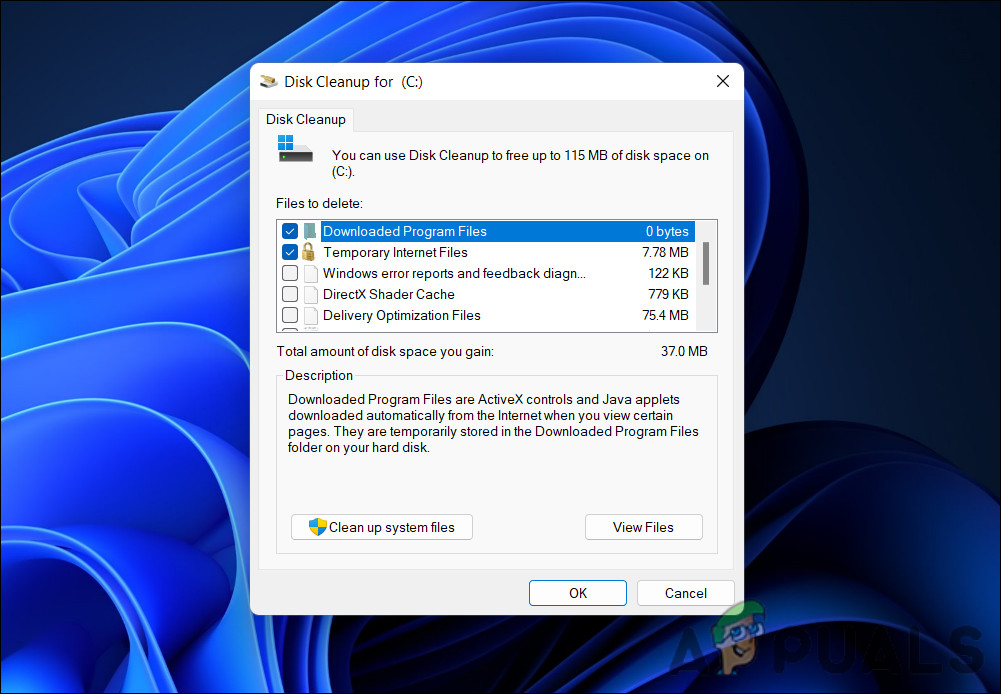
Run the Disk Cleanup tool - Click Delete Files to begin the cleanup process.
Once the process is completed, close the utility. You can also head over to the Apps & features section of the Windows Settings app and look for the programs you no longer need. Removing them from the system will also free up space to perform new installations easily.
3. Modify Windows Registry
When attempting to install the same version of an operating system on your computer, you may encounter the 0x80070001 error due to old registry files that are causing conflicts. To address this issue, you can verify and fix these files.
Here is how:
- Press the Win + R keys together to open Run.
- Type regedit in the text field of Run and click Enter.
- Click Yes in the User Account Control prompt.
- Once you are inside the Registry Editor, navigate to the location below:
HKEY_LOCAL_MACHINE\SOFTWARE\Policies\Microsoft\Windows\WindowsUpdate
- Move to the right pane and look for WUServer.
- Right-click on it and choose Delete.
- Delete the WIStatusServer value in a similar manner.
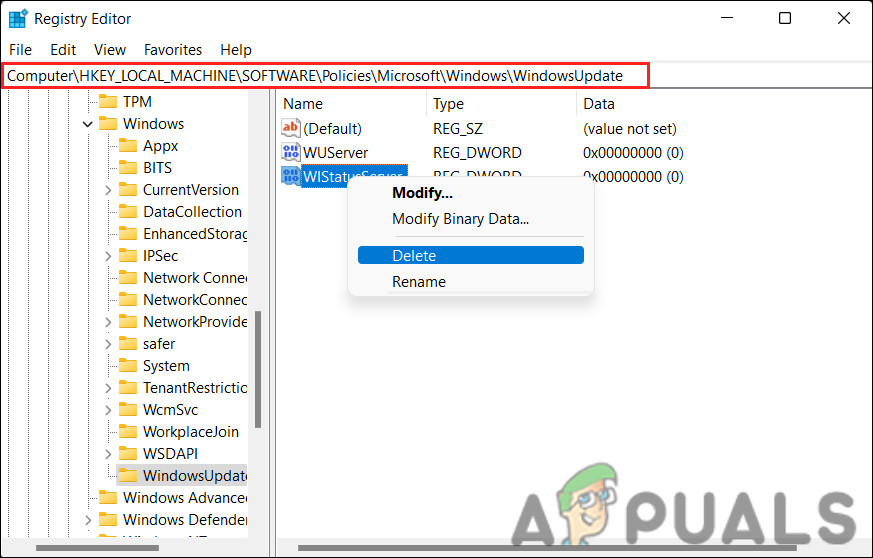
Delete the key - Once done, close the Registry Editor and restart your computer.
Upon reboot, try proceeding with the installation again and check if the issue is resolved.
4. Unplug external peripherals
This error can sometimes occur when there are conflicts or compatibility issues between the external peripherals and the installation process.
You can resolve this issue by unplugging all external peripheral devices, including USB drives, printers, cameras, and other devices, before attempting to install or update Windows. After you have completed the installation or update process, you can reconnect the peripherals.
We recommend turning your computer off, removing all the unnecessary peripherals, enabling it back, and then restarting the installation process.
5. Install using Media Creation Tool
Since the error can be caused by corrupted or incomplete installation files, using the Media Creation Tool can help ensure that you have a fresh set of installation files that are not corrupted. This tool allows you to create a bootable USB drive or DVD with the latest version of Windows, which can be used to perform a clean installation or upgrade.
Additionally, the tool may also help identify and address other potential issues that may be causing the error.
6. Reset BIOS
In some cases, conflicts or errors in the BIOS settings can prevent an installation or update from taking place. Resetting the BIOS can help clear any incorrect settings and restore the default configuration, which can potentially resolve the error.
Resetting the BIOS for different computers can be different, depending on their manufacturer and model. In order to reset the BIOS, you usually need to press a key or key combination during the boot process. The key or key combination varies depending on your computer’s manufacturer and model, so it’s a good idea to check the manual or find out more.
You may find a reset BIOS option in different sections of the BIOS setup menu, depending on the manufacturer and model of your computer. However, the option is usually labeled as Reset to Default or Load Factory Defaults.
If you’re not comfortable resetting the BIOS yourself, it’s best to seek the assistance of a qualified technician or the manufacturer’s customer support.

Also make sure that the disc you are using Windows on isn’t converted into a dynamic disc. Also make sure you don’t have a drive designed to letter’s A and B as it seems that Windows needs that somehow for updates.I just had similar problem with Store and Windows update neither working with RAMDISKs configured to letters A and B. Changing those designations to U and V everything started working again.