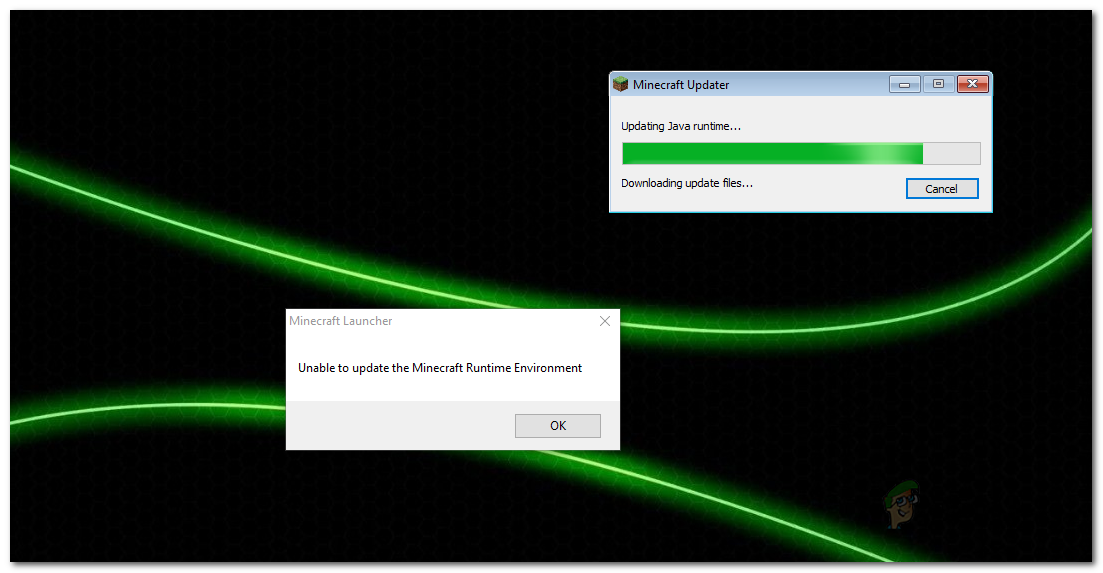
Unable to Update the Minecraft Runtime Environment Error? Here’s how to fix
The error message “Unable to update the Minecraft runtime environment” appears when you are launching the Minecraft Launcher. The reason why you are encountering this may vary which includes your Minecraft Launcher not being in the boot drive of your system as well as an outdated version of the Java Runtime Environment. The error can be really annoying as it stops you from starting the launcher at all which means you can’t make any changes from there. As per some user reports, this problem can be solved by changing the amount of RAM used by Minecraft, however, most users are not able to do that because the launcher does not start at all and so this leads to nowhere. However, do not worry as, in this article, we will be taking you through the complete process and showing you how to resolve the problem.
Minecraft is a very famous game and has a wide user base. When you encounter the said error message, it is often due to the Java runtime out of date on your system and so you will have to update it manually. However, in addition to that, there are more probable causes to the issue as well. Therefore, before we get started with the different methods available, let us discuss the potential causes in more detail so that we are able to isolate the source of the error message. With that said, let us get into it.
Insufficient Permissions of Minecraft Launcher — As it turns out, one of the reasons that you may encounter this problem is when the launcher is running with insufficient permissions. When this happens, the third-party software on your system can often interfere with the Minecraft process that is starting due to which it is not able to update the Java runtime properly. This can be often due to the third-party security program on your system. This can also lead to issues like Minecraft launcher not responding. In such a scenario, you will have to run the launcher as an administrator to resolve the problem.
Minecraft Mods — In addition to that, Minecraft has a lot of mods available that you can download and install on your system. However, in some cases, these installed mods can cause an issue with the game preventing it from updating properly which is why the error message appears. In such a scenario, you will have to remove the mods installed.
Outdated Java Runtime Environment — Finally, another reason due to which the error message in question can appear is an outdated version of the Java Runtime environment. As it turns out, in some cases the launcher is not able to update it properly and you will have to do so manually by downloading the latest version available.
Now that we have gone through the possible list of reasons that may result in the error message mentioned, let us get started with the different solutions available that can help you to resolve the problem in question. So, without further ado, let us get right into it.
Run Minecraft Launcher as an Administrator
As it turns out, the first thing that you should do when you encounter the error message in question is to run the Minecraft Launcher as an administrator. Like we have mentioned, the problem can, in some cases, appear due to the interference of a third-party software on your system with the Minecraft Updater that is running in the background. When this happens and the updater is not able to finish successfully, you are shown the error message in question. To resolve this, you will have to simply run the Minecraft Launcher as an admin which will give it more than enough permissions so that third-party services are not able to interfere with it. To do this, follow the instructions given down below:
- First of all, navigate to where the Minecraft Launcher resides.
- Then, right-click on the launcher and from the drop-down menu, choose the Run as administrator option.
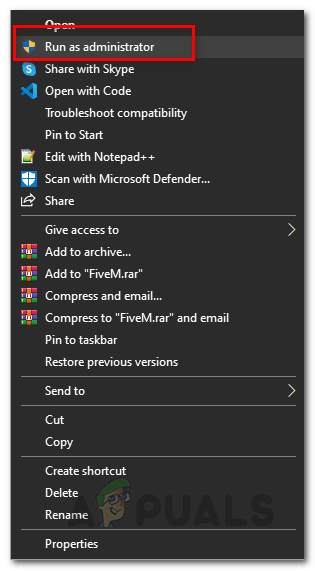
Running Minecraft Launcher as an Administrator - On the follow up User Access Control dialog box, simply click the Yes button.
- Once the launcher opens up, see if you still encounter the issue.
Download Alternate Minecraft Launcher
In case the above solution does not fix the problem for you, what you can do is to download an alternate launcher from the website. As it turns out, there are alternate download options available that you can use when the launcher you initially downloaded is not working properly. This is rather simple to do, follow the instructions given down below:
- First of all, on your web browser, go to the Minecraft Alternative Download Options by clicking here.
- Once there, you will be able to see two entries for Windows. The recommended one is the one you download from the normal download page, therefore, to try out the alternative launcher, click on the Minecraft.exe option.
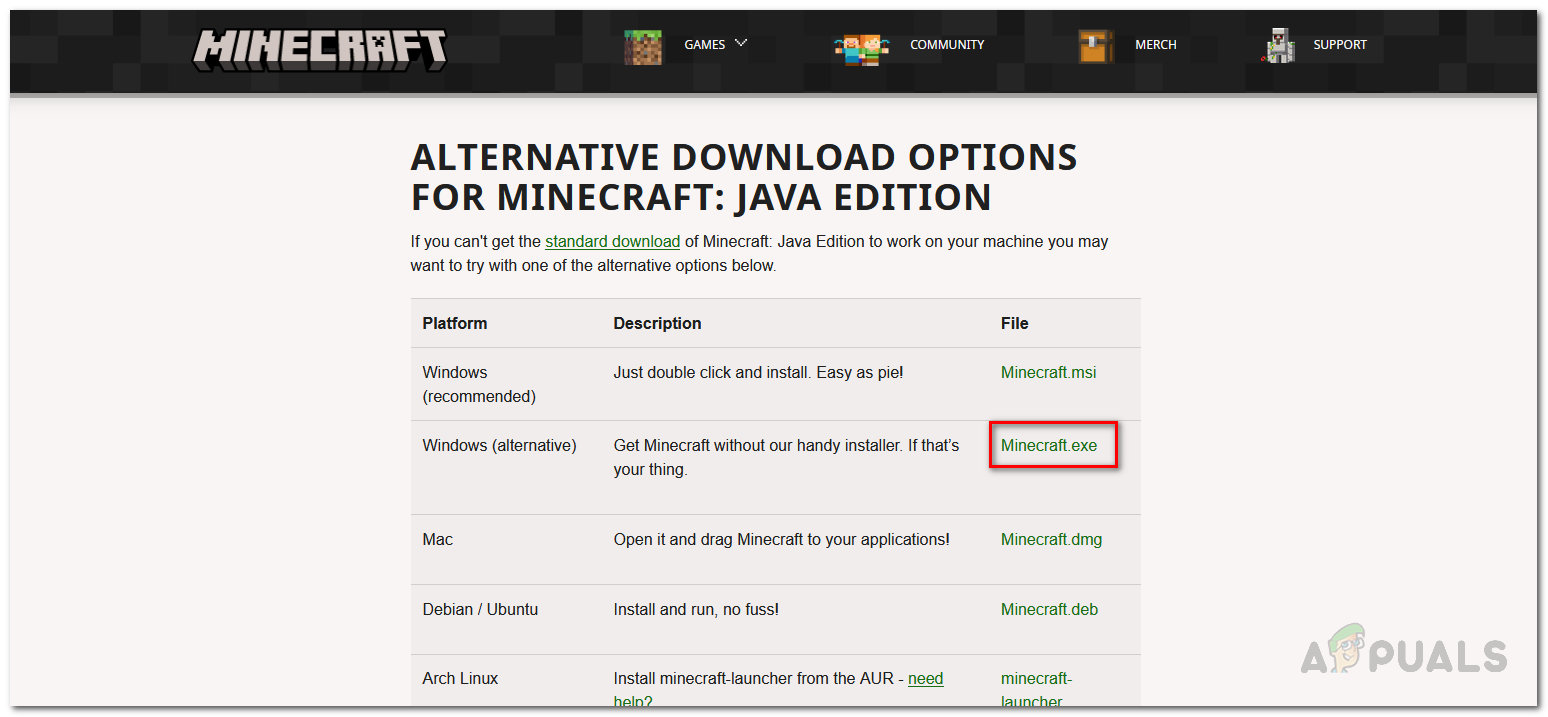
Downloading Alternative Minecraft Launcher - After you have downloaded it on your system, go ahead and install it to see if the error message still appears.
Remove Minecraft Mods
As it turns out, in some cases, the error message here can also be caused by the third-party mods that you have installed. There are a whole bunch of mods available for Minecraft that you can download and then proceed with installing the Minecraft mods on your system. While some of these mods can be really great to play, they can, in some scenarios, cause an issue with the Minecraft launcher. Same is the case here and therefore, in order to resolve the problem, you will have to remove your Minecraft mods and then see if the problem goes away. To remove Minecraft mods, follow the instructions given down below:
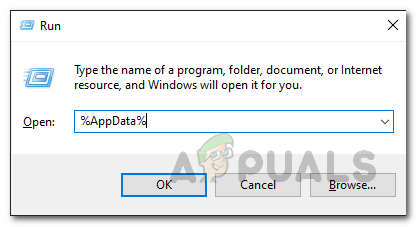
- First of all, open up the Run dialog box by pressing the Windows key + R buttons.
- Then, in the Run dialog box, type in %AppData% and hit the Enter key.
Opening up the Roaming Directory - This will open up the Windows Explorer. In the Roaming directory that you are in, open up the .minecraft folder.

Minecraft Folder in Roaming Directory - Now, there are two ways you can delete the mods from your game.
- First, you can either go to the mods folder inside .minecraft and then delete the mods individually from there.

Mods folder in Minecraft - Secondly, you can just delete the bin folder inside .minecraft. Don’t worry about it because the next time you launch Minecraft, it will automatically download all the required files.

Bin folder in Minecraft - Once you have removed the mods, go ahead and start the launcher again to see if the issue persists.
- In case the problem doesn’t go away, we would recommend deleting the entire .minecraft folder and installing a fresh copy of Minecraft all over again on your system.
- Once you do that, see if the problem still occurs.
Update Java Runtime Environment
If none of the solutions mentioned above work for you, then the last thing that you can do is to go ahead and manually update the Java runtime environment. When you start the launcher, the Minecraft Updater tries to update the Java runtime environment for you automatically, however, if that doesn’t work then you can simply update it manually by downloading the latest version on the website. To do this, follow the instructions given down below:
- First of all, open up the official website by clicking this link here.
- Then, scroll down to the Windows section and click the Windows Online option given.
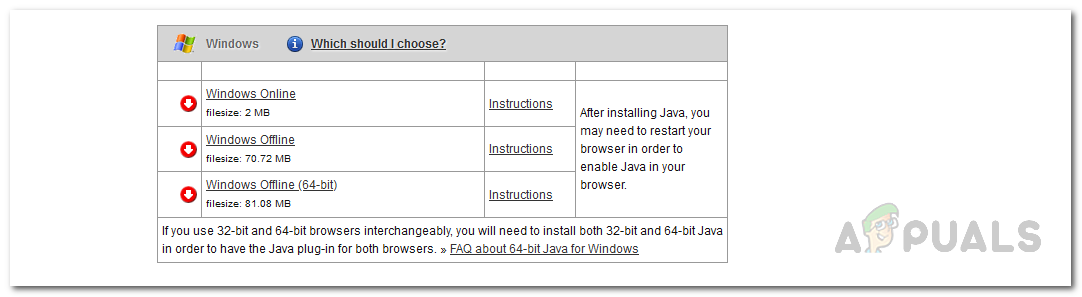
Downloading the Latest Java Runtime Environment Installer - Run the file that is downloaded on your system and follow the on-screen prompts to update Java Runtime Environment.
- Once you are done, you will have to restart your system. After your system boots up, go ahead and open up the Minecraft Launcher to see if the problem is still there.


