How to: Transfer Contacts from Android to Iphone
iOS has cleared the gap between itself and the Android operating system. While Android remains the dominant OS, there are a handful of things that iOS and iPhones do better. When you find yourself switching from an Android device to iPhone, one thing that you have to keep in mind is the question of transferring your data. This is quite obvious since the two are entirely different platforms.
As it turns out, transferring your data from an Android device to iPhone is not as troublesome as it used to be. There are several ways using which you can perform the task at hand. One of the main things you will have to transfer to your new phone is your contact list. Similar to transferring contacts from iPhone to Android, the entire procedure is relatively seamless at this given point, thanks to the apps and services available.
In this article, we are going to take you through several methods that you can use to transfer your contacts from an Android device to an iPhone. This will include using apps that make the process as seamless as possible to using more manual methods if that is more your cup of tea. With that in mind, let us get right into it.
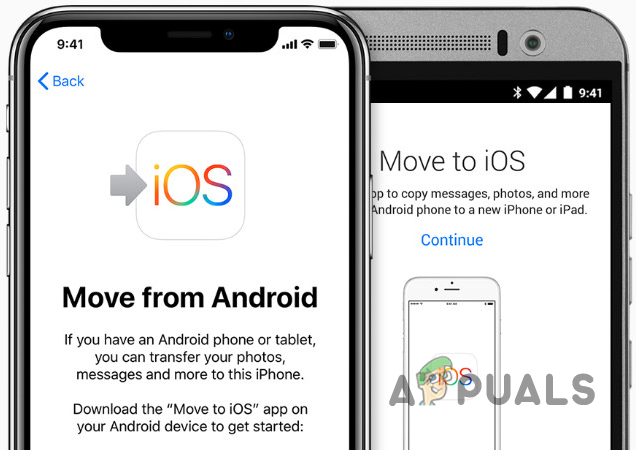
1. Transfer Contacts from Android to iPhone via Move to iOS App
As it turns out, there are some apps in the Google Play Store that are developed by Apple. One of these apps is the Move to iOS app, whose purpose is evident from the name itself. The application allows Android users to move to iOS, and the process is very simple.
The Move to iOS app will move all of your data from your Android device to a new iPhone smartphone. This includes photos, emails, messages, contacts, and more. With that out of the way, let us start right away and show you how to do this. Follow the instructions down below:
- First of all, you will have to download the Move to iOS app from the Google Play Store. Therefore, open up the Play Store and search for Move to iOS. Download and install the application.
- Once you have the Move to iOS app on your device, open it up. Follow the on-screen instructions on your iPhone until you reach the Apps & Data screen.
- On the Apps & Data screen, choose the Move Data from Android option.
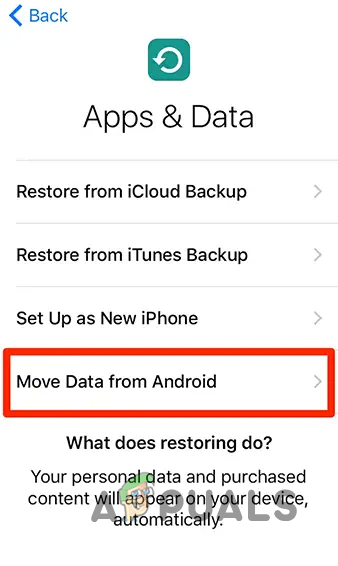
Move Data from Android - After doing that, your iPhone will prompt you with a code.
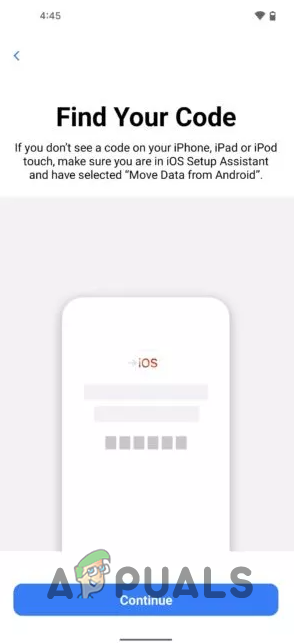
Find Your Code Prompt on Move to iOS App - Enter the code into the Move to iOS app.
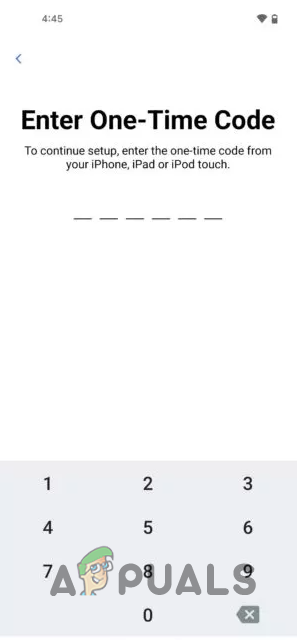
Entering Move to iOS App Code - After entering the code, your iPhone will create a Wi-Fi network temporarily. You will be using this network to transfer your data to your iPhone.
- On your Android device, connect to the temporary Wi-Fi network.
- After that, choose what data you wish to transfer. You can choose contacts along with other options should you wish to.
- Finally, you will have to enter a security code that you can find on the other device.
- The transfer process should start at this point. Wait for it to complete, and you have achieved your goal.
2. Transfer Contacts from Android to iPhone via Google Account
Google offers services that allow you to back up your data or sync it, which is quite helpful when it comes to switching devices. As it turns out, using Google sync, you can transfer your data from one device to another. Fortunately, this works on Apple devices too.
In order to do this, you will have to turn on Google sync. This allows you to sync your data with a Google account, which can be used to restore the data on a new device. If you do not have Google enabled, you will have to do so before you are able to take advantage of the service. Naturally, this means you will have to allocate it sometime so that your data is synced.
Enabling Google sync is relatively straightforward. Before we start, it is vital to note that the user interface will most likely differ slightly due to the vast number of Android vendors. However, the gist of the procedure remains the same, and you will just have to locate the apposite options on your device. With that in mind, follow the instructions down below to do this and transfer your contacts:
- To start off, open up the Settings app on your Android device.
- In the Settings app, locate your Google account. Depending on your flavor of Android, the location might differ. In our case, it can be found in Passwords & accounts. You can find your Google account on some devices under the Accounts option.
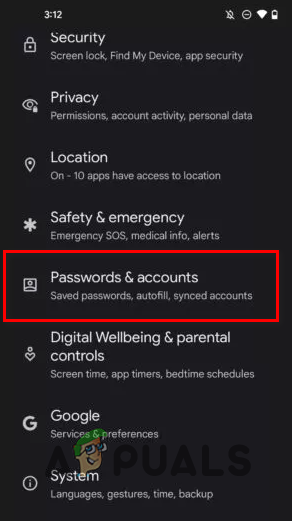
Navigating to Passwords and Accounts - Then, tap on your Google account.
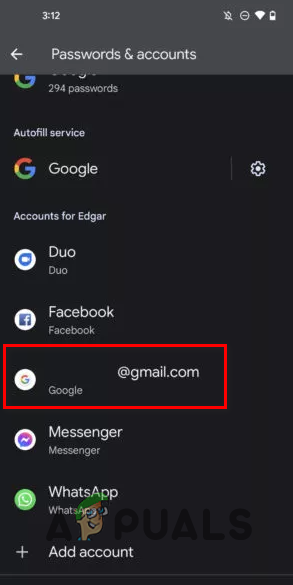
Navigating to Google Account Settings - Once you are in your Google account settings, go to Account sync.
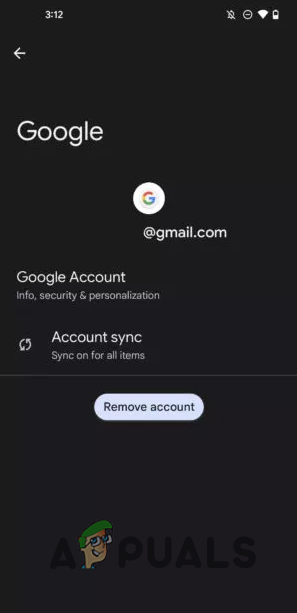
Google Account Settings - Inside sync options, make sure Contacts sync is on.
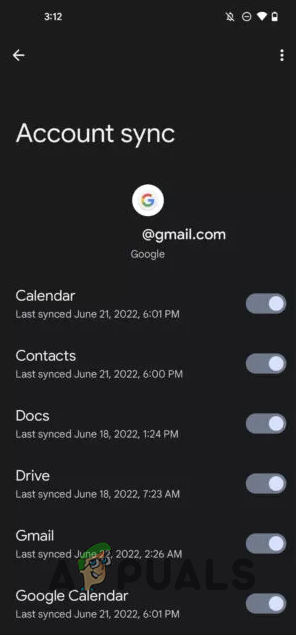
Google Account Sync Options - After doing that, pick up your iPhone and open the Settings app.
- There, tap on the Contacts option.

Navigating to Contacts Settings - On the Contacts screen, tap on the Accounts option.
Contacts Settings - Tap on Add Account and then follow the on-screen prompts to finish adding your Google account.
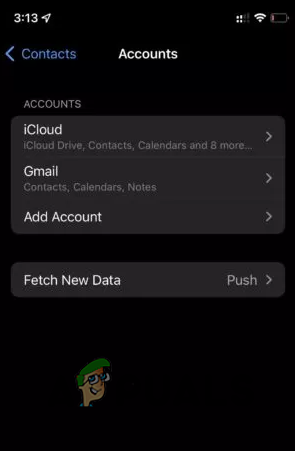
iPhone Contacts Accounts - After you have added your Google account, tap on it.
- Turn on the Contacts slider.
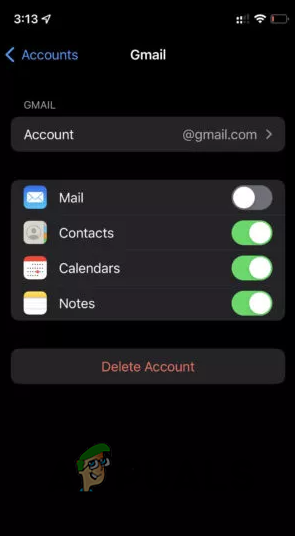
Syncing Contacts with Google Account - Once you do that, your Contacts should start appearing on your iPhone.
3. Transfer Contacts from Android to iPhone via VCF File
If you are someone who fancies more of a manual method instead of using an app to do the job for you, then this and the next method down below are fit for you. In case you are not aware, VCF or vCard is a standard that allows you to store your contacts. In addition, this standard is supported by both Android and iOS devices, so there are no compatibility issues.
To do this, you will need to create a VCF file by sharing your contacts on your Android phone and then reading the file on an iPhone. This might sound complicated, but it is not at all. Follow the instructions down below to find out how easy it is:
- First of all, open up the Contacts app on your Android device.
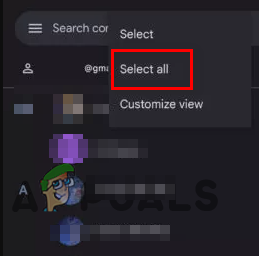
- At the top, tap on the three-dot option.

Contacts Menu Button - Then, choose the Select All option from the drop-down menu.
Selecting All Contacts - After doing that, tap on the Share button.
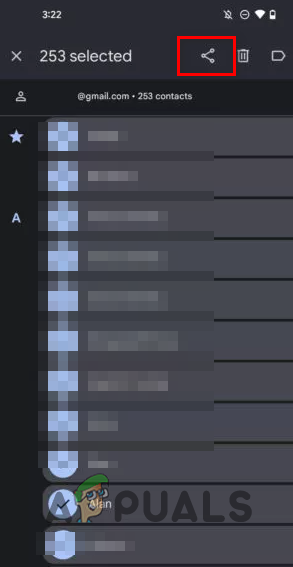
Sharing All Contacts - Here, you will have to choose how you wish to send the VCF file to your iPhone device. The simplest way of doing it would be to send an email to yourself containing the file.
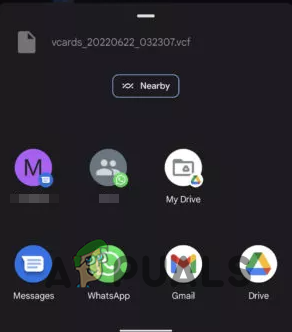
Sharing VCF File - Once you do that, open up your email on your iPhone and tap on the VCF file.
- Choose the Share option.
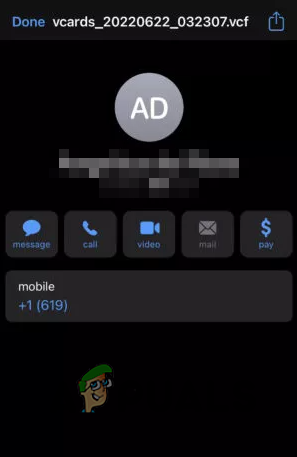
VCF File - Then, select the Contacts app.

Opening VCF File with Contacts - After that, tap on the Add All Contacts button.
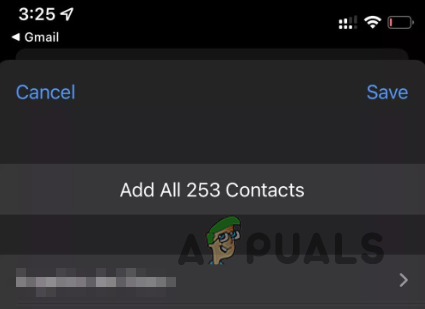
Adding All Contacts from VCF File - Doing so should create all of the contacts on your iPhone.
4. Transfer Contacts from Android to iPhone via SIM Card
As it turns out, another manual method of moving your contacts from an Android to an iPhone device is via your SIM card. The only con of doing it this way is that it may not work on all devices. This is because Google is abandoning this method, but some manufacturers still allow it.
This is a great option when you are offline or do not want Google’s involvement in the process at all. Follow the instructions down below to do this:
- Start off by inserting your SIM card into your iPhone.
- After that, open up the Settings app.
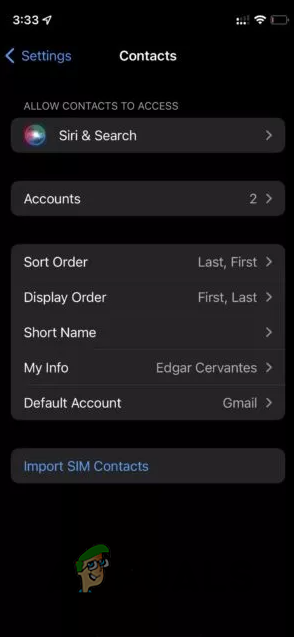
- In the Settings app, navigate to Contacts.
Navigating to Contacts Settings - There, tap on the Import SIM Contacts button.
Contacts Settings - After doing that, you will have to choose an account you wish to sync the contacts to.
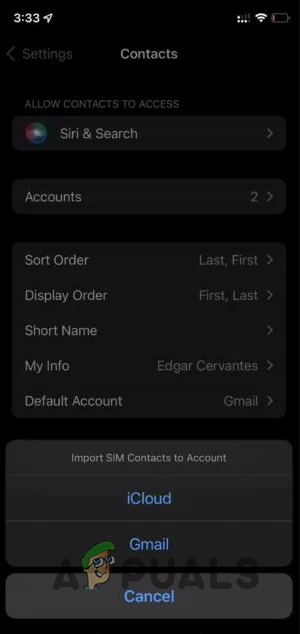
Importing SIM Contacts - With that done, you should have all of your contacts on the new device.
5. Transfer Contacts from Android to iPhone via Third-Party Apps
Just like the Move to iOS app, there are a handful of third-party apps that allow you to transfer your contacts in addition to other data from Android to iPhone. These third-party apps might be a good choice if you do not wish to use the Move to iOS app or if it is not working correctly.
Having said that, we recommend you use one of the solutions we have provided above. This is because using a third-party app always involves security and privacy risks, unlike the Move to iOS app. However, if you feel confident and still wish to proceed with a third-party app, we will not be stopping you.