Fix: “Time Machine Couldn’t Complete the Backup” Error on Mac
The error ‘Unable to Complete Backup‘ error typically occurs after a backup on an external drive fails. Most users see this error after they install a new update for their Mac. This is confirmed to occur with every recent macOS version on Apple PC, Mac Air & MacPro.
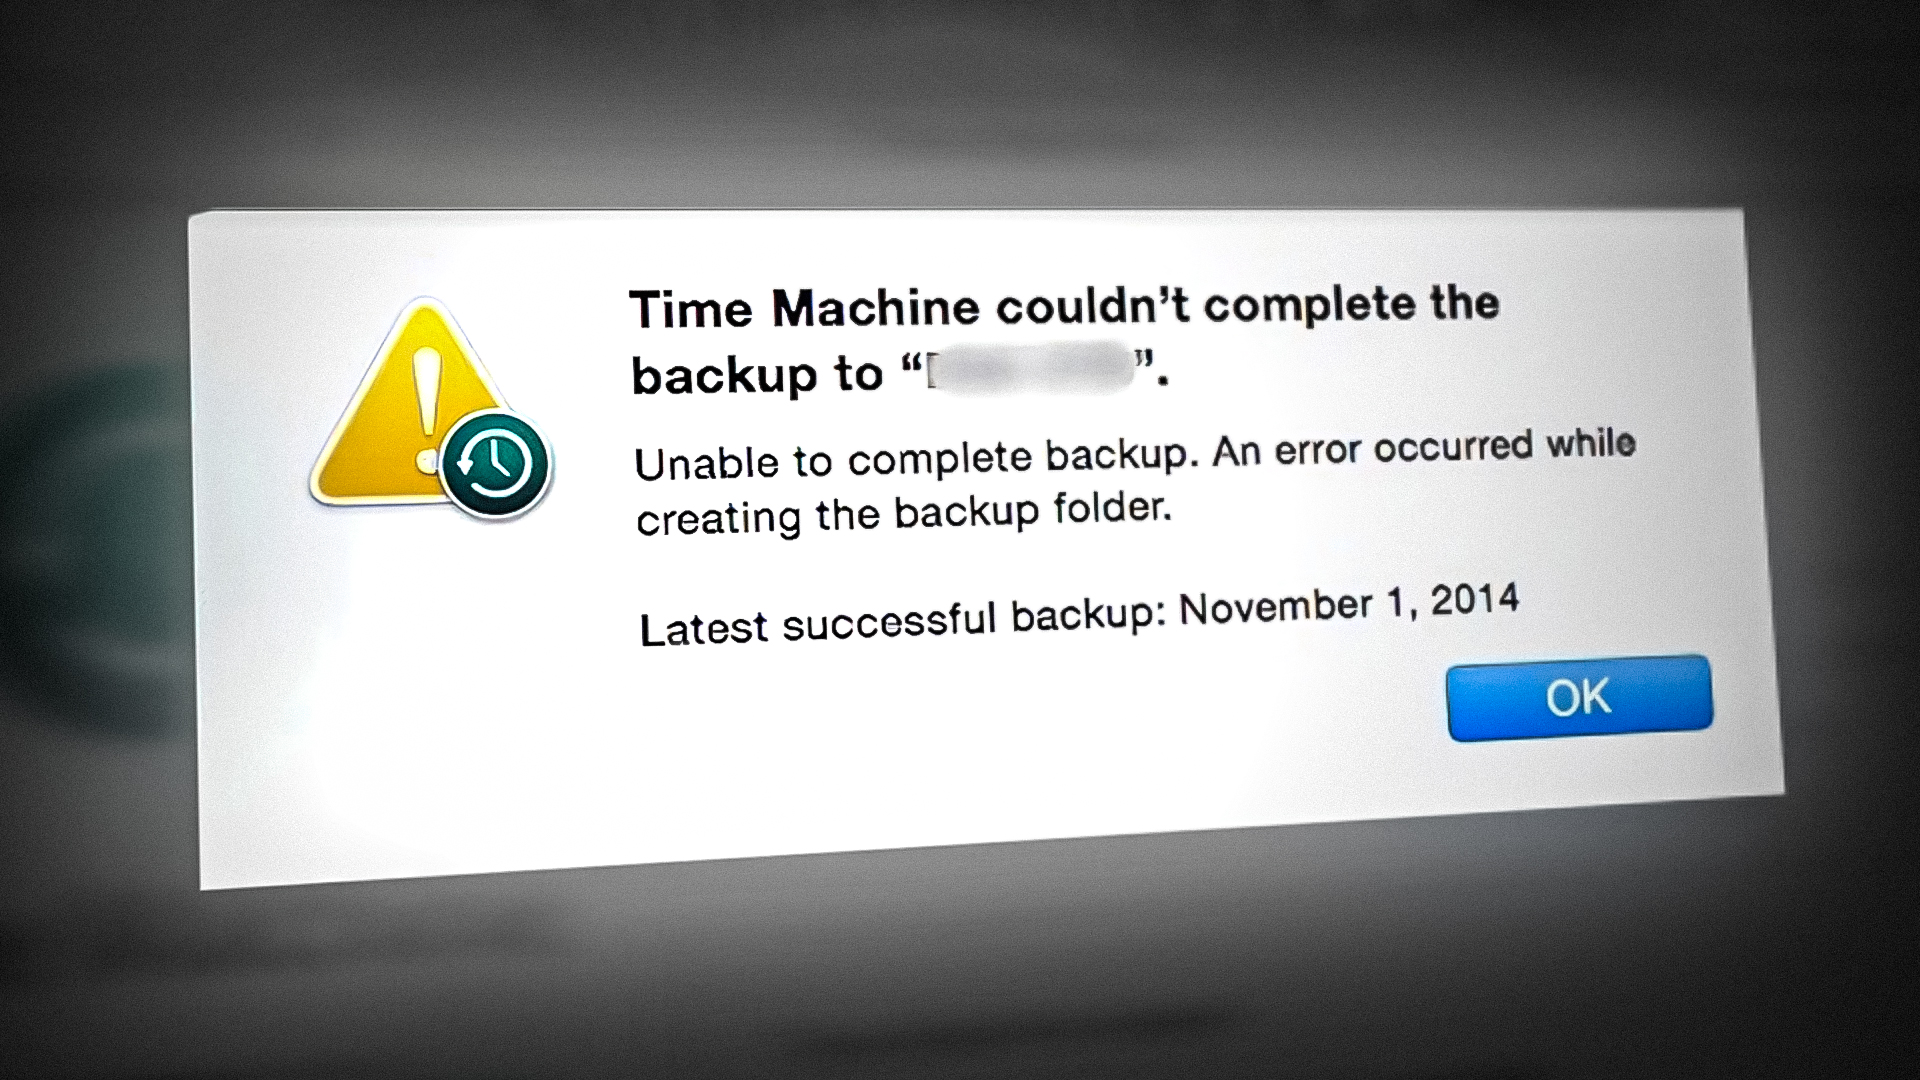
Time Machine backup could fail for a variety of reasons, including an issue with the USB connectivity, insufficient storage space on the external hard drive, or a roadblock that prevents the data transfer during backup.
But by far, the biggest cause of the ‘Unable to Complete Backup’ error is the WD Utilities program that tries to use the same dependencies as the Time Machines creating a conflict.
If you’re currently troubleshooting the same issue, there are 3 main troubleshooting methods that you should follow:
1. Uninstall the WD Utilities program
WD Utilities is capable of doing some of the same functions that are available with Time Machine. Because of the way macOS is built, this 3rd party program has to use some of the same dependencies as the built-in backup app.
This creates a conflict in certain scenarios (especially when WD is also performing a task in the background).
If you have WD Utilities installed and you are attempting to create a backup on a WD external drive when you get the ‘Unable to Complete Backup’ error, uninstalling the program and eliminating every file remnant should help you fix the issue.
IMPORTANT: It’s very important to go through all the trouble of accessing the Demons folder and removing the com.WDPrivilegedHelper.plist file from the underlying folder. If you skip this step, the conflict will NOT be resolved.
Here’s a quick guide on uninstalling the WD Utilities program from Mac and removing any underlying dependency manually:
- Use the Dock at the bottom of the screen to open the Launchpad. If the app is not visible on Launchpad, enter its name in the search bar located at the top of Launchpad.
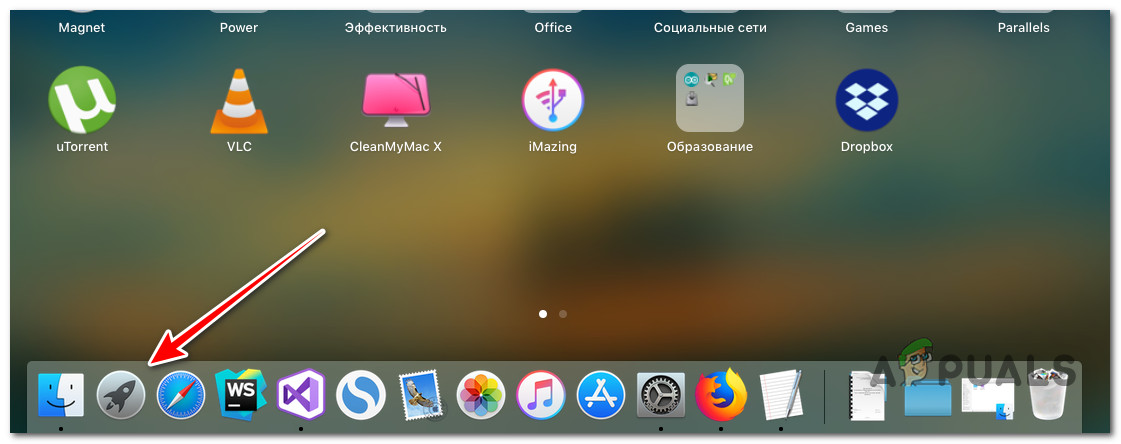
Accessing the launchpad Note: You can also open it from your Applications folder. If you have more than one page of apps, you may switch pages by clicking the dots at the bottom of the screen or by swiping your trackpad with two fingers.
- Hold down the Option key while clicking the WD Utilities app or click and hold any app until it jiggles.
- At the confirmation prompt, click on Delete and wait until the operation is complete.
- Once the WD Utilities program is uninstalled, it’s time to get rid of the remnant files. To do this, click on Finder.
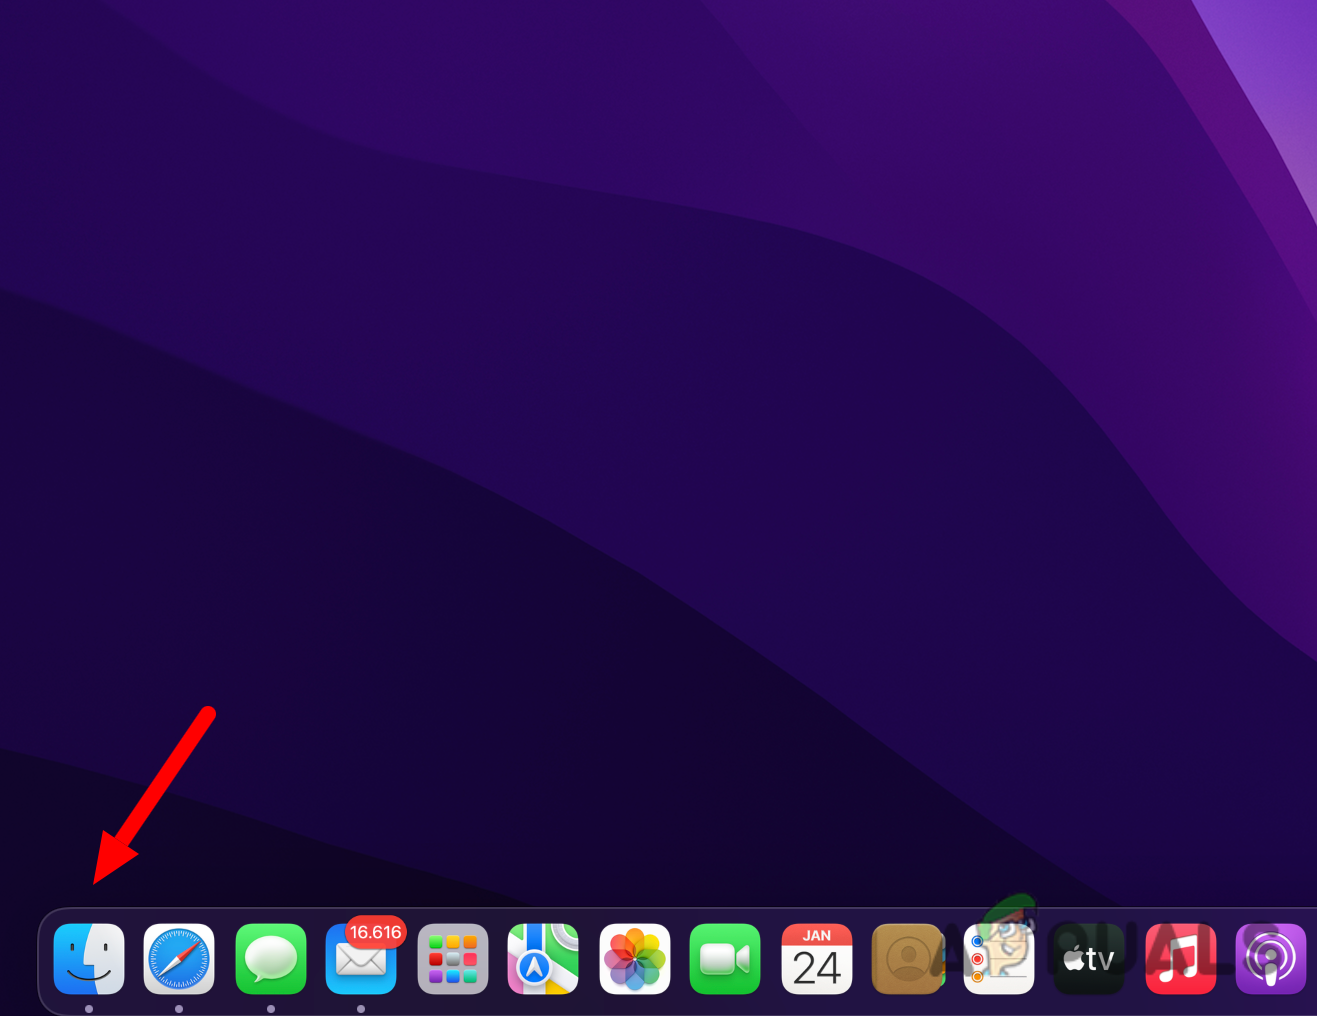
Accessing the Finder app - From the Finder app, click on Go while holding the Option key.
- You should notice a new item appearing. Click on the newly appeared Library option from the drop-down menu.
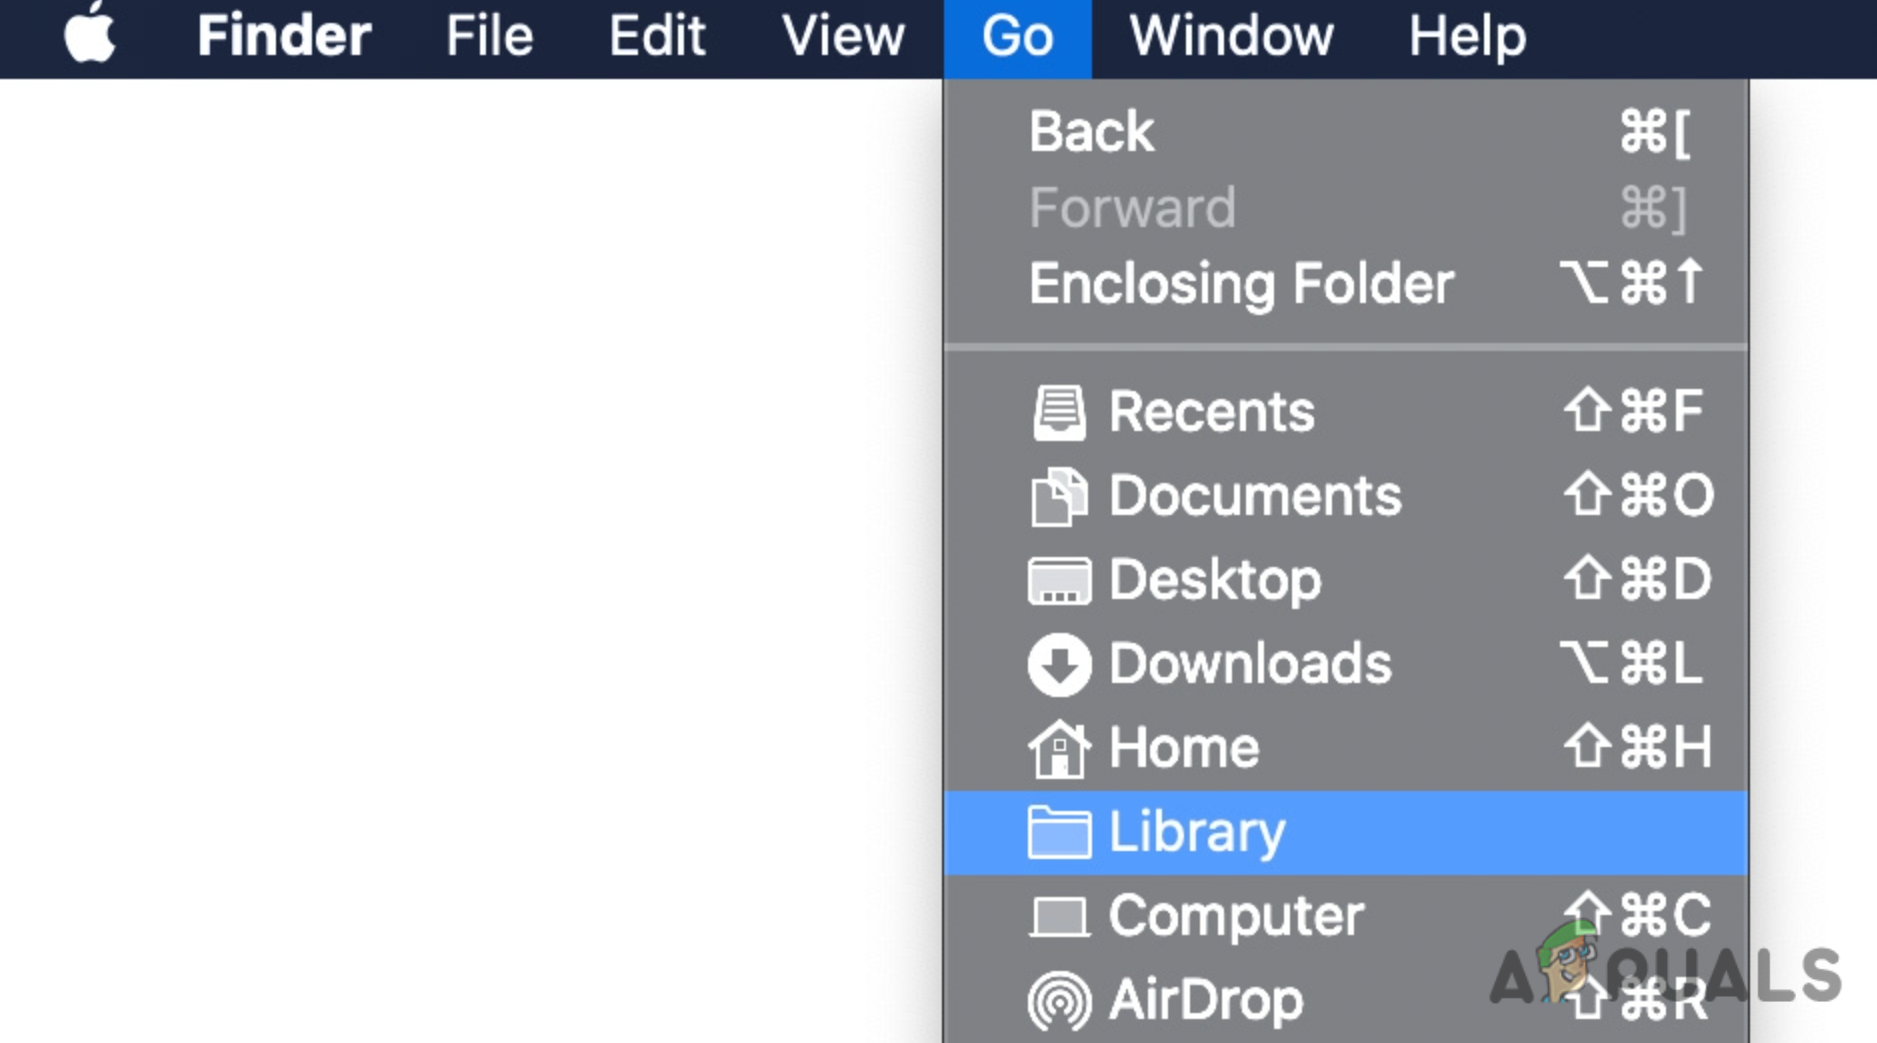
Accessing the Library menu - Use the library menu to find and open the the Demons folder.
- Next, browse for the com.WDPrivilegedHelper.plist entry in this folder and access it. This will launch the WD Drive Utilities and allow you to clear the temp files.
- Finally, go to Settings and delete the WDDriveUtilityHelper option from System Preferences > Users & Groups > LoginItems.
- Reboot your Mac and reinitiate the backup again on the external drive and see if the ‘Unable to Complete Backup’ error is fixed.
2. Close Backup Process & Hard Restart
Another thing that you need to do if Time Machine fails to recognize your backup disk or remains stuck every time you retry this procedure is to hard restart your Mac. This might seem like a simple trick, but refreshing the local cache is one of the best ways to fix backup errors thrown by Time Machine.
Note: It’s important to ensure that you uncheck the ‘Reopen windows when logging back in’ option when initiating a restart. If you keep this option, some of the local cache accumulation will be maintained which defeats the purpose of this method.
Here’s a quick guide that will show you how to ensure that the Time Machine backup process is not running in the background and initiate a hard restart:
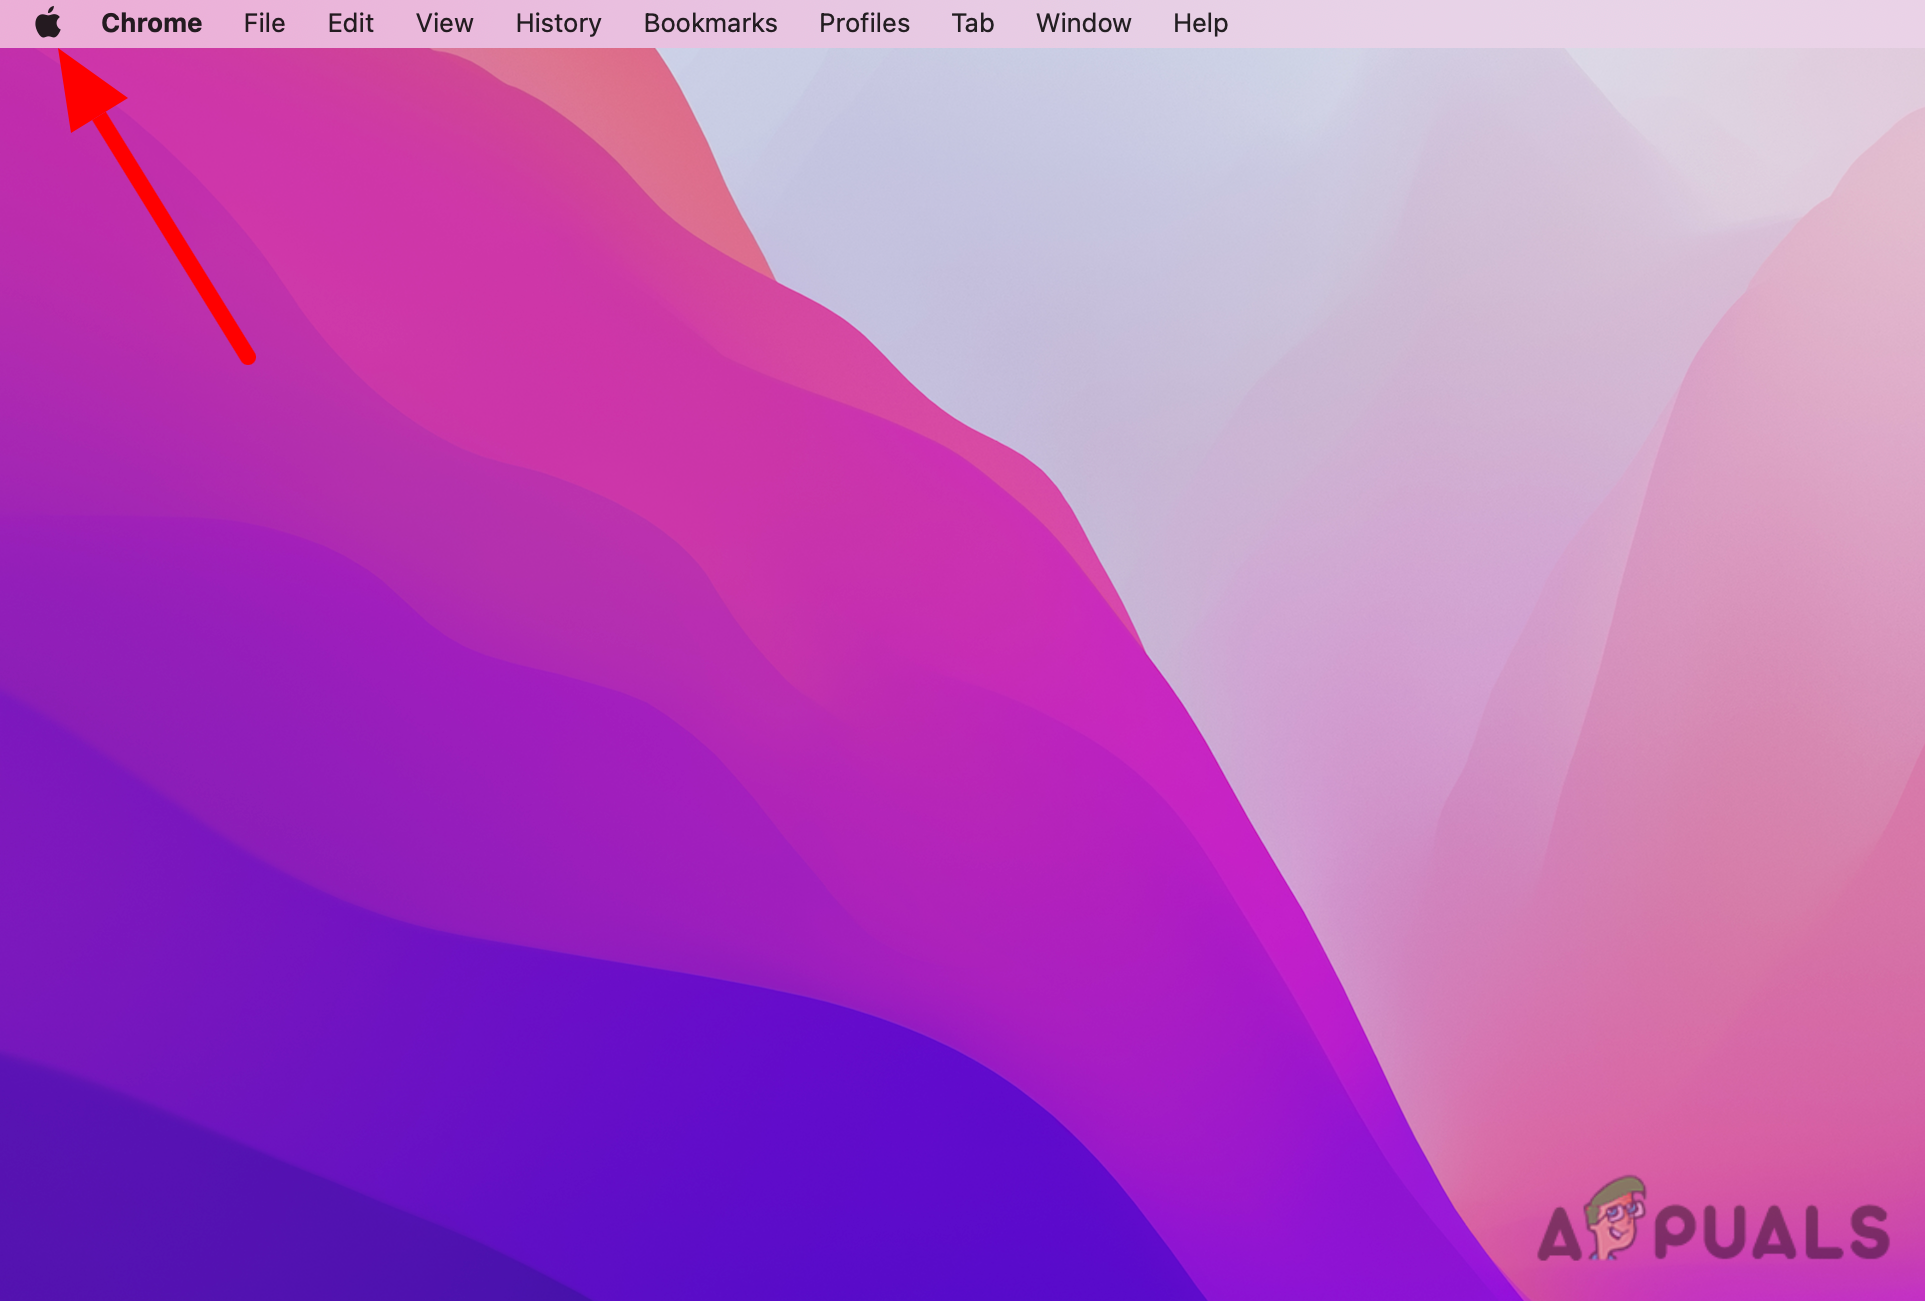
- Click on the Apple menu situated on the left corner of your screen and select System Preferences.
Access the Apple menu - From the main settings menu, click on Time Machine and cancel your current backup.

Access the Time Machine settings menu Note: If you skip this step and don’t cancel the active backup, macOS will suspend some backup-related processes and perform a soft reset. This will not help you fix the error.
- Click on the Apple menu again and select Restart from the drop-down menu.
- Make sure to uncheck ‘Reopen windows when logging back in’ and click on Restart.
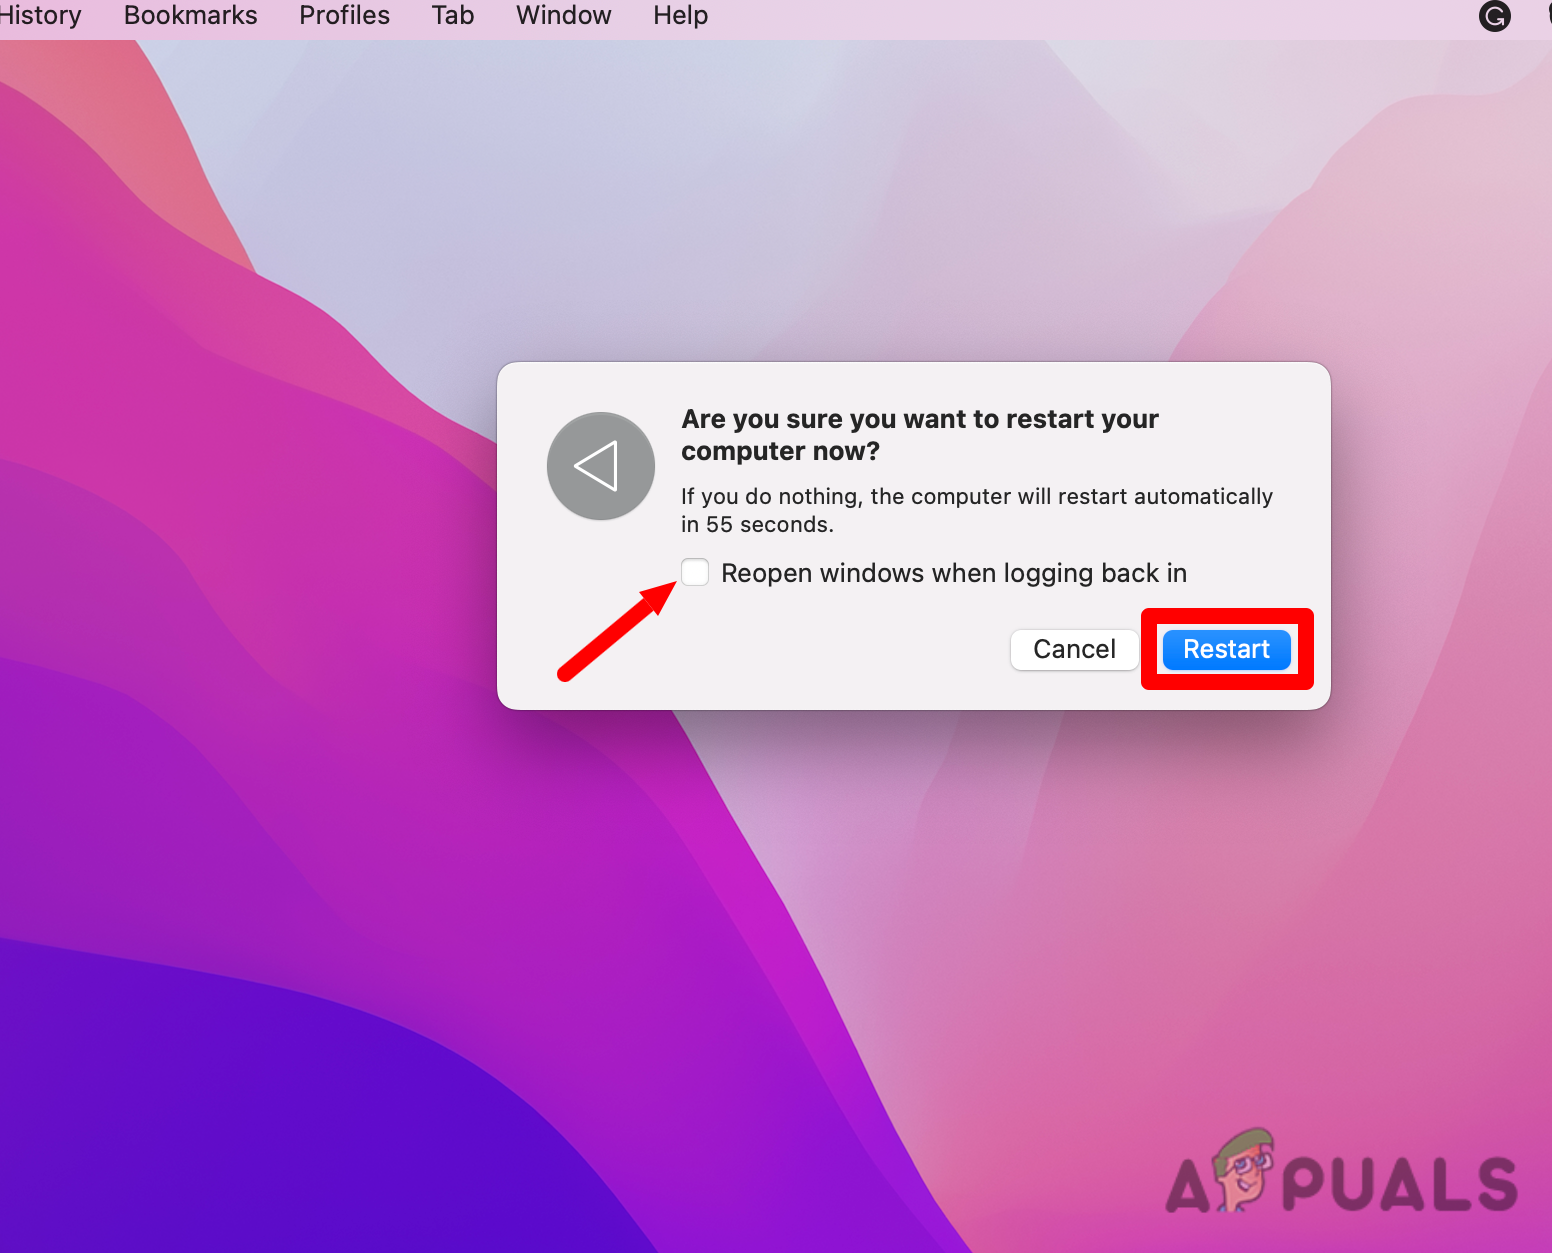
Unchecking the ‘Reopen Windows when Logging Back In’ - After confirming your choice, your MacBook will perform a hard restart. After the next boot process is complete, initiate a backup again and see if the issue is fixed.
3. Clean the Time Machine Cache files manually
Normally when you hard restart your macOS, the time machine cache gets cleared automatically. But there are situations where an unfinished backup will prevent this from happening.
If you see the ‘Unable to Complete Backup’ error occurring as the backup fails to finish, cleaning the Time Machine cache files manually will most likely fix this issue.
Note: Time Machine enables you to recover data from local copies of your Mac’s files, even if your Time Machine backup disc is unavailable when an external drive is connected.
By clearing the cache data used by Time Machine, you will most likely remove the stuck backup from the Time Machine queue so you can start a new backup that won’t end with the ‘Unable to Complete Backup’ error.
But in order to do this, you’ll first need to connect your external drive and disable the ‘Back up automatically option’ under System Preferences > Time Machine. After you do this, you can safely delete the backup cache file (Backups.backupdb) on the external drive.
Here’s a quick guide on how to do this:
- First things first, make sure your external drive is connected to your Mac.
- Next, click on the Apple menu and select System Preferences from the context menu that just appeared.
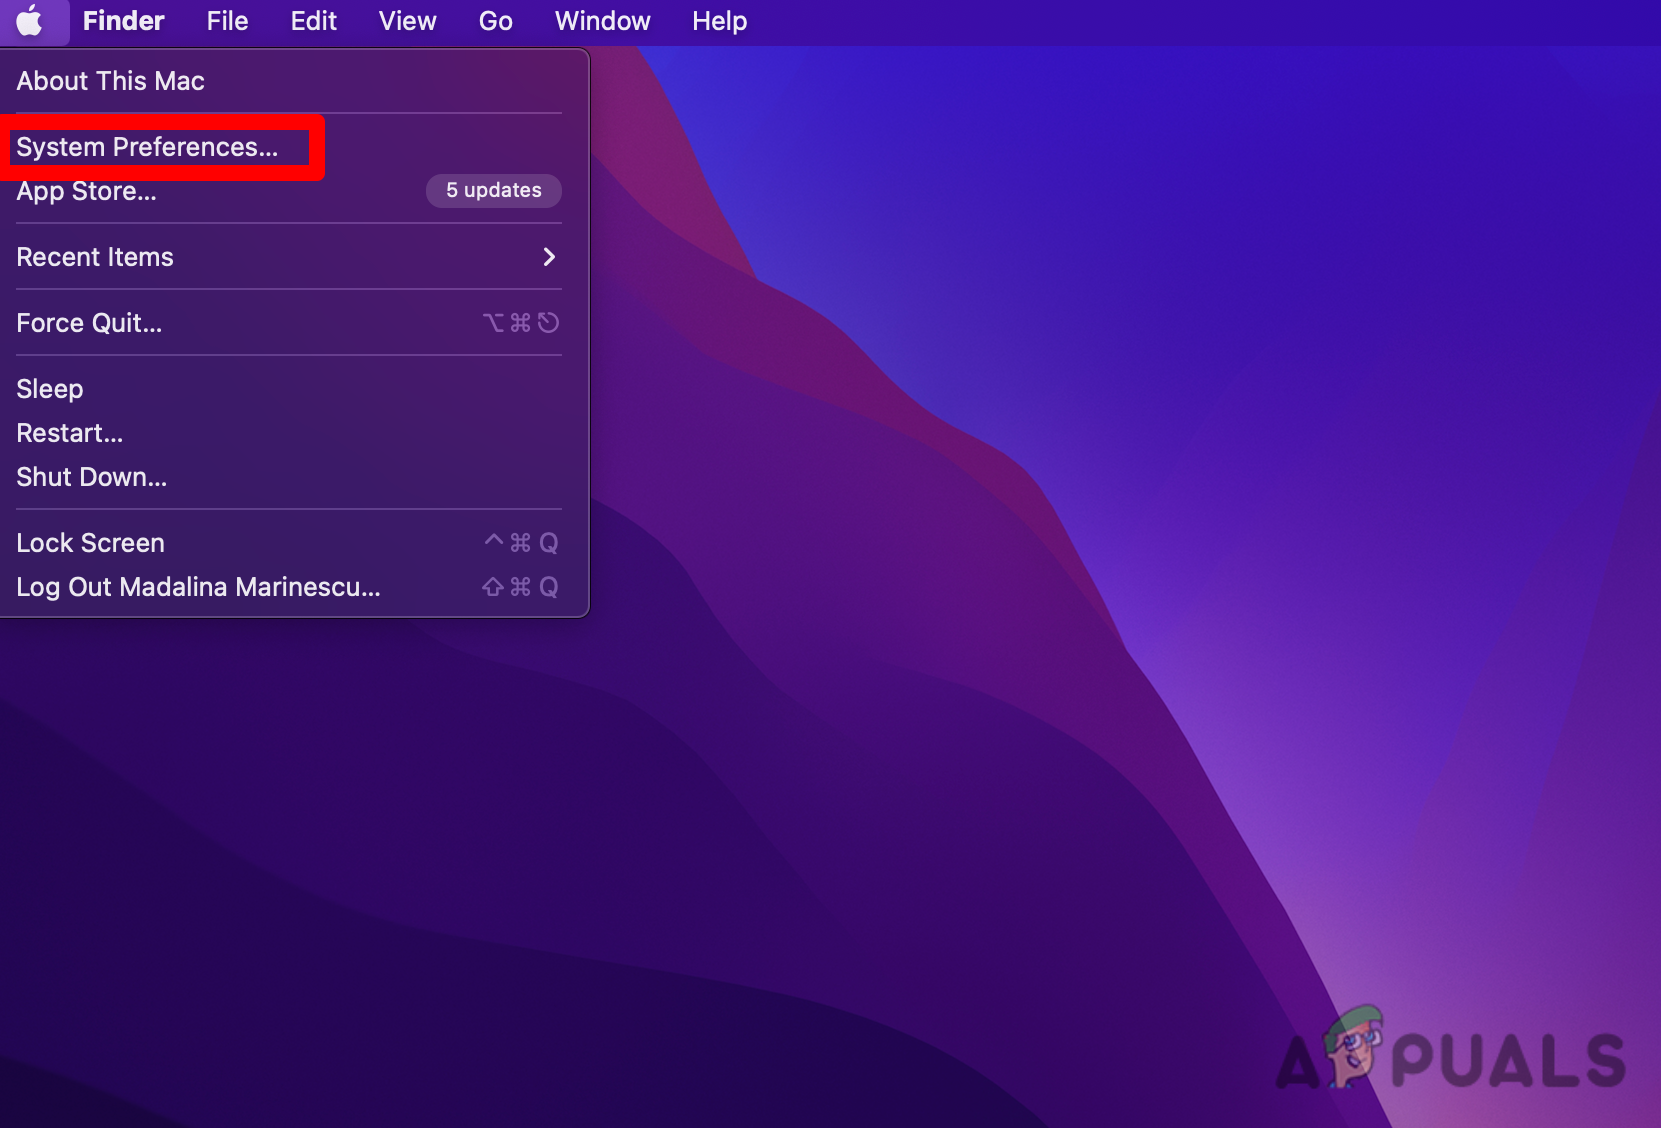
Access the System Preferences menu - From the new sub-menu that appeared, click on Time Machine.
- Once you’re inside the main Time Machine settings, make sure that the Back Up Automatically option is unchecked.
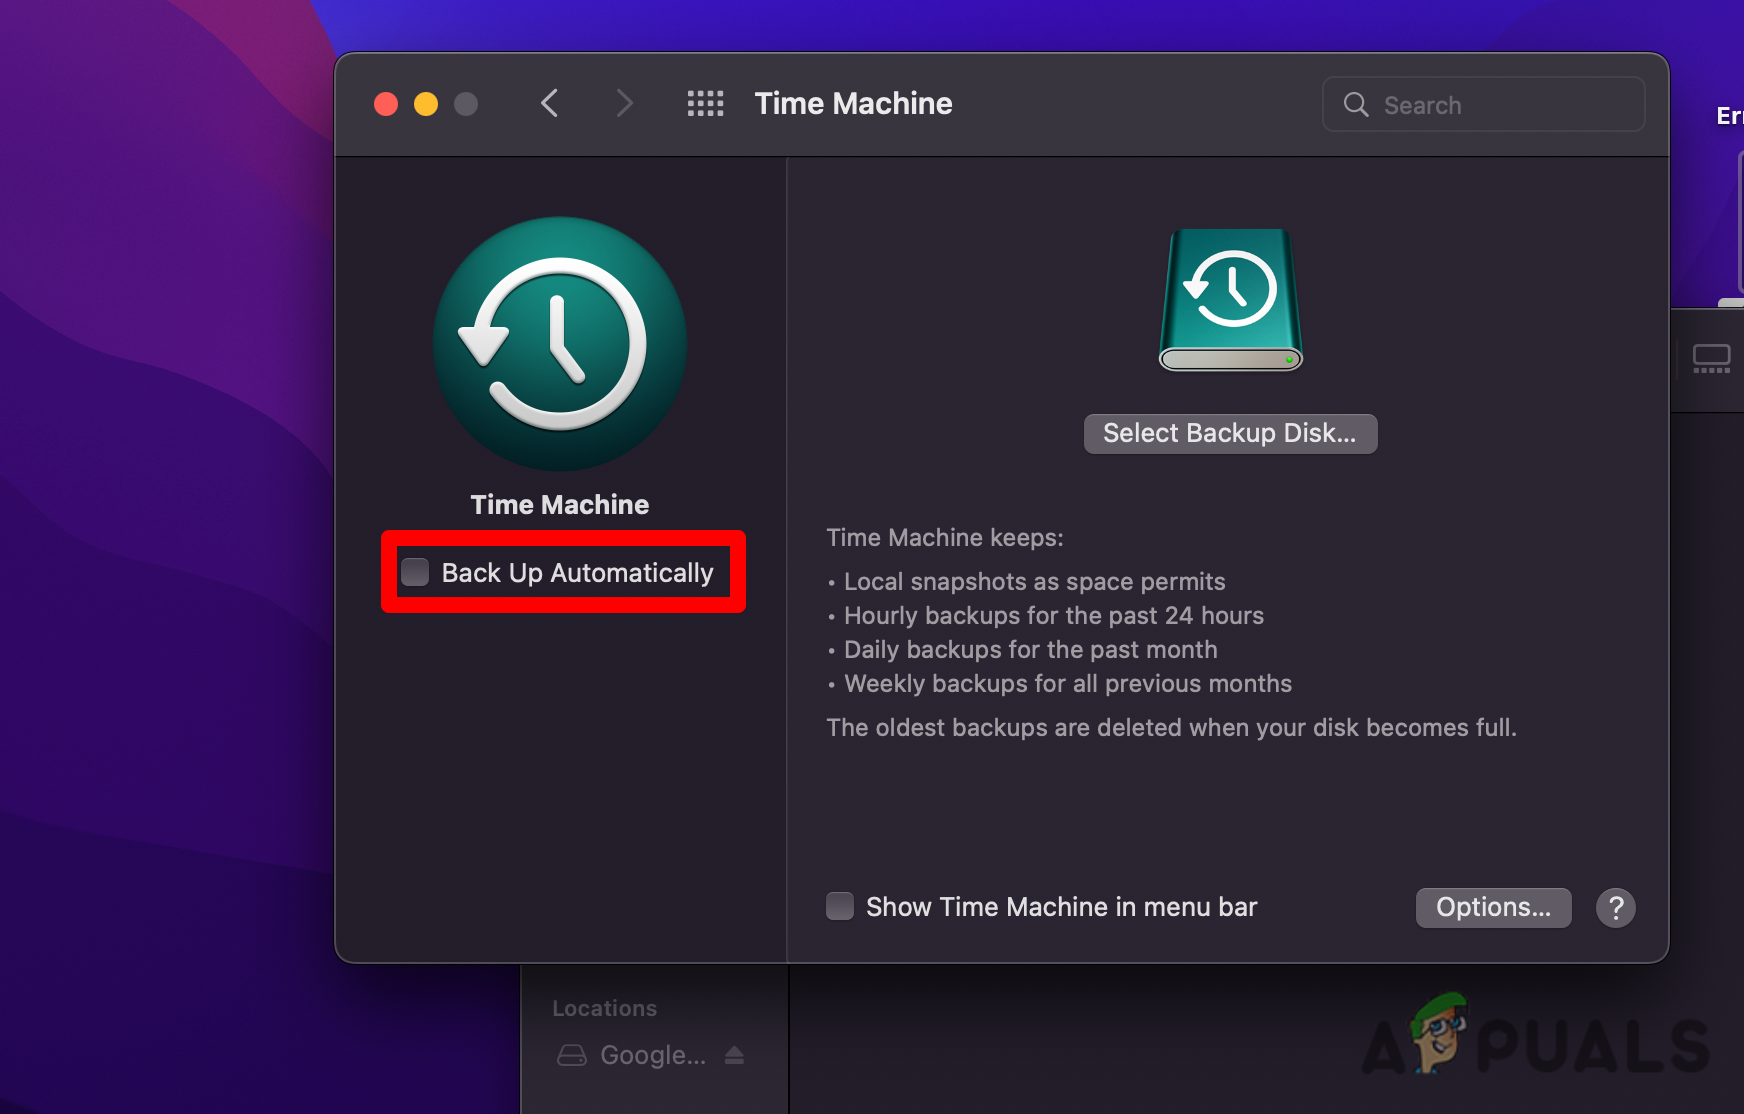
Make sure automatic backup is disabled - The next thing that you need to do is to Clean Time Machine cache files. To do this, open your finder app and access the external disk where you want to store your backup.
- Open the Backups.backupdb folder and delete everything inside.
- Empty the Trash Bin and restart your MacBook before checking if the issue is fixed.


