[FIX] Thunderbird Configuration Could not Be Verified
Some Windows and Mac users are encountering the “Configuration could not be verified” error when trying to connect their email account with Thunderbird. This error appears immediately after they insert their email credentials and they click on Done or Create Account.

As it turns out, there are several different potential culprits that might lead to the apparition of the “Configuration could not be verified” error. Here’s a short list:
- Incorrect Credentials – One of the most common instances that will prompt this error message to appear is incorrect user credentials. So before doing anything else, attempt to use the same email credentials to connect to the equivalent web client. If it works, you just ruled out the possibility of incorrect email credentials.
- Thunderbird bug (68.2.0 and older) – If you’re using an older Thunderbird version, you might see this error due to a miscommunication between the Thunderbird application and Mozilla Firefox (only happens if this is set as your main browser). In this case, you should be able to fix the issue by updating to the latest build of Thunderbird.
- Less secure apps are not allowed – In case you are encountering this problem with a Yahoo or Google email, keep in mind that communications might be blocked due to the fact that your email provider is blocking less secure apps. In this case, you will be able to fix the issue by accessing the settings menu of Gmail or Yahoo and allow less secure apps to sync data.
- Two-step verification is enabled – As it’s been confirmed by several affected users, data syncing handled by Thunderbird is very unreliable if two-step verification is enabled. If you want to connect your email account with Thunderbird or Outlook, the best course of action is to simply disable two-step verification.
- Firewall interference – It turns out that this error can also be facilitated by a restriction imposed by your firewall. It’s possible that Windows Firewall or a 3rd party equivalent ends up blocking communications with your email server. In this case, you can fix the issue by whitelisting the Thunderbird application from your firewall settings.
Method 1: Ensuring that the Account Credentials are Correct
Before you explore any other potential fixes, you need to make sure that you are using the correct account credentials. It could be that the error message is simply signaling that the email or password you’re using is incorrect.
Fortunately, there’s one way to test out this theory – Simply attempt to use the same account directly from your browser and see if you’re able to connect properly. For example, go to mail.google.com or mail.yahoo.com (or a different email provider) and use the same credentials that are triggering the “Configuration could not be verified” error.
If you are successfully able to connect with the web client of your email provider using the same username and password, you’ve just confirmed that the credentials you’re using are correct.
In case you manage to confirm that your credentials are correct, it’s very likely that the problem is occurring locally – In this case, move down to the next potential fix below.
Method 2: Installing the latest version of Thunderbird
You might also be encountering the “Configuration could not be verified” error due to Thunderbird bug that was occurring on Windows computers with versions 68.2.0 and older. According to the developer that fixed this problem, this problem might occur due to incorrect communications between Thunderbird and Mozilla Firefox (if it’s set as the default browser).
Fortunately, this was resolved to start with version Thunderbird 68.2.1, so if you’re encountering this issue on a Windows computer and you’re using Mozilla as your default browser, just force the email client to update.
To do this, open Thunderbird, click on the Help tab (from the ribbon at the top), then click on About Thunderbird (from the context menu) in order to force the application to update itself.
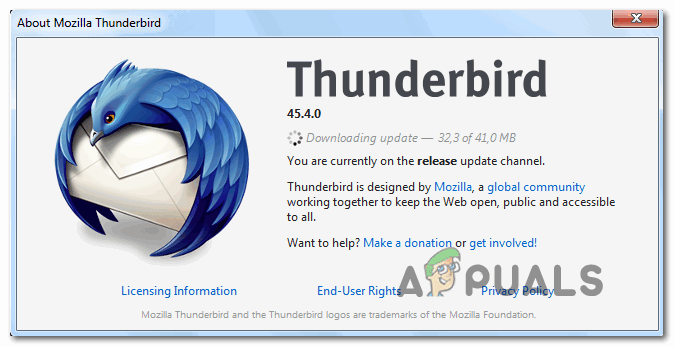
If a new version is available, the app will update itself to the latest version available. Once the operation is complete, you will be prompted to restart – Do so by clicking on Restart Thunderbird to update.
Once the application starts up again, attempt to connect with your email account and see if the error is fixed. In case you are still seeing the “Configuration could not be verified” error, move down to the next potential fix.
Method 3: Allowing Less Secure Apps (Yahoo and Gmail Only)
If you’re encountering this issue with a Yahoo or Gmail email address, it’s very likely that you’re seeing the “Configuration could not be verified” error due to the fact that your email client is not configured to allow less secured to sync data. Keep in mind that both Google and Yahoo are restricting less secured apps by default.
But don’t go thinking that Thunderbird is not secure and you’re at risk of being hacked. Google and Yahoo will regard every 3rd party email client as ‘less secure apps’ – This includes Outlook, Thunderbird, Mailvird, SeaMonkey, etc.
If this scenario is applicable to your current situation, and less secured apps are not allowed in your email provider settings, you can fix this problem simply by enabling this option. To do this, follow the guide that’s focused on the email provider that you’re using:
A. Allowing Less Secure Apps on Gmail
- Visit the Settings menu of your Google account and sign in with your user credentials.
- Once you are successfully signed in, click on Security from the menu on the left-hand section of the screen.
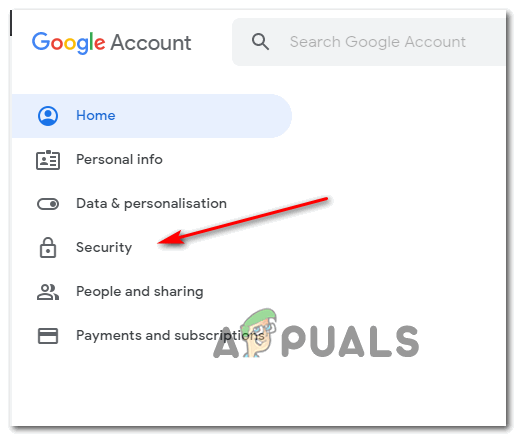
Accessing the Security tab - Next, scroll all the way down to the Less secure app access menu and click on Turn on access (not recommended).
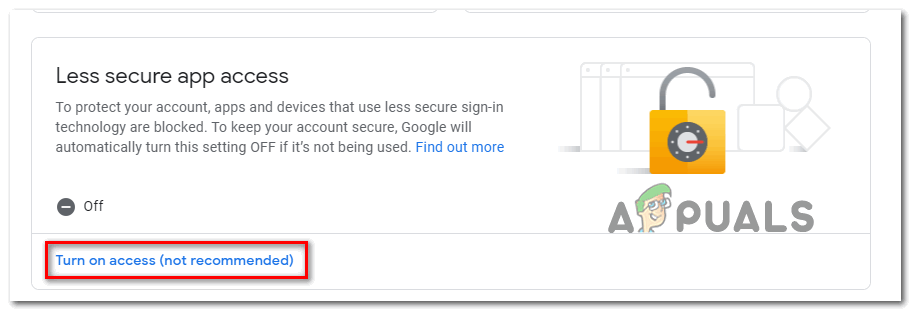
Turn on access - Inside the Less secure app access menu, simply enable the toggle associated with Allow less secure apps: OFF.
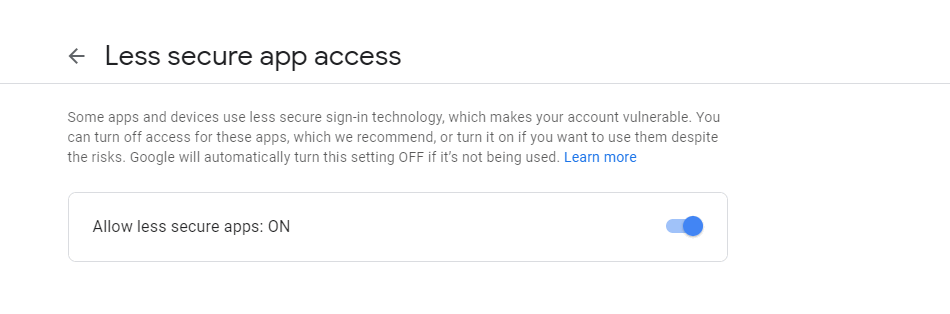
Allowing less secure apps to access your Google account - Once access is allowed, return to your Thunderbird app. and repeat the operation that was previously causing the “Configuration could not be verified” error
B. Allowing Less Secure Apps on Yahoo mail
- Access your Yahoo Mail settings from your default browser. When asked to insert your user credentials, do so and then verify if asked to do so.
- Once you are inside the Yahoo mail settings page of your account, use the menu on the left to click on Account Security.
- With the Account security tab selected, move to the right-hand side section and scroll all the way down to the Allow apps that use less secure sign in section and enable the toggle associated with it.
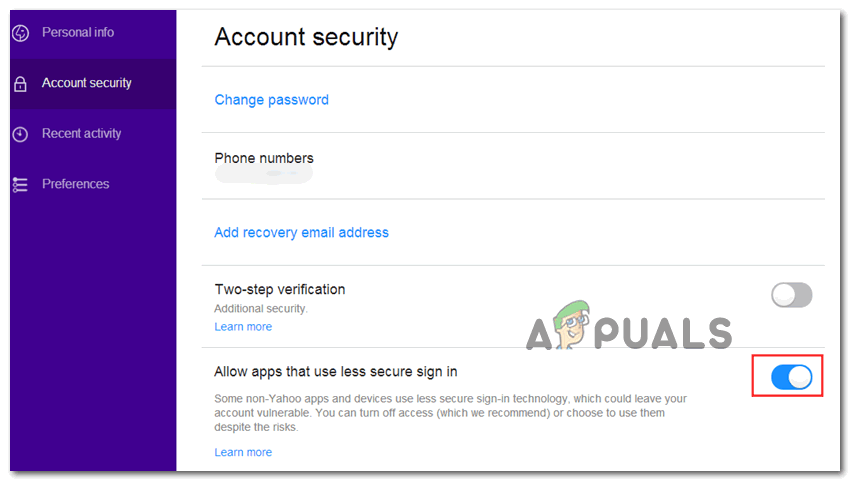
Allowing less secure sign-in in Yahoo - Once less secure sign-in is enabled, return to your Thunderbird application and attempt to connect your email account once again.
In case you still end up seeing the “Configuration could not be verified” error, move down to the next potential fix below.
Method 4: Disabling Two-Step Verification
One of the biggest culprits that might end up causing the “Configuration could not be verified” error in Thunderbird is two-step verification. Keep in mind that it’s not just Thunderbird that will not work properly with two-step verification – Every major email client for the desktop will have problems with email accounts that are using two-step verification.
Although there are certain workarounds there are not reliable, so the best course of action (if you are determined to connect your email client with Thunderbird) is to simply disable two-step verification.
To help you do this, we’ve created 3 different sub-guides (one for each email provider with the most market share). Follow the guide that’s applicable to the email provider that you’re using:
A. Disabling Two-Step Verification on Outlook.com
- Visit the Security Settings page of Live.com and sign in with your Outlook.com account. Enter the email and password associated with your Outlook.com email account and click on Sign in to complete the procedure.
Accessing the Settings menu of your Outlook.com account - If you are prompted to verify via email or text, do so to complete the verification procedure.
- Once you have successfully signed in and inside the Security settings menu, scroll all the way down to the Two-step verification category and click on Turn off two-step verification.
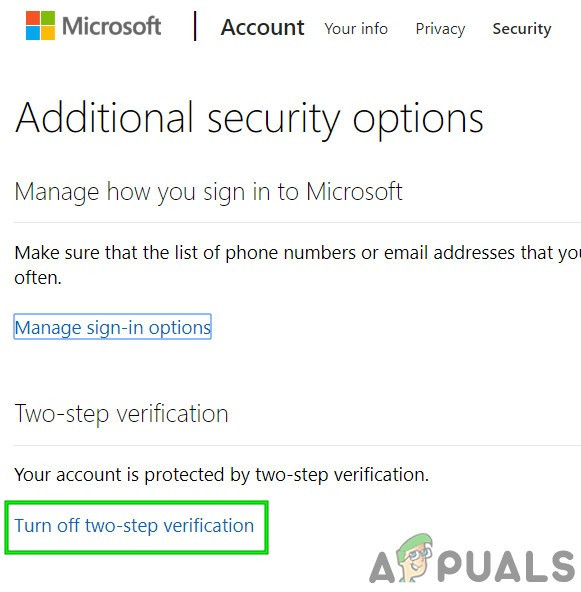
Turn Off Two-Step Verification of Microsoft Account - Next, follow the on-screen instructions to disable two-step verification on this Outlook.com account.
- Once two-step verification has been disabled, return to your Thunderbird client, sign in with the same credentials and see if you are able to complete the synchronization without seeing the “Configuration could not be verified” error.
B. Disabling Two-Step Verification on Yahoo
- Visit the Account tab of your Yahoo mail and sign in with your account credentials.
Note: Depending on your security settings, you might be prompted to verify via email app or via SMS. - Once you’re inside your account tab, use the vertical menu on the left to click on Account security.
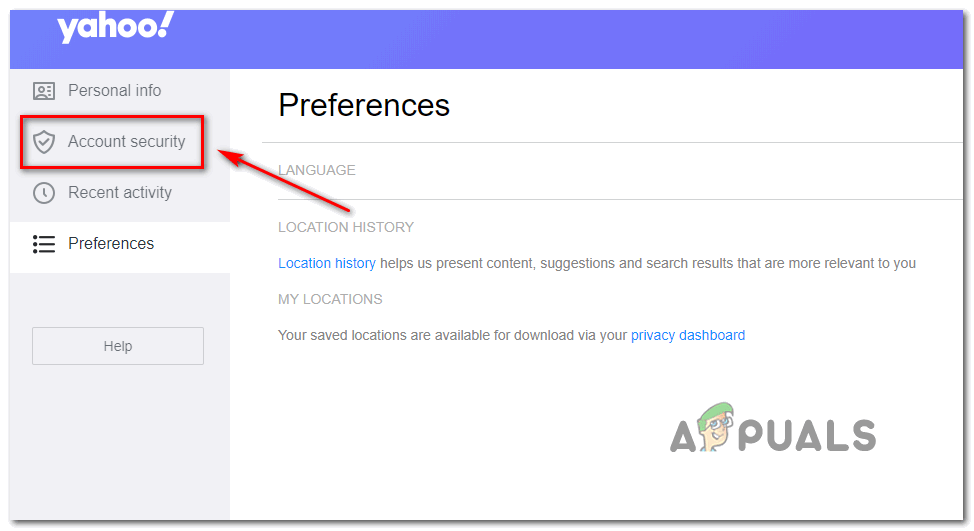
Accessing the account security menu - If you are prompted to sign in again, do so and verify your identity via email or SMS until you are successfully signed in.
- Once you are successfully signed in, use the menu on the right to scroll down to the Two-step verification menu and uncheck the toggle associated with it.
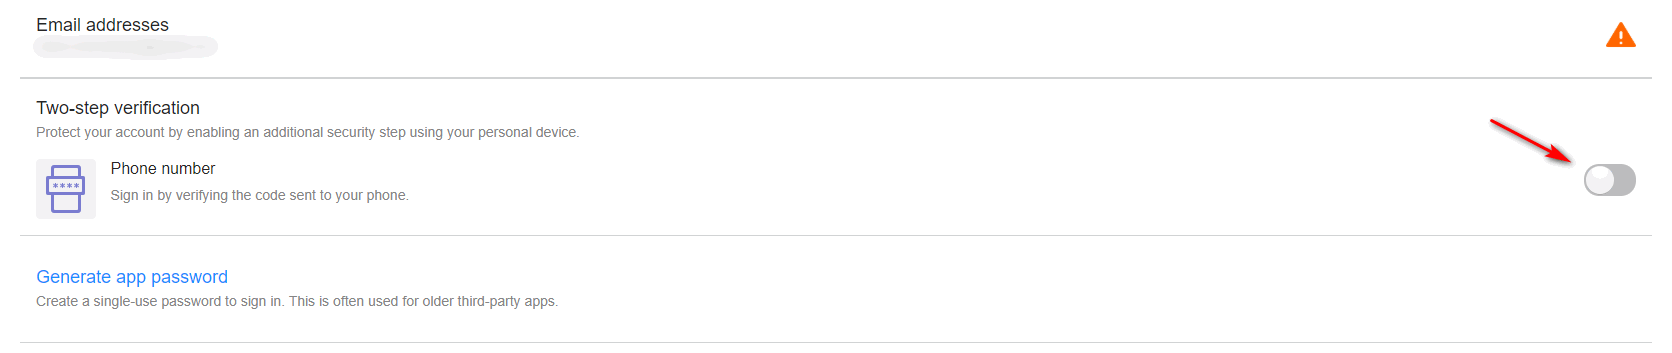
Disabling two-step verification in Yahoo mail - After you manage to disable two-step verification, attempt to connect with Thunderbird once again and see you still end up seeing the same “Configuration could not be verified” error
C. Disabling Two-Step Verification on Gmail
- Open your default browser, access your Google Account page and sign in with your account.
- Once inside, click on the Security tab from the vertical menu on the left.
Accessing the Security tab - Next, scroll down to the Sign in to Google tab and click on 2-Step Verification.
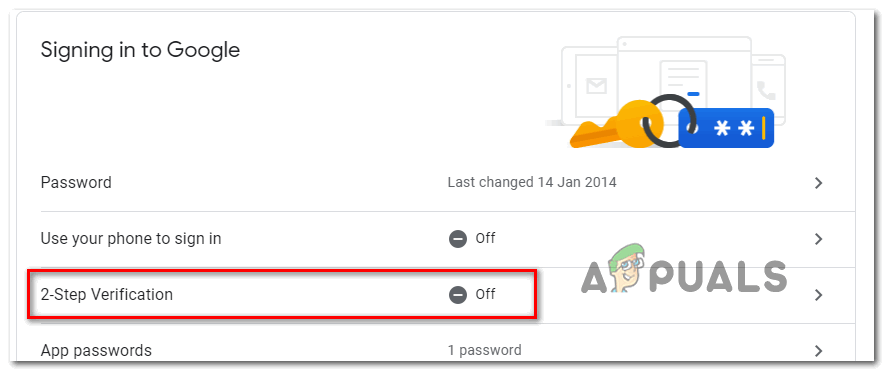
Accessing the 2-step verification settings menu - Next, follow the on-screen prompts to disable 2-step verification.
- Once 2-step verification has been disabled from your Gmail Settings menu, return to your Thunderbird client and attempt to connect with your account once again.
If you’ve already ensured that 2-step verification is disabled and you’re still encountering the “Configuration could not be verified” error, move down to the next potential fix below.
Method 5: Whitelisting Thunderbird in your Firewall settings
As it turns out, you can also expect to see the “Configuration could not be verified” error in a situation where your security firewall ends up blocking Thunderbird due to a false positive. Keep in mind that this is reported to occur with both Windows Firewall (the built-in suite) and with Avast and a few other 3rd party firewalls.
If you’re using a firewall and you think this scenario is applicable, you might be able to fix the issue by adding the Thunderbird client to the list of whitelisted items.
In case you’re using Windows firewall, follow the instructions below to whitelist the Thunderbird email client so that your firewall doesn’t block outgoing connections:
Note: In case you are using a 3rd party firewall, search online for specific steps on how to whitelist applications. The steps will be different depending on the security tool that you’re using.
- Open up a Run dialog box by pressing Windows key + R. Inside the newly appeared text box, type ”control firewall.cpl’ and press Enter to open up the classic interface of Windows Firewall.
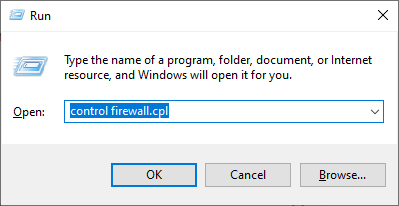
Accessing the Windows Defender Firewall - Once you’re finally inside the Windows Defender Firewall menu, use the left-hand side menu to click on Allow an app or feature through Windows Defender Firewall.
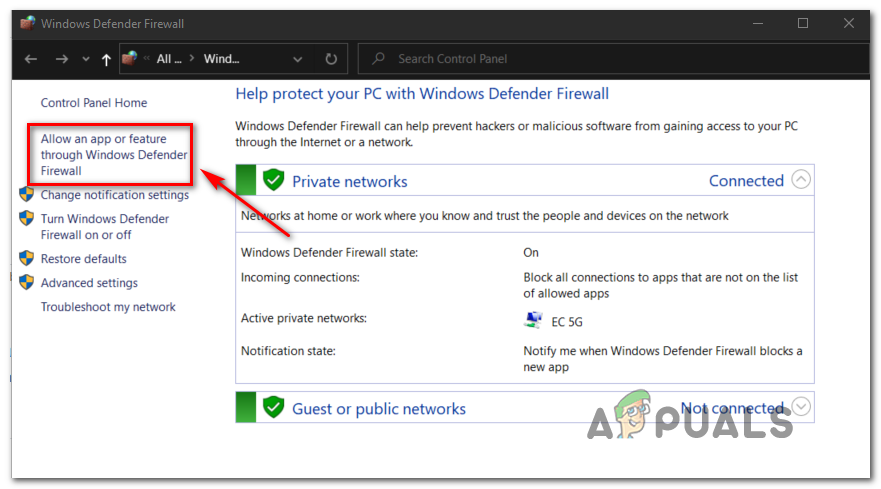
Allowing an app or feature through Windows Defender - Once you’re inside the Allowed apps menu, click on the Change settings button and then click Yes at the UAC (User Account Control) prompt to grant admin access.
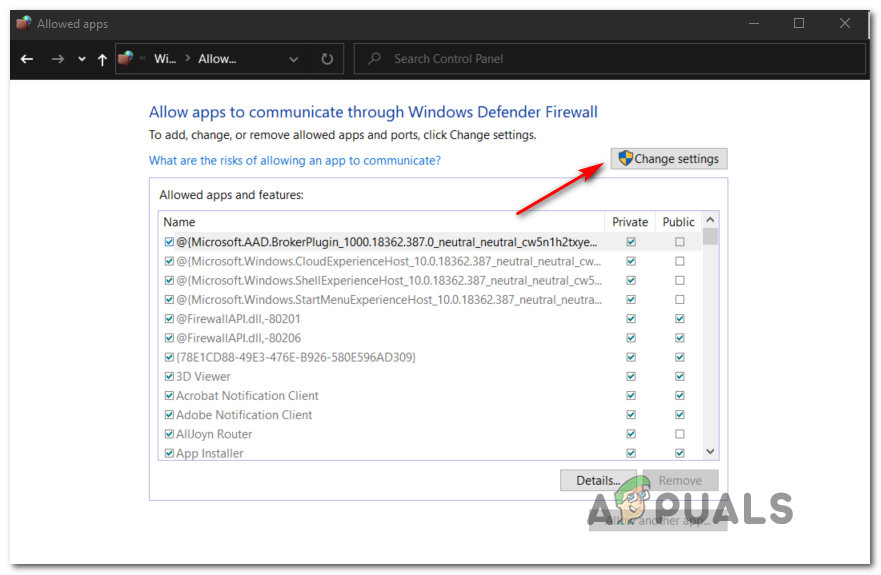
Changing the Settings of the Allowed Items in Windows Firewall - After you manage to obtain admin access, scroll down through the list of allowed items, and see if the Thunderbird application is added to this list. If it’s already added, ensure that the associated boxes for Private and Public are both checked before clicking Ok to save the changes.
Note: In case Thunderbird is not yet added to the allowed list, click on the Allow another app button and add the entry manually so you can then whitelist the app.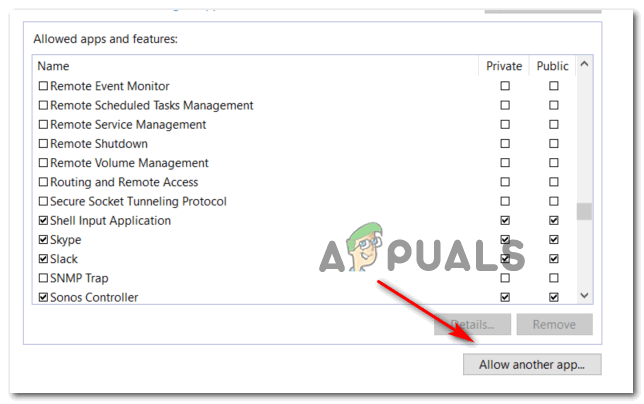
Allowing other applications - Once the Thunderbird app has been whitelisted, return to it and attempt to sign in with your email account once again.
In case you still end up seeing the “Configuration could not be verified” error, move down to the next method below.
Method 6: Enabling Cookies from Google on Mac (MacOS Only)
If you’re seeing this error message when trying to connect a Gmail account with the Thunderbird mail app on a Mac, it’s possible that the problem occurs due to the fact that Google cookies are not accepted.
In this case, you should be able to fix the issue by accessing the Preferences menu of your Safari app and enabling 3rd party cookies. Several affected users have confirmed that this operation finally allowed them to get rid of the “Configuration could not be verified” error and use the Thunderbird app normally.
Here’s a quick guide on enabling Cookies from Google on MacOS:
- On your macOS, open up Safari (via the Action bar at the bottom of the screen).
- Once inside, use Safari’s ribbon bar to click on Preferences from the newly appeared context menu.
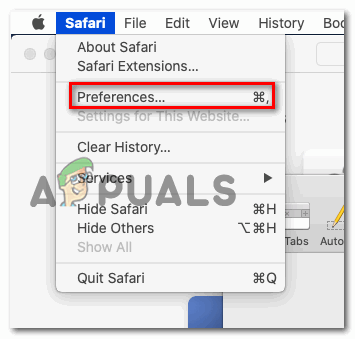
Accessing the Safari Preferences menu - Once you’re inside the Preferences menu, click on the Privacy from the horizontal menu at the top to tab to select it.
- Next, uncheck the box associated with Block all cookies in order to allow Google cookies to be saved on your Mac computer.
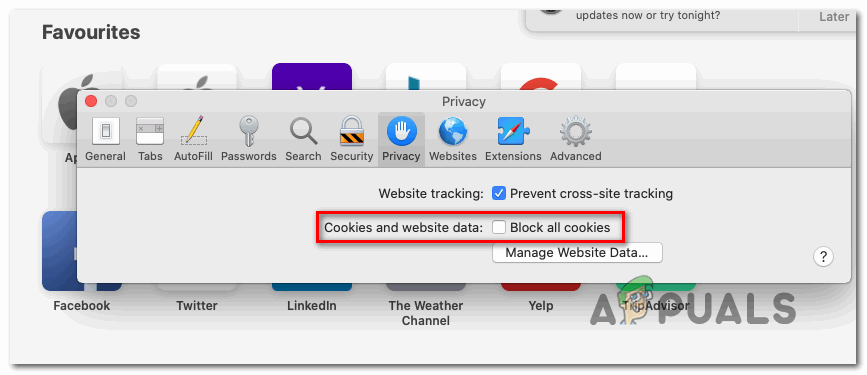
Unblocking all cookies coming from Google - Return to your Thunderbird app and repeat the connection once again and see if you still end up seeing the “Configuration could not be verified” error.