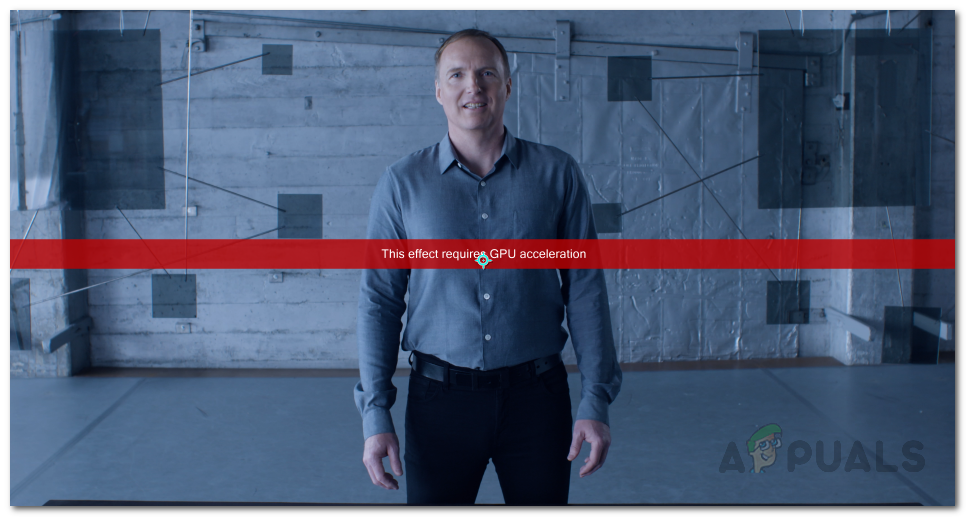
This effect requires GPU acceleration? Here’s how to fix
If you are facing the “This effect requires GPU acceleration” error message, you are probably using Premiere Pro or After Effects to apply certain effects on your video. As it turns out, as per the error message, you do not have GPU acceleration enabled which is why some effects may not work. However, in some scenarios, you might have GPU acceleration enabled from the settings of the application and still face the error message in its red ribbon. This can be due to a number of reasons other than the GPU acceleration that we will go through down below as well as show you how to resolve the problem.
As it turns out, there are other factors that can contribute to the error message in question. First off, the pretty obvious reason would be GPU acceleration. Some effects in Premiere Pro or After Effects require GPU acceleration and when that is disabled, you won’t be able to use them on your clips. However, how about when you have GPU acceleration enabled and are still prompted with this error message? It turns out that the order of the effects in your Effects Control Window can also cause the problem in question. This has been particularly reported when you are using a VR-related effect on your videos. Let us look at the potential causes in more detail before proceeding with the workarounds available to resolve the problem.
- Third-Party Plugins — One of the reasons that you might be encountering the error message in question can be due to the plugins that you have installed in Adobe Premiere Pro. While plugins are helpful, some of them can turn out to be a hurdle as they can interfere with the app to cause problems. Therefore, if you have plugins installed that you no longer use or recently installed, you should try uninstalling them to see if that fixes the problem.
- Order of Effects — As it turns out, another potential reason for the mentioned error message can be the order of the effects. The order in which the effects are stacked can sometimes cause this problem in which case you will have to reorder them by moving the problematic effect to the top to see if that gets rid of the issue.
- Outdated Graphics Drivers — In addition to that, having outdated graphics drivers on your system can also, in some cases, trigger the problem in question. If this case is applicable, you will have to update your drivers to the latest version available via the manufacturer’s website to potentially fix the error message.
- GPU Acceleration in Project Settings — Finally, the settings of the project that you are working on can also factor in causing the problem that you are facing. This can happen when you don’t have GPU acceleration enabled in the project settings which is why you encounter the error message mentioned. To fix this, you will simply have to enable GPU acceleration.
Now that we have gone through the potential causes of the error message in question, you probably have established a better understanding of the problem here. With that out of the way, we can now move on to showing you how to resolve the problem in question via the different methods that are available. So, without further ado, let us get right into it.
Enable Mercury GPU Acceleration in Project Settings
As it turns out, the first thing that you should do after you encounter the error message in question is to make sure that you have GPU acceleration enabled. The error message appears when you have Mercury Software Only selected instead of GPU acceleration under Video Rendering and Effects settings. This can be found in the Project Settings window of the application. Therefore, you will have to enable GPU acceleration to get around the problem. To enable Mercury GPU acceleration, follow the instructions given down below:
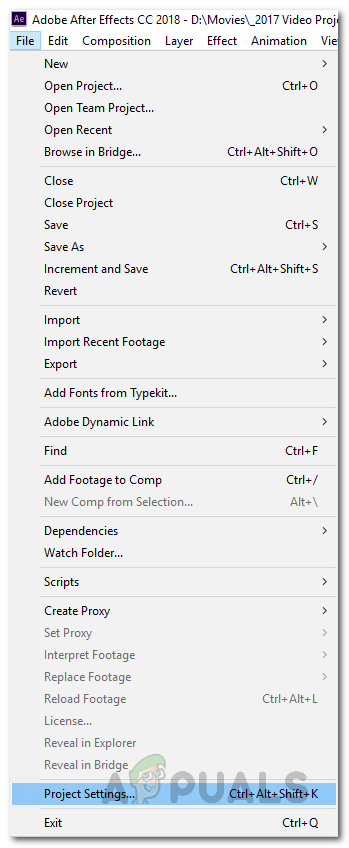
- First of all, on your After Effects or Premiere Pro window, click on the File drop-down menu.
- From there, click on the Project Settings option at the bottom. This will bring up a new window on the screen.
Opening Project Settings Window - On the Project Settings window, on the Video Rendering and Effects tab, choose Mercury GPU Acceleration from the drop-down menu provided.
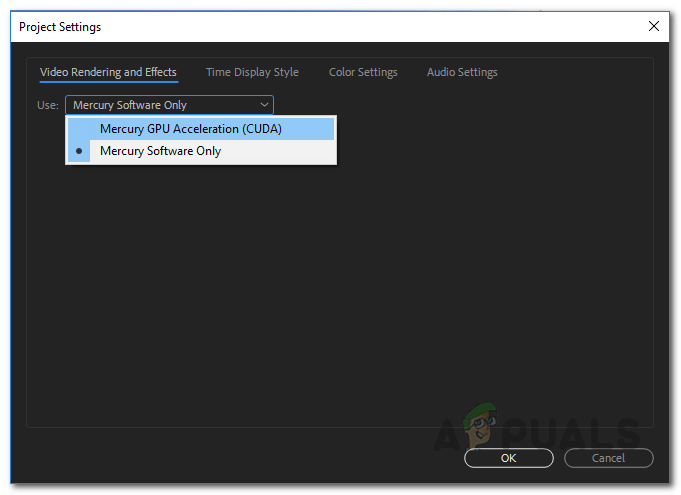
Enabling Mercury GPU Acceleration in Project Settings - Once you have done that, go ahead and click OK.
- Then, go ahead and apply your effects again to see if the problem persists.
Change the Order of Effects
Like we have mentioned above, another reason that you might face the problem in question here can be due to the order of effects on the Effects Control window. To resolve this, what you need to do is simply change the order of the effects that you have applied via the Effects Control Window. You can easily change the order of the effects by dragging and dropping each effect present in the list. To fix the issue, move the effect that is actually causing the issue to the top of the list and then see if that resolves the problem. If that doesn’t work, change the general order of the effects and see if that bears any fruit.
In addition to that, some users have reported that instead of putting the effect that is causing the problem in the Effects Control panel, they put the effect onto the clip directly which resolved the problem for them. Therefore, give that a shot as well if you are not able to fix the problem by changing the order simply and see if it gets rid of the error message.

Uninstall Third-Party Plugins
One of the great features of Premiere Pro is that it lets you install third-party plugins on your application which allows the users to enjoy the additional functionality. While plugins are generally really helpful with several things, they can also sometimes cause issues with your application such as the one you are facing here. This can especially happen if you have an old plugin installed and then you update your Premiere Pro application.
Uninstalling the plugin can depend on how you installed it in the first place. You can install plugins via the Adobe website or using a third-party installer. To install the plugins that you have installed via the Adobe website, simply go ahead and open up this link. Choose your product from the left-hand side and then click the three-dots option next to the installed plugins. From there, simply choose Uninstall to remove the plugin.

Clean Install Graphics Drivers and Adobe Product
Finally, if you are still facing the error message after trying the methods given above, the problem could be very likely due to your graphics drivers or your Adobe product installation files. In such a scenario, you will have to reinstall to perform a clean install of your graphics drivers along with the product that you use. To do this, go ahead and remove the installed programs from your computer i.e. the Adobe product and follow it up by uninstalling the graphics drivers. Once you have done that, go to your manufacturer’s website and download the latest drivers available for your GPU. Install the drivers along with the Adobe product. If you are using encoders like the Media Encoder, make sure to reinstall that completely as well. To uninstall your graphics drivers, follow the instructions given down below:
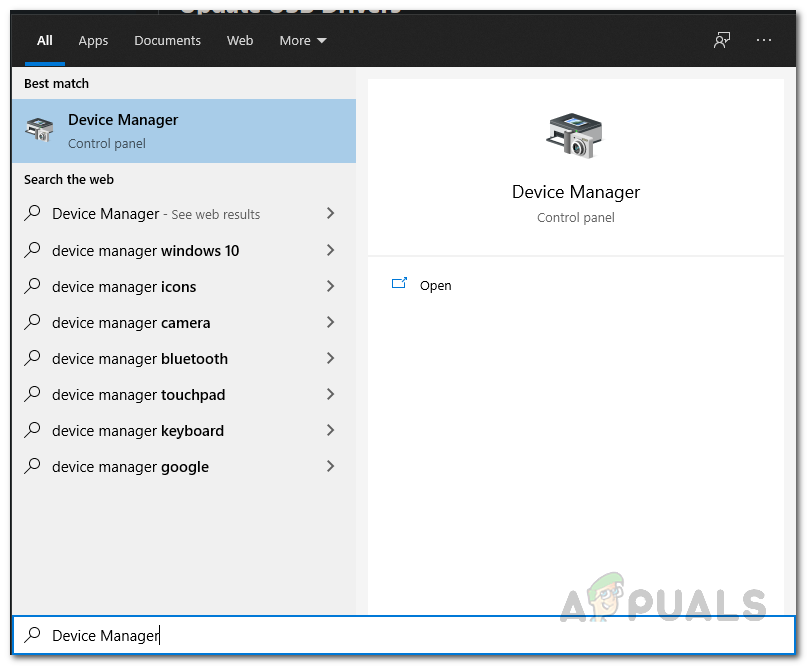
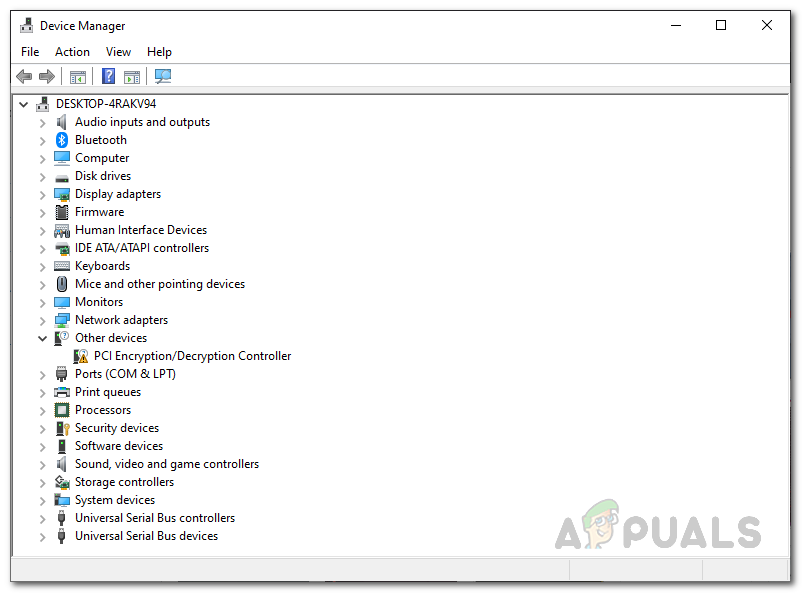
- First of all, open up the Device Manager by searching for it in the Start Menu.
Opening Device Manager - Once it is open, expand the Display adapters list. Here, you will see your graphics driver.
Device Manager - Right-click on your graphics card and from the drop-down menu, choose the Uninstall device option.
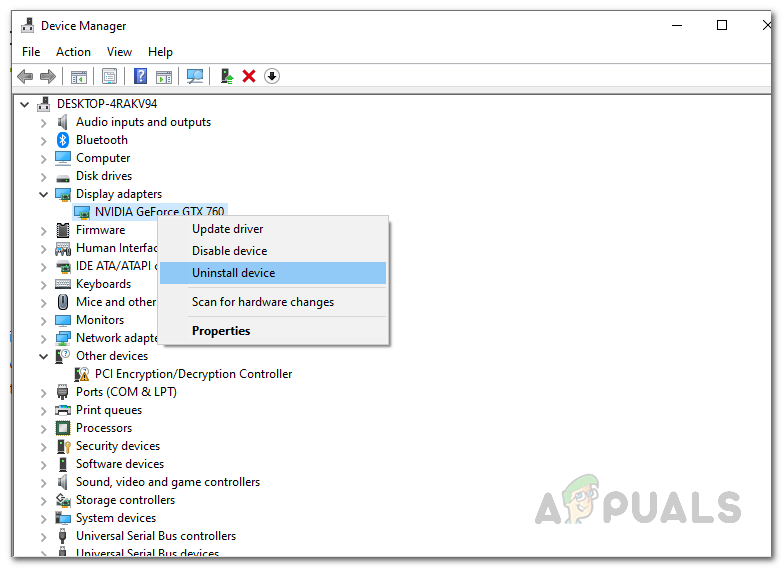
Uninstalling Graphics Drivers - Follow the on-screen prompts to finish it. This will remove your graphics drivers.
- Once you have done that, go to your manufacturer’s website and download the latest drivers for your card and install them. Also, reinstall Adobe Premiere Pro or After Effects that you are using.


