Fix: The Timestamp Signature and/or Certificate could not be Verified or is Malformed
Timestamp signature error occurs while installing an application like DotNetFramework, LogMeIn Go to Assist, etc. This usually happens if the Windows of your system is outdated or there are restrictions from the Execution Policy of your system.
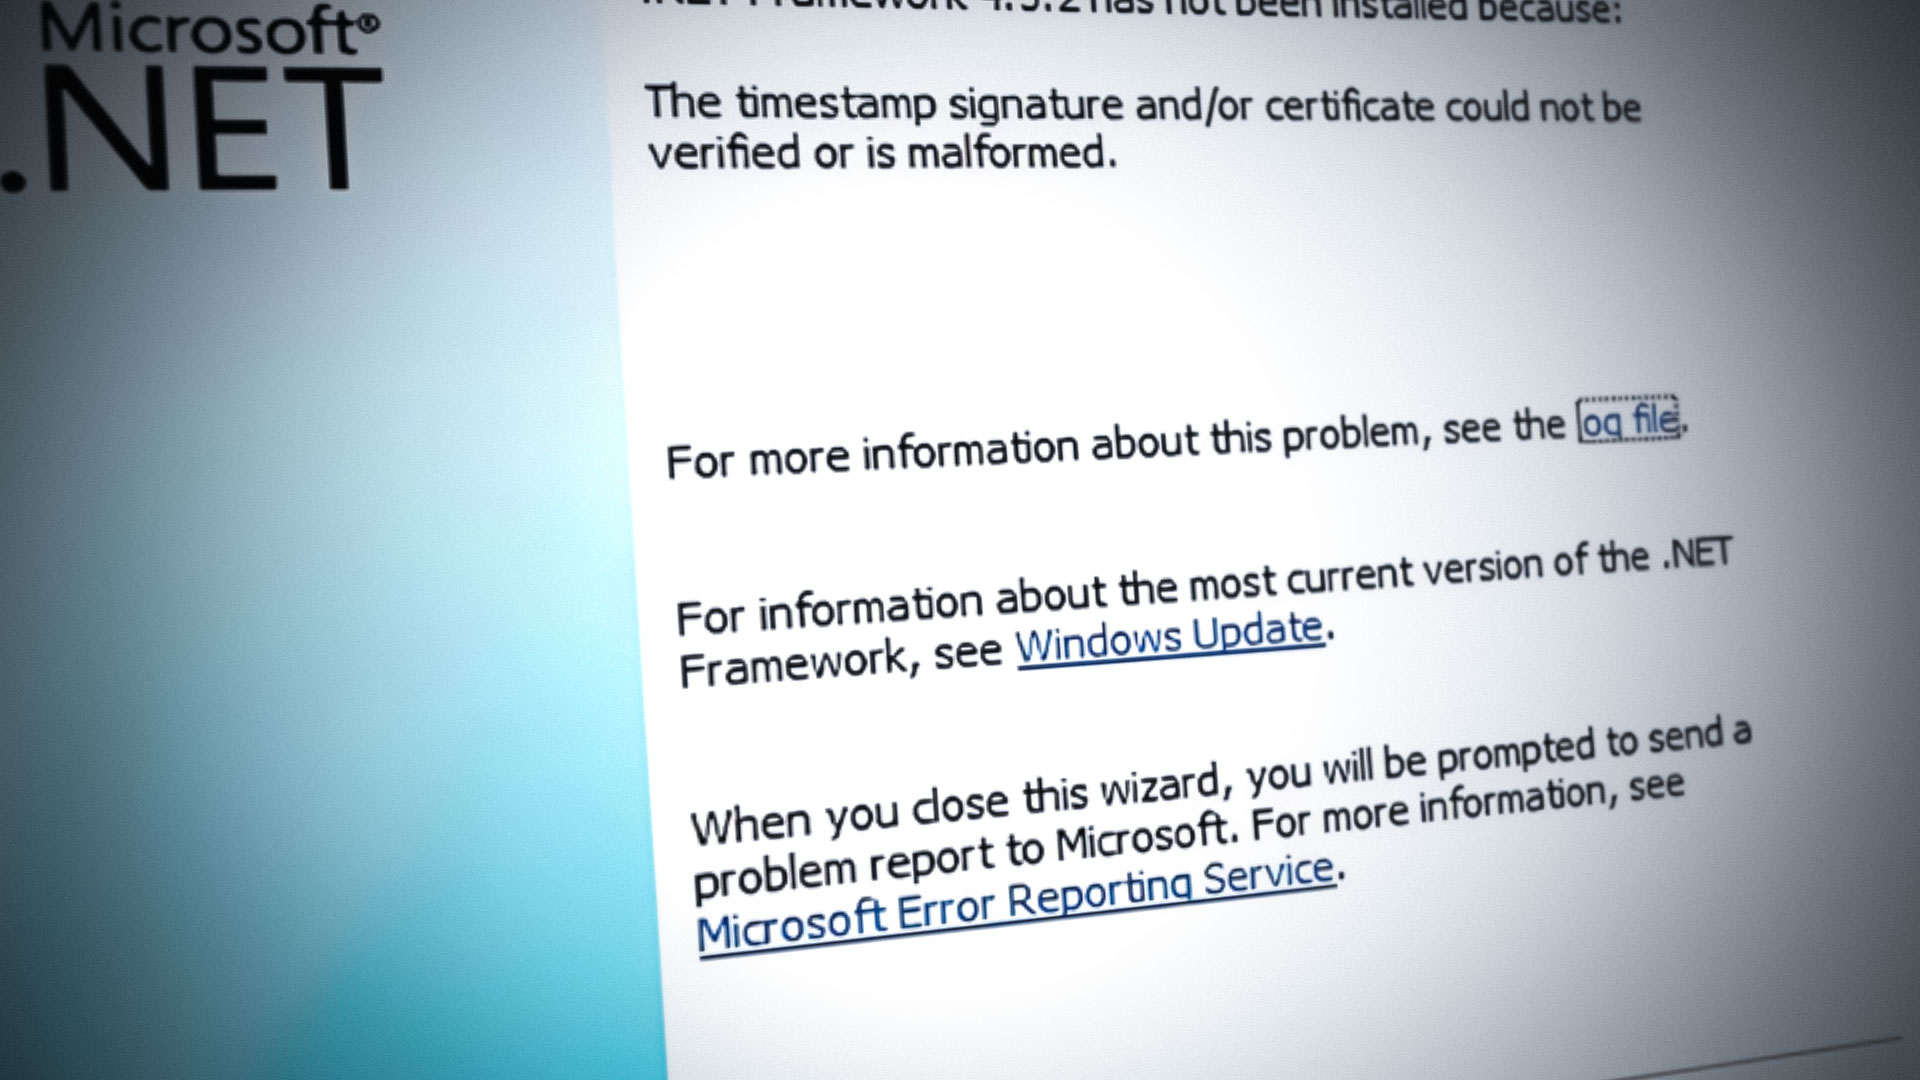
Following is the full error message:
Installation Did Not Succeed
.Net Framework 4.8 has not been installed because:
The Timestamp Signature and/or Certificate Could not be Verified or is Malformed
Many factors can contribute to The Timestamp Signature issue but the following are the main causes reported to cause the issue:
- Outdated Windows: The Dotnet Framework is continuously updated by Microsoft to clear out the bugs in running/developing applications and to catch up with it, your PC’s Windows must be fully patched to the latest release. If your system is missing any such updates, it may cause the timestamp signature issue of the Dotnet framework.
- Outdated Dotnet Framework Installer: If you are trying to use an outdated Dotnet Framework installer (maybe already present in your system’s download folders), then this installer might not be compatible with the OS of your system and can cause the Dotnet issue at hand.
- An Unsigned System Driver: To enhance Windows and Dotnet Framework security to run applications, it is essential that all the drivers on your system must be digitally signed and if any of the drivers of your system are not digitally signed, the Dotnet Framework installer might throw the timestamp signature error.
- Outdated Root Certificates of Your System: If your system cannot auto-update its root certificates due to a glitch in the Certificate Manager of your system, then the Dotnet Framework installer might fail to authenticate many essential system resources and thus show the timestamp issue.
Before moving on with the solutions, make sure the date and time of your system are accurate. Moreover, if you are encountering the issue due to an expired certificate, then you can get rid of the error by setting the date of your system to the time before the expiry of the certificate and then reverting the date/time after installing the application/driver.
Update Windows of Your System to the Last Release
The timestamp signature issue could be a result of the incompatibility between the problematic application (like LogMeIn Go to Assist) and the OS. In this case, updating your PC’s Windows to the latest stable release may solve the problem.
- Click Windows, key in Check for Updates, and open the Windows Update.
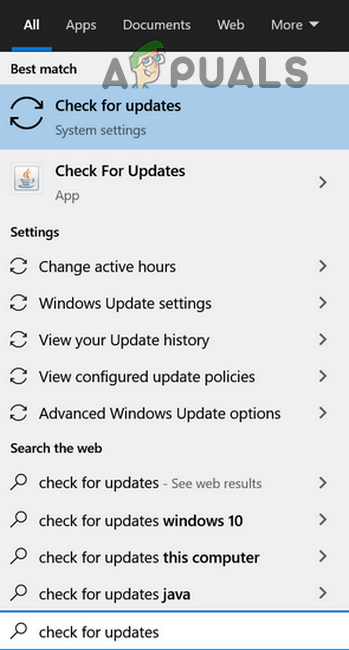
Open Check for Updates - Now, in the Windows Update window, click on the Check for Update button, and if updates are available, download and install these updates (optional updates as well).
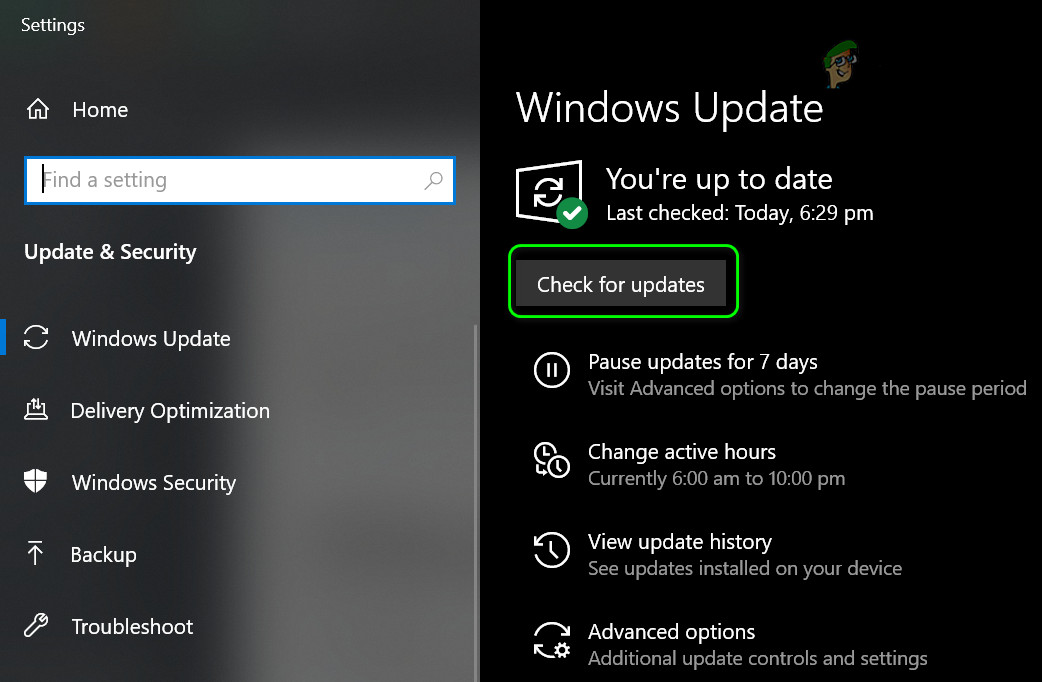
Check for Windows Updates - Once updated, reboot your PC, and upon reboot, check if the certificate verification issue is resolved.
If there are updates that are failing to install, then you manually install those updates from the Microsoft Catalogue website to solve the certificate error.
If the issue persists with an application like LogMeIn Go to Assist, then check if using its EXE file to install the application (not the opener) sorts out the issue.
Use the Latest Dotnet Framework Installer
Not using the latest .NET framework will probably cause issues with applications that are designed to run with the latest framework. Updating it might solve the problem instantly.
- Launch a web browser and navigate to the following Dotnet page of the Microsoft website:
https://dotnet.microsoft.com/en-us/download/dotnet-framework
- Now click on the latest and recommended .Net Framework (currently .Net Framework 4.8).
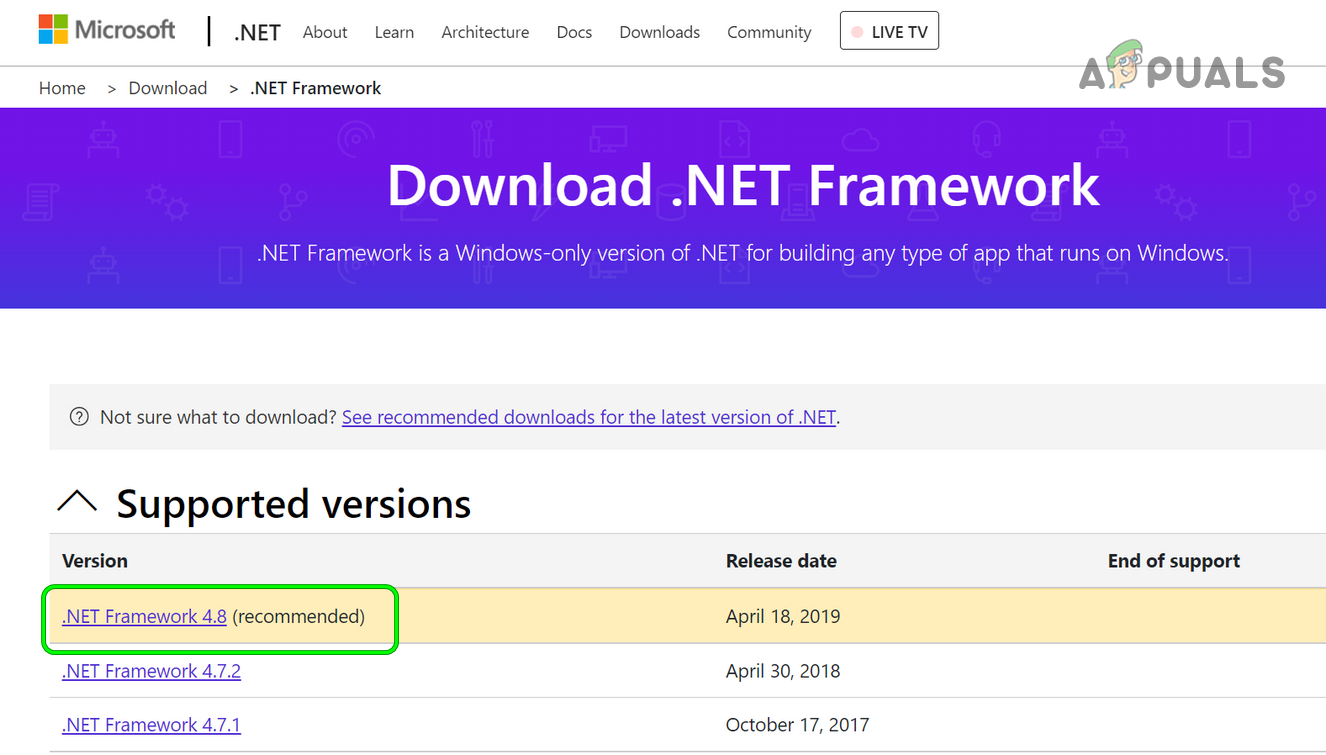
Open the Link to Latest DotNet Framework - Then click on the Download .Net Framework 4.8 Runtime and let the download complete.
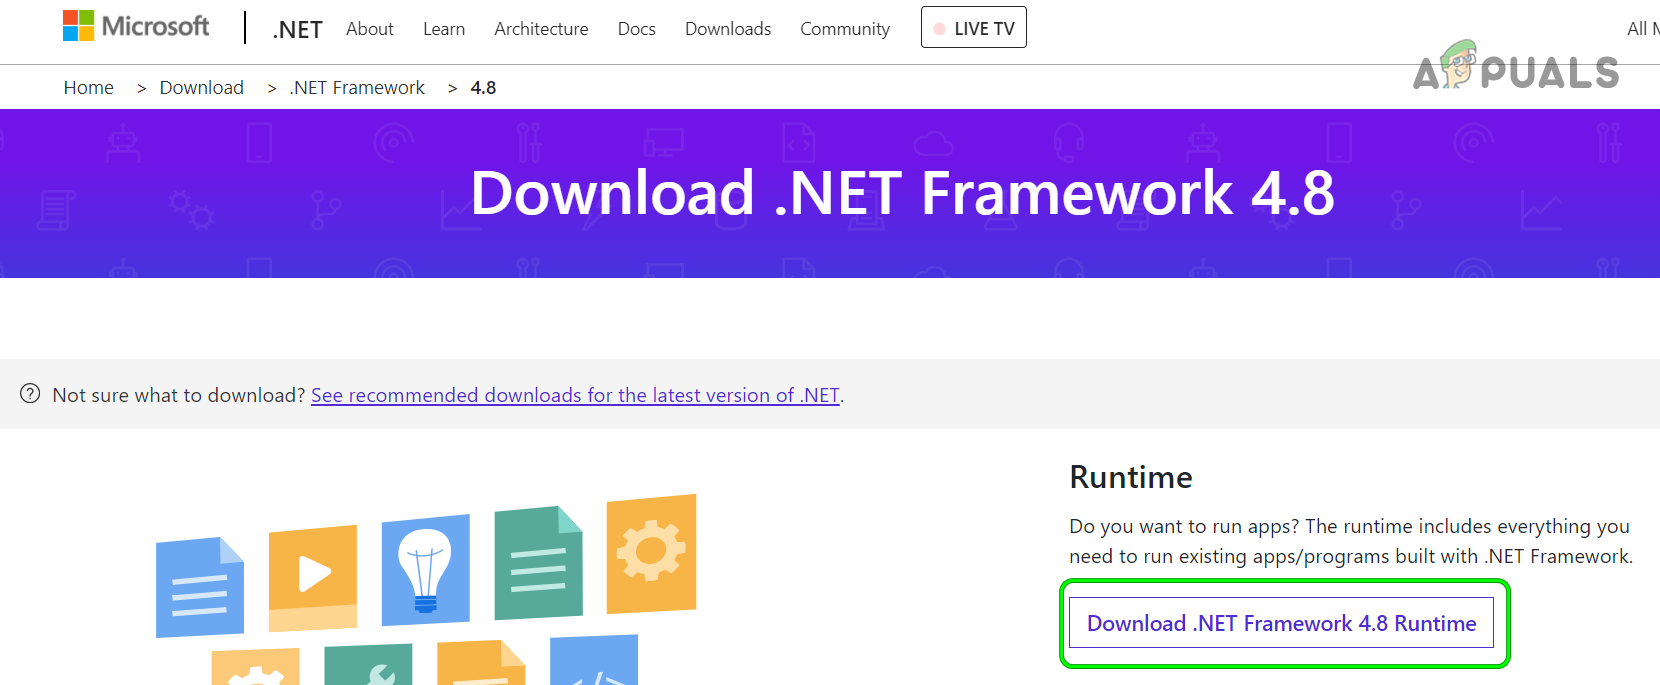
Download Dotnet Framework 4.8 Runtime - Once completed, launch the .Net Framework installer as administrator and check if it successfully installs without encountering the certificate verification issue.
Perform SFC Scan of the System
You may encounter the issue at hand if essential system files are corrupt; performing the SFC scan of your system will replace the incomplete files. Keep in mind this scan may take some time to complete (depending on the size of your system drive), so try it when you can spare your system for some time (like overnight).
- Click Windows, key in Command Prompt, right-click on it, and select Run as Administrator.
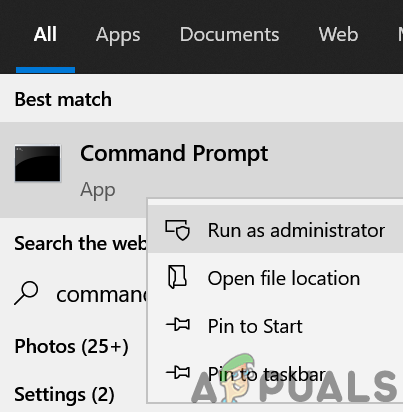
Open Command Prompt as Administrator - Then execute the following:
sfc /scannow
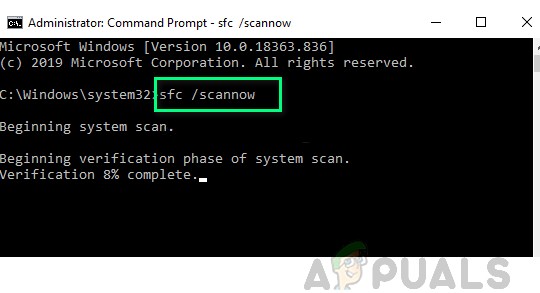
Perform an SFC Scan - Now, wait till the scan is completed and then check if the problematic application (like Dot Net framework) can be installed without timestamp signature error.
Disable Code Signing of the Driver Package
If you are encountering the ‘certificate could not be verified’ issue with a driver, then disabling the code signing of the driver package will solve the problem.
Warning:
Move forward at your own risk as disabling the code signing of the driver package may cause different security threats to your system.
- Click Windows, type Group Policy Editor, and select the result of Edit Group Policy.
- Now, in the Group Policy Editor window, expand User Configuration and steer to the following path:
Administrative Templates>> System>> Driver Installation
- Then, in the left half of the window, double-click on Code Signing for Device Drivers and select Enabled.

Double-click on Code Signing for Device Drivers in the Group Policy Editor - Now expand the dropdown of When Windows Detects a Driver File Without a Digital Signature and select Ignore.
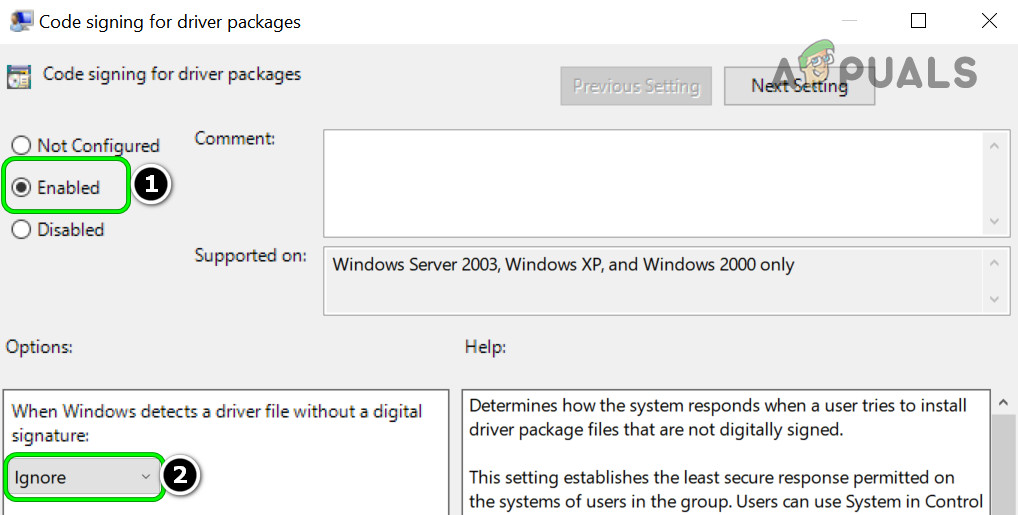
Set When Windows Detects a Driver File Without a Digital Signature to Ignore - Then apply the changes made and restart your PC.
- Upon reboot, check if the driver can be installed without the timestamp signature issue.
Disable Auto Root Update of the Root Certificates
This error might also occur if the system is failing to auto-update the root certificates. Disabling the auto root update of the root certificates by using a 3rd party utility (DigiCert) will solve the problem in this case.
Warning: Proceed at your own risk as the referred utility is a 3rd party utility and using a 3rd party utility can be a security threat for your system/data.
- Launch a web browser and steer to the DigiCert download page.
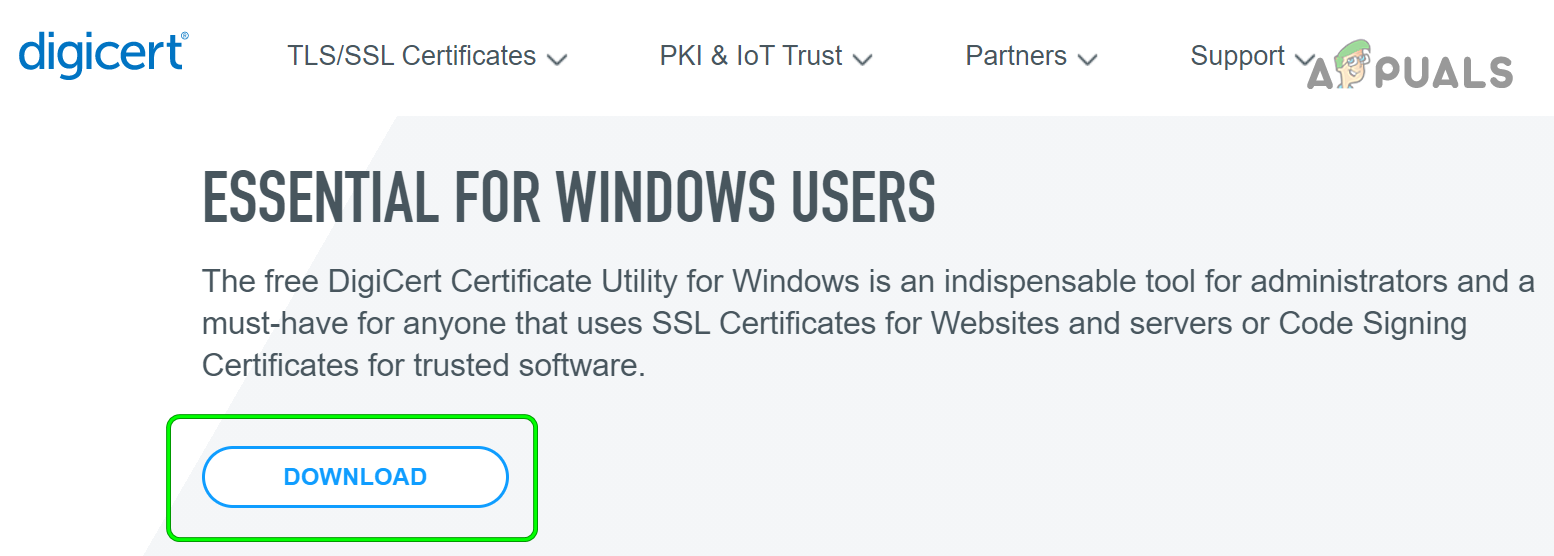
Download DigiCert Utility - Then click on the Download button and once the download is complete, launch the utility.
- Now, in the left pane, head to the Tools menu, and then, in the right pane, click Auto Root Update.
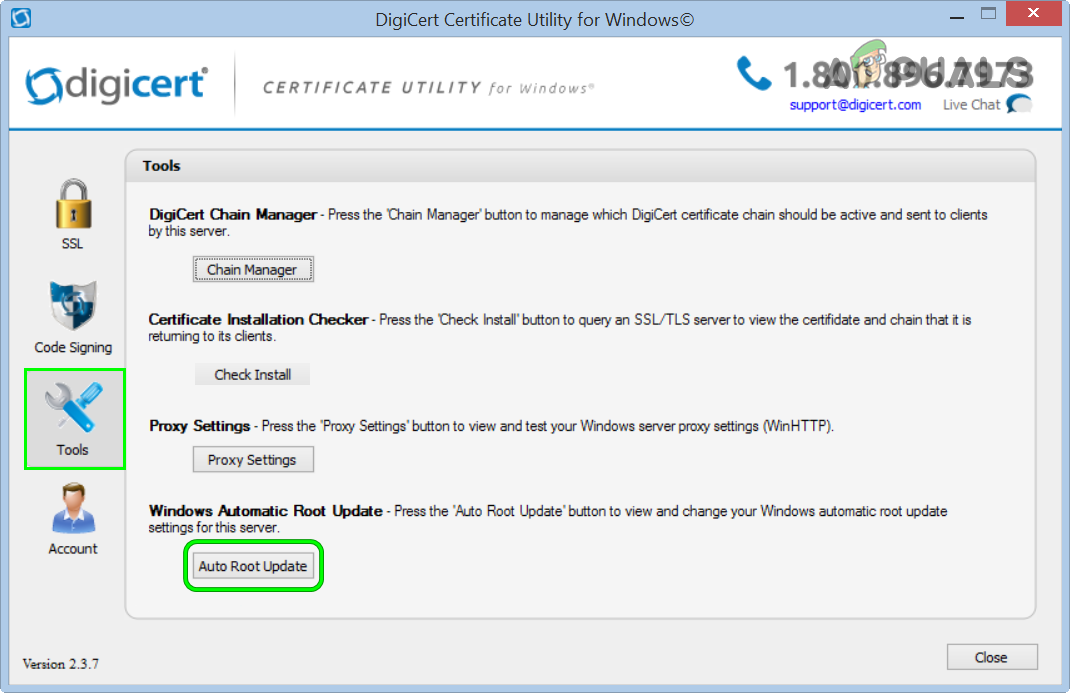
Open Auto Root Update in the Tools Tab of the DigiCert Certificate Utility - Then change the setting of Auto Root Update to Disabled and close the utility (if asked to, make sure to apply the changes).
- Now reboot your PC and upon reboot, check if the certificate verification issue is resolved.
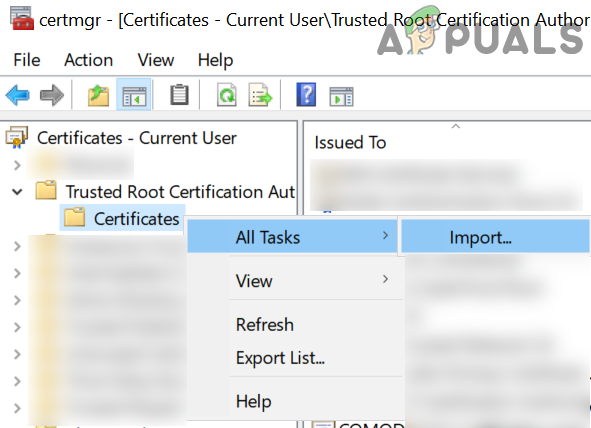
If the issue persists, then you may export the problematic certificate and import it back to solve the certificate verification issue (if the problematic certificate is identified). If you are encountering the issue with DotNetFramework, then check if downloading the following Microsoft certificate and importing it into Manage User Certificates>> Trusted Root Certification Authorities>> Certificates solves the problem.
http://www.microsoft.com/pki/certs/MicRooCerAut2011_2011_03_22.crt
