How to Fix Pixelated Textures Issue in COD MW2/Warzone 2
Pixelated textures in Call of Duty Modern Warfare 2 and Warzone 2 often occur due to your in-game graphics settings or the graphics drivers installed on your computer. In most scenarios, NVIDIA DLSS and depth of field settings are responsible for the texture pixels issue.
In case your game is not loading the textures correctly, the problem can be associated with your game files. There are several other reasons behind the issue, which is why we have compiled a list of different methods you can use to resolve the issue. Follow the solutions below to do this.
1. Check Render Resolution
The first troubleshooting step you should perform when resolving the textures issue is to check your render resolution. In some scenarios, the game may set the render resolution value to something other than 100 for various reasons.
When this happens, your game is rendered at a lower resolution than you have selected which can make the textures look pixelated in the game. To fix this, you must ensure the render resolution is set to 100. Follow the instructions below to do this:
- Start by running MW2 or Warzone 2 on your computer.
- Navigate to the Settings menu by clicking the gear icon in the top-right corner.
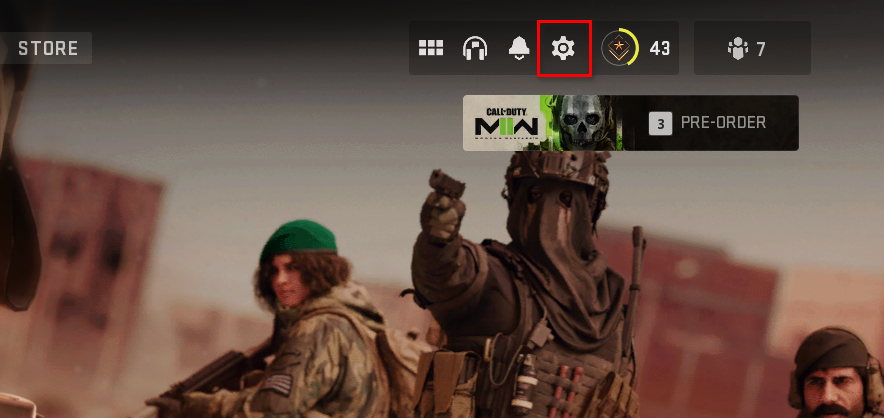
Opening the Settings Menu - From the menu that appears, choose Graphics.
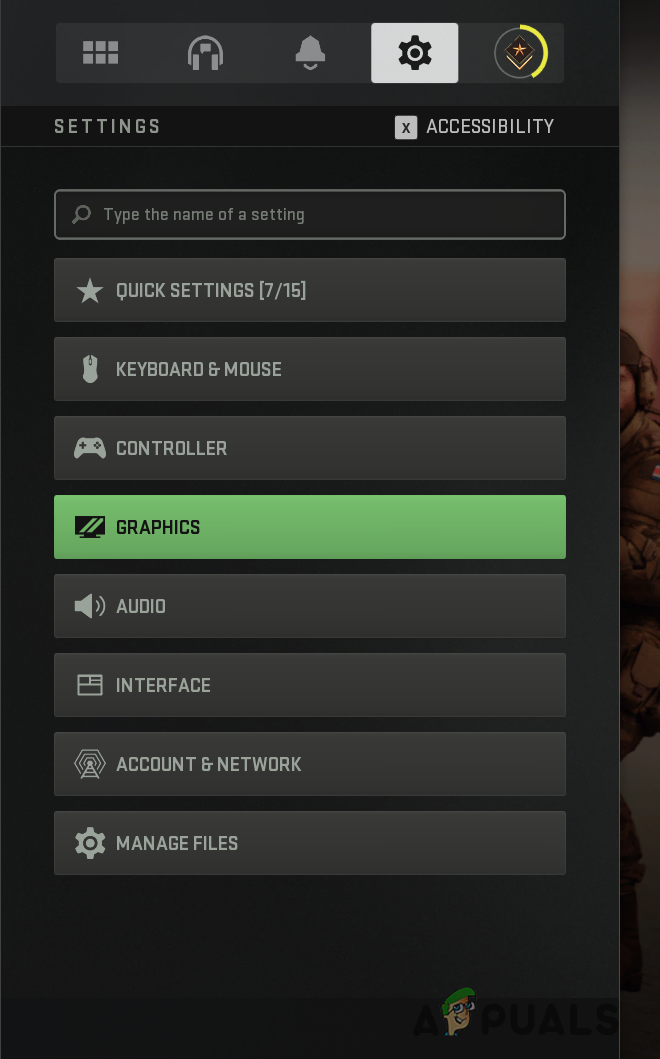
Navigating to Graphics Settings - On the Graphics settings screen, switch to the Quality tab.
- There, make sure Render Resolution is set to 100.
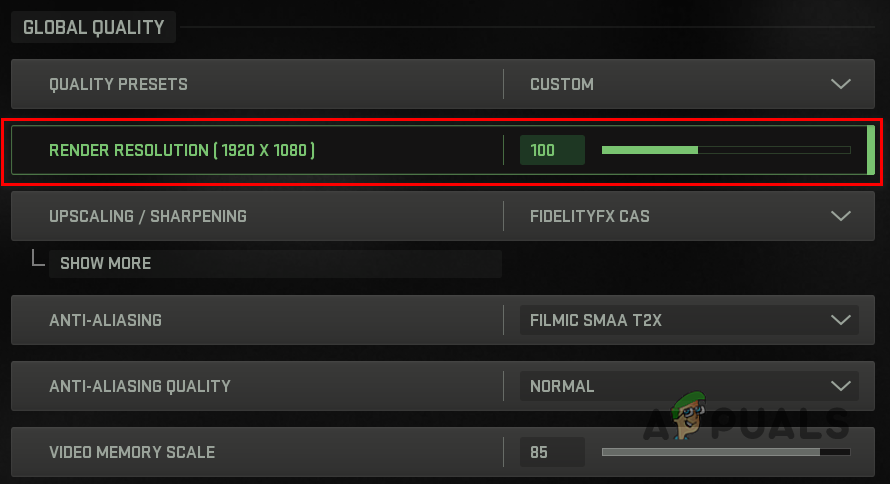
Checking Render Resolution - With that done, see if the problem goes away.
2. Turn off Depth of Field
Another reason your textures may be looking blurry can be due to the depth of field setting. With the depth of field enabled, the game blurs out any areas that are not in focus as you would find in a camera lens.
When this does not function correctly, your overall game can become blurry, in which case you will have to turn off the depth of field option. To do this, follow the instructions below:
- Open the Settings menu by clicking the gear icon in the top-right corner.
Opening the Settings Menu - Go to Graphics from the menu that appears.
Navigating to Graphics Settings - Afterward, switch to the Quality tab.
- Scroll down to Post Processing Effects.
- Locate Depth of Field and use the slider to turn it off.
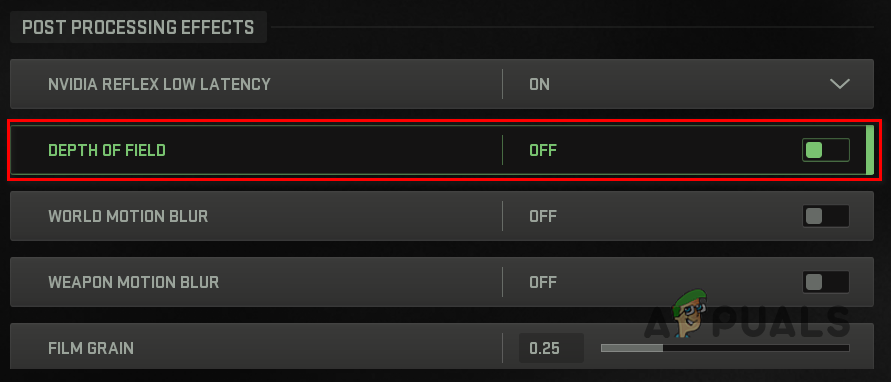
Disabling Depth of Field - Once you do that, restart the game and see if the problem persists.
3. Turn off NVIDIA DLSS
NVIDIA DLSS is an upscaling or image-sharpening algorithm that uses deep learning to generate sharp images of in-game textures. Using NVIDIA DLSS can also boost performance using the Ray Tracing (RTX) technology. In some scenarios, NVIDIA DLSS can produce blurry textures, either due to the quality preset that you have selected or an inconsistency with the game.
In such a scenario, to get rid of the pixelated textures, you can switch NVIDIA DLSS for a different upscaling algorithm like FidelityFX or SMAA T2X. Before changing your upscaling/sharpening algorithm, we recommend changing your NVIDIA DLSS Preset to Quality. If you have your preset to ultra performance, you will receive a performance boost, but the texture quality won’t be good.
Follow the instructions below to do this:
- Start by navigating to the Graphics settings of MW2 or COD Warzone 2.
Navigating to Graphics Settings - Switch to the Quality tab on the Graphics settings screen.
- There, click on the Show More option under Upscaling / Sharpening.
- Change the NVIDIA DLSS Preset option to Quality. See if that fixes the issue.
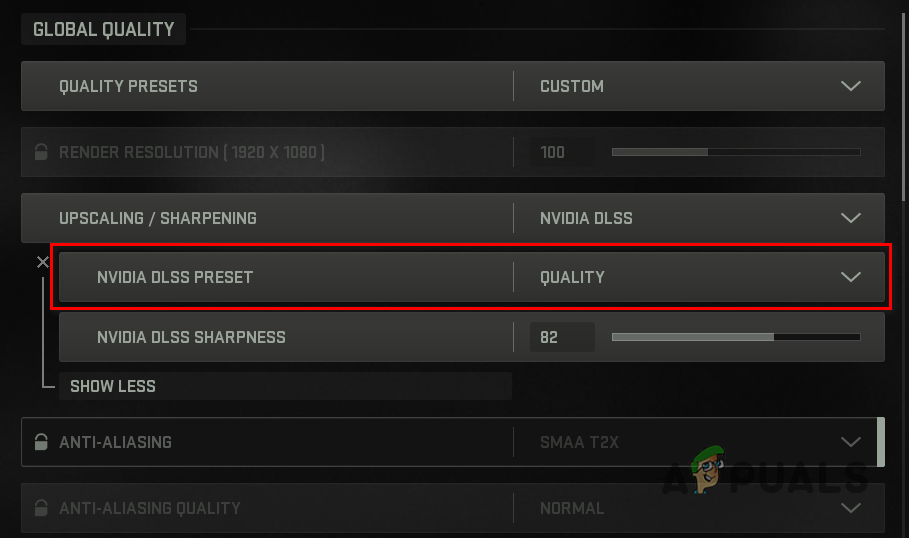
Changing NVIDIA DLSS Preset - If the problem persists, change your Upscaling / Sharpening algorithm to SMAA T2X or FidelityFX CAS.
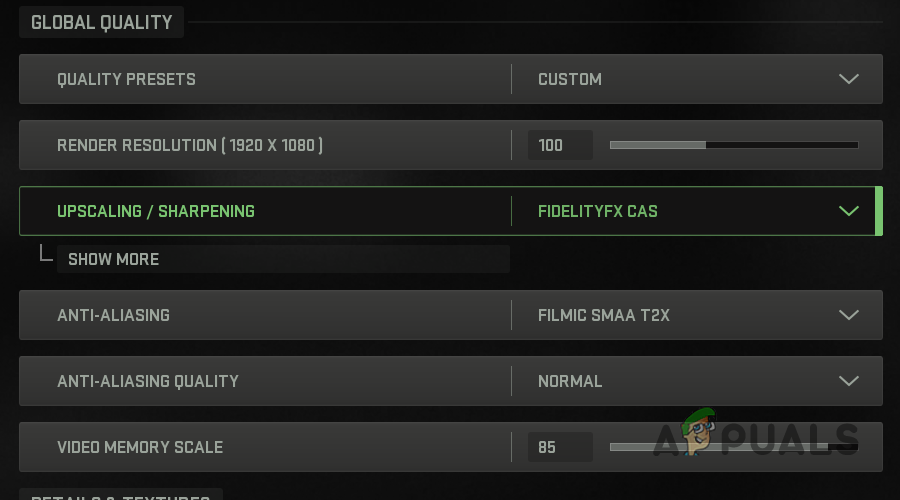
Changing Upscaling/Sharpening Algorithm - In the case of the latter, you must change the FidelityFX CAS Strength to at least 75.
- With that done, apply your settings and see if the problem goes away.
If the problem does not disappear even after changing the Upscaling / Sharpening algorithm, we recommend turning the upscaling option off altogether. With the upscaling feature off, see if the game textures are pixelated anymore.
4. Turn off Parallax Effects
Parallax effects give the backgrounds in the menus a 3D effect. This allows them to move slowly in comparison to the foreground images. In some scenarios, we have found that Parallax effects can cause your textures to be pixelated.
You can resolve the issue by turning off Parallax effects in the interface menu if this applies to you. Follow the instructions below to do so:
- Click on the gear icon in the top-right corner to bring the Settings menu.
Opening the Settings Menu - Navigate to Interface settings from the menu.

Navigating to Interface Settings - There, scroll down and locate Parallax Effects under Advanced Interface Settings.
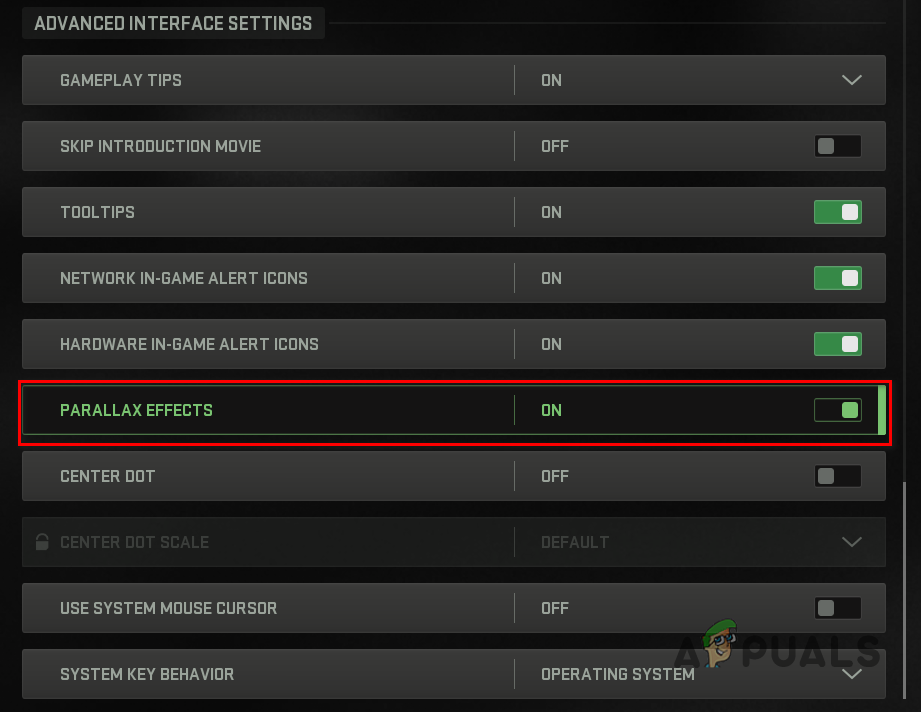
Disabling Parallax Effects - Use the slider to turn Parallax Effects off.
- With that done, see if the problem goes away.
5. Change Particle Quality Setting
Your game textures can also encounter pixels issue due to your particle quality settings. The quality of your particles plays a vital role in the quality of your textures.
If the textures are blurry or pixelated, it is very likely your particle quality is set to low. In addition, if you are encountering white flickering while playing the game, that also points toward your particle quality setting. You must change your particle quality setting to resolve the issue in such a scenario. Follow the instructions below to do this:
- First, navigate to the Settings menu by clicking the gear icon in the top-right corner.
Opening the Settings Menu - From the menu that appears, select Graphics.
Navigating to Graphics Settings - On the Graphics screen, switch to the Quality tab.
- There, scroll down and locate Particle Quality under Details & Textures.
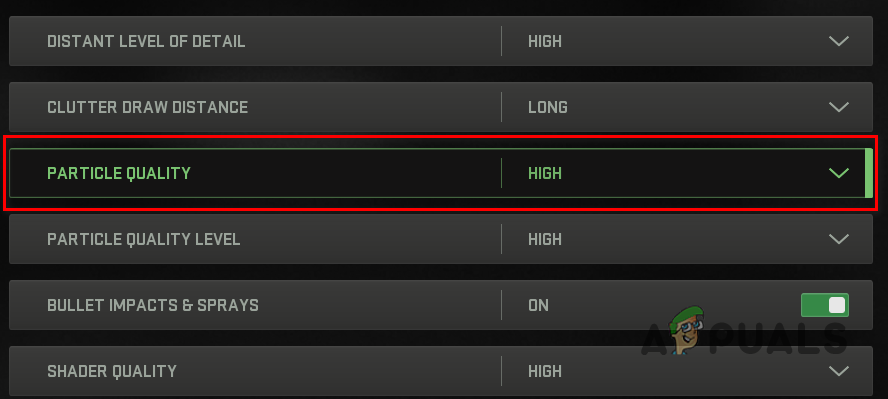
Increasing Particle Quality - Use the drop-down menu provided to change your particle quality setting to High.
- With that done, apply the settings and see if the issue still persists.
6. Turn On On-Demand Texture Streaming
If you are facing a pixels issue with the weapon camos, the problem can be rectified via the On-Demand Texture Streaming setting.
When the On-Demand Texture Streaming option is turned off, your game shows local textures only. By enabling On-Demand Texture Streaming, you are allowing the game to download high-quality textures to your local drive as you play the game. This can provide more color and improved visuals.
Follow the instructions below to enable On-Demand Texture Streaming:
- Start by navigating to the Quality settings tab in the Graphics menu.
- Scroll down to Details & Textures and locate the On-Demand Texture Streaming option.
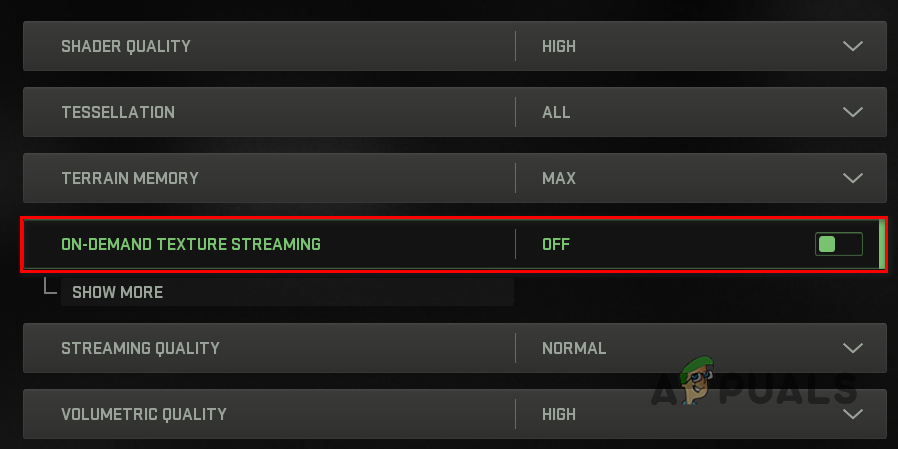
Enabling On-Demand Texture Streaming - Use the slider next to turn it on.
- Once you do that, apply your new settings and see if the problem goes away.
7. Turn off Dynamic Super Resolution (NVIDIA Only)
NVIDIA drivers come with a Dynamic Super Resolution (DSR) feature that significantly improves the quality of your in-game graphics. This is achieved by rendering a game at a much higher resolution than the one your monitor supports and then scaling it down intelligently to your monitor’s resolution. If you have this feature globally enabled, it can cause MW2 or Warzone 2 to face texture issues.
This can happen due to bad optimization or even your graphics drivers at times. In such a scenario, you will have to disable DSR in the NVIDIA Control Panel to fix the issue. Follow the instructions below to do this:
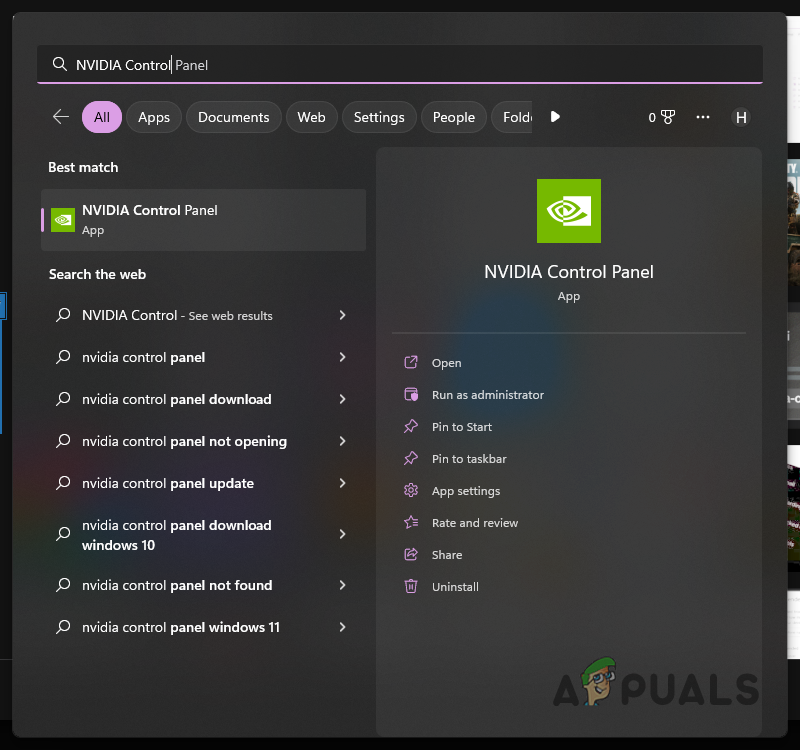
- First, open the NVIDIA Control Panel by searching for it in the Start Menu.
Opening NVIDIA Control Panel - In the NVIDIA Control Panel, navigate to Manage 3D Settings.
- Afterward, scroll down to locate DSR Factors.
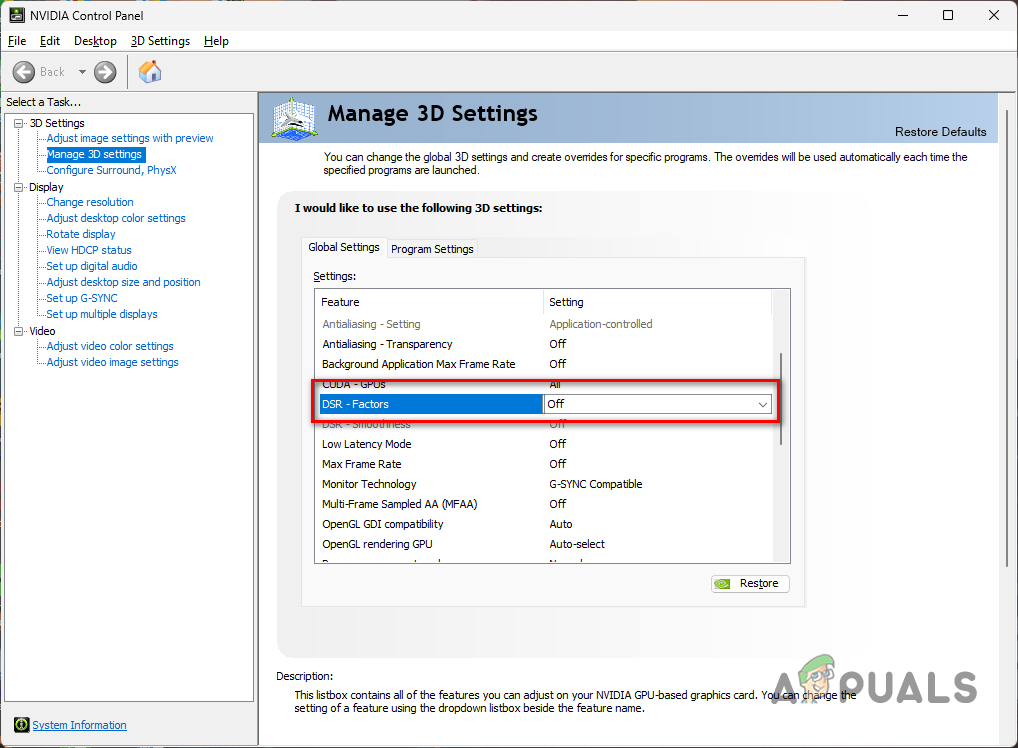
Disabling DSA Factors - Use the drop-down menu to uncheck any multipliers selected.
- With that done, click the Apply button.
- Launch the game to see if the problem still occurs.
8. Verify Game Files
In some scenarios, the game textures may not load because of your game files. This can happen when you are missing the textures locally or due to an inconsistency in the files.
If this scenario is applicable, you can resolve the issue by verifying the integrity of your game files. The process is simple for both Steam and Battle.net clients. Follow the instructions below to do this.
For Steam
- Start by opening the Steam client on your computer.
- Navigate to your Library and right-click on Call of Duty Modern Warfare II. Select Properties from the drop-down menu.
- On the Properties window, switch to the Local Files tab.
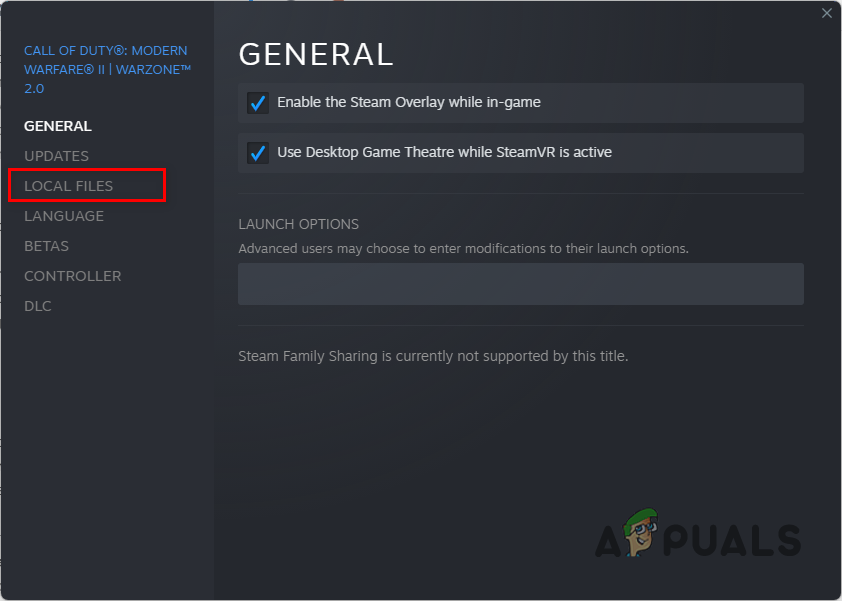
Navigating to the Local Files tab - There, click on the Verify integrity of game files option.
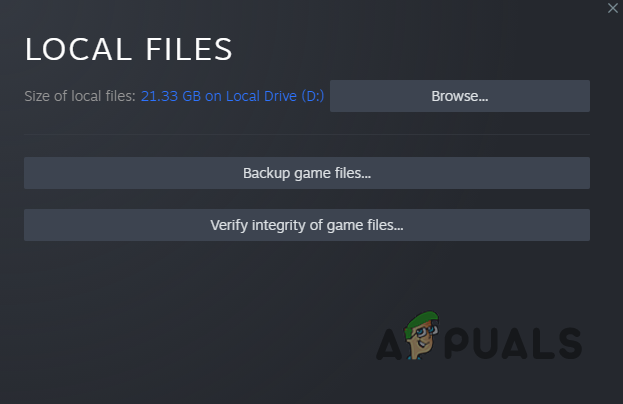
Repairing Game Files on Steam - Wait for the scan to complete.
For Battle.net
- Launch the Battle.net client on your PC.
- Once Battle.net is open, click on Call of Duty Modern Warfare II.
- Afterward, click on the gear icon next to the Play button and choose Scan and Repair from the menu that appears.
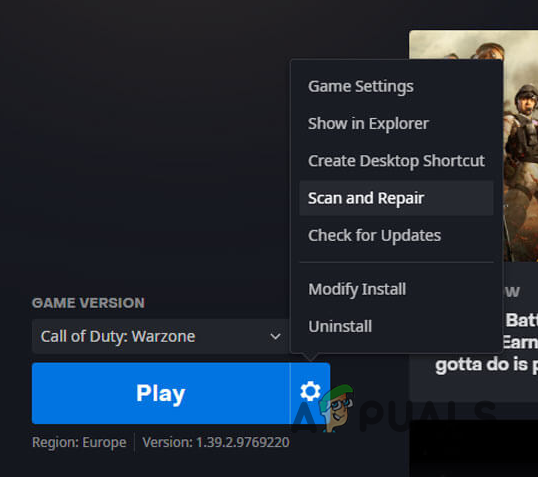
Repairing Game Files on Battle.net - Wait for the scan to complete, then see if the texture issue is still there.
9. Reinstall Graphics Drivers
Finally, if none of the methods has resolved your problem, there is a good chance your graphics drivers might be causing it. These drivers are used to communicate with the graphics card on your motherboard so they play a vital role.
The issue can occur when your graphics drivers are damaged because the graphics card cannot render the textures properly on your computer. In such a scenario, you will have to reinstall your graphics card. You will use a third-party utility called Display Driver Uninstaller (DDU) to do this.
If you have an AMD card, you can use AMD Clean Uninstall Utility to uninstall your graphics drivers. Otherwise, follow the instructions down below to reinstall your graphics drivers:
- Start by downloading the Display Driver Uninstaller utility from its official website here.
- Open the downloaded file and extract it to your desired location.
- Navigate to the directory and open the Display Driver Uninstaller.exe file.
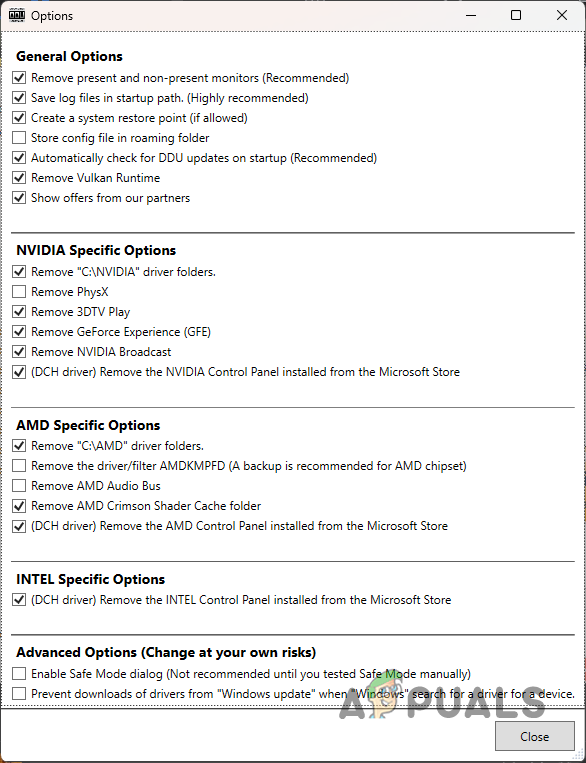
- Once DDU starts, you will be shown a General Options window. You do not need to enable any extra features to uninstall your graphics drivers. Click Close.
DDU General Options - Afterward, choose GPU from the Select device type drop-down menu.
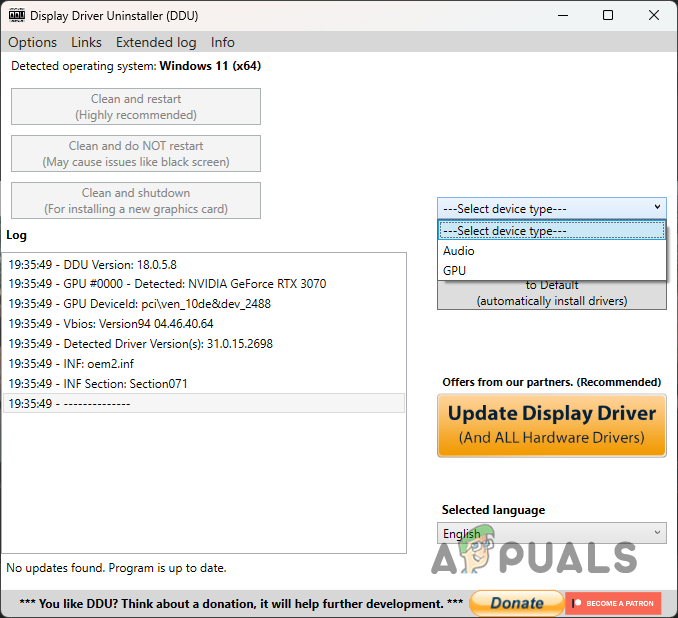
Selecting Device Type - Follow this up by selecting your graphics card manufacturer from the Select device drop-down menu.
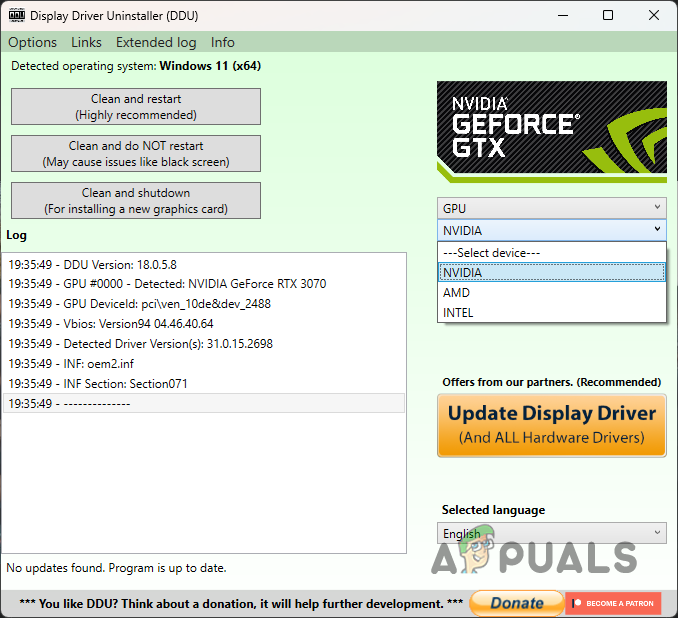
Selecting GPU Brand - Finally, click the Clean and restart button to uninstall your graphics drivers.
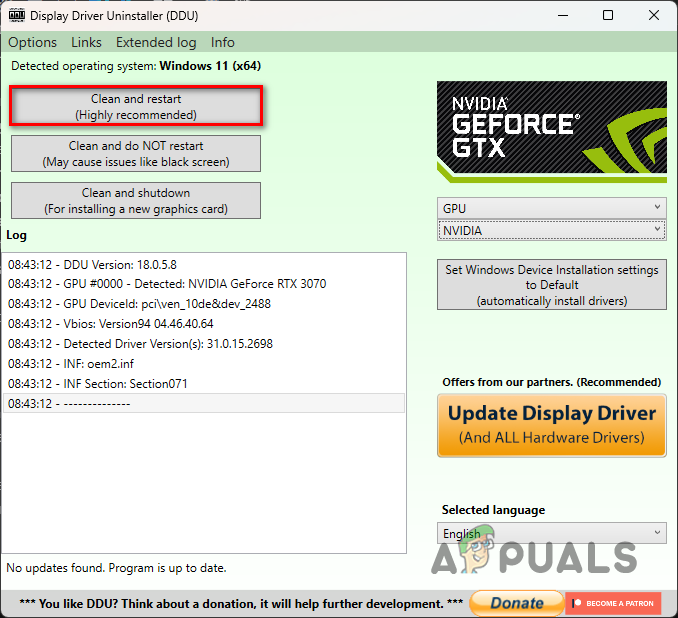
Uninstalling Graphics Drivers - After uninstalling the drivers, head to your manufacturer’s website and download the latest drivers available for your graphics card.
- Install the drivers and check if the problem occurs anymore.


