Fix: Taskbar Clock Showing in Black Text in Windows 10
Some Windows 10 users report that the clock font inside their taskbar is black and almost unreadable. This problem occurs on every Windows 10 edition (including Home, Education, PRO, and N versions).
After investigating this particular issue, we realized that this particular issue can have multiple potential causes. Here’s a list of potential culprits that you should investigate:
- Pending hotfix – As it turns out, Microsoft has already released a hotfix for a bug that causes this behavior. To fix it, simply install every pending update. The hotfix should be delivered in a cumulative update for every Windows 10 edition.
- Conflicting theme colors – If you’ve previously set up a custom theme, you might experience this problem due to a conflicting setting that forces every text to black. In this case, you can get the issue resolved by changing the theme color.
- Incompatible taskbar theme – An underlying setting might produce this behavior if you previously configured a custom taskbar theme. To fix this issue, change the taskbar theme to a default option. Several affected users have confirmed that this allowed them to fix the issue.
- Persisting Windows 10 bug – If you don’t want to install the hotfix for this particular issue to remain on an older Windows build, one option available is to switch to the small taskbar button layout. This trick was confirmed to work on both Windows 10 Home and Windows 10 PRO. Additionally, you can use an open source fix to adjust the clock text’s color manually.
- Incompatible theme – If you downloaded your theme externally and mounted it on Windows 10, the most obvious reason you might experience this problem is some incompatibility. To fix this issue, disable the incompatible theme and revert back to a theme from the standard lineup.
- Modified color scheme – If you used some type of software that changed the aesthetic of your Windows 10 installation, you might encounter this issue due to an inconsistency with the system’s color scheme. You need to reset the color scheme via CMD to fix this issue.
- Inconsistency with Theme Manager – Another scenario you should consider is an inconsistency with the Theme Manager that messed up how your taskbar items are displayed. In this case, you can easily reset to the default behavior via an elevated terminal (CMD or Powershell).
- System file corruption – In certain scenarios, you can also experience this problem due to corruption that affects how your taskbar items are displayed. In this case, you can start by checking if you can use a System Restore snapshot to revert back to a working state, deploy SFC and DISM scans quickly, or go for a clean install or repair install procedure.
Now that we’ve covered every applicable scenario that might modify the clock font to black let’s go over a series of fixes that other affected users have successfully used to get to the bottom of this issue.
1. Install pending Windows updates
It turns out that an issue that causes this behavior has previously been fixed by Microsoft in a hotfix. Simply install every pending update to fix it. Every Windows 10 edition should receive a cumulative update that contains the hotfix.
Install all pending updates first, then check if the issue resolves itself before attempting any other probable solutions below.
If the issue stems from a known bug, the steps below should resolve it because Microsoft has previously provided a hotfix for every version of Windows 11 (including the N version).
To install each and every upcoming Windows update, adhere to the directions below:
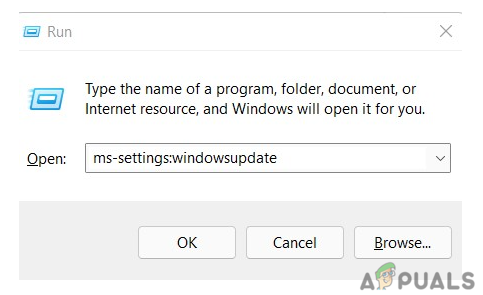
- The Run dialog box can be used to launch Windows Update. To do this, on your keyboard press Windows + R simultaneously. The Run dialog box will therefore appear.
- Next, type “ms-settings:windowsupdate” into the text field. You will then be directed to the Settings app’s Windows Update section.
Access the Windows Update menu Note: You may get a prompt requesting your consent to proceed if you haven’t adjusted the UAC settings. You can confirm that you agree with this by clicking Yes.
- After opening the Windows Update pane, choose Check for Updates from the option on the right.
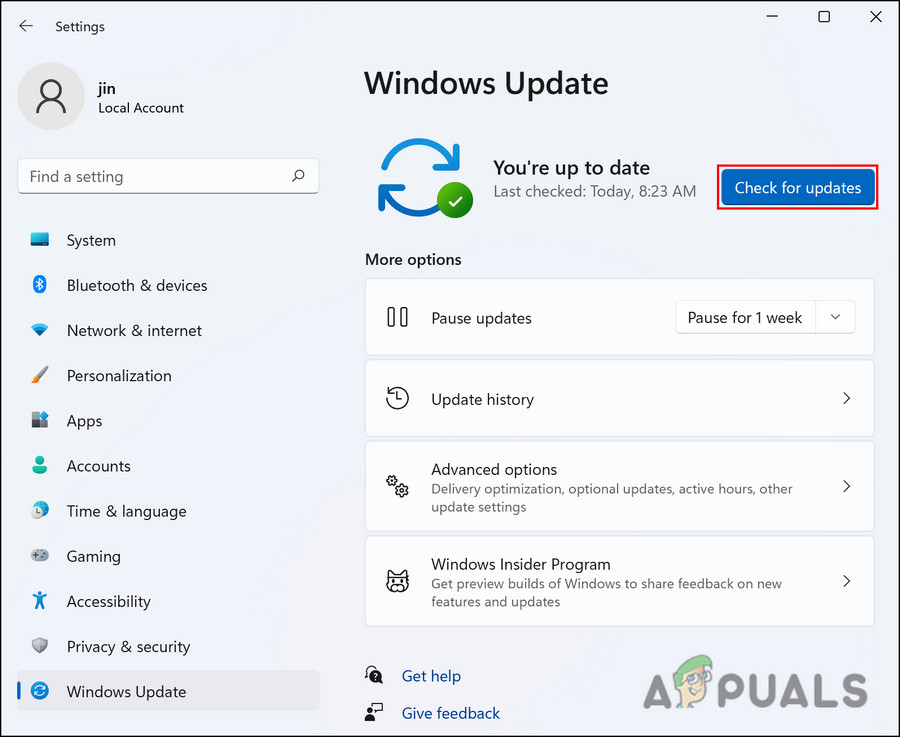
Check for updates - After downloading the update, select Install Now to begin a local installation.
- Restart your computer to see if the issue has been resolved.
If the same issue is still present, proceed to the technique below.
2. Change the theme color
If you’ve previously configured a custom theme, a conflicting setting that demands all text to be black may cause this issue. In this situation, changing the theme color will solve the problem.
Several affected users who have experienced this issue have reported that the problem was resolved once they adjusted the theme color to a white color scheme.
Here’s what you need to do to get this done on Windows 10:
- Press the Windows key, type Settings in the search bar and press Enter.
- From the Settings menu of Windows 10, click on the Personalization tab from the side menu on the left.
- Next, move over to the right-hand side menu on the right and click on Colors.
- In Windows 10, if it isn’t already selected, click the Colors option under Personalization on the left side of the Settings box.
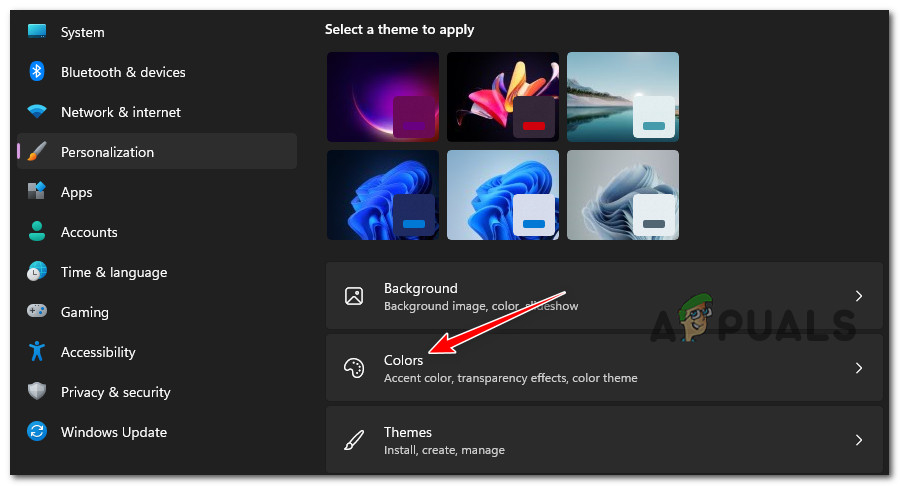
Access the Colors menu - Select a color from the palette in the screen’s center under the Windows colors section.
- From the next menu, adjust the color to white and save the changes.
- Reboot your PC and see if the problem is fixed once the next startup is complete.
If you’re still dealing with the same issue, move down to the next method below.
3. Change the taskbar theme
An underlying configuration could cause this behavior if you previously installed a custom taskbar theme. Change the taskbar theme to the default setting to resolve this problem. That allowed them to resolve the problem has been validated by several impacted users.
Note: The ability to customize the taskbar’s color is one of the color personalization choices available in Windows settings, which may also be accessed from the Start Menu.
Here’s how to change the current taskbar theme on Windows 10:
- Press the Windows key, type Settings in the search bar and press Enter.
- From the Settings menu of Windows 10, click on the Personalization tab from the side menu on the left.
- Next, move over to the right-hand side menu on the right and click on Colors.
- In Windows 10, if it isn’t already selected, click the Colors option under Personalization on the left side of the Settings box.
Access the Colors menu - Next, set the color to Custom and move down below.
- From under Choose your default Windows mode, click on White.
- Reboot your PC and see if the problem is now fixed.
In case your clock color is still black, move down to the next method below.
4. Use small taskbar buttons
Moving to the small taskbar button layout is an option if you don’t want to install the patch for this specific bug to stick with an older Windows release. It has been verified that this method operates on Windows 10 Home and Windows 10 PRO. The color of the clock text can also be manually changed using an open source fix.
If this scenario is applicable, you can get the issue resolved by accessing the Taskbar settings inside the Settings menu and making the switch to small taskbar buttons in order to make the pesky font bug go away.
Here’s how to make the transition to small taskbar buttons on Windows 10:
- Press Windows key + I to open up the Settings menu.
- Once you’re inside the Settings menu, access the Taskbar settings from the side menu on the left.
- Next, move over to the right-hand side menu and check the toggle associated with Use small taskbar buttons.
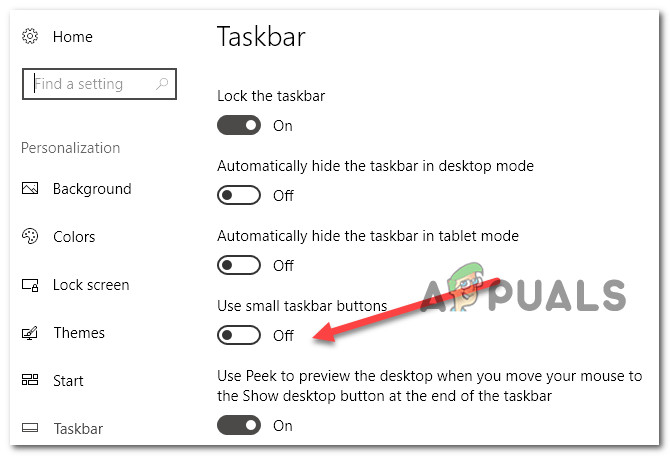
Use small taskbar buttons - Save the changes, reboot your PC and see if the problem is now fixed.
If the same issue is still occurring, move to the next method below.
5. Disable the incompatible theme
The most probable cause of this issue, if you mounted your externally downloaded theme on Windows 10, is some sort of incompatibility. Disable the incompatible theme and switch back to one of the default options to resolve this problem.
When you install an update while using a custom theme, this kind of issue may arise. Therefore, you must select one of the default themes. After that, you can attempt to recreate your unique theme.
Just follow the below actions to do that:
- First things first, right-click on an empty space on your desktop.
- From the context menu that just appeared, click on Personalize.

Access the Personalization menu - From the Personalization menu in the left pane and click on Themes.
- Next, move over to the right-pane and choose the default Windows 10 theme as the default.
- Once you’ve done this, cycle down and remove any other custom themes that you currently have saved.
- Reboot your PC and see if the clock becomes visible once the next startup is complete.
If the same issue is still occurring, move to the next method below.
6. Reset the color scheme
You might have this problem because the system’s color scheme is inconsistent if you utilize applications that alter the appearance of your Windows 10 installation. Access the classic Personalization menu and reset Windows default to resolve this problem.
This method has been confirmed to work by many Windows 10 users running Home, Education, and PRO editions.
If you haven’t tried this method yet, follow the instructions below for step-by-step instructions on how to do this:
- Press Windows key + R to open up a Run dialog box.
- Next, type the following command and press Ctrl + Shift + Enter to open up the legacy Personalization menu on WIndows 10:
shell:::{ED834ED6-4B5A-4bfe-8F11-A626DCB6A921} - Click Yes to grant admin access at the User Account Control (UAC).
- Once inside the Personalization menu, click on the default Windows 10 theme and confirm to mount it.
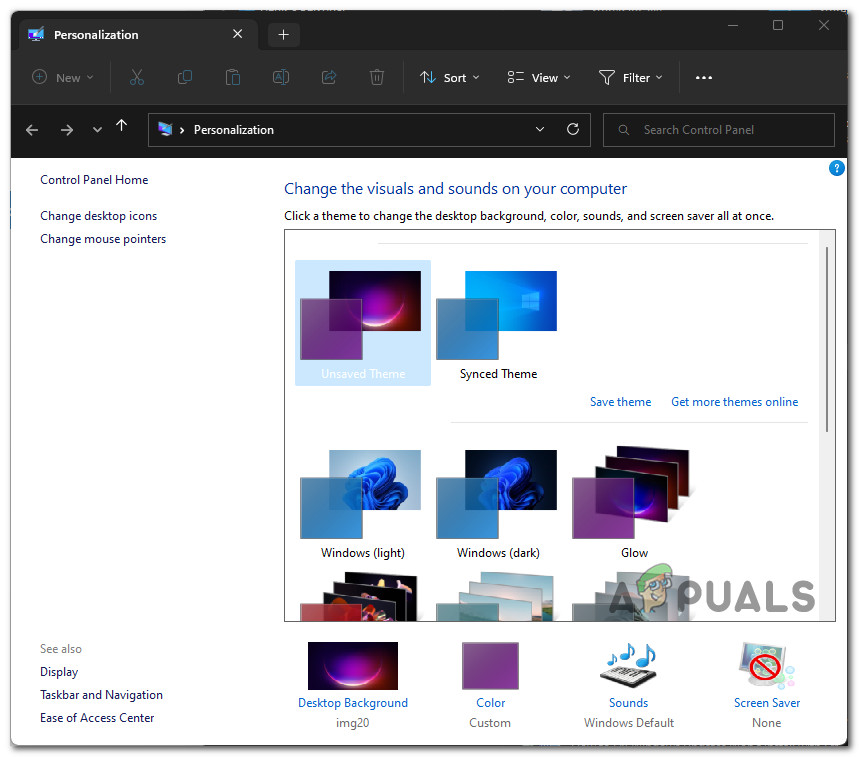
Adjust the theme from the legacy menu - Once you’ve done this, reboot your PC and see if the problem goes away once the next startup is complete.
If the problem is still not fixed, move down to the next potential fix below.
7. Use an open source fix
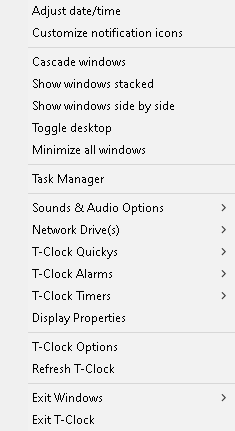
If you don’t mind using an open source solution to fix the issue, there is a popular open source tool called T-Clock that gives you a lot of customization options including the ability to adjust your clock’s font and color.
You can download and install the T-Clock utility from here.
If you want to avoid using a third-party tool to get this issue resolved, move down to the next method below.
8. Reset the Theme Manager
You should also take into account the possibility that there is a Theme Manager mismatch affecting how your taskbar items are displayed. In this situation, a raised terminal will allow you to quickly return to the default behavior (CMD or Powershell).
Note: This method is typically reported to be successful in scenarios where you recently migrated to a newer Windows version along with the theme and custom elements.
If you want to reset Theme Manager, follow the instructions below:
- Press Windows key + R to open up a Run dialog box.
- Next, type ‘cmd’ inside the run box and press Ctrl + Shift + Enter to open up an elevated Command Prompt with admin access.
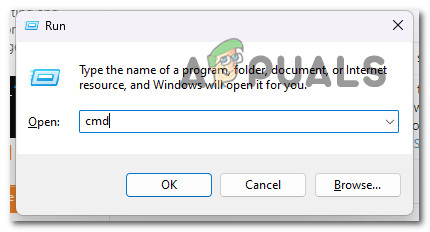
Open an elevated CMD prompt - At the User Account Control (UAC), click Yes to grant admin access.
- Inside the elevated Command Prompt, type or paste the following command and press Enter to reset the Theme Manager:
reg.exe add "HKEY_CURRENT_USER\Software\Microsoft\Windows\CurrentVersion\ThemeManager" /v "DllName" /t REG_EXPAND_SZ /d ^%SystemRoot^%\Resources\Themes\aero\aero.msstyles /f
- Once the command has been processed, reboot your PC and see if the clock becomes visible at the next startup.
If the same issue is still occurring, move to the next method below.
9. Use System Restore
According to a number of user complaints that have dealt with this problem, it typically occurs after a system change that interfered with the Windows Update component.
If you have a functioning System Restore Snapshot, you can easily fix this issue by returning to when your PC was functioning regularly.
Numerous affected individuals claim that this problem will persist following a recent system change (like the installation of an infrastructure update, a driver update, or a cleanup procedure performed by an antivirus).
Most of the damage in this instance can be reduced by using System Restore to restore your system to a functional state before attempting to restart the upgrade process.
Remember that performing this action would undo all adjustments made following the creation of the system restore point. Everything, including installed applications and custom system settings, will be deleted.
Follow these steps if you choose to restore your system:
- Launch the Run dialog box and type “rstrui” to launch the System Restore wizard.

Accessing the System Restore component - Select Yes when the User Account Control prompts you to grant admin access.
- To proceed with the System Restore method, click Next on the first screen.
- To enable Show more restore points, check the box next to it, then choose an appropriate restoration point before clicking Next.
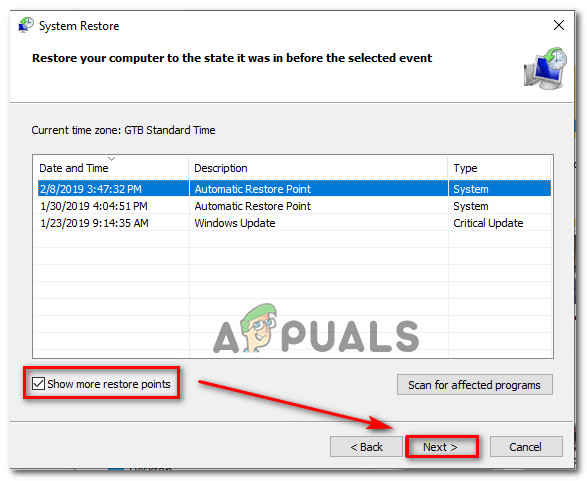
Show more Restore Points - Press Finish to launch the recording. Rebooting will reset your machine to its factory settings.
- Once this procedure is complete, try installing the update that was previously failing to check if the problem has been resolved.
If the problem is still not fixed, try the next strategy.
10. Deploy SFC and DISM scans
One of the most common causes of this in Windows 10 is system file corruption that impacts the taskbar operation.
If this circumstance seems to be relevant, you can do a scan using the built-in tools System File Checker (SFC) and Deployment Image Servicing and Management (DISM).
The odds of restoring corrupted system files are increased by executing SFC and DISM shortly after one another, despite certain similarities between them.
If that’s the case, start with a basic SFC scan.
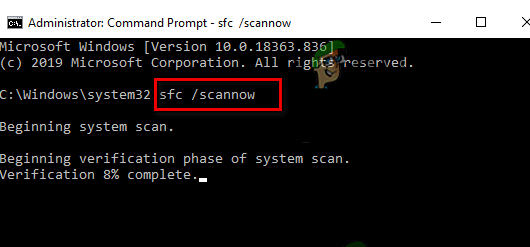
Note: Remember that since this application is entirely local, you may always use it without an online connection.
Important: Even though the utility appears to have frozen, do not close the CMD window after starting this procedure. Wait for the operation to conclude without interfering as doing so could cause logical errors on your HDD or SSD.
Restart your computer once the SFC scan has been successfully finished, and when the subsequent startup is complete, do a DISM scan.
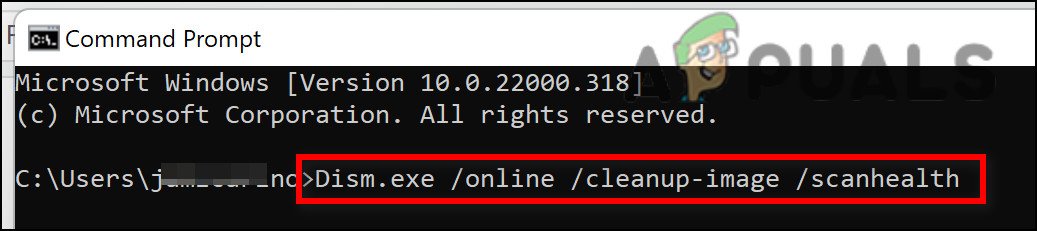
Be advised that DISM uses a Windows update component, SFC does not download healthy replacements to replace faulty system files. Therefore, make sure your Internet connection is stable before starting this step.
Check to check whether the upgrading procedure still results in the same type of problem after the DISM scan has been adequately completed. Move on to the next possible solution below if the issue doesn’t get fixed.
11. Perform a clean install
You most definitely have a significant corruption issue if you’ve tried every advice in this article so far and are still experiencing the same sort of behavior.
You must restart each component of Windows in this scenario to be sure that every instance of incorrect system files has been removed.
Most users choose a clean install, which completes the task while erasing all personal data, including programs, games, movies, and documents.
By choosing a repair install, you can upgrade your Windows components less radically without running the danger of causing damage to your personal property (games, apps, images, papers, etc.). This method allows you to keep all of your personal information.


