How to Fix Sync Settings Greyed Out in Windows 10/11?
The Sync settings greyed-out issue occurs when the sync settings are disabled or restricted by the administrator. The following issue also occurs when you haven’t verified your Microsoft account.
If you are also dealing with the same problem, follow the detailed fixes mentioned in the guide below.
1. Sign in Using a Microsoft Account
Sync settings are only available if you are using a Microsoft account. And for syncing the windows settings without any problem, ensure signing in to all the devices with the same Microsoft account. And if you have a different account, make sure to use the correct one.
Now to sign in, follow the steps mentioned:
- Hit the Windows + I key to open Settings.
- Navigate to Accounts > Email & accounts.
- Now on the right side, click on the Add a Microsoft account option

Click on the Add a Microsoft account
Follow the instructions for completing the sign-in process on your Windows. After successfully signing in with the Microsoft account, go to the Sync settings and check if it is still greyed out.
2. Verify your Microsoft Account
If you have created a Microsoft account recently, ensure it is verified, especially during the account setup process. Microsoft sends a verification email or processes via another verification procedure to verify your account. And if you haven’t completed the verification, you will see the sync settings greyed out a problem.
So, follow the steps to verify the account:
- Open the Settings app by pressing Windows + I keys together.
- Navigate to Accounts > Your Info.
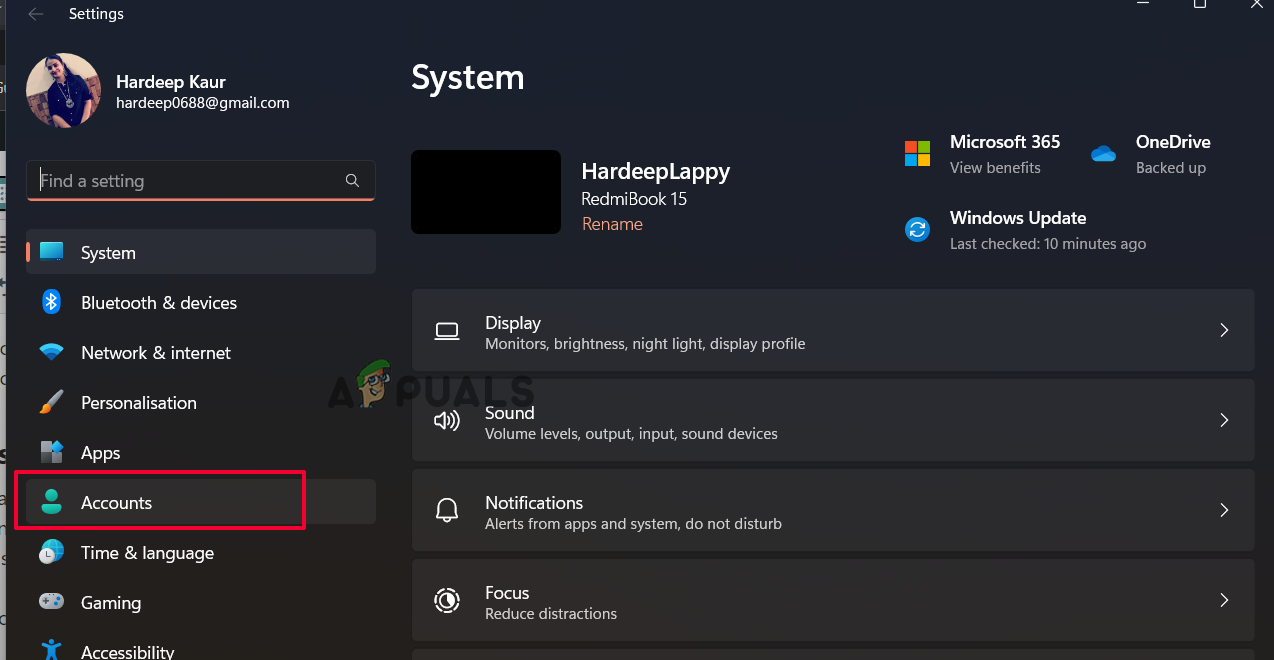
Click on Accounts - And on the right pane, click on Verify option.
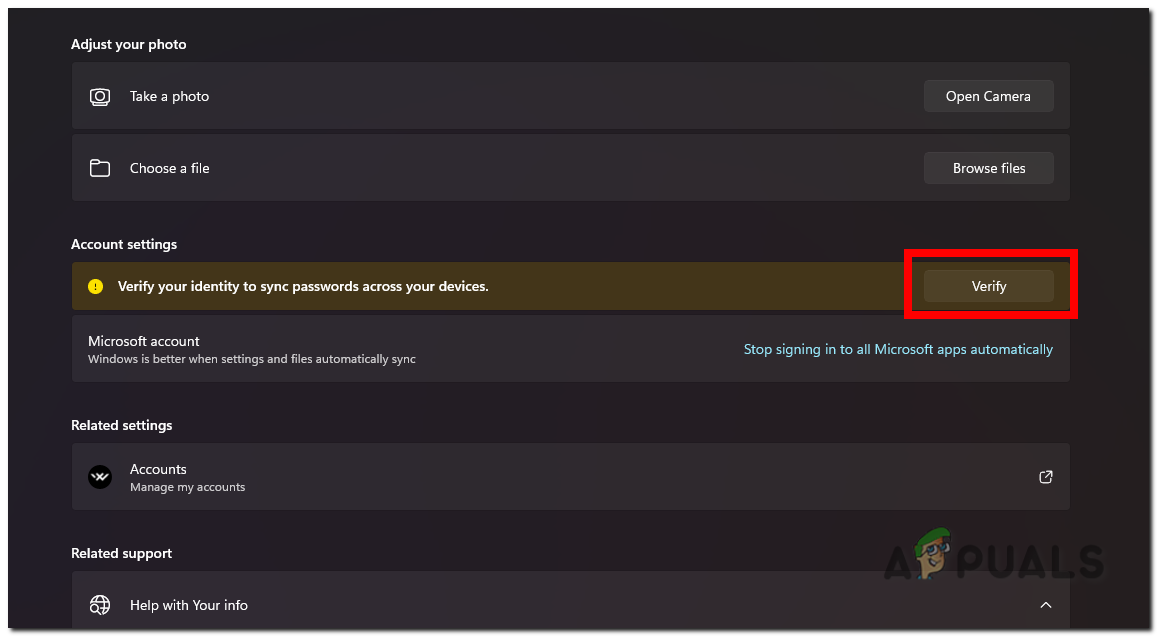
Verify the Device with your Microsoft Account - You will now see prompts for verifying the account authenticity via the Authenticator app, Phone number, etc.
- As it is completed, check if the Sync option starts working again.
3. Enable sync in Local Group Policy
If the Sync settings are disabled on the PC, you can also start facing the problem. To enable the sync, we have to enforce the sync in the Local Group Policy Editor Here are the steps to do so:
- Open the Run Program by pressing the Windows + R keys together.
- In the Run, type the gpedit.msc and hit the Enter key

Type gpedit.msc in the Run box - You will see the Local Group Policy Editor window open.
- Here head to the listed location:
Computer Configuration\Administrative Templates\Windows Components\Sync your settings
- Then head to the right panel and double-click the option Do Not Sync.
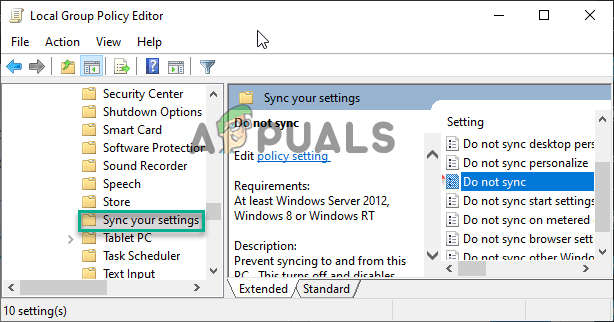
Double-click on the Do not sync option.
- Now make sure this setting is set to “Not Configured.”
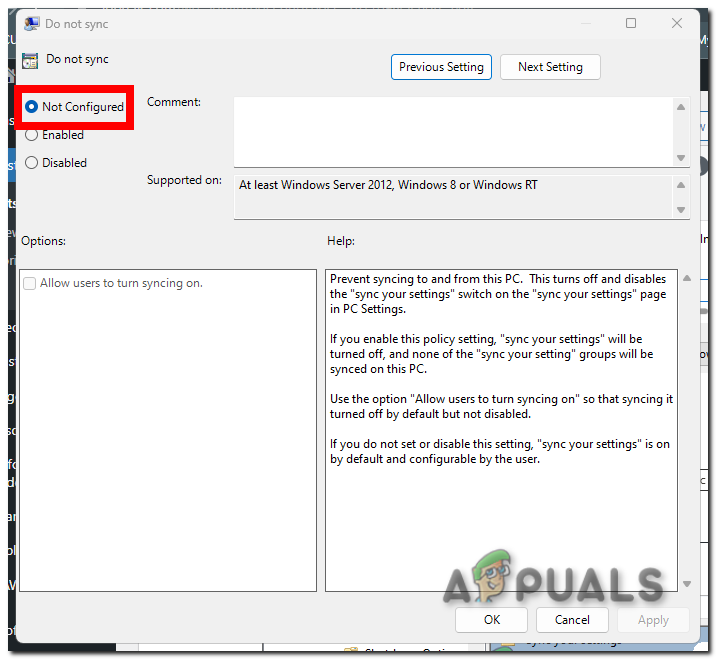
Setting Group Policy to Not Configured - Now apply the changes and close the Local Group Policy Editor window.
- Restart your computer.
Once your system boots up, go to Settings and verify if Sync Settings is enabled.
4. Change the Sync Settings Via Registry Editor
If the sync settings are disabled, then you face the Sync settings greyed out or not working problem, so in this case, we suggest you make changes in the sync settings via the registry editor. Changing the value data in the registry editor of the sync settings will enable it and solve the issue for you.
Note: Before starting with the steps, it is suggested to back up your registry to avoid further issues.
So here are the steps to do so:
- Hit the Windows + R key to open the Run dialog box
- Now type Regedit in the box, then press the Enter key
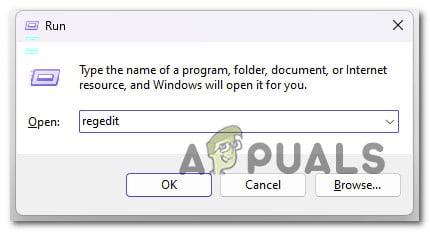
Type regedit in the Run box - In the UAC popup, click on Yes.
- Now in Registry Editor, head to the location:
HKEY_LOCAL_MACHINE > SOFTWARE > Microsoft > Windows > SyncSetting.
- Right-click on the empty area and choose New, then click on DWORD (32-bit) Value from the menu
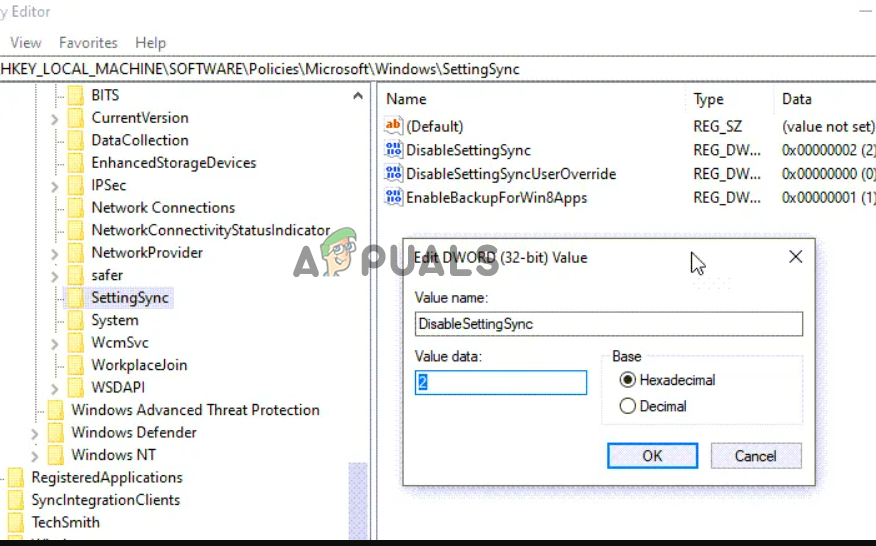
Click on the DWORD (32-bit) Value. - Set the new value name to DisableSyncSettings and double-click on it.
- Then change the Value to 0 for enabling the sync and 2 for disabling it and click on OK.
- Exit the Registry Editor and reboot your computer to save the changes.
5. Unblock the Microsoft Account Via Registry
If still the Sync settings are greyed out, then there is the possibility that the Microsoft account is blocked so follow the steps to unblock the Microsoft account using the registry editor.
Follow the steps to unblock the Microsoft Account:
- Press the Windows + R key on the Run box, type Regedit hit Enter
- Now in the Registry Editor, go to the location
Computer\HKEY_LOCAL_MACHINE\SOFTWARE\Microsoft\Windows\CurrentVersion\Policies\System
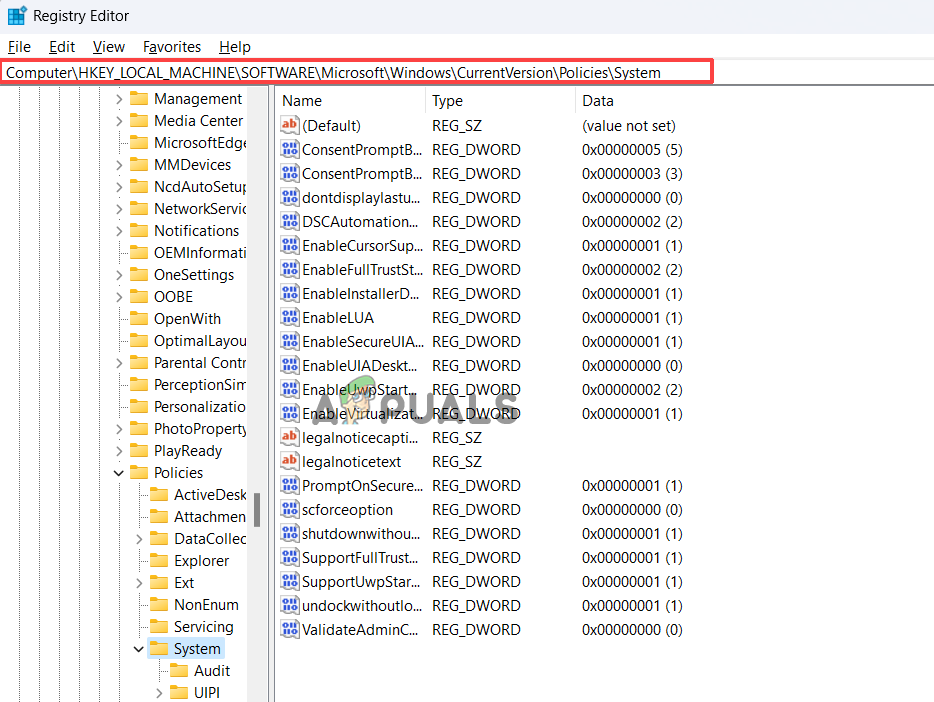
In the Registry Editor, go to the location. - On the right side, look for the NoConnectedUser value.
- Double-click on it, and set the Value data to 1.
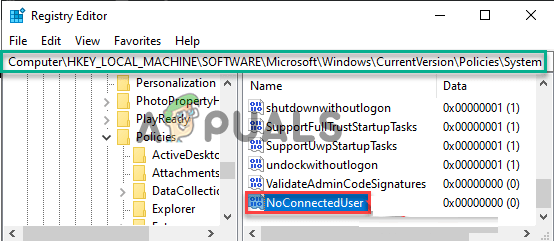
Double-click on NoConnectedUser - Exit the Registry Editor tab and reboot your PC to let the changes take effect.
6. Reset the Windows device
If you still see the error, resetting your Windows device is recommended. This will give a fresh start by removing all the files, installed programs, settings, and much more. And this will fix various Windows problems and errors.
Follow the steps to do so:
- Press the Windows + I key to open the Settings
- Navigate to Recovery > Reset this PC
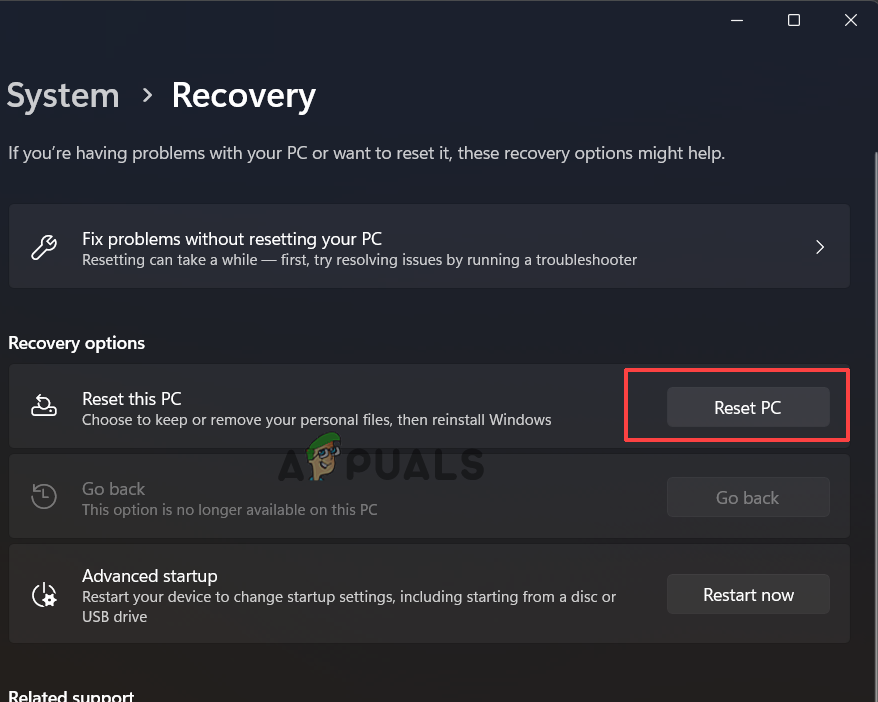
Click on Reset this PC - Here two option appears to Keep my Files or Remove Everything.
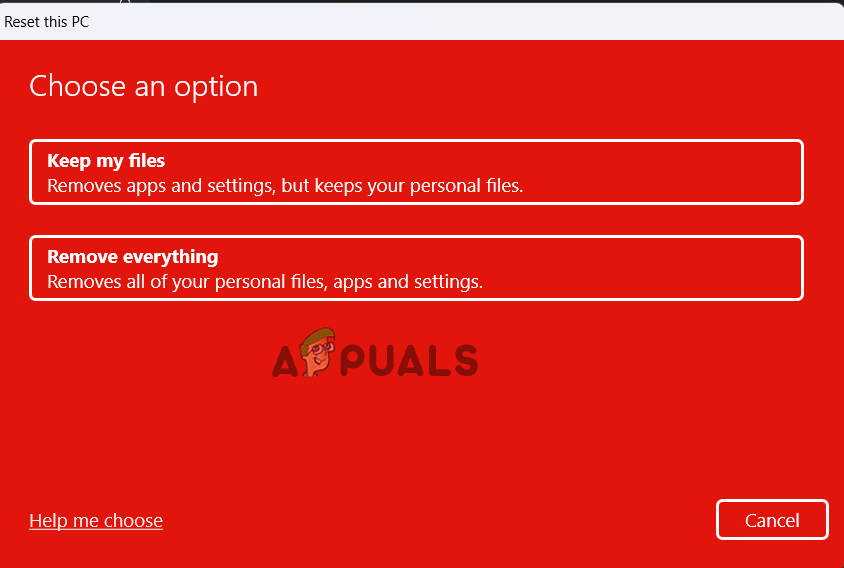
Select an option - If you click on the Remove Everything option, this will delete everything, so create a backup of the data and files you don’t want to delete, and after that, click on the Remove Everything option.
- Next click on Just remove my files (if you want the files to be deleted) or Remove my files and clean the drive (if you want your files to get deleted and hard disk cleaned)
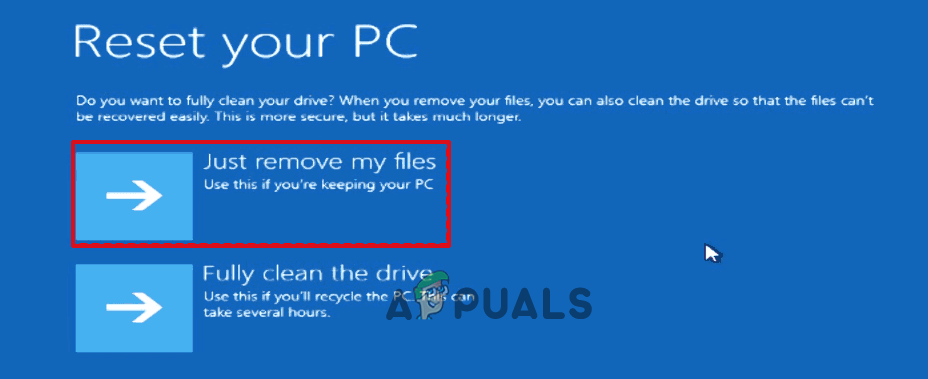
Click on Just Remove My Files - If you don’t want to Remove everything, then click on Keep my files
- Click on Next if you see the warning sign.
- Lastly, click on Reset to start the process.
Once the reset process is finished, reboot your system, and it is estimated now the Sync settings will start working on Windows 11. So, these solutions work for you to solve the problem. It is estimated the article works for you.


