How to Switch From Offline Mode to Online Mode in Windows 10/11?
In Windows, you can switch the drives in File Explorer to offline or online, depending upon your requirements. In Windows 10, switching from offline to online mode was quite simple, but Windows 11 users have had a tough time finding this setting to modify it.

Some users have also complained that even when they are connected to the internet, only offline files are available. In this guide, we will guide you through the steps of switching from offline mode to online mode in both Windows 10 and 11.
1. Switch to Online Mode From Offline Mode in Windows 10
If you are a Windows 10 user, going online is rather simple. All you need to do is make a few changes within File Explorer.
Follow these steps to proceed:
- Launch File Explorer and navigate to the targeted drive.
- Click on the Ease access feature at the top.
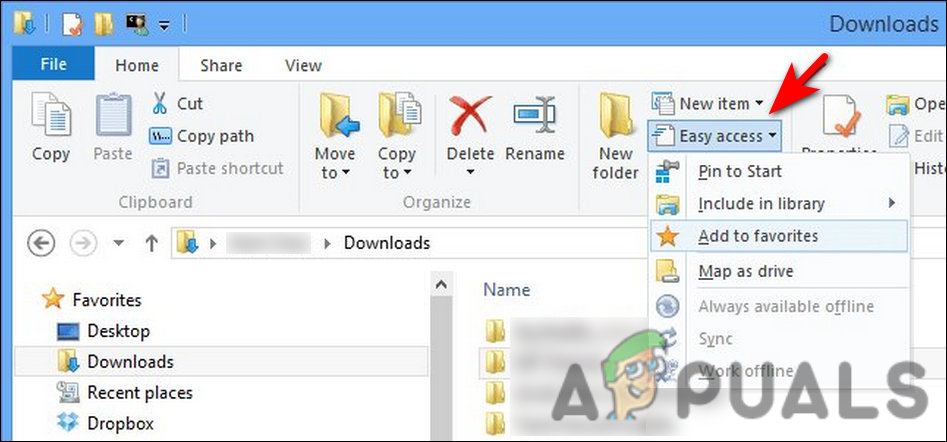
Expand the Ease access feature - Choose Online from the context menu.
That is it. You should now be able to use the online mode successfully.
2. Switch to Online Mode From Offline Mode in Windows 11
The method of making this change in Windows 11 is slightly different from that of Windows 10. For some reason, Windows 11 File Explorer does not have the Ease access feature like Windows 10. It is only visible when the users access File Explorer using the Control Panel.
Here is how you can switch to an online mode from an offline mode in Windows 11:
- Type Control Panel and click Open.
- Expand the View by category in the following window and choose Small icons.
- Click on Windows tools.

Launch Windows tools - Now, head over to the targeted drive and click on the Ease access feature at the top.
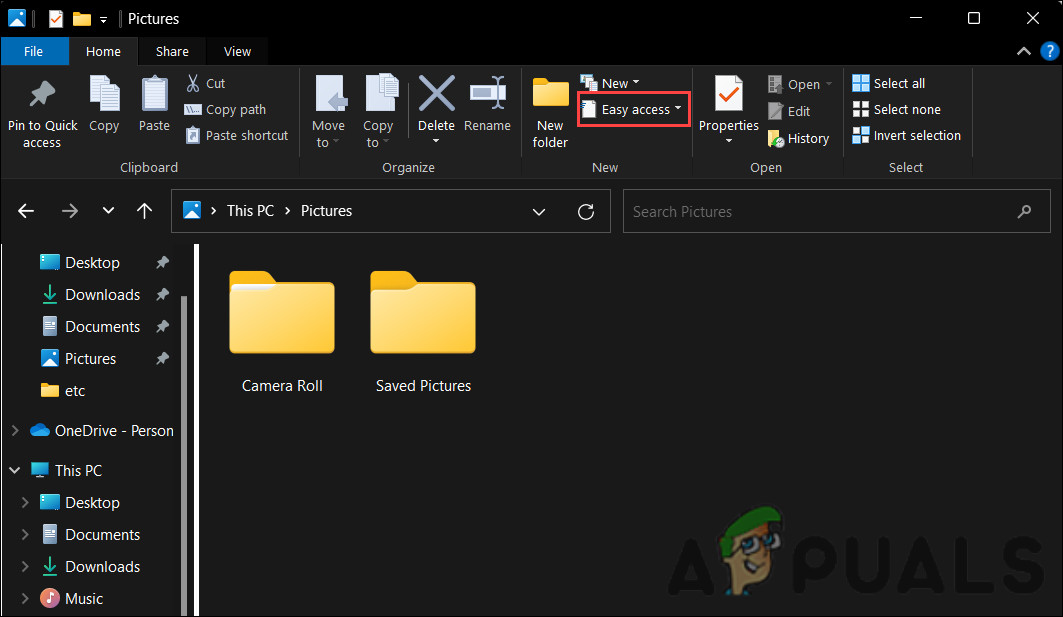
- Choose Online from the context menu to enable the feature.
Enable or Disable Offline Files
You can also enable or disable offline files separately, allowing you to access the resources on the system even when you are not connected to the internet.
Below, we have listed two methods of enabling offline files on Windows. Proceed with the method that fits your situation the best:
1. Use the Registry Editor
If you are logged into Windows as an administrator, you can easily use the Registry to make these changes.
In Microsoft Windows operating systems, the registry stores information, settings, options, and other values about software and hardware. For instance, when you install a new app, the Registry will create a new key to store all the program information. You can also use the Registry Editor to make changes within the program.
Here is how you can use the Registry Editor to make the required changes:
- Press the Win + R keys to open Run.
- Type regedit in Run and click Enter.
- Click Yes in the User Account Control prompt.
- In the following window, navigate to the location below:
HKEY_LOCAL_MACHINE\SYSTEM\CurrentControlSet\Services\CSC
- Right-click anywhere in the right pane and choose New > DWORD (32-bit) value.
- Rename this value as Start. If a Start value is already present, you can skip this step.
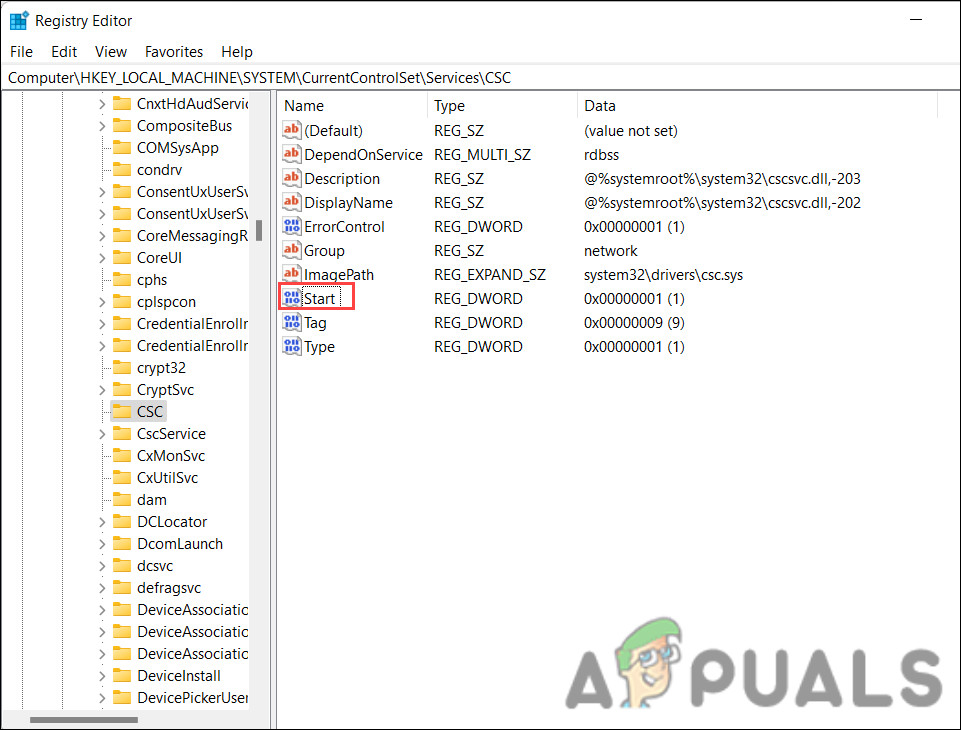
Create a Start value - Double-click on the value you just created and under Value data, type 1.
- Click OK to save the changes.
- Next, navigate to the following location:
HKEY_LOCAL_MACHINE\SYSTEM\CurrentControlSet\Services\CscService
- Right-click anywhere in the right pane and choose New > DWORD (32-bit) value.
- Rename this value as Start. Again, if the Start value is already present, you do not need to create it again.
- Double-click on Start and change its Value data to 2. This will enable the offline files. To disable them, simply change the value data of both keys to 4.
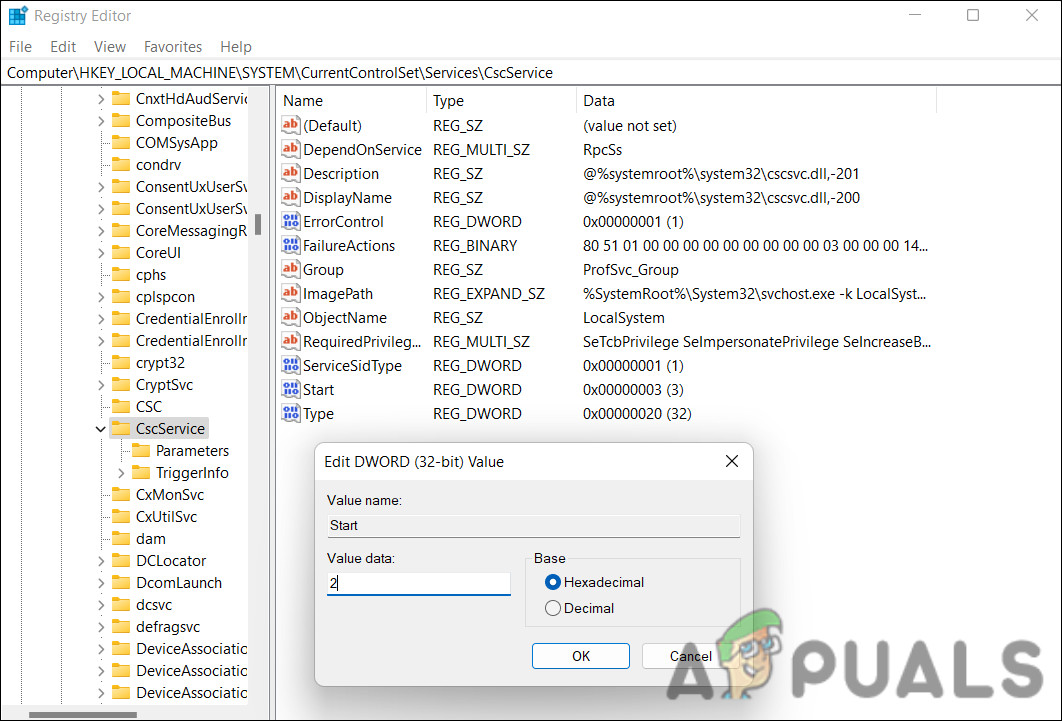
Change the value data - Restart your PC to save the changes.
Use the Control Panel
Another method of making the desired change is by using the Control Panel. This method is simpler than the one we described above, and can be performed by the standard users as well.
Here is how you can proceed:
- Type Control Panel in Windows search and click Open.
- Change the View by type to Large icons.
- In the following window, click on Sync Center.
- Click the Manage offline files hyperlink in the left pane.
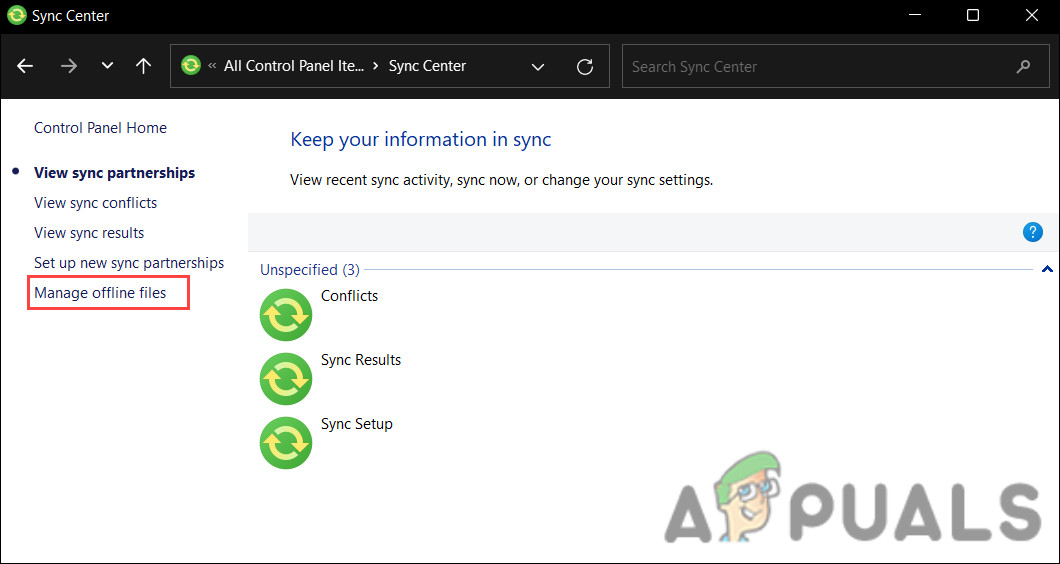
Click on the Manage offline files option - Select the Enable offline files/ Disable offline files button and hit OK.
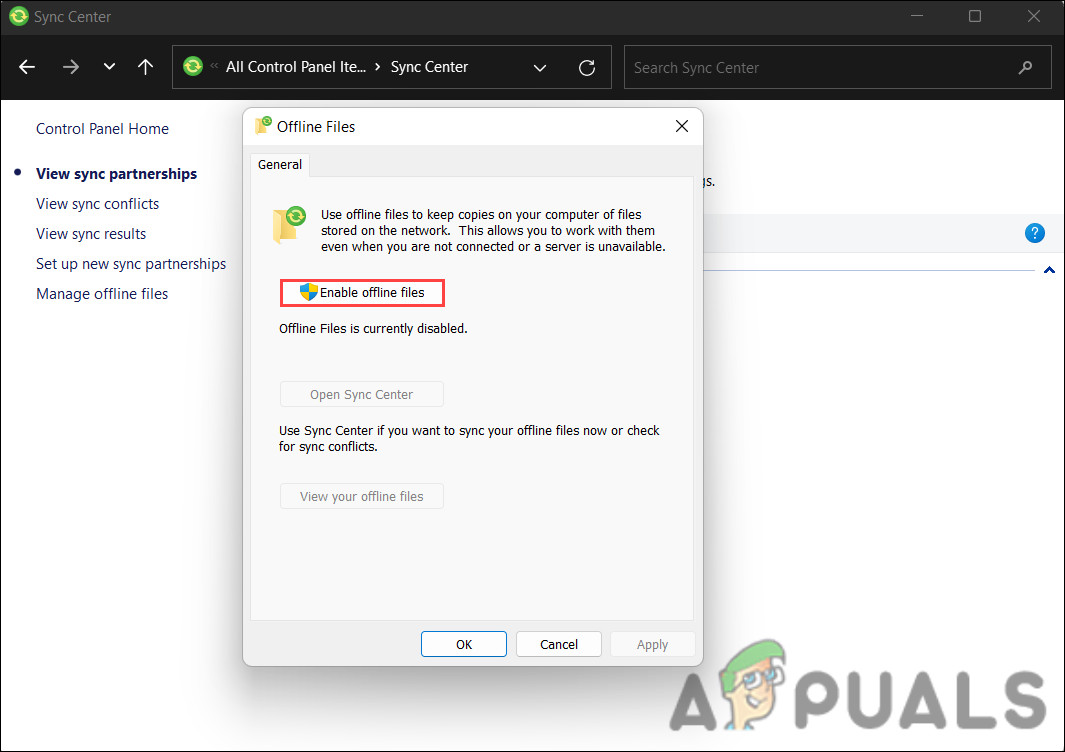
Enable the offline files in Control Panel


