How to Fix VALORANT Stuck on a Loading Screen?
When Valorant gets stuck on a loading screen, the game halts indefinitely at the initial loading phase, preventing access to the main menu or match. This issue generally indicates that the game client is unable to establish a stable connection with the game servers or initialize essential components like Riot Vanguard, the anti-cheat system.
The most common cause of this issue is a recent update that has not been properly integrated or conflicts with existing files. Other potential causes include corrupted game files, outdated graphics drivers, or background applications interfering with the game.
Occasionally, the problem may also present itself on a map loading screen. In such instances, it is advisable to cap your FPS at 30 or lower before joining a matchmaking queue.
After entering the game, you can then return the FPS settings to normal. This temporarily reduces the load on your CPU during the loading screen.
If this proves to be a successful workaround, consider upgrading to a more powerful CPU to maintain consistent frame rates.
You can refer to our guide on “Best CPU for Valorant” for more information.
| Issue | Cannot get past loading screen in VALORANT |
| Also Known As | VALORANT stuck on a loading screen |
| Often Caused By | Corrupted Vanguard Files Misconfigured Manifest Files Installed VALORANT on hard drive Interference from Windows Firewall Not having appropriate permissions |
| Common Solutions | Restart Device Reinstall Vanguard Create Manifest Files Transfer VALORANT to SSD |
| What you could face | Despite not being able to pass the loading screen, you may also get stuck on a loading before and after agent selection screen. |
1. Reinstall Riot Vanguard
Reinstalling Riot Vanguard can resolve the problem because it reinitializes the anti-cheat service, which is crucial for VALORANT to run. If the Vanguard files are corrupted or not functioning correctly, the game may fail to load. Reinstalling ensures that Vanguard is reset to a proper working state, allowing VALORANT to start and run as intended.
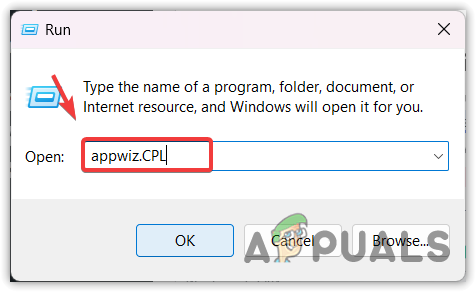
- Press the Win + R keys simultaneously to open the Run dialog box.
- Type appwiz.cpl into the dialogue box and click OK.
Opening Apps and features - Uninstall Riot Vanguard by double-clicking on it.

Selecting Riot Vanguard to uninstall - Confirm by clicking Yes.
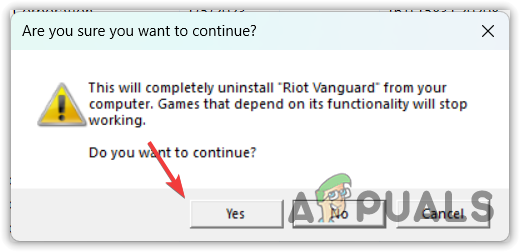
Uninstalling Riot Vanguard - Launch Valorant to initiate the installation of Vanguard.
- Complete the installation and restart your computer.
- Launch VALORANT to ensure the issue has been resolved.
2. Delete the Misconfigured Manifest Files
Deleting misconfigured manifest files can resolve loading issues because these files contain essential information about how VALORANT runs, including which resources to load. If they’re incorrect or corrupt, the game might not start correctly.
By deleting them, you force the game to create fresh, error-free manifest files when it’s launched again, potentially fixing the loading screen problem.
- Navigate to the directory below to locate and delete the manifest files.
C:\Riot Games\VALORANT\live
Note: Modify the drive letter in accordance with your installation path when inputting the directory into Windows File Explorer’s address bar.
- After selecting both manifest files, right-click and choose Delete.
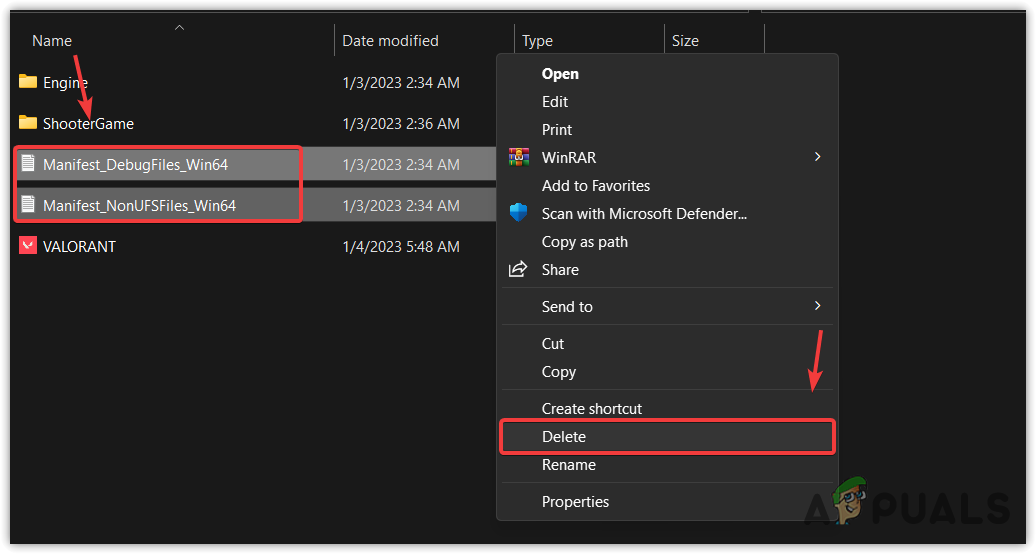
Deleting Manifest files - Relaunch VALORANT to verify if the loading screen issue has been resolved.
3. Run VALORANT as Administrator
Running VALORANT as an Administrator grants the game elevated privileges, allowing it to access system-level files and settings that it might not otherwise have permission to modify or interact with. This can resolve issues related to restricted access or permissions, which may be the underlying cause of the game being unable to progress past the loading screen.
By providing full administrative rights, the game can ensure all its necessary components are functioning correctly, thereby potentially fixing the problem.
- Right-click the VALORANT icon on your desktop and select Run as administrator, or press the Windows key, type VALORANT, right-click on it, and choose Run as administrator.
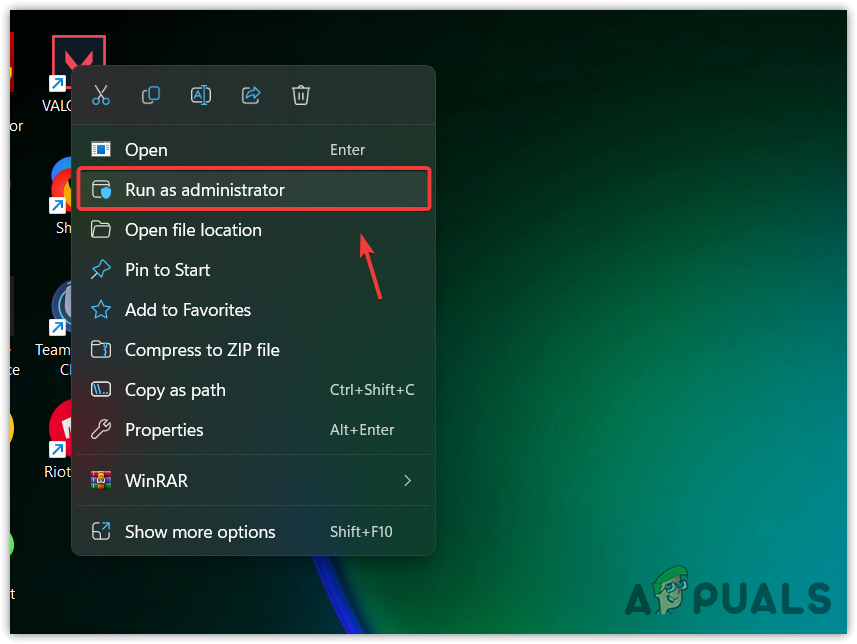
Running VALORANT as administrator - Wait for VALORANT to launch and check if the problem persists.
4. Transfer VALORANT to SSD
If VALORANT is installed on a hard drive, it’s recommended to transfer it to a Solid State Drive (SSD) due to SSDs’ superior speed. Hard drives rely on spinning platters to access data, resulting in slower performance than the memory chips used by SSDs. Thus, moving VALORANT to an SSD could potentially resolve the loading screen issue.
5. Allow VALORANT Through Windows Firewall
Allowing VALORANT through Windows Firewall can resolve your problem because the firewall may mistakenly identify the game as a potential threat and block its internet connection. VALORANT requires a stable connection to its servers for gameplay and updates.
By adding VALORANT and its related services to the list of permitted applications, you ensure that the firewall does not interfere with the game’s ability to communicate over the internet, which is crucial for loading game assets and playing matches.
- Press the Windows key, type Control Panel, and select it from the results.
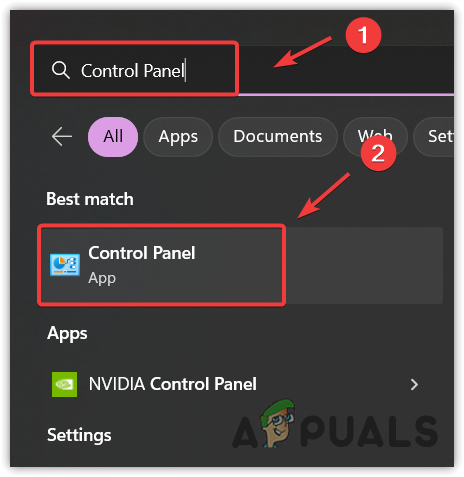
Opening Control Panel from Start Menu - Navigate to System and Security > Windows Defender Firewall.
- In the left sidebar, click on Allow an app or feature through Windows Defender Firewall.
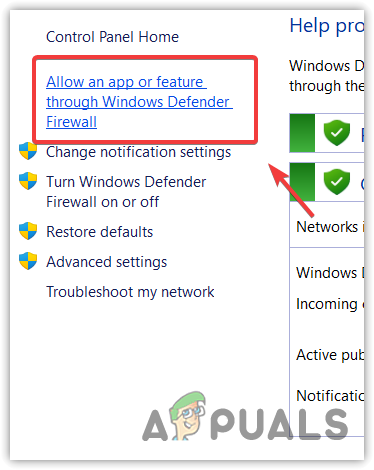
Navigating to Windows Firewall Settings - Click Change Settings followed by Allow another app….
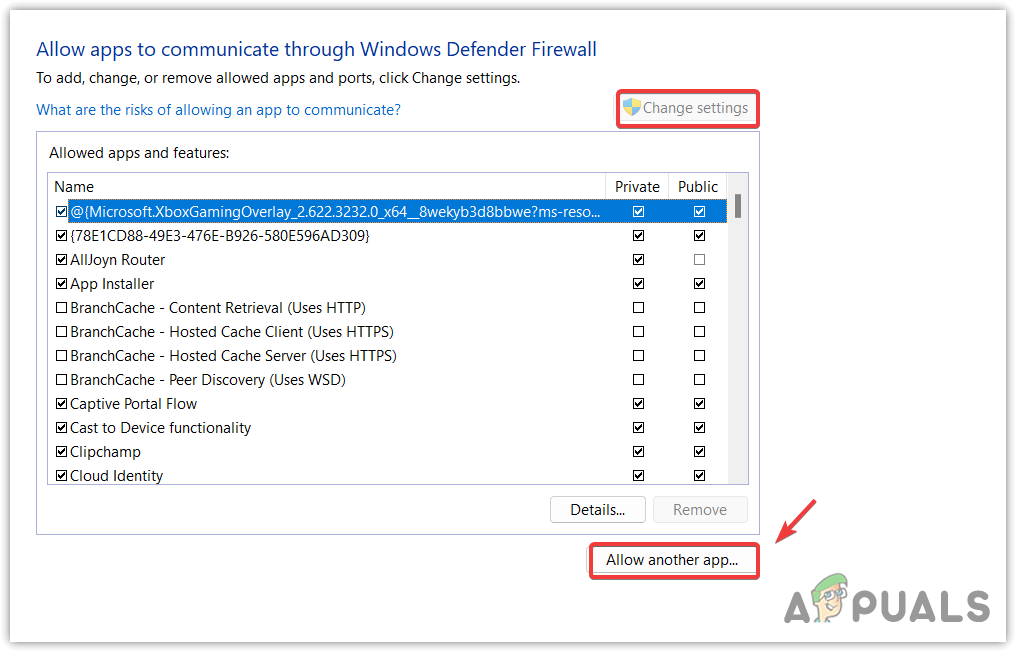
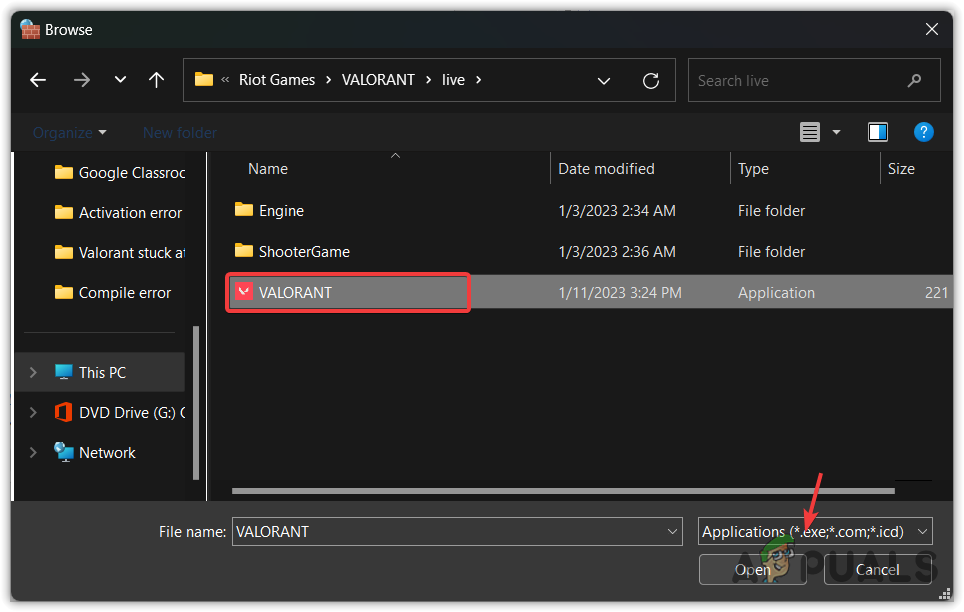
Proceeding to Allow another app - Click Browse, then add the following executables:
C:\Riot Games\VALORANT\live\VALORANT.exe
C:\Riot Games\Riot Client\RiotClientServices.exe
C:\Program Files\Riot Vanguard\vgc.exe
Adding VALORANT to Windows Firewall Settings - Restart your computer and check whether the loading screen problem is resolved.
6. Reset Network Settings
Resetting the network settings can resolve VALORANT loading issues by restoring your internet connection’s configurations to their default state. This can help eliminate any incorrect settings, such as DNS problems or invalid proxy configurations, that might be causing network instability or slowdowns, which in turn could prevent VALORANT from connecting to its servers effectively.
By resetting the network, you ensure a clean slate for your network settings, potentially leading to a more stable and faster connection suitable for online gaming.
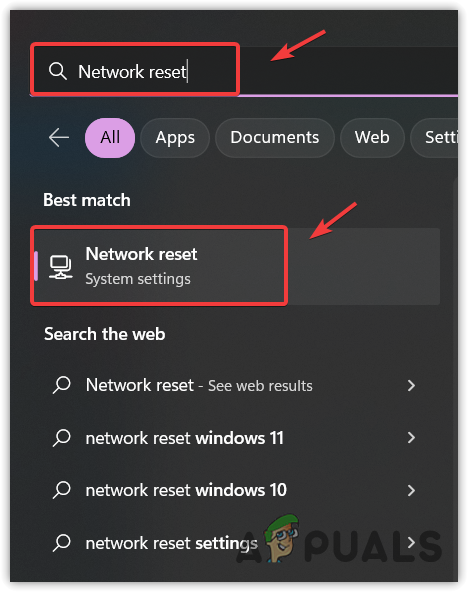
- Press the Windows key and type Network Reset to access the reset options.
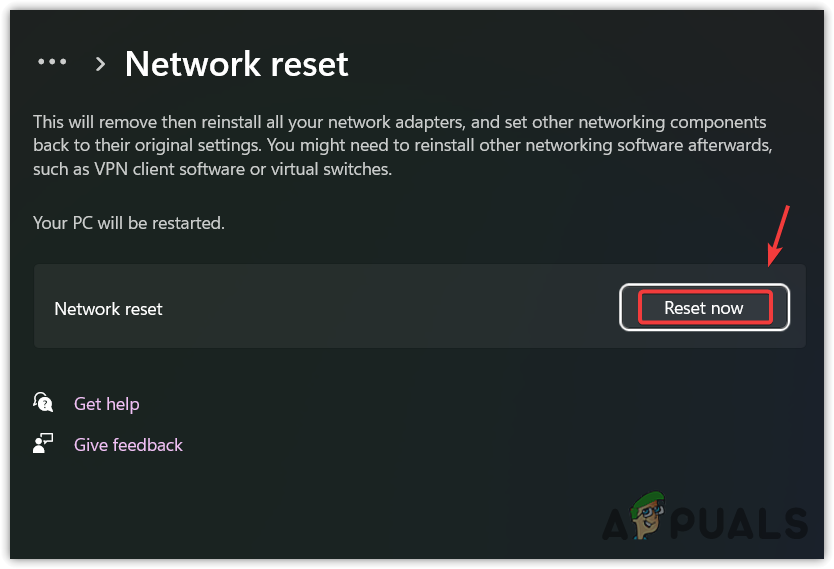
Opening Network Reset Settings - Click Reset Now and wait for your computer to restart after the process is completed.
Resetting Network settings - Relaunch Valorant to see if the issue with the loading screen persists.
7. Run VALORANT in High Priority
Running VALORANT in high priority mode directs the operating system to allocate more of the computer’s processing resources to the game. This can help ensure that VALORANT has the necessary CPU and memory resources for optimal performance, potentially preventing issues like being stuck on the loading screen due to competition with other processes for system resources.
By prioritizing VALORANT, other less critical background tasks are de-prioritized, which may help the game run more smoothly, especially during the loading phase.
- Start the VALORANT game.
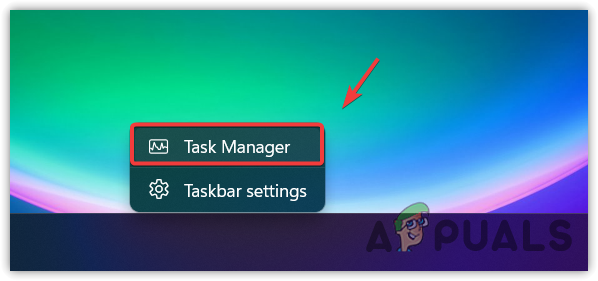
- Once launched, right-click the taskbar and choose Task Manager.
Opening Task Manager - In Task Manager, find and right-click VALORANT then select Expand.
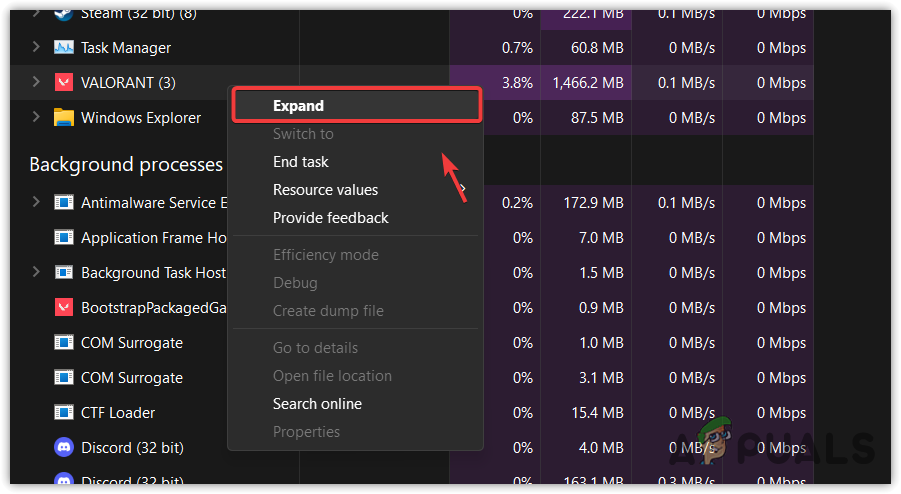
Expanding VALORANT in the task manager - Right-click the VALORANT-Win64-Shipping.exe file and select Go to details.
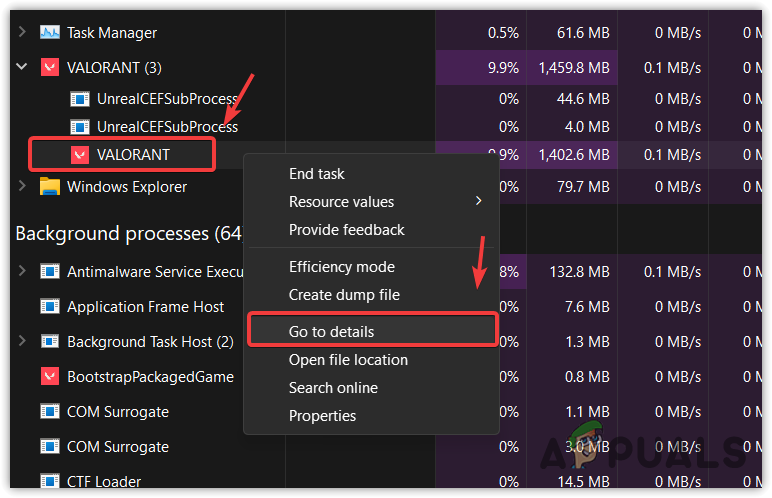
Navigating to VALORANT task details - Upon locating the VALORANT-Win64-Shipping.exe file, right-click on it, hover over Set priority, and select High.
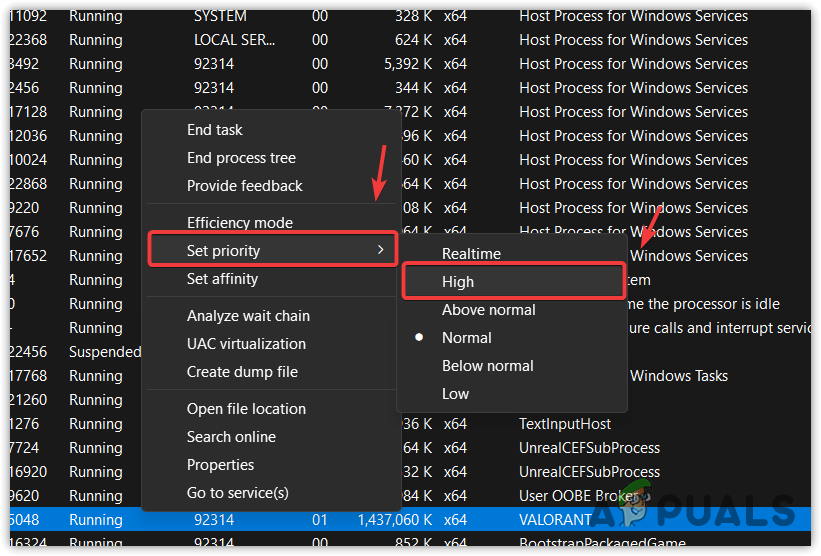
Changing VALORANT task priority to High - Verify if the change has successfully resolved the issue.
8. Add Valorant to Graphics Preference Settings
Adding VALORANT to Graphics Preference Settings can allow your system to allocate more resources to the game, ensuring that it has enough graphical processing power. By setting VALORANT to ‘High performance’ in these settings, the system prioritizes VALORANT’s graphical workload, which may resolve issues related to inadequate graphics processing that could be causing the game to get stuck on the loading screen.
This adjustment specifically instructs your computer to use the most powerful graphics hardware available, improving game performance and stability.
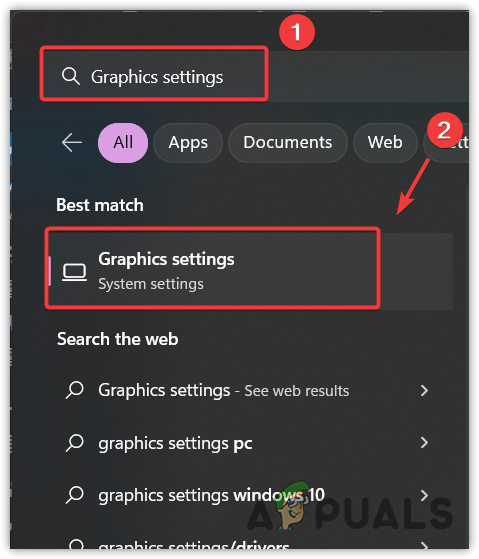
- Press the Windows key and type Graphics Settings, then select this option to open it.
Opening Graphics Settings - Select VALORANT and click Options.
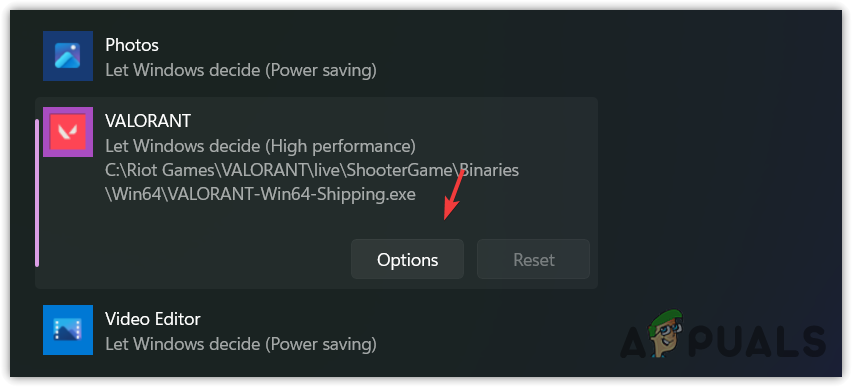
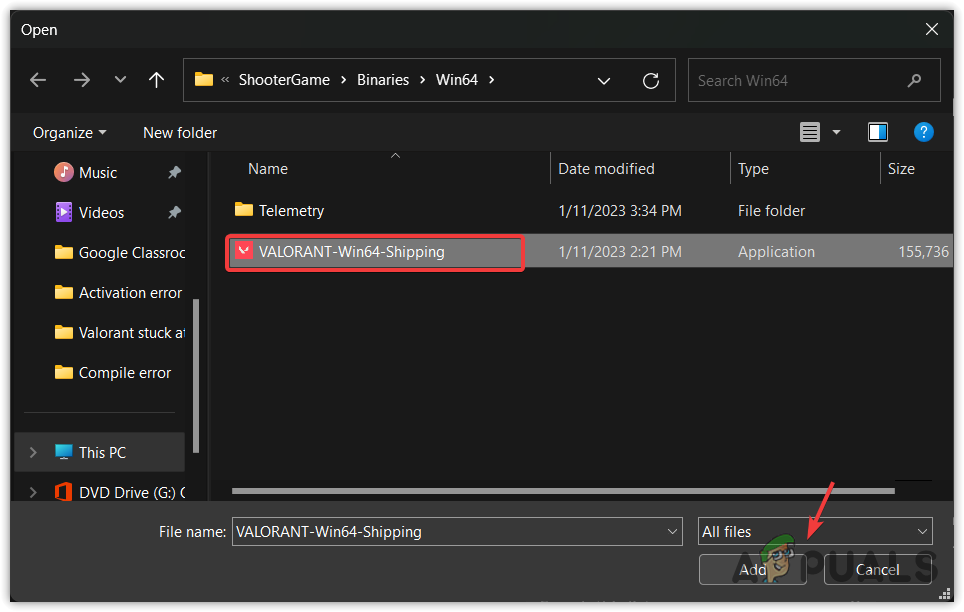
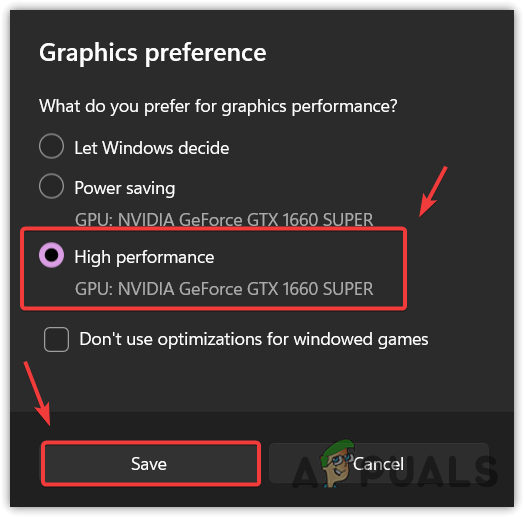
Opening VALORANT options in Graphics Settings - Pick High performance and click Save. If VALORANT isn’t listed, select Browse and navigate to the installation directory. For default installations, use the path below.
C:\Riot Games\VALORANT\live\ShooterGame\Binaries\Win64
- Choose the VALORANT-Win64-Shipping.exe file and click Add.
Adding VALORANT-Win64-Shipping to graphics preference settings - Apply the steps 2 and 3 again to change graphics preference to high performance.
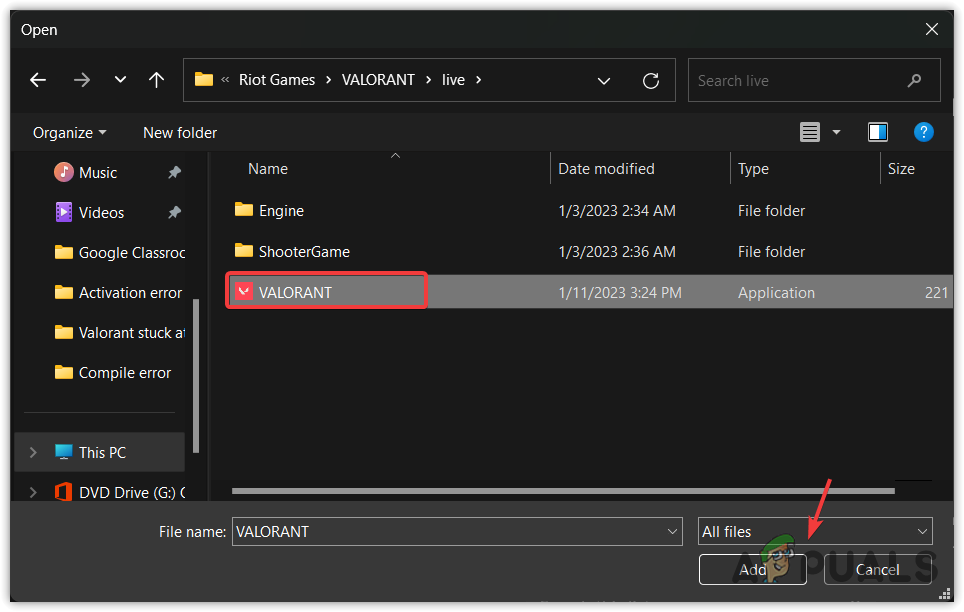
- Next, click Browse and navigate to your VALORANT directory, using the following path if you followed the default installation:
C:\Riot Games\VALORANT\live
- Select VALORANT.exe and click Add.
Adding VALORANT to graphics preference settings - Select VALORANT again, click Options, and choose High performance, followed by Save.
Changing Graphics preference settings to high performance - Launch VALORANT to confirm the resolution of the problem.
9. Enable Secure Boot and TPM
Technologies like TPM and Secure Boot enhance security by allowing systems to only boot trusted programs, which is particularly pertinent to Windows 11. Vanguard relies on these features to verify a system’s trustworthiness. Should Secure Boot or TPM be disabled, it could result in the VAN9003 error or cause VALORANT to get stuck on the loading screen. To enable these features, refer to the guide on “How to enable TPM 2.0 and UEFI Secure Boot.”
10. Reinstall Graphics Drivers with DDU
Reinstalling graphics drivers with Display Driver Uninstaller (DDU) can resolve issues by completely removing all traces of the current driver versions, including registry entries and residual files that might be causing conflicts or errors.
A fresh installation of the latest graphics drivers ensures that VALORANT interacts properly with the GPU, potentially fixing any loading screen freezes or performance problems related to outdated or corrupted drivers. This process provides a clean slate for your graphics drivers, often resulting in more stable and optimized game performance.
10.1 Run File Signature Verification
The file signature verification utility is used to detect unsigned drivers, which could include corrupted graphics drivers.
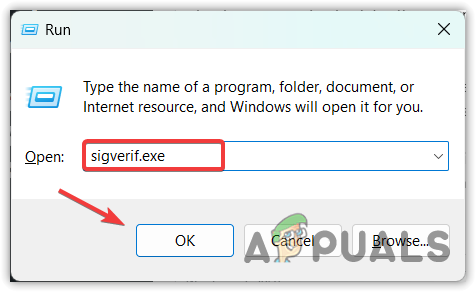
- Press Windows + R to open the Run window.
- Type sigverif.exe and click OK.
Opening File Signature Verification utility - Click Start to begin the verification process.
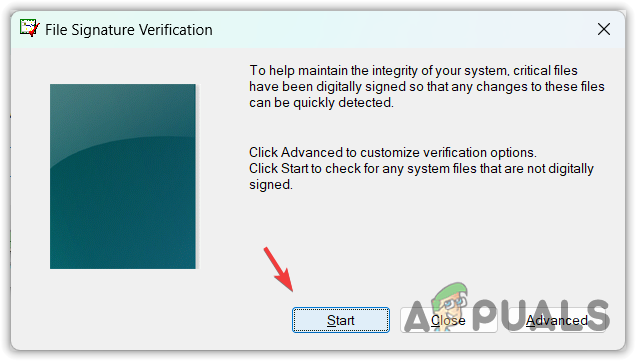
Running File Signature Verification utility - If any unsigned drivers are discovered, particularly those associated with the graphics driver, proceed to uninstall them to resolve the issue.
10.2 Reinstall Drivers with DDU
Device Manager is commonly used to uninstall drivers, but it fails to remove the driver data from the Windows Registry. Display Driver Uninstaller (DDU) is better suited for completely removing drivers and associated registry entries.
- Download Display Driver Uninstaller.
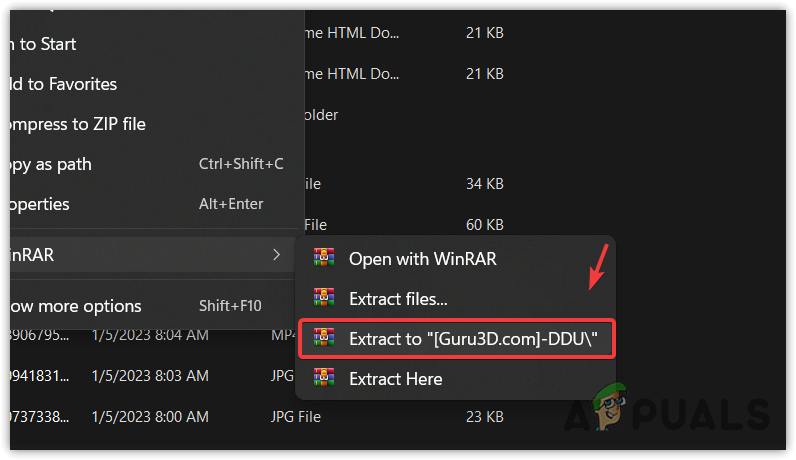
- Right-click the downloaded DDU zip folder and select Extract to “[Guru3D.com]-DDU\”.
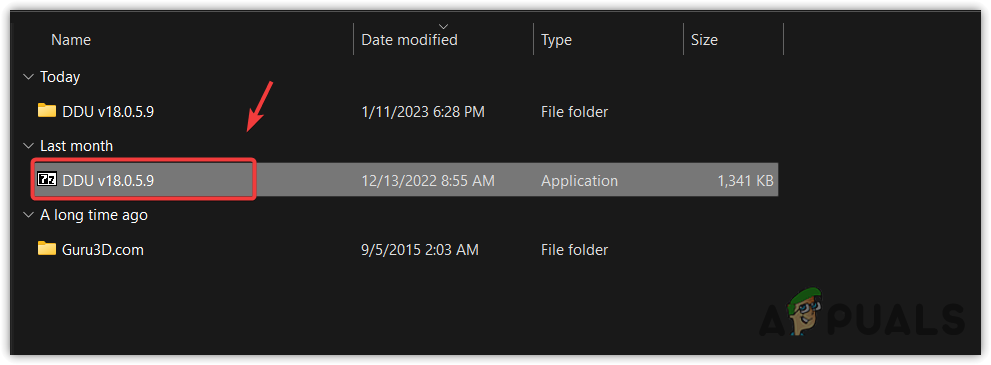
Extracting DDU zip folder using WinRar - After the extraction, navigate to the DDU folder and double-click the application to open it.
Opening DDU file - Click Extract, then proceed to the extracted folder.
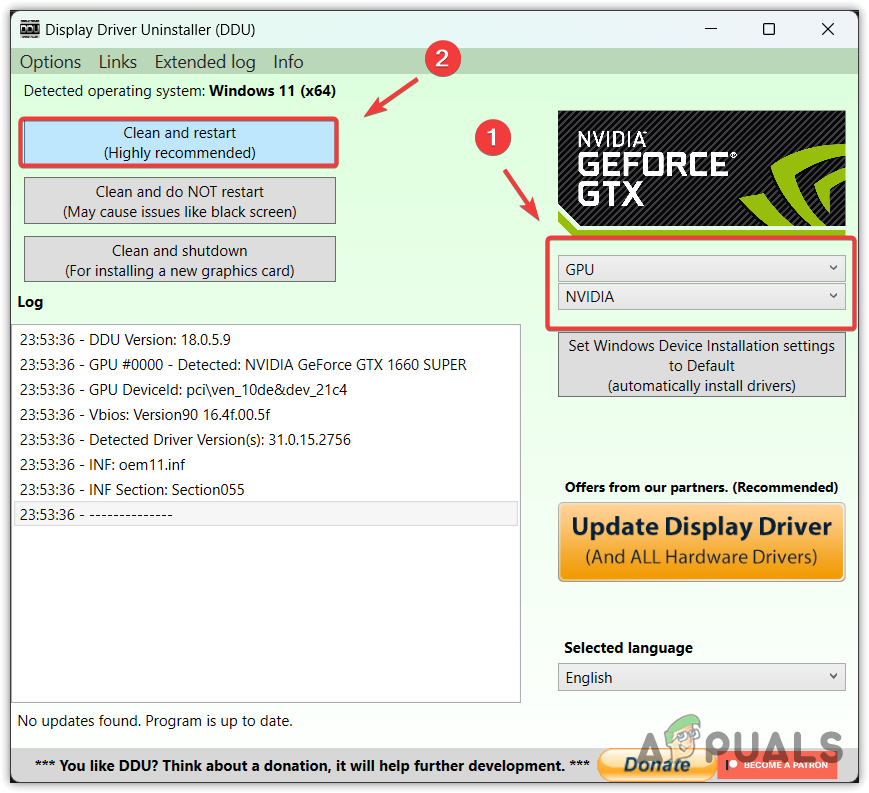
- Run the Display Driver Uninstaller program.
- Choose GPU as your device type and the appropriate GPU vendor.
- Select Clean and restart for a complete removal of drivers.
Uninstalling graphics driver using DDU - Visit your GPU manufacturer’s website to download the latest graphics driver.
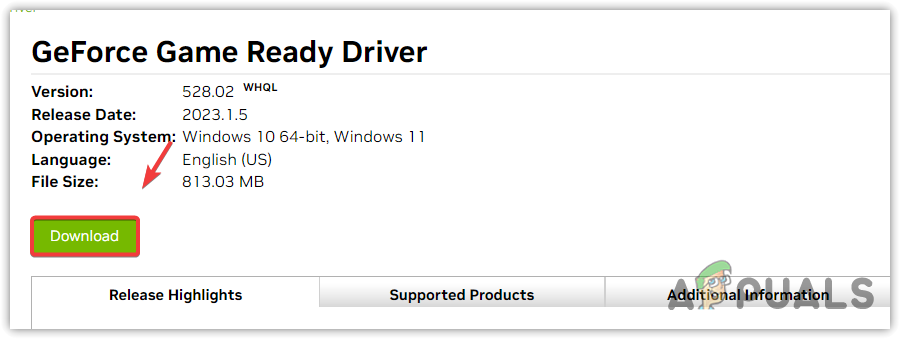
Downloading latest graphics driver - Run the driver installer by double-clicking the file, and follow the instructions to complete the installation.
11. Reinstall VALORANT
Reinstalling VALORANT can resolve the loading screen issue by completely removing the game’s existing files, which may be corrupt or damaged, and replacing them with a fresh set of files. This process ensures that any glitches or errors caused by the game’s files are eliminated, potentially restoring functionality and allowing the game to load properly.
- Press the Win + R keys to open the Run dialog box.
- Type appwiz.cpl and click OK to open the Programs and Features window.
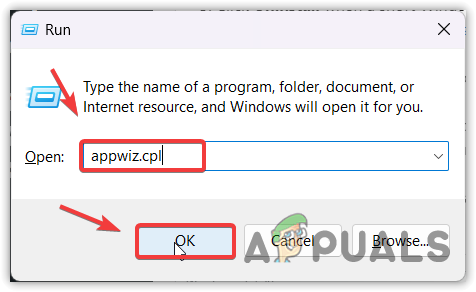
Navigating to the control panel apps and features - Uninstall VALORANT by right-clicking on it and selecting Uninstall.

Uninstalling VALORANT - After the uninstallation is complete, visit the official VALORANT website.
- Sign in with your account and download the VALORANT installer.
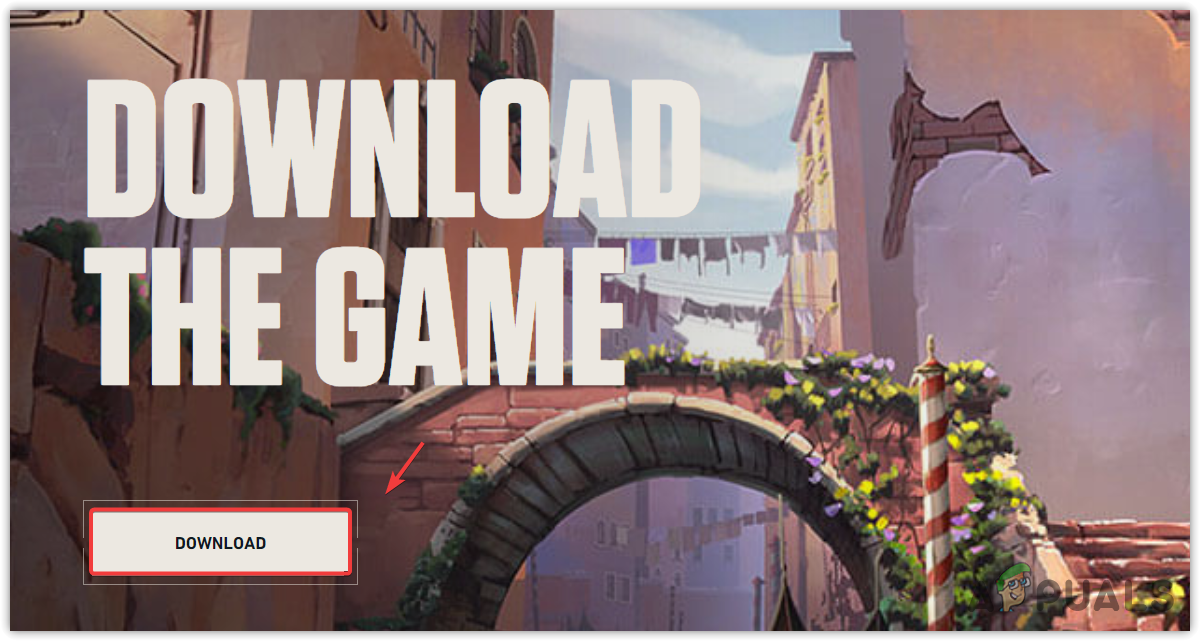
Downloading VALORANT installer - Launch the downloaded installer and follow the on-screen prompts to reinstall the game.
By following these troubleshooting steps, you should be able to resolve any issues preventing VALORANT from progressing past the loading screen.


