How to Stop Microsoft Edge from Saving History in Windows 10?
Microsoft Edge is a pre-installed web browser on Windows 10 that is an improved version of Internet Explorer. Like all other famous browsers, Microsoft Edge also collects and saves history on your device. Some personal data security concerned users may want to disable the function that saves history. Microsoft Edge provides users with choices to control which data or information should be collected. In this article, we will show you methods through which you can easily disable the saving of history on Microsoft Edge.
Disabling the Search History
Rather than using the InPrivate browsing every time, an administrator can disable the history saving for Microsoft Edge. Another reason for disabling history saving can be if the PC is used by multiple users and they don’t want to share their browsing history with others. There are several different methods through which you can disable the history saving in Microsoft Edge. Some of the below methods will depend on the version of your Windows 10 operating system.
Disabling the History in the Legacy Microsoft Edge
The Microsoft Edge legacy is the default version that comes with Microsoft Windows. This has different settings than the latest new Microsoft Edge. The policy setting for this version is already available in the system and can be configured without downloading new files.
Method 1: Using the Microsoft Edge Settings
Microsoft Edge provides an option through which it will remove all the browsing history when closed. This option can be found in the settings on Microsoft Edge. It also provides other options that the user can select or deselect. Follow the below steps to check it out:
- Open your Microsoft Edge by double-clicking on the shortcut or searching it through the Windows search feature.
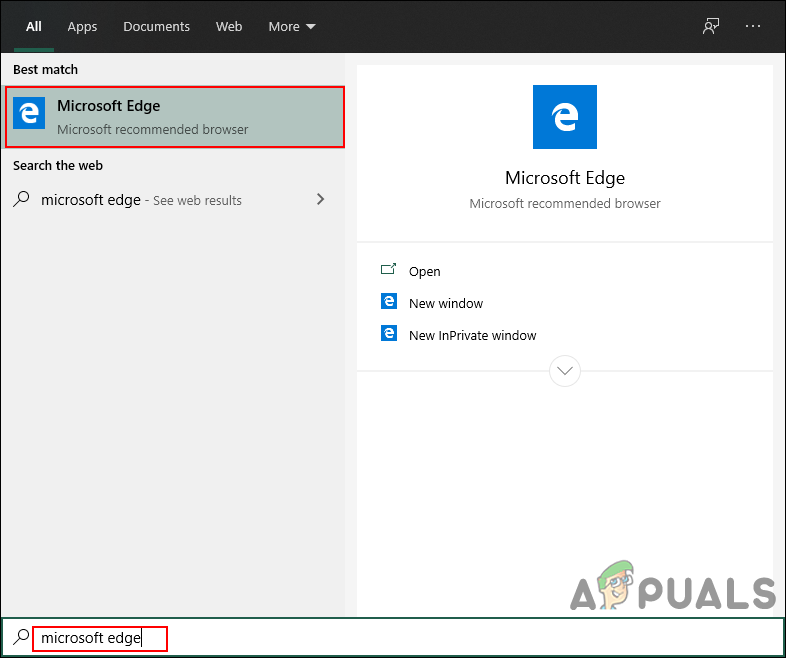
Opening Microsoft Edge - Click on the Settings and more (three dots) and select the Settings option in the list.

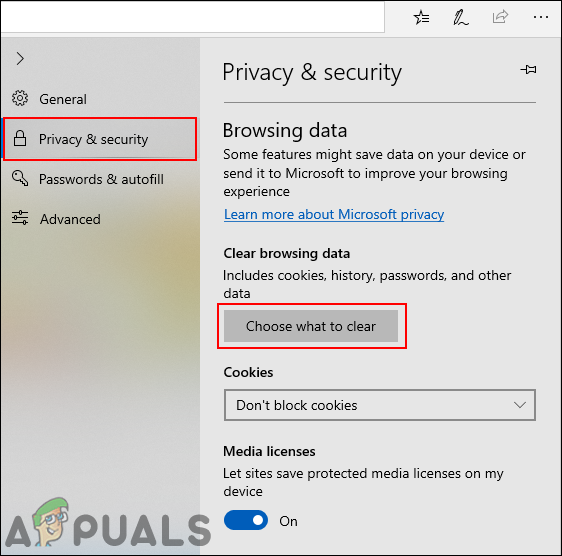
Opening Settings - Select Privacy & security option from the left pane and then click on the Choose what to clear button.
Opening choose what to clear option - Now enable the toggle that says “Always clear this when I close the browser“. You can also select the options that you want to clear when you close your browser.
Note: If you only want to clear the browsing history, then uncheck all other options.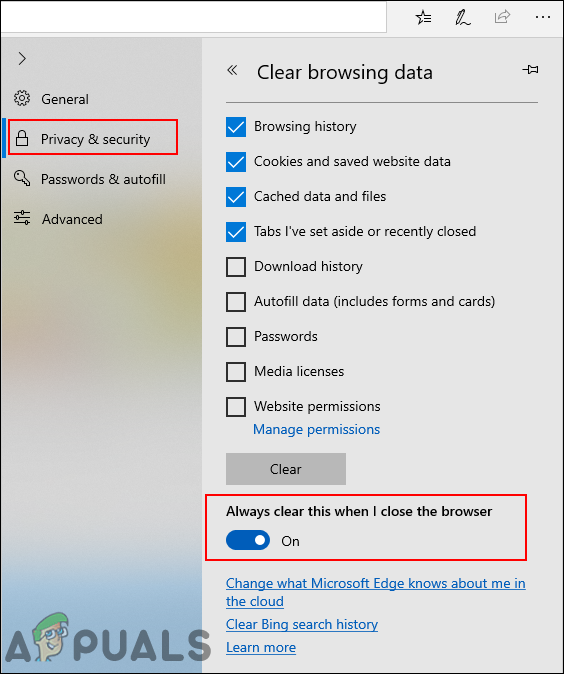
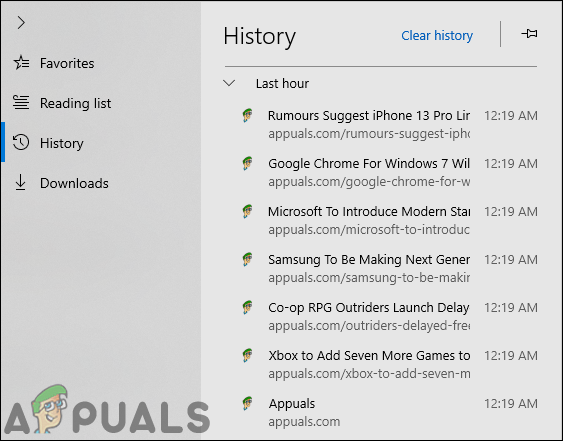
Enabling always clear history option - Now when you close your browser it will remove all the history that was saved recently. You can always enable it back by turning OFF the toggle option.
Method 2: Using the Local Group Policy Editor
The Group Policy Editor is an administration tool that allows users to control the working environment of their operating system. There is a specific setting in the Group Policy through which users can enable or disable the history saving in Microsoft Edge. The setting can be found in both the Computer Configuration and User Configuration categories. This setting can be configured very easily in just a few steps as shown below:
Note: The Group Policy Editor isn’t available in the Windows Home edition. So, skip this method if you are using that version of Windows 10.
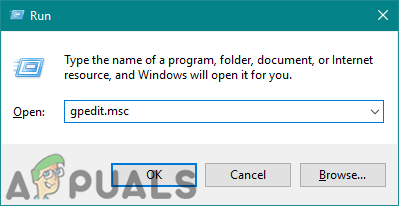
- Open a Run dialog by pressing the Windows and R keys together on your keyboard. Now type “gpedit.msc” in it and press the Enter key to open the Group Policy Editor.
Opening the Registry Editor - In the Local Group Policy Editor, navigate to the following path:
User Configuration\ Administrative Templates\ Windows Components\ Microsoft Edge\
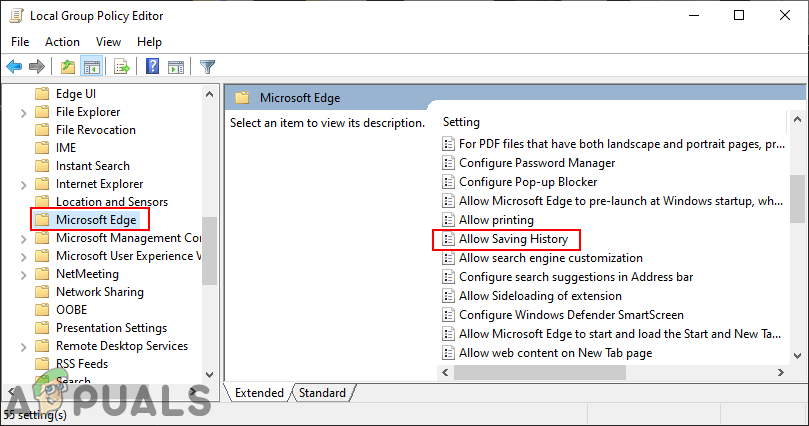
Navigating to the setting - Double-click on the setting named “Allow Saving History” and it will open in another window. Now change the toggle option from the Not Configured to Disabled option.

Disabling the saving of the history - Click on the Apply or Ok button to save the changes. This will prevent the Edge browser from saving any history.
Note: If the setting didn’t work instantly, then make sure you restart your browser and wait for a few seconds. - You can always enable it back by going to the same setting and changing the toggle option to Not Configured or Enabled.
Method 3: Using the Registry Editor
Another method that is similar to the Group Policy Editor is by using the Registry Editor. This will do the same job as the Group Policy Editor. If you already used the Group Policy Editor method, then it will automatically update the key/value regarding this setting. If not, then you need to create the missing key/value manually in the Registry Editor. We always recommend users to create a backup of the Registry before making any new changes to it.
The value for this setting can be created in both Current User and Current Local Machine hives. The path will be the same, but the hive will be different.
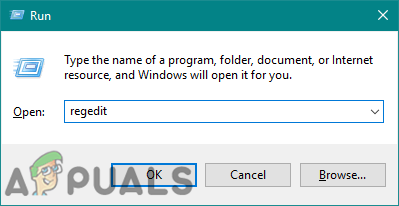
- Hold the Windows key and press R to open a Run dialog box on your system. Then type “regedit” in it and press the Enter key to open the Registry Editor. Also, click on the Yes button for the UAC (User Account Control) prompt.

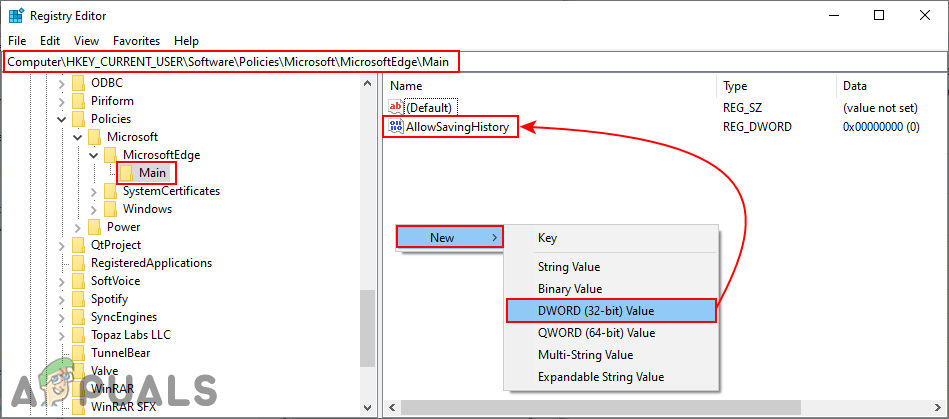
Opening the Registry Editor - In the Registry Editor window, navigate to the following key:
HKEY_CURRENT_USER\Software\Policies\Microsoft\MicrosoftEdge\Main
- In the Main key, right-click on the right pane and choose the New > DWORD (32-bit) Value option to create a new value. Name this value as “AllowSavingHistory“.
Creating a new value - Double-click on the value to open it and then change the value data to 0.
Note: Value data 1 will enable the saving of history and value data 0 will disable it.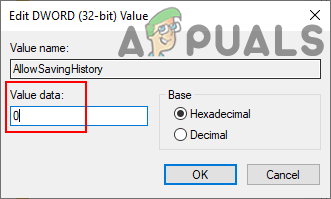
Disabling the value - After all the configurations are made, make sure you restart your system to apply these new changes. This will disable the saving of history in Microsoft Edge.
- You can always enable it back by changing the value data to 1 or removing the value from the Registry.
Disabling the History in the New Microsoft Edge
The new Microsoft Edge is the one that you must have downloaded from the site. It will replace the old legacy version on your system. The settings for this version will also be different and you need to download policy files if you want to use the Group Policy method. The default policy settings will not work on the new Microsoft Edge browser.
Method 1: Using the Browser’s Settings
The interface will be different for both the legacy and the new Microsoft Edge browser. Most of the settings will be the same but located in a different location. Every new update changes the interface of the browser’s settings. This may be changed in the future but the setting will be similar.
- Open the Microsoft Edge browser by double-clicking on the shortcut or searching it through the Windows search feature.
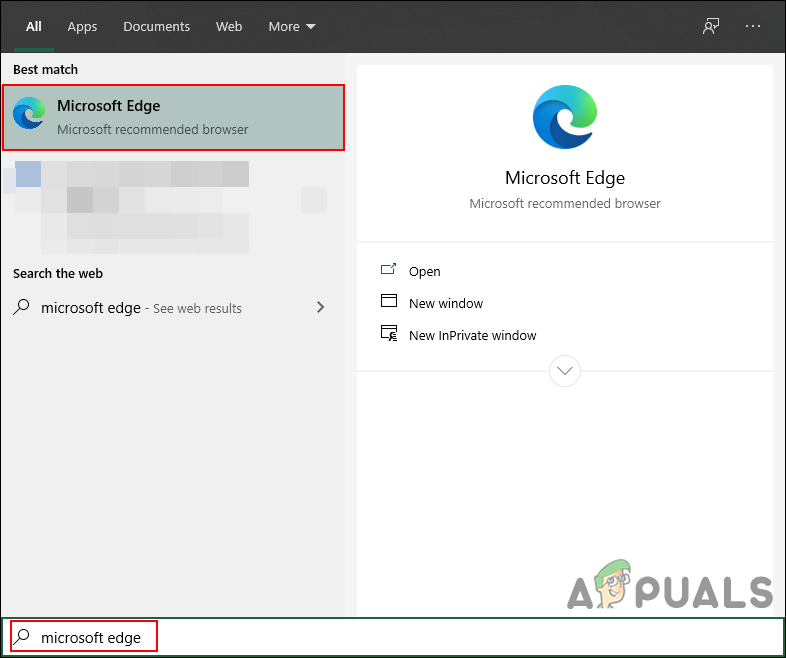
Opening new Microsoft Edge browser - Click on the Settings and more (three dots) icon at the top right corner and choose the Settings option in the list.
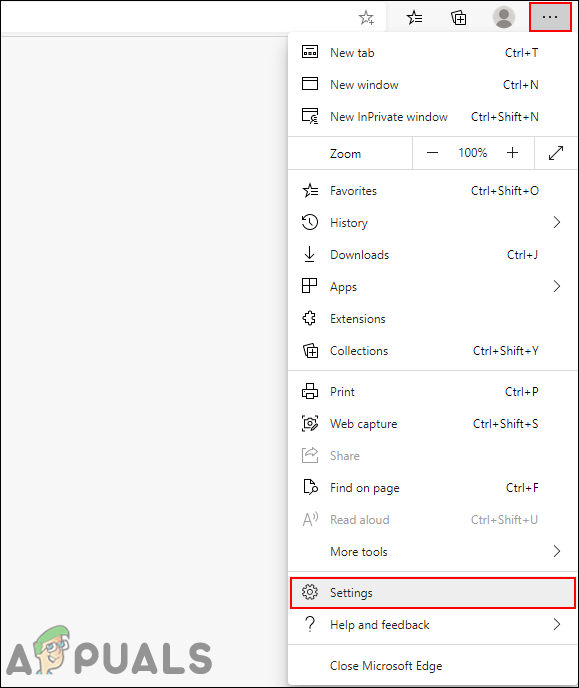
Opening the browser’s settings - Select the Privacy, search, and services option in the left pane and then click on the Choose what to clear every time you close the browser option.
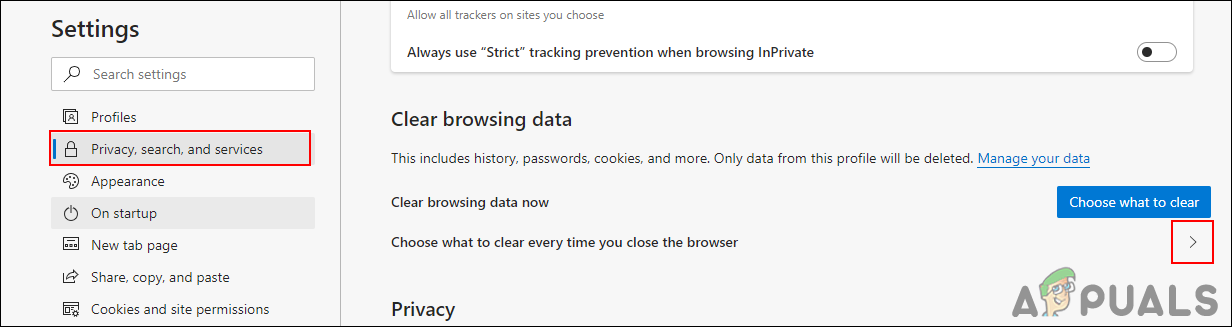
Navigating to history settings - Turn On the toggle option for Browsing History. This will remove the history whenever the browser is closed.
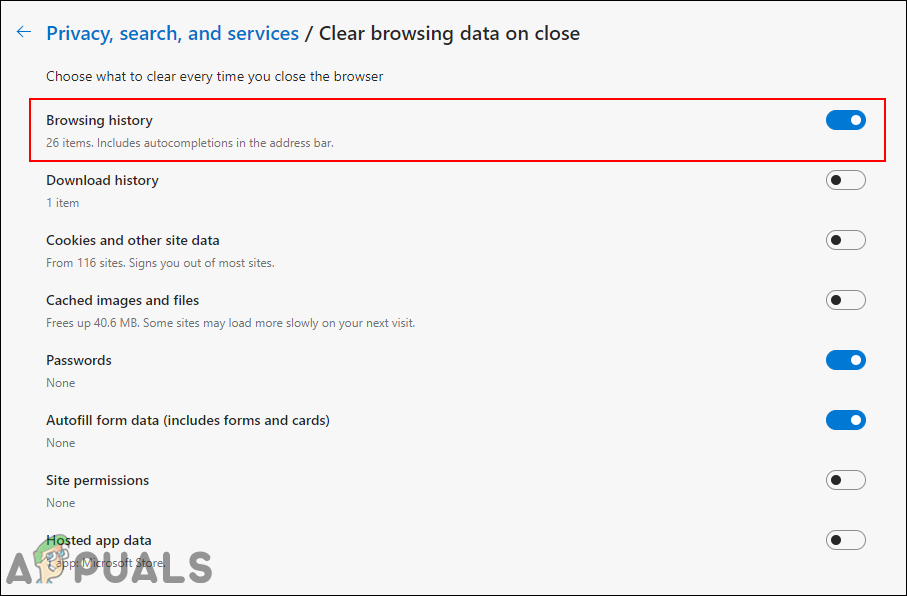
Enabling the setting
Method 2: Using the Registry Editor
The Registry Editor method for the new Microsoft Edge browser is quicker than the Group Policy Editor method. Even if the policy files are missing in the Group Policy Editor, you can still configure the setting for the applications in the Registry Editor. You only have to create the missing key or value for the setting.
- Press the Windows and R keys together on your keyboard to open the Run dialog box. Now type “regedit” in it and press the Enter key to open the Registry Editor. Choose the Yes button for the UAC prompt.
Opening the Registry Editor - Navigate to the following path in the Registry Editor:
HKEY_LOCAL_MACHINE\SOFTWARE\Policies\Microsoft\Edge
- If the Edge key is missing, then you can create it by right-clicking on the Microsoft key and choosing the New > Key option. Rename the key as “Edge“.
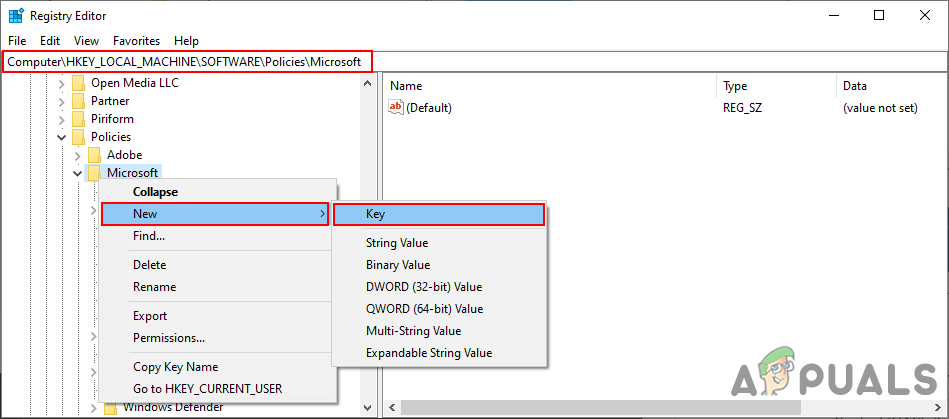
Creating the missing key - Now create a new value by right-clicking on the right pane and choosing the New > DWORD (32-bit) Value option. Rename this newly created value as “ClearBrowsingDataOnExit“.
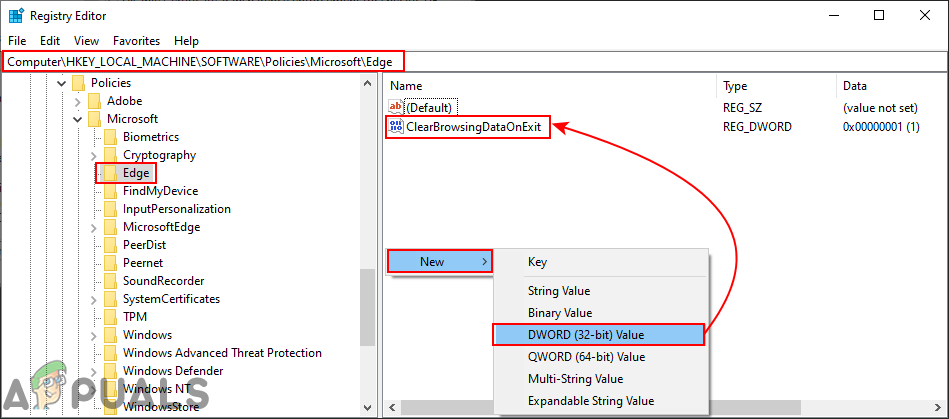
Creating a new value - Double-click on the value to open it and change the value data to 1.
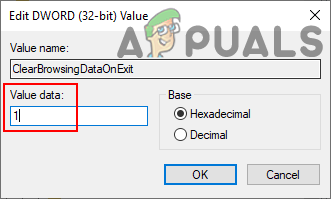
Changing the value - Lastly, make sure you restart the system to apply these changes.
- You can always enable it back by removing the value or changing the value data to 0.
Method 3: Using the Local Group Policy Editor
The default policy settings in the system will work only on the legacy Microsoft Edge browser. For the new latest Microsoft Edge, you may have to download the policy settings and copy them to your system folder. It will require more steps than the other methods for the same setting.
If the setting is already available in “User Configuration\Administrative Templates\Windows Components\Microsoft Edge” or “Computer Configuration\Administrative Templates\Windows Components\Microsoft Edge“, then try using that and check if that works for your browser.
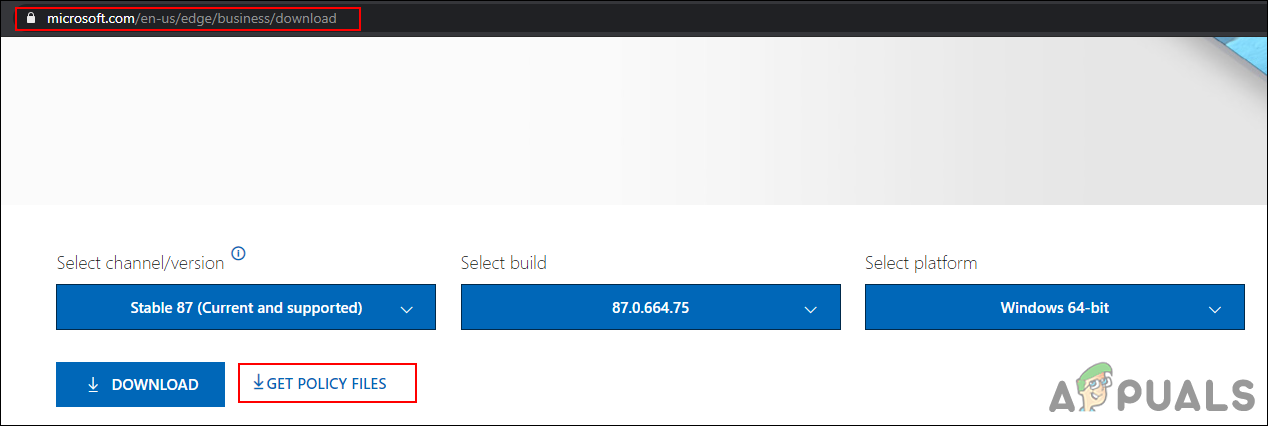
- Go to the Microsoft site, select the version of the Microsoft Edge, and click on the GET POLICY Files to download the latest policy files.
Downloading the policy files - Extract the downloaded folder by using the WinRAR application as shown:
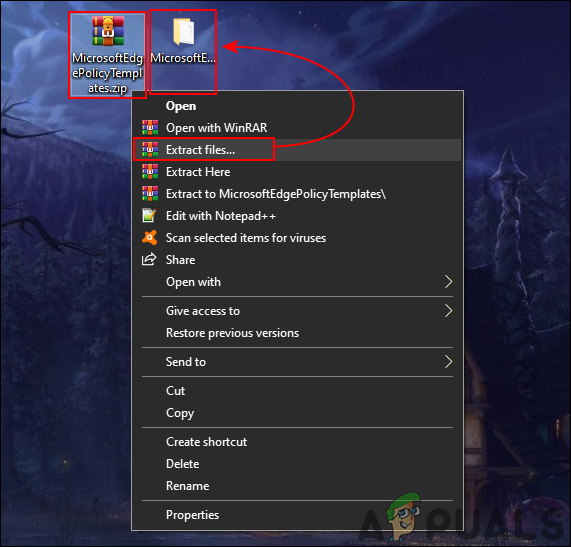
Extracting files - Open the folder and navigate to the “MicrosoftEdgePolicyTemplates\windows\admx” path.
- Copy the files named “msedge.admx” and “msedge.adml” from this folder to the “C:\Windows\PolicyDefinitions” folder in your system.
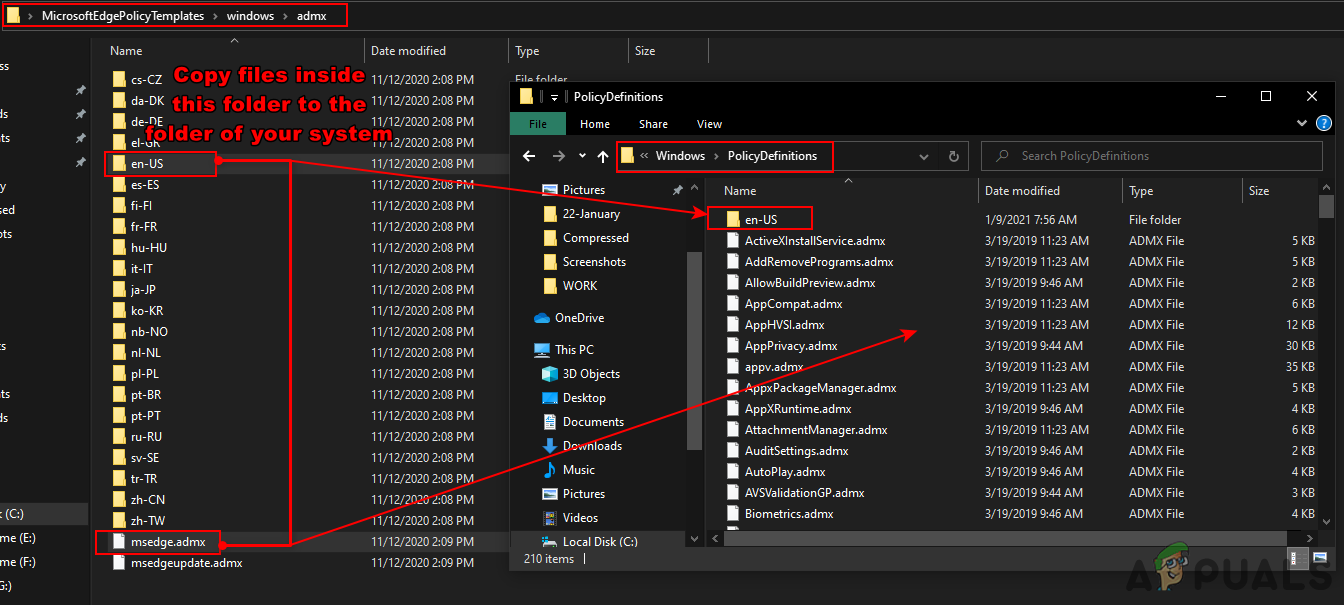
Copying files to the system’s folder Note: The ADML file will be located in the language folder and it should be copied in a similar folder.
- Finally, to see these new policy settings in the Group Policy Editor, you have to restart the system.
- Now open a Run dialog by pressing the Windows and R keys together on your keyboard. Then type “gpedit.msc” in it and press the Enter key to open the Local Group Policy Editor.

Opening the Local Group Policy Editor - In the Registry Editor window, navigate to the following path:
Computer Configuration\ Administrative Templates\ Microsoft Edge
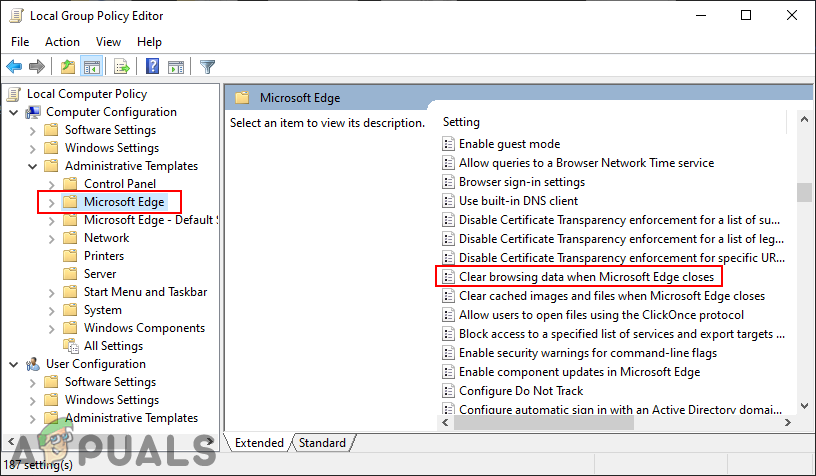
Navigating to the setting - Double-click on the setting named “Clear browsing data when Microsoft Edge closes” and it will open up in another window. Now change the toggle option from Not Configured to Enabled.
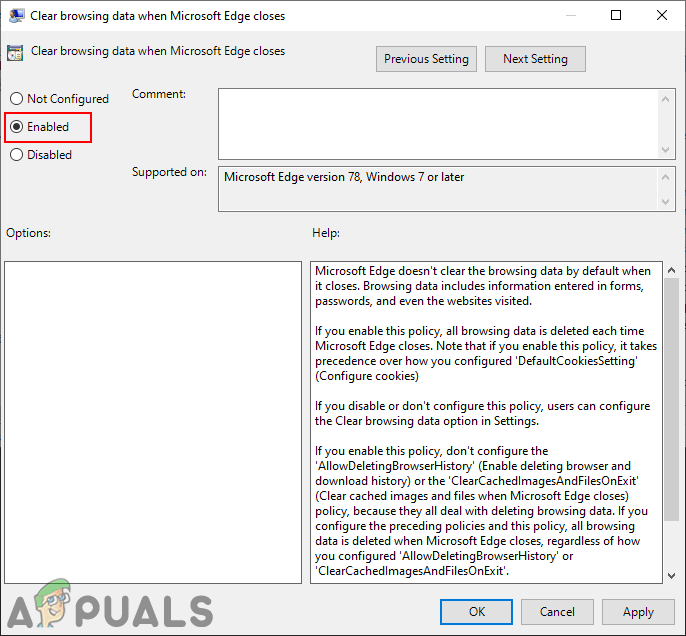
Enabling the setting - To save these changes click on the Apply/Ok button. This will always remove the browsing history whenever you close the Edge browser.
- You can always disable this setting back by changing the toggle option to Not Configured or Disabled in step 8.