How To Fix Startup Time Extremely Slow on Windows?
Sometimes we face slow startup on Windows due to some settings that are enabled by default. However, windows do not force us to enable a third-party application or even its own application at the startup. There is no doubt that Microsoft is trying to create Windows as fast as possible, but some features used to run the applications smoothly can lead Windows to slow startup.
In the privacy settings, there is a setting called the background apps. These applications run in the background and start at the startup, slowing your computer. Moreover, the apps can use your location and track your activity to display relevant ads. However, it can also cause Windows to run and start slow. You can disable that option from the privacy settings.
Above, we have only discussed some factors that can lead your computer to slow startup. However, there are many factors, which we discussed below:
- Disabled Fast Startup and Hibernation- Fast startup is a feature to reduce the time that it takes to boot up the computer, and hibernation saves the data before the computer is fully turned off and resumes the state when the computer boots up. If both functions are disabled, your computer will turn on from the start, which can take some time. Therefore, it is recommended to enable fast startup and hibernation to reduce startup time.
- Enabled Unnecessary Programs At the startup- Usually, most of the users have applications that load at the startup of Windows. If you want your Windows to load fast, you need to disable the unnecessary programs from the task manager.
- Having Disk Issue- If you use a hard disk, the chances of having corrupted files on the disk can increase, and it also might be why your Windows is not loading fast at the startup. To check this, you can run the chkdsk command to repair the corrupted files and disk errors.
- Installed Windows on a Hard Drive- If you installed your Windows on a hard drive, your WIndows will not load as fast as you want because hard disks are very slow compared to SSD. If you cannot buy SSD, you can still apply some settings to reduce the startup time by following the below methods.
- Enabled ULPS- ULPS or Ultra Low Power State disables the second GPU to prevent high battery usage. However, in some cases, it can cause issues such as black screens, system stuck, slow booting, and BSOD. So it is highly recommended to disable ULPS when encountering slow startups.
- Lack Of Space in the Hard Drive- Another possible reason for this issue is the lack of storage in the hard drive. You might face a slow startup if you do not have 5 to 10GB of free space in the hard drive. Hence, try making free space by deleting or shifting the necessary data to another drive.
- Enabled Background Apps- When you install Windows, some inbuilt Microsoft apps run in the background until you disable the background apps from the settings. These apps can also lead you slow startup issues as they start at the startup. Therefore, it is also recommended to disable background apps from the settings.
- Enabled App Readiness Service- App Readiness Service prepares the startup application when the computer boots up. If you disable this service, your Windows will not ready the startup apps, which might reduce the time your Windows takes to load.
1. Enable Fast Startup
As we discussed above, fast startup is a feature that enables the system to take less time to boot up the system from a complete shutdown. When we enable the fast startup and shutdown computer, Windows stores the current state in the hard drive with the file named hibernation.
When we turn on the computer, Windows takes the previous state from the file and transfer it into the RAM. This process saves time and can fix the slow startup issue. Below are the steps to enable fast startup:
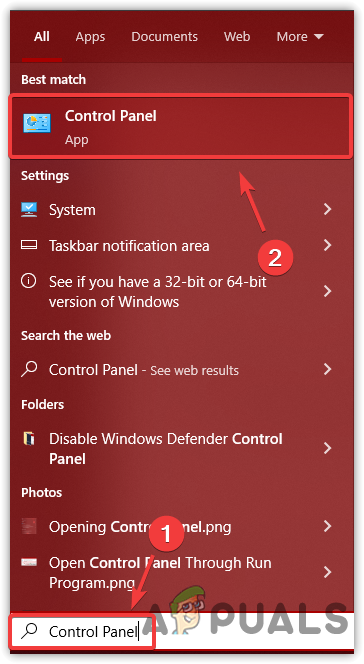
- Click Start Menu and type Control Panel

Opening Control Panel - Open the control panel and navigate Power Options
Note: Click on Category and select Small Icons or Large Icons to navigate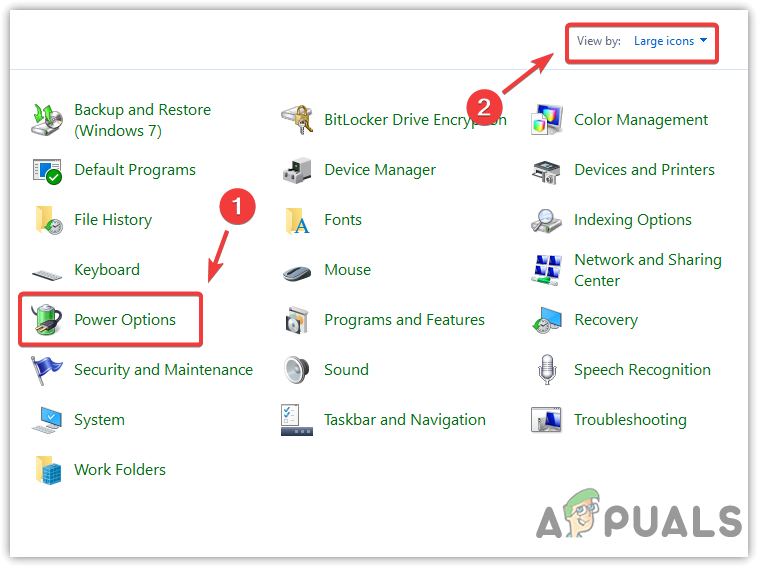
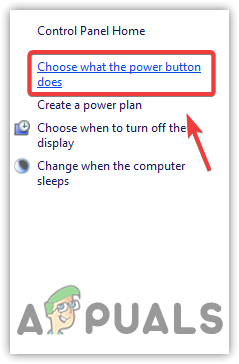
Navigating to Power Options - Click Choose What The Power Button Does from the left pane
- Then, click Change Settings That Are Currently Available
Clicking What The Power Button Does To View Power Plan Options - Now, under Shutdown Settings, check the option Turn On Fast Startup
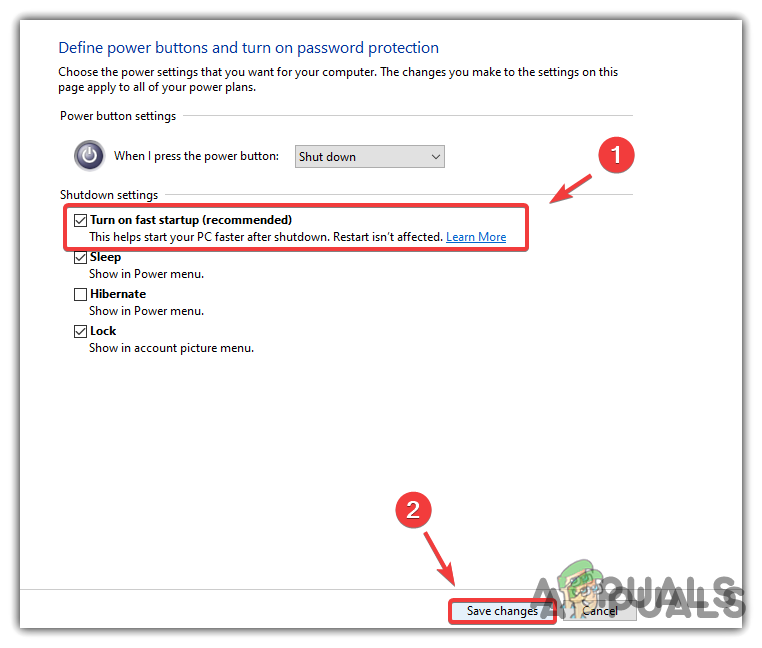
Enabling Fast Startup
If this option is unavailable, the hibernate feature is turned off. You have to enable it. For that, follow the steps below:
- Press the Windows key and type Command Prompt
- Open the command prompt and type the following command to enable the hibernate
powercfg /hibernate on
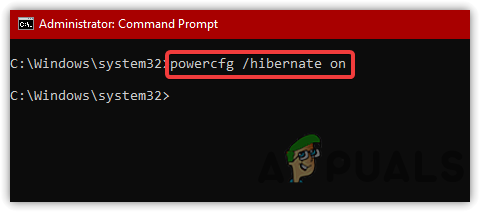
Enabling Hibernation - Once done, close the terminal and return to the power options to enable the fast startup.
2. Disable ULPS Via Registry (For AMD GPUs)
ULPS stands for Ultra Low Power State, an entry in the registry editor for AMD GPUs that disables the second GPU when it is not in use. However, it has been observed that ULPS causes slow startup, overclocking issues, BSOD errors, and among others. Therefore it is recommended to disable ULPS via the Registry Editor when encountering slow startup issue:
Before disabling the ULPS, make a full registry backup. So you will be able to restore the registry if something bad happens. Follow the steps to disable ULPS:
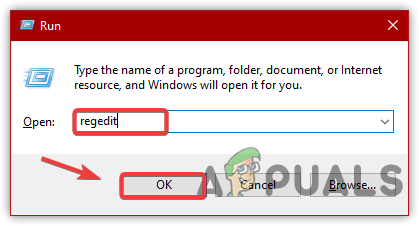
- Press the Win + R on the keyboard to launch the Run program
- Type regedit in the search box and click OK
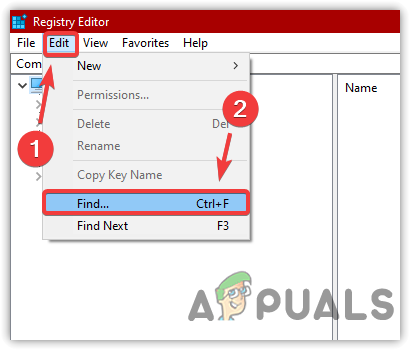
Opening Registry Editor - From the top, click on Edit and then click Find
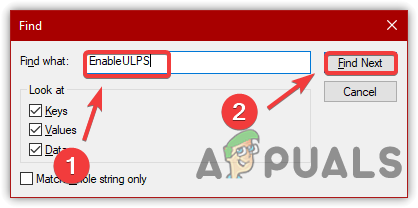
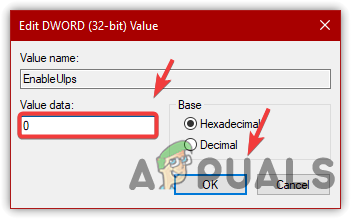
Opening Find Window - Type EnableULPS and click Find Next
Finding Entry - Once you find the entry, double-click the entry and change its value data to 0
Disabling ULPS - Once done, restart your computer for the changes to get into action and check if the issue is fixed.
3. Disable Unnecessary Programs At the startup
You might have third-party or even inbuilt Microsoft applications that load at the startup. It is not a bad thing to run the application from a startup of Windows.
However, if you do not have SSD, you could face slow startup issues as Windows gives priority and run the startup applications first, which can lead you to this issue. Below are the steps to disable irrelevant programs at the startup:
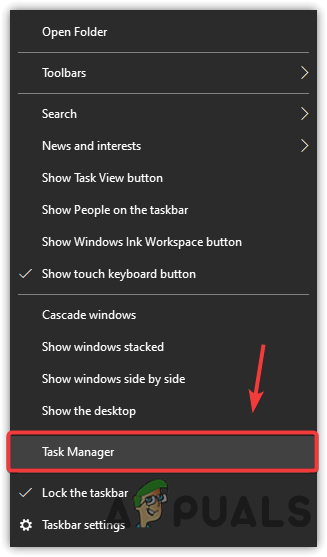
- Right-click the taskbar and click Task Manager
Opening Task Manager - Go to Startup from the top
- Select the applications and services one by one that is not necessary to run at the startup
- Then, click Disable from the bottom right

Disabling Startup Applications - Once done, restart your computer to check if it works.
4. Disable App Readiness Service
App Readiness service is used to ready up the startup applications. If this service is enabled, you might face a slow startup due to the enabled App Readiness Service. To fix this, you will need to disable App Readiness Service by following the steps below:
- Press the Windows key and type Services on the keyboard
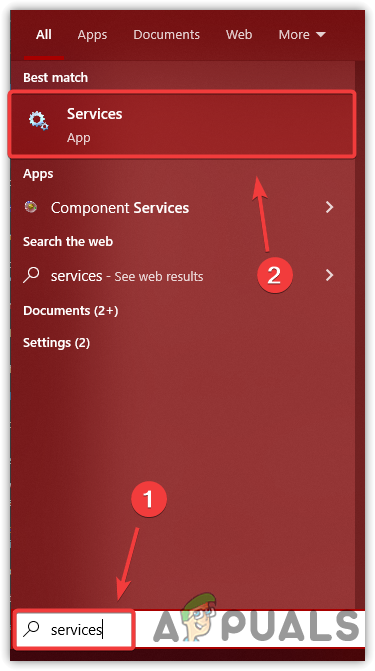
Navigating to Services Window - Open the Services Window and right-click App Readiness
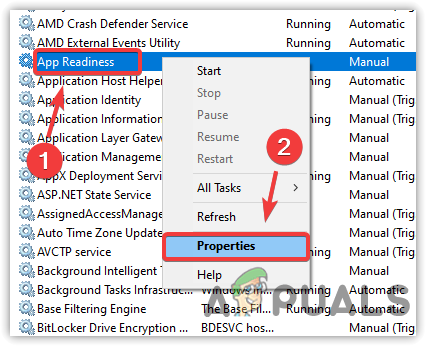
Opening App Readiness Properties - Click Properties and change the startup type from Manual to Automatic
- Click Apply and click Start to resume the disabled service

Restarting App Readiness Service - Once done, click OK and restart your computer to check if the startup time is reduced.
5. Defragment Hard Drive
If you have installed your operating system on the hard drive, defragmenting of the hard drive is a good option to increase the performance of your operating system. Defragment of the hard disk makes the read/write process easy for the hard disk header.
Let’s understand this with an example, suppose you have a closet that does not have much space to store your clothes. So what you can do is make space by rearranging the clothes to store the clothes in individual areas. That’s how the hard disk works without defragmenting.
Here is a real procedure for how a hard disk reads data: When we delete the file from the hard disk to store the file which is more than the size we have deleted, the header will write the data in pieces. First, it will fill the data in a deleted file area, and then the remaining data will fit in another area which will take time for the hard disk header to read the data.
What happens when we defragment a hard disk? Defragmenting the hard drive will store the large file in groups. It won’t store the large file in pieces. So the header will easily write and read the data, which can boost your operating system performance as the hard disk will take less time to read and write the data after defragmenting. Below are the steps to do that:
- Press the Windows key and type Control Panel
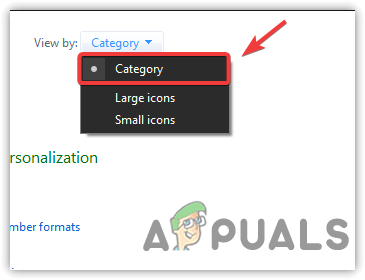
Opening Control Panel - Launch the control panel and change the View By to Category
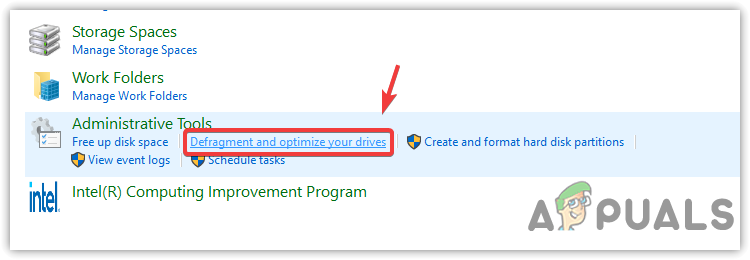
Changing View By - Navigate to System & Security
- Click the Defragment And Optimize Your Drives
Navigating to Defragment Drives Settings - Select the hard drives you want to defragment and click Optimize
Note: Make sure to select system drive.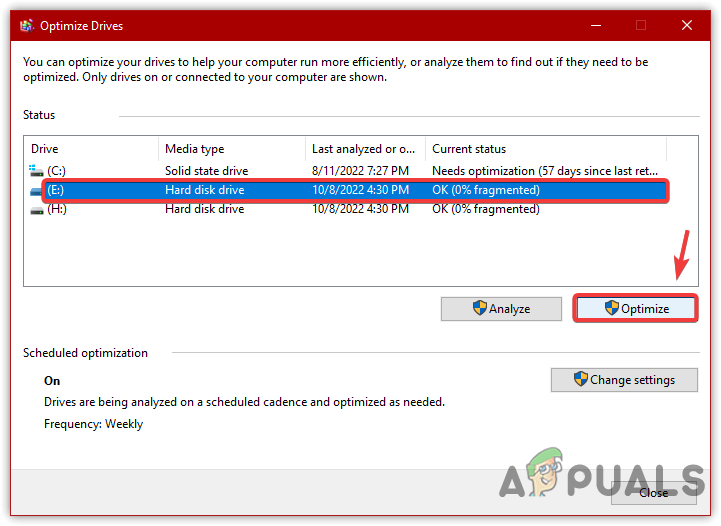
Defragmenting Hard Drive - Wait for the process to be done
Note: It takes 7 passes to consolidate, and the time will depend on your hard drive size and OS speed. - Once done, if you want a daily schedule optimization, click Change Settings and change Frequency from Weekly to Daily
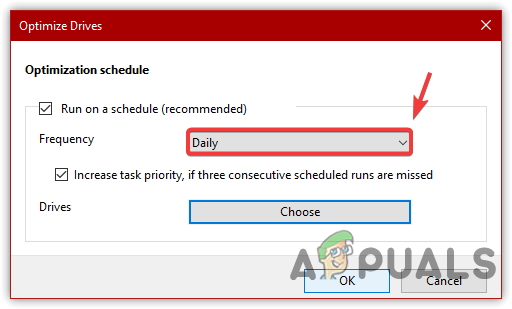
Scheduling to Optimize Hard Drive daily - Once done, click OK and restart your computer to check the startup time.
6. Disable Background Apps
Microsoft applications are also run at the startup of Windows, which can increase the startup time. These applications are also called background apps, and you can easily prevent them from starting with Windows by disabling the background apps from the settings. Follow the below steps to do that:
- Click the Start Menu and type Privacy Settings
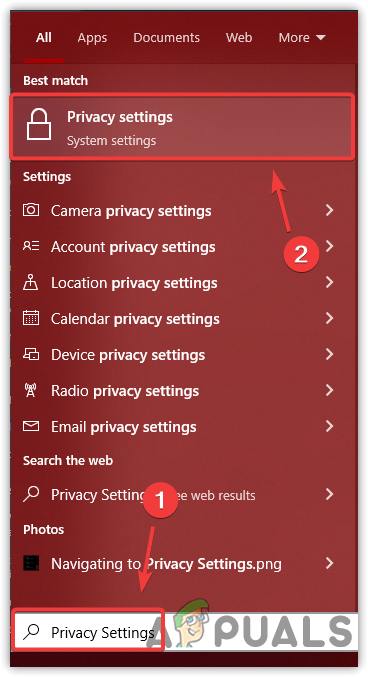
Opening Privacy Settings - Open the Privacy Settings
- In the left pane, scroll down until you see Background Apps
- Click Background Apps and then turn off Let Apps Run in the Background
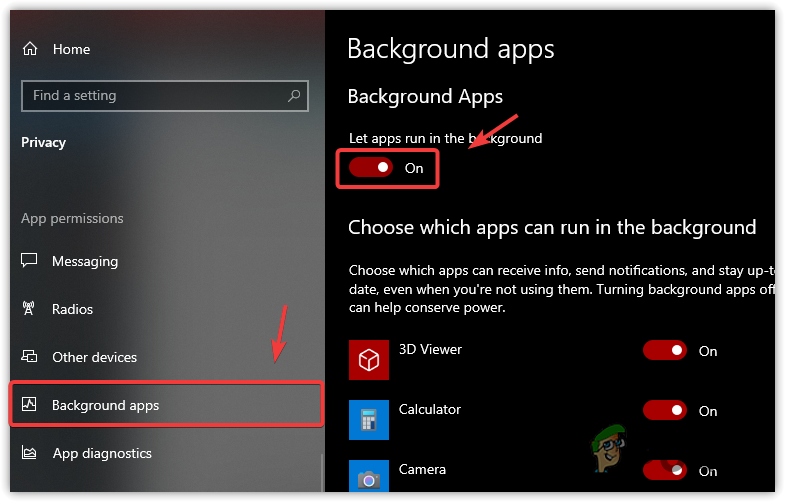
Disabling Background Apps - Once done, restart your computer and see if the startup time is reduced.
7. Repair Disk Files
The slow startup issue can also be caused by the corrupted files in the system disk. You can run the chkdsk to scan the system files for disk errors. Chkdsk is an inbuilt tool for the operating system to repair the corrupted files found on the disk. To do so:
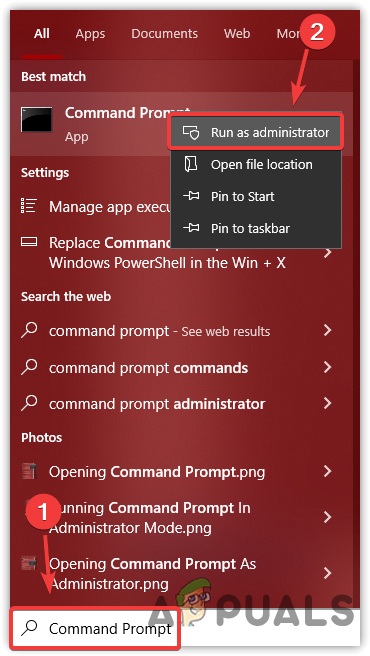
- Press the Windows key and type the Command Prompt
- Right-click on the terminal and click Run As Administrator
Navigating to Command Prompt With Administrator Privileges - Now put the following command in the terminal and hit enter
chkdsk c: /f /x
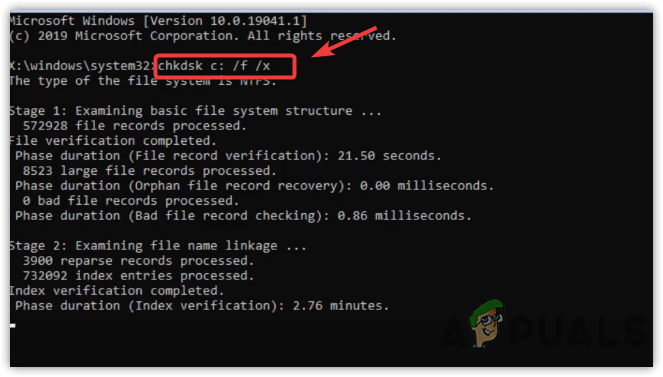
Fixing Disk Errors - Wait for the process to be complete
- Once done, check if the slow startup issue is resolved.
8. Use the Computer in a Clean Boot
Another solution for this issue is to use a computer with a clean boot. A clean boot is a process in which the necessary services and driver runs. So if unnecessary services and third-party applications cause the computer to a slow startup, using a computer in a clean boot might fix this issue. Below are the steps to enable the clean boot:
- Press the Windows key and type msconfig
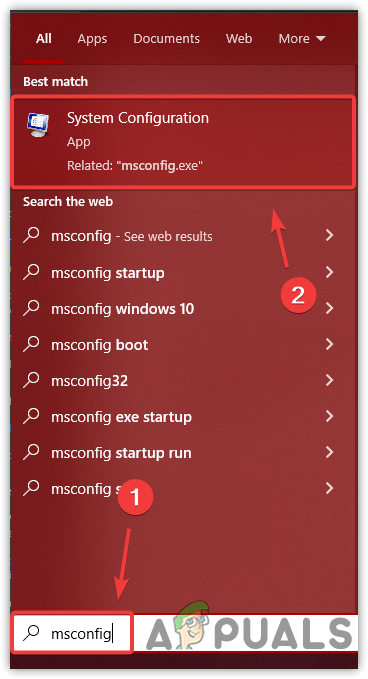
Opening System Configuration Settings - Open the System Configuration Settings
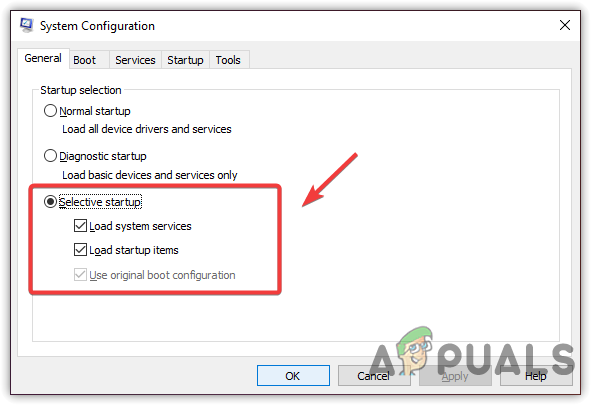
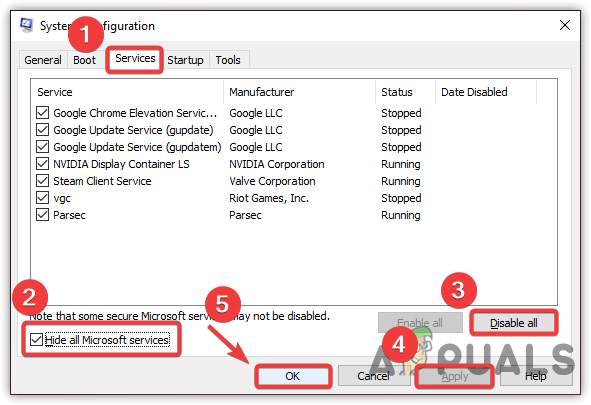
- Choose Selective Startup and go to Services
Choosing Selective Startup - Check Hide All Microsoft Services
- Then, click Disable All
- Click Apply and click OK
Performing Clean Boot - Once done, restart your computer to use a computer with a clean boot.
9. Enable Game Mode
Game Mode is an inbuilt Window feature designed to optimize the PC for the games. It stops the Windows updates and gives fewer resources to the other tasks. Moreover, the game mode can be used for low-end and high-end PCs. So you can enable it even if your computer is not high-end. Therefore, it might decrease the startup time as Windows does not gives full computing power to background apps to run. Below are the steps to enable the game mode:
- Press the Win key and type Game Mode Settings
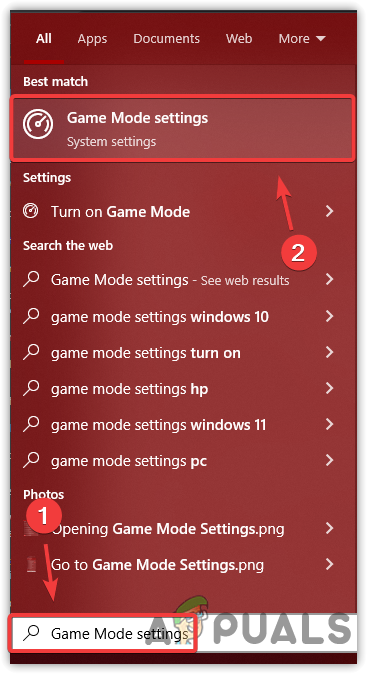
Opening Game Mode Settings - Open the game mode settings and enable the game mode by turning on the button
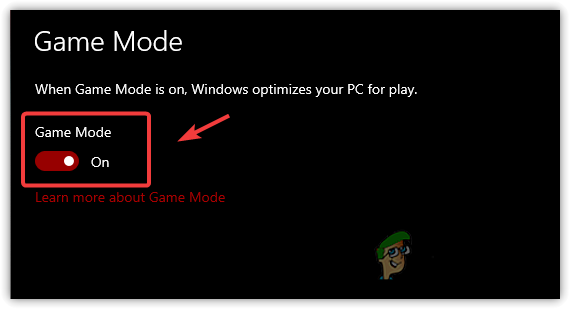
Enabling Game Mode - Once done, restart your computer and see if the issue persists.
10. Create Space on Your Hard Drive
Slow startup issues can be occurred due to a lack of space in the hard drive. Hence, if you do not have 5 to10 GB free space in the hard disk, you will likely encounter this issue. Therefore, it is recommended to either remove some data from your system disk or run disk cleanup to clear the temporary files by following the steps below:
Note: If you have an SSD, you don’t need to follow this method as it is already much faster than a hard drive.
- Open the file explorer and right-click the system disk
- Go to Properties
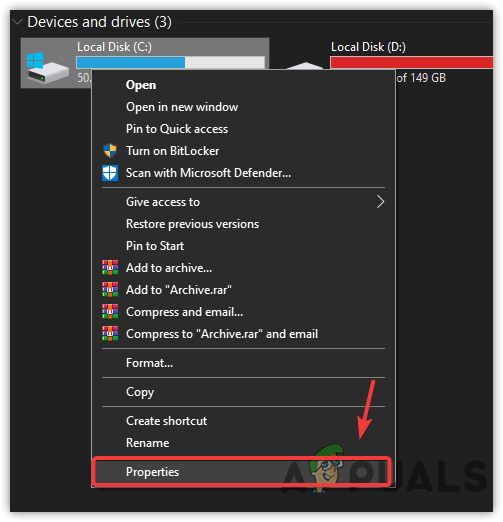
Opening Disk Properties - Then, click Disk Cleanup
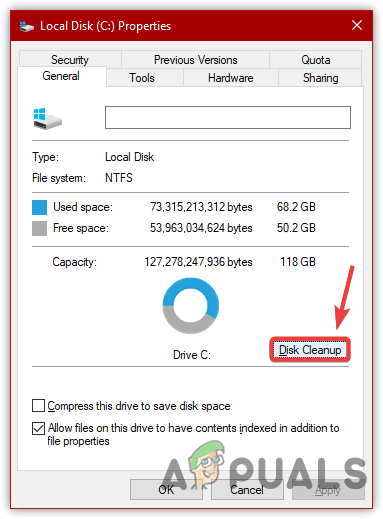
Running Disk Cleanup Utility - Check all the items under Files to Delete
- Then, click OK and then click Delete Files to confirm the action
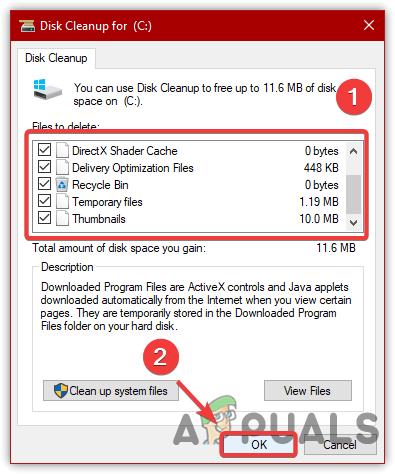
Removing Temporary Files - Once done, restart your computer to check if the startup issue is fixed.
11. Try Booting Windows In Safe Mode
If the issue is not resolved yet, try booting Windows in safe mode, as it is possible that outdated system drivers and third-party applications cause slow startup issues.
Keep in mind that if the slow startup issue does not occur while booting Windows in safe mode, then the slow startup issue has been occurring due to two reasons. One is that there might be a system driver causing high DPS, and for that reason, you are encountering this issue, or there is a third-party application preventing Windows from loading fast.
However, if the issue happens, we recommend checking for disk errors or consider to buy a new hard disk if you cannot afford SSD. First, you need to boot Windows in safe mode to check the issue by following the steps below:
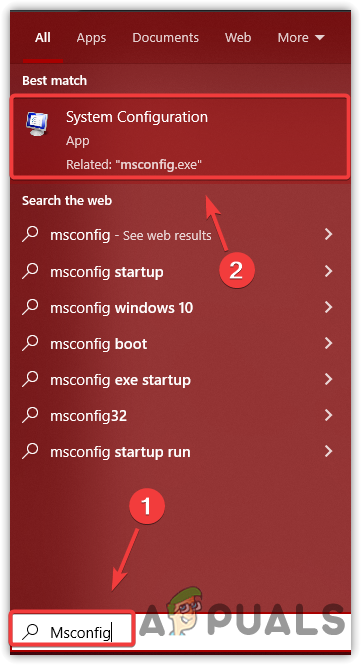
- Press the Windows key and type msconfig
Navigating to System Configurations - Open the system configuration Settings and then go to Boot
- Check the Safe Mode under Boot Options
- Click Apply and then click OK
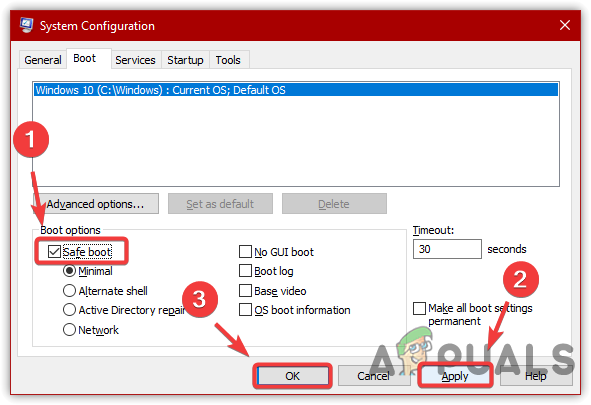
Configure Windows To Boot In Safe Mode - Restart your computer to boot in safe mode
- Now to leave the safe mode, open the system configuration
- Go to Boot and untick the Safe Mode option
- Then, click Apply and click OK
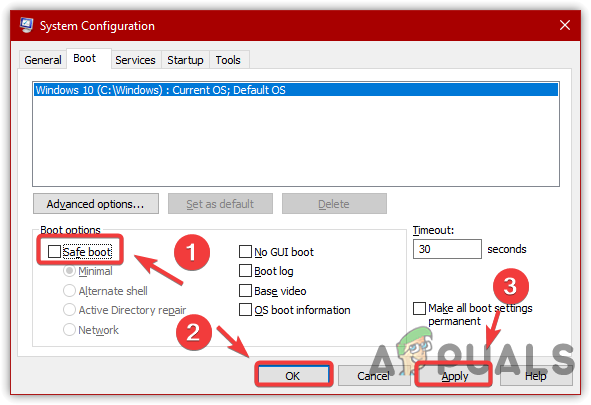
Configure Windows To Boot Normally - Restart your computer to boot in normal mode
12. Check System Driver
If the slow startup issue does not occur while booting Windows to a safe mode, make sure you have disabled the unnecessary applications and services at the startup. You can follow the third method to disable the startup programs with that also follow the clean boot method, as both can help resolve this issue.
Moreover, if you want to ensure that you do not have a high DPS system driver, follow the steps below:
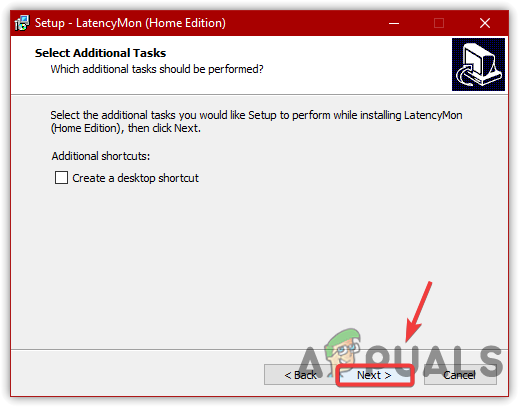
- Download and install the LatencyMon from the link
Installing LatencyMon - Open the software and click on the green play icon to start monitoring
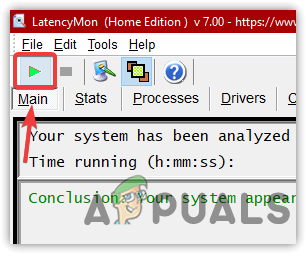
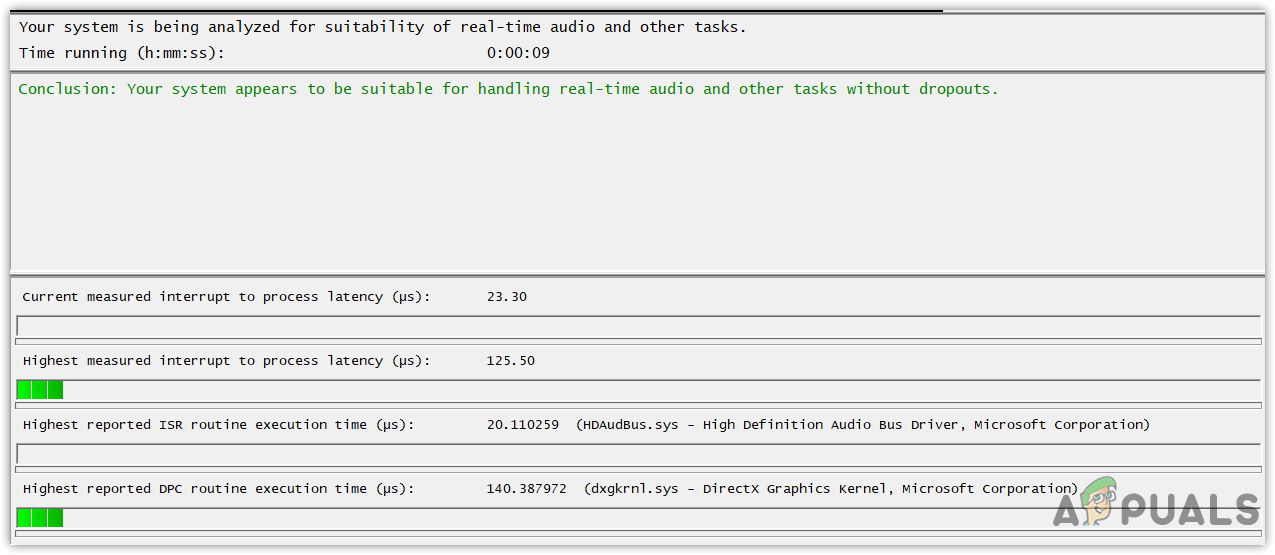
Starting Monitoring Drivers - Now under the main section, you can see the drivers that are monitored by the software
- If they cross a green line and reach orange, that means you have a problem with the driver and you need to reinstall them from the official website.
Note: If your driver has a problem, you will see an error message under-report area. - In my case, I don’t have a problem with the drivers.
Monitoring Drivers
13. Install Windows on SSD
The final solution we recommend is to install Windows on an SSD drive. SSD or Solid State Drive is five times faster than a hard disk. You just have to install SSD on your computer and then install a fresh copy of Windows into it to fix the startup issues.


