Start Menu Not Working on Windows 11? Here’s How to Fix It
As it turns out, the Start menu is very prone to breaking on Windows 11. Upon hovering with the mouse over the Start icon, the tooltip appears, but when clicking on it nothing happens before eventually, all the taskbar icons disappear temporarily (as explorer.exe is restarted)
We’ve deep-dived into this issue and discovered that there are actually multiple potential culprits with the potential of breaking the Start functionality. Here’s a shortlist of causes that might be triggering this Windows 11 glitch:
- Windows 11 Memory leak – More often than not, you can expect to see this particular problem surfacing if you’re dealing with a memory leak. A fairly common issue on Insider Builds, this can typically be resolved with a simple reboot from the WinX menu should fix the issue temporarily.
- Badly installed KB5004300 Windows Update – Another reason that might cause this behavior is a badly installed update (KB5004300) that overrides some Start bar dependencies. In this case, you should be able to resolve the issue by uninstalling the problematic update in order to force Windows 11 to install it from scratch.
If you’re currently facing the same issue and you’re looking for ways to mitigate it, follow the fixes below (each of the methods featured in this article we’re confirmed to work by other users dealing with the same issue).
Reboot your Windows 11 PC
By far, the most desirable cause that will break the Start menu on Windows 11 is a memory leak. Different from other potential culprits, fixing a memory leak on Windows 11 is a simple matter of rebooting your PC.
Memory leaks of this kind are a fairly common occurrence with Insider builds and the majority of them can be resolved simply by allowing the Windows PC to reload the OS.
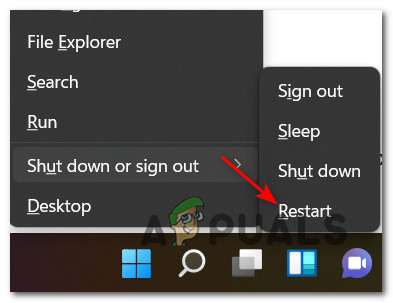
But since you won’t be able to initiate a reboot as you would normally do (since the Start bar is not working), you’ll have to do it via the WinX menu – Press Windows key + X to open up the WinX menu.
From the context menu that just appeared, click on Shut down or sign out > Restart from the context menu.
If the Start issue you’re currently dealing with is related to a memory leak affecting File Explorer, a simple reboot will address the problem temporarily. Of course, for a proper fix, we’ll need to wait on the official fix from Microsoft.
In case a reboot was not effective in your case, or you’re looking for a permanent fix, move down to the next potential fix below.
Uninstall Update KB5004300
The second most common scenario that might cause this problem is a badly installed update. This mostly occurs when there’s an unexpected system interruption while a new update is installing.
As it turns out, the KB5004300 Windows 11 update has a tendency of installing partially and breaking the Start functionality. This event is reported by a lot of early Windows 11 adopters.
Fortunately, there’s also a fix that should allow you to fix the issue and utilize the Start bar normally. To do this, you’ll need to uninstall the KB5004300 update and restart your PC before checking for updates again and installing the problem once again.
If this scenario looks like it could be applicable, follow the instructions below to uninstall the KB5004300 update in order to resolve the Start bug on Windows 11:
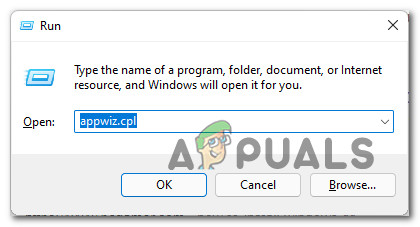
- Press Windows key + R to open up a Run dialog box. Next, type ‘appwiz.cpl’ inside the text box and press Enter to open up a Programs and Features menu. If you are prompted by the User Account Control, click Yes to grant administrative privileges.
Open up the Programs and Features menu - From the Programs and Features screen, use the menu on the left to click on View installed updates.
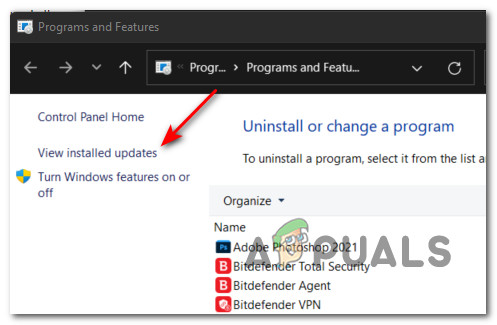
Open up the list of installed updates on Windows 11 - Once you’re inside the Installed Updates screen, locate the KB5004300 from the list of installed updates.
- When you see it, right-click on the entry associated with KB5004300 and choose Uninstall from the context menu.
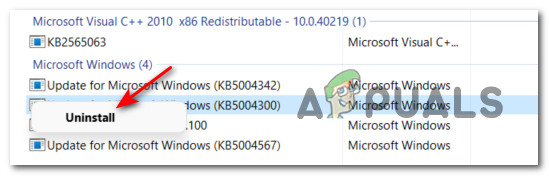
Uninstalling the KB5004300 update - At the confirmation prompt, click on Yes and wait for the uninstallation to complete.
- Once the uninstallation is complete, reboot your computer and wait for the next startup to complete.
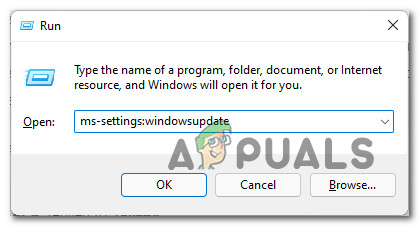
- After your Windows 11 PC boots back up, press Windows key + R to open up a Run dialog box. Next, type ‘ms-settings:windowsupdate’ inside the text box and press Enter to open up the Windows Update tab of the Settings app.
Open up the Windows Update settings screen - Once you’re inside the Windows Update tab, move over to the right-hand side and click on the Check for Updates button.
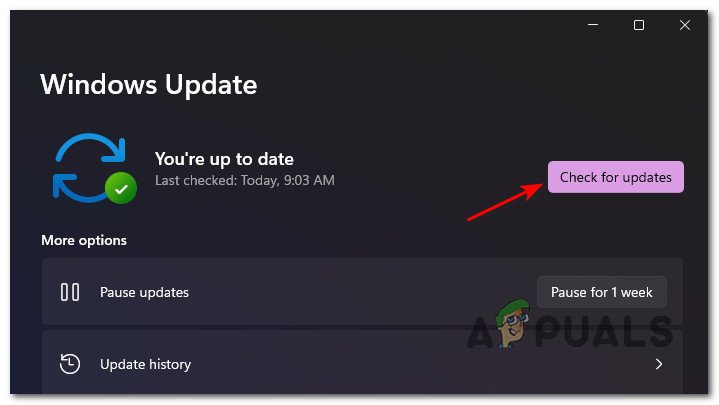
Check for Updates Windows 11 - Upon checking for updates, Windows 11 should detect that the KB5004300 update is missing from your computer and reinstall it again.
Note: Ensure that during the process of installing the update, you’re not doing anything in the background and you don’t interrupt the process via a restart or by forcing your PC to enter hibernation.


