How To Build Your Own Smart Mirror At Home?
In this project, we will make a Smart Mirror at Home Using Raspberry Pi. After the completion of this project, we would be able to see the date, time, weather, etc on our mirror. It can be placed on your dressing table so that whenever you are getting ready for your job etc you can check the time and then act accordingly. So, without wasting a second let’s get to work.
How To Setup Ribbon Cable Touch Screen With The Raspberry Pi?
The best approach to start any project is to make a list of components because no one will want to stick in the middle of a project just because of a missing component.
Step 1: Components Required
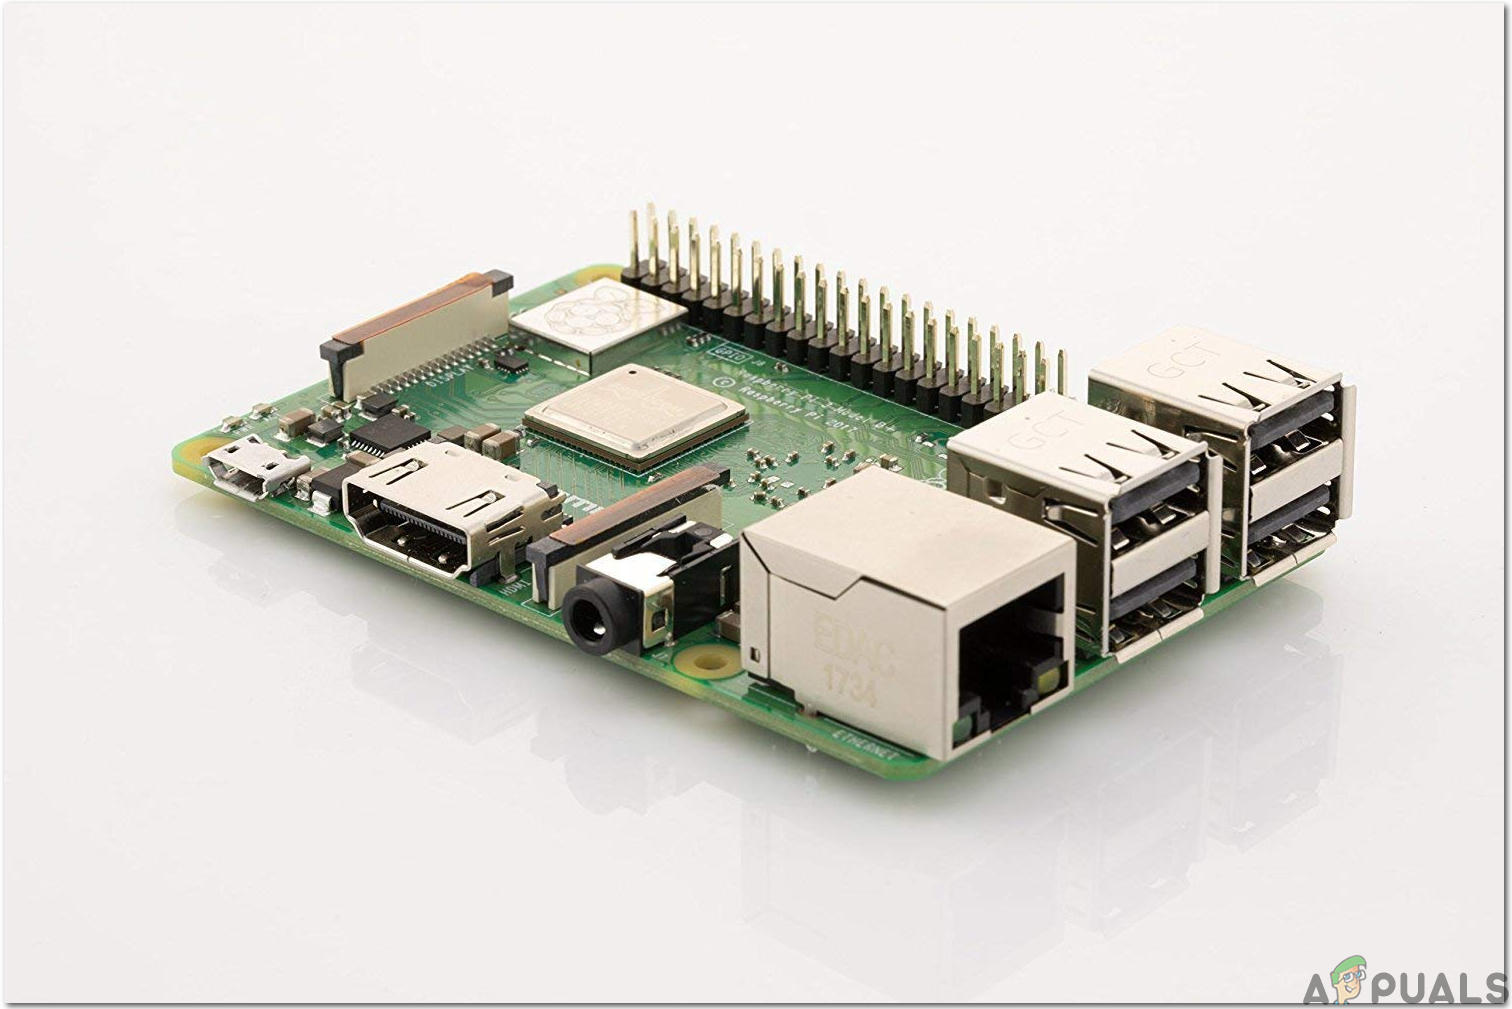
Step 2: Selecting the Raspberry Pi Model
The selection of Raspberry Pi is a very technical task and it should be done carefully so that you don’t suffer in the future. The Raspberry Pi Zero is not preferred because it is the oldest model available in the market with a limited amount of specifications and setting up a network on it is a very tiring job. The latest models like 3A+, 3B+ can be purchased. The Raspberry Pi 4 is the quickest and most dominant gadget the Raspberry Pi Foundation has released to date but the Raspberry Pi team hasn’t shared it’s hardware issues after release. It doesn’t boot well because it’s USB-C port doesn’t provide enough power for booting. So, in this project, we will use the Raspberry Pi 3B+.
Step 3: Setting Up Raspberry Pi
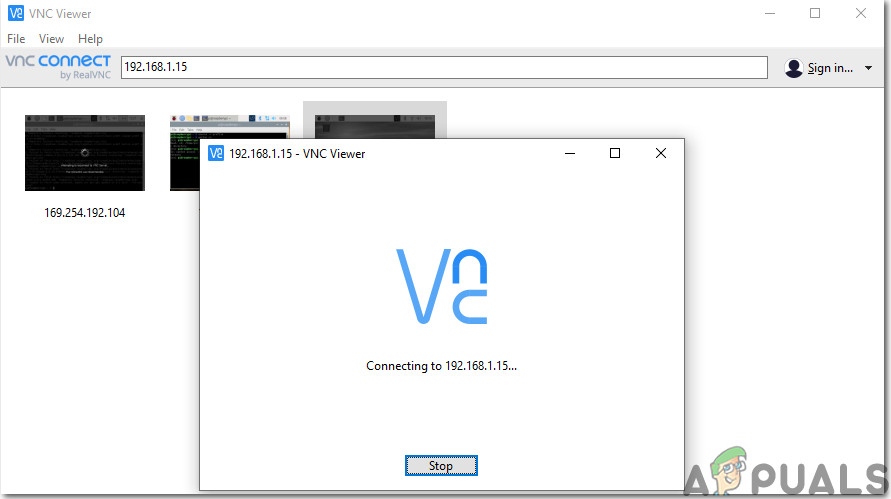
There are two options for setting up Raspberry Pi. First, one is to connect your Pi with LCD and connect all the necessary peripherals and start working. The second one is to set up Pi with the laptop and access it remotely. It depends on the availability of LCD, if you have it at home then you can set up your Pi by using an LCD. Connect the LCD to the HDMI port of the Raspberry by using HDMI to VGA adapter. If you want to access your Pi remotely you can do this using VNC Viewer. After logging in you would be able to gain the remote access to Pi.
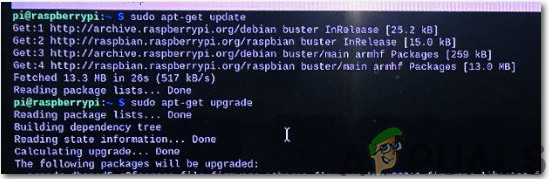
Step 4: Make Sure That Raspberry Pi Is Up To Date
After setting up Raspberry Pi we would ensure that our Pi is working fine and all the latest packages are installed on it. Open the Command Window and type the following two commands to update Pi.
sudo apt-get update
Then,
sudo apt-get upgrade
If any updates are installed, press Y and then press Enter to continue downloading updates.
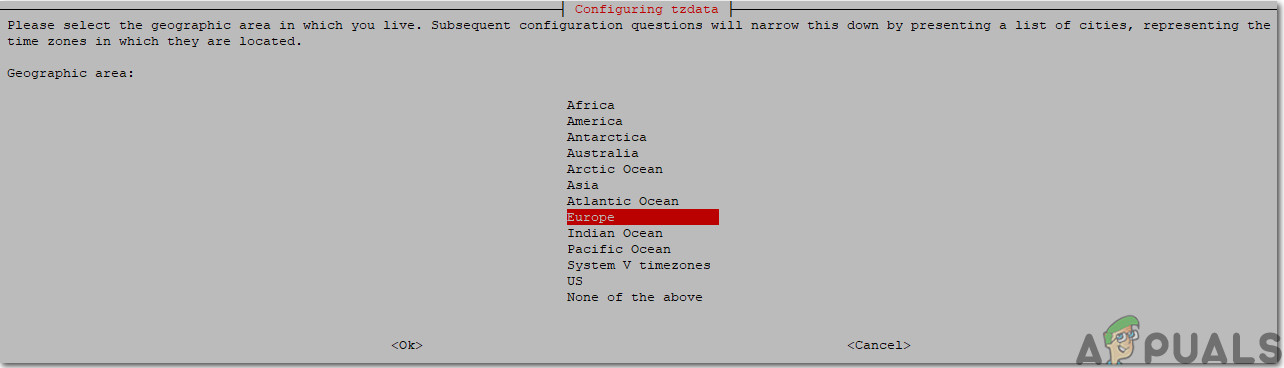
Step 5: Setting Up Date And Time Zone
Write the following command to choose your date and time zone on your Raspberry Pi. When this command will be executed you will be able to access your specific time-zone and as soon as you have chosen your time-zone reboot your Pi. After the reboot, you would observe that your time-zone and location would be correctly displayed on the screen.
sudo dpkg-reconfigure tzdata
Step 6: Downloading And Installing The Repository Of MagicMirror
Now, we will install the MagicMirror repositories that were created by MichMich and they are an opensource modular smart mirror platform. It is a very useful platform and one can download this repository from Github. All that needs to be done now is to download and clone the repositories along with their dependencies. When we will do this, the Pi will run the program and show certain components contained in the MagicMirror record. Now, open the terminal and run the following code:
bash -c "$(curl -sL https://raw.githubusercontent.com/MichMich/MagicMirror/master/installers/raspberry.sh)"
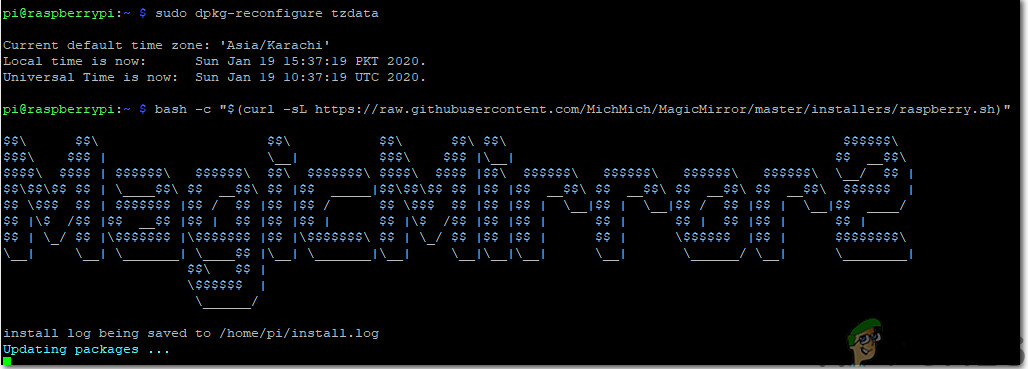
After running this code you will observe that the repository will start downloading and it will take almost 10-15 minutes. While installing the updates you will be prompted to choose Yes or No. Press Y to start downloading the updates like vim. Vim is the most essential dependency that allows the text editor to control the Magic mirror. A third party module named as Process Manager (pm2) will also be installed along with those dependencies that automatically executes the program when the Raspberry Pi is booted.

Another repository named Node.js will be installed that is mostly used for designing fast network applications. After installing these repositories reboot your Pi and after a reboot we would be able to observe News, time, etc and some other modules on the screen. Now, we are in a position we are able to customize our screen, for example, we can change fonts, add welcome notes, etc.
Step 7: Searching Some Necessary Features
We will add some features of our own choice that would be displayed in our mirror. Hence, for adding these features the location must be set accurately because only then the Pi would be able to display the correct date, time, etc. For adding these features we need to access the modules folder. All our modifications are based on this folder, if we know how to access this folder we would be able to do these modifications. We can customize the settings like we can add the modules, edit the modules and even delete the modules. Hence, for accessing this folder type the following command:
cd ~/MagicMirror/modules
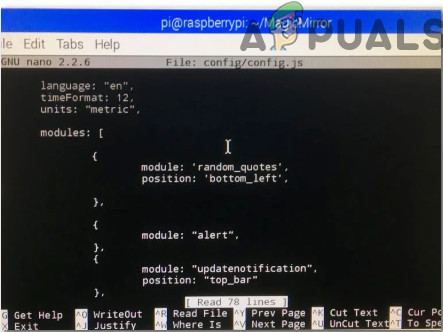
After running this command you will observe that the file will open that will state the list of the modules. Firstly, we would add weather forecast modules. There are weather modules that are set by default but location ID and API ID are missing. APIs allow us to connect with the numerous databases of the weather forecasts at the backend. These two IDs can be found on the “OpenWeatherMap” official site and we will now look forward to installing these IDs.
Step 8: Installing OpenWeatherMap Directories
Firstly, you will have to Signup on the website for accessing the API. It will also ask you for your current location and after knowing your location it will display current weather and forecast. The OpenWeatherMap includes the ID of almost every city and location inside it. It is a time taking process and it will take approximately 10-15 minutes in finding the ID of your city. Once found, note that ID and paste it in your weather forecast module. Save and exit. On your next bootup, you will observe that your city’s weather will be displayed on the screen. You can also add the additional modules on your screen like inspirational quotes, welcome notes, etc.
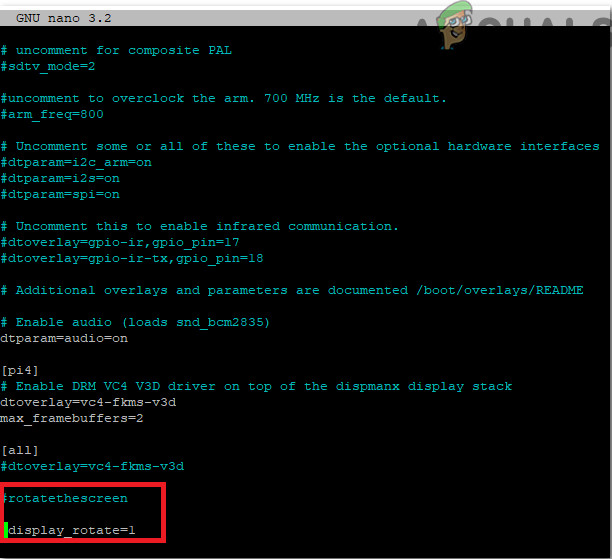
Step 9: Adjusting Display Modes
By default, the directories are configured for Landscape mode but it is better to set the display for Portrait mode so that when you rotate the mirror it displays in Portrait perspective so access the terminal and type the following command:
sudo nano /boot/config.txt
Some system preferences will be opened and add the “Rotate Screen” option. Scroll to the bottom of the file and type:
#rotatethescreen

display_rotate=1
Save and exit. On your next reboot, you will observe that MagicMirror will be displayed horizontally and the custom modules will be displayed too in the Portrait mode. As we want our MagicMirror to startup as our Pi boots hence for doing that open the terminal and paste the following code there:
pm2 startup
Then,
sudo env PATH=$PATH:/usr/bin /usr/lib/node_modules/pm2/bin/pm2 startup systemd -u pi --hp /home/pi
Now, type the following command to access the script:
nano mm.sh
Then add;
DISPLAY=:0 npm start
Save the changes and exit and on the next bootup, you will observe that the MagicMirror will automatically start.
Step 10: Disabling The Screensaver
The screensaver needs to be disabled because we want to see the display continuously on the mirror. Open the terminal and type:
sudo nano /boot/config.txt
Then add;
#eliminatescreensaver

hdmi_blanking=1
Save and exit and after that access another file:
sudo nano ~/.config/lxsession/LXDE-pi/autostart
Then add the following chunk of code at the bottom;
@xset s 0 0

@xset s nonblank

@xset s noexpose

@xset dpms 0 0 0
Save the changes and reboot your Pi for the changes to take effect.
Step 11: Setting Up The Hardware
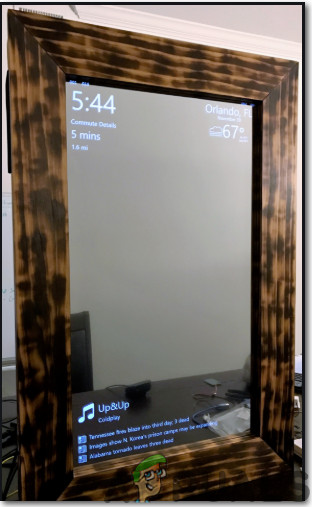
Firstly, we would need a wooden frame to fit all of the accessories into it. It can be made easily by joining wood pieces together. After cutting the wood pieces take measurements of your Touch screen and then cut the mirror according to the size of the screen. While cutting the mirror pay special attention so that the cracks don’t come on the screen. After cutting the mirror start designing the frame (Inner frame and outer frame). Firstly, cut two wooden pieces for the inner frame so that the screen can be adjusted into it. Apply hot glue on these pieces and it is better to fit wood screws on the corner so that the screen is fitted firmly into the frame. Similarly, for the outer frame, four wood pieces are required with all four edges cut at 45 degrees. After setting up the frame adjust the mirror into it. After adjusting the mirror into the frame tight the 3D brackets with the help of screws. Fix the Lipo battery at the backside of the frame.
Step 12: Testing
After setting up the hardware we will test whether it is working or not. Turn on the Raspberry Pi and wait until it boots up. You will observe that after the bootup (date, time and other custom modules) that were set by you initially will be displayed in the mirror. Now, you can place it at a suitable place like on your dressing table, etc.
Step 13: Recommendations
Raspberry Pi heats up usually when it is operated for long intervals. Therefore, install a heat sink on top of the processor of Pi so that the overheating can be avoided. It is better to place a USB fan on top of the Pi along with the heat sink because it also prevents overheating.
Congratulations, now you’ve designed your own Smart Mirror at home and you can easily add some more cool modules like alarm, etc for your mirror. Keep visiting our website for more interesting projects in the future.


