How to Change the Orientation to Portrait on Microsoft PowerPoint?
Microsoft PowerPoint is used to make presentations. And the orientation of the program is automatically set at the landscape. This means that when you open Microsoft PowerPoint, the template will be in a horizontal orientation, where the width of the page is greater than the height of the page. And for most of the professional presentations, this could be a preferred orientation. However, if you don’t want it, or don’t require a horizontal presentation, you can change it to a vertical orientation.
Portrait orientation (vertically oriented) is when the page of a PowerPoint file has a larger height than its width.
How to Decide which Orientation Would Fit your Presentation Better?
Depending on the data and the content in your presentation, you can decide whether you want your presentation to be oriented in a landscape form or a portrait form. When you want a lot of information on one slide, the only way to add it is to make your presentation in a portrait orientation. Even though you can add a lot of information on a landscape orientated slide, the font will not be readable when you are presenting your work.
Too much content can only be adjusted in one slide if the orientation is vertical. Portrait orientation gives you more space, although the size of pages in both the types of orientation is the same. However, in portrait orientation, you can make space to add more information in a very symmetrical manner. The main factor that affects how a presentation will look is the content that we try to adjust in one slide.
See the Difference in the following images when you add too much information on a presentation in a landscape orientation and a portrait orientation. You will able to see the difference yourself.
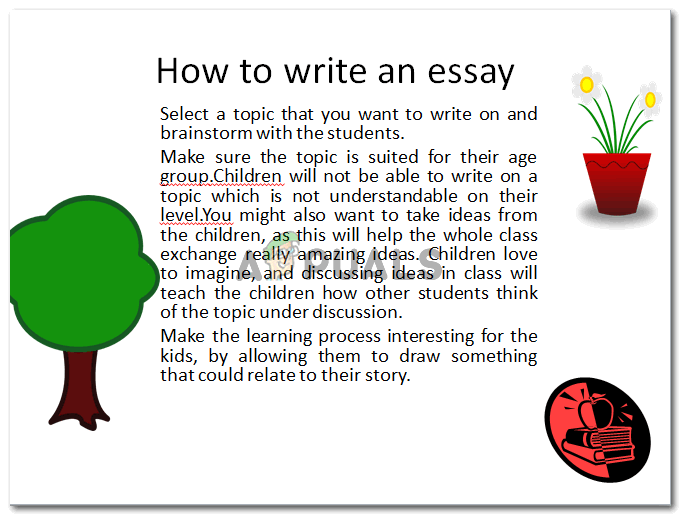
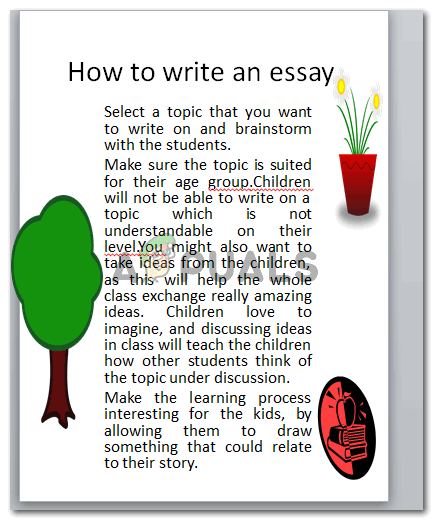
The text in both the slides is different in size because of the orientation of the slide. To add images and text in one slide, this can make less space for the text and therefore the size for the font shrinks in a Landscape Orientation. That is why Microsoft PowerPoint gives its users the option to change the orientation to Portrait.
How to Change the Orientation of Your Slides to Portrait
- Open your presentation. Whether you have already made the presentation and want to change the orientation, or you want to change the orientation first and then make the presentation, you can, either way, change the orientation at any time.
The toolbar for PowerPoint - Locate the tab for ‘Design’ on the top toolbar for editing your slide as shown in the picture below.

Design tab is where you will find the settings for changing the orientation of slides. - Find ‘Slide Orientation’ here, which is the second option from the left.

Click on Slide Orientation to make your slides in Portrait Format - Click on Slide Orientation to change the orientation of your presentation. You cannot keep different orientations for different slides. The one you select here will be applied to all the slides in the presentation.
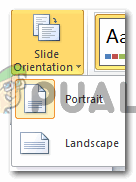
Slide Orientation, you can access this option directly after you click on the Design Tab on the top toolbar. Portrait and Landscape are the two options for orientation of a slide. You can preview the how your page in a presentation will appear with the image next to both the headings. Since we have to make it in vertical, we will click the option for ‘Portrait’. Likewise, if we want the slides in a horizontal orientation, we will select landscape.
- If you want to adjust the slide size, you can do that manually. Click on the Page Setup option as shown in the picture below.
Method two, to change the orientation of your slide to vertical. A dialogue box will appear which will show you options for adjusting your pages in a presentation.
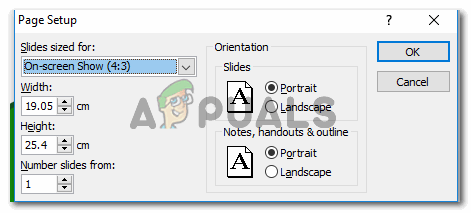
Options to set up your slides and notes. Each part of this set up can cater to the user in many ways. You can manually add the width and the length and also select the orientation for the slides as well as the notes and outlines that are entered right below the slides.
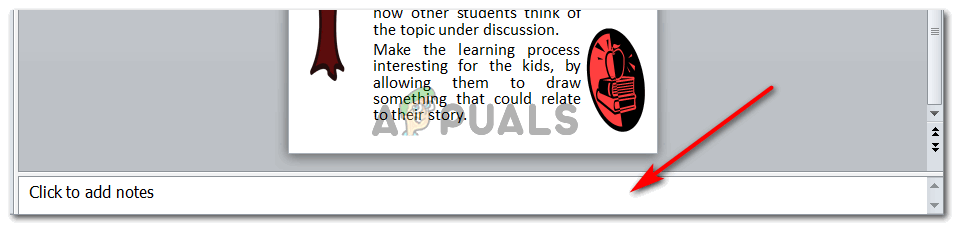
This the notes/outline area where you write extra notes for your presentation. - Once you are don’t with the page setup, click on OK, and all the settings will be applied on your current presentation.

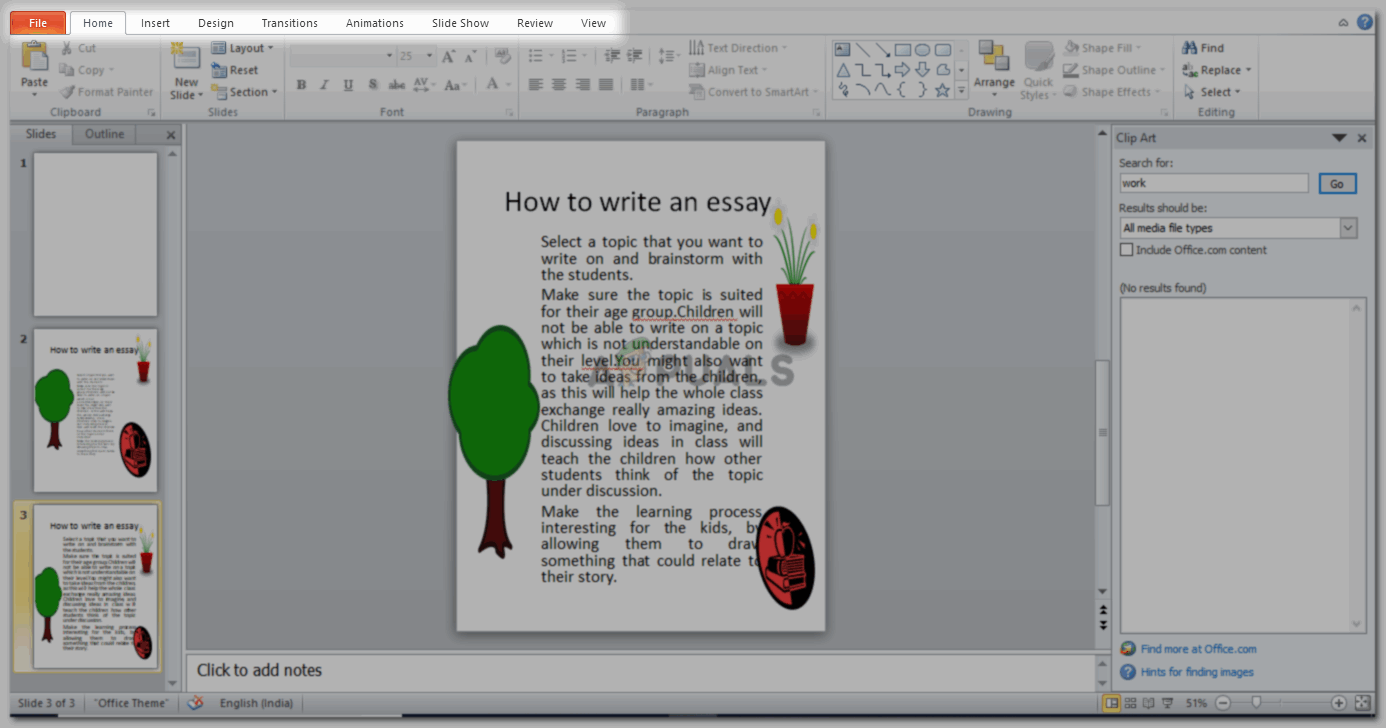
I changed the orientation of this presentation to 20 cm by 20 cm. You can see how the program has made my page look like a square shape. You can add your choice of width and height, again, depending on the data that you need to enter.


