How to Fix ‘Service Control Manager Error 7001’
Some Windows users have discovered a new Event Viewer ID (Service Control Manager – Error 7001) after an unexpected system crash. This problem is confirmed to occur on Windows 7, Windows 8.1, and Windows 10.

As it turns out, there are several different common culprits that are known to contribute to the apparition of this particular issue. Here’s a short list of scenarios that might trigger this particular Event Viewer error:
- Disabled Mandatory Services – As it turns out, there are several different mandatory services that need to be enabled in order to ensure that the Computer Browser service has the means to call upon every dependency. If that’s not the case, you should be able to fix the problem by using the Services screen to enable a handful of essential services.
- Missing Network Discovery Dependencies – If the Event IDs you’ve discovered inside Event Viewer is tied to an issue with the Network Discovery function, you should be able to fix the problem by running a couple of commands inside an elevated CMD prompt and clearing the PeerNetworking folder.
- Recent Conflicting Software change – According to some affected users, this particular issue can also start occurring after an important system change like a driver/update installation or an unexpected machine shutdown that corrupted some OS data. In this case, one cure-all fix is to use the System Restore utility to revert your computer back to a healthy state.
- System File Corruption – Under more serious circumstances, you might see the creation of this Event Viewer log if your system is dealing with some type of underlying system file corruption. If this scenario is applicable, the only thing you can do is refresh every Windows file by clean installing or replace repairing (in-place repairing).
Now that you know every potential culprit, here’s a list of methods that should allow you to fix this problem:
Method 1: Enabling Mandatory Services
Since this problem is most likely the result of one or more mandatory services that are disabled or stuck in a limbo state in which they can’t be called, you should start this troubleshooting guide by ensuring that the following services are enabled:
- DCOM Server Process Launcher
- RPC Endpoint Mapper
- Remote Procedure Call (RPC)
- Security Accounts Manager
- Server
Several affected users that were previously dealing with the same problem have confirmed that they managed to fix the issue and prevent any new instances of the Service Control Manager – Error 7001 by using the Services utility to ensure that every service mentioned above is enabled.
If you’re looking for specific instructions on how to do this, follow the instructions below:
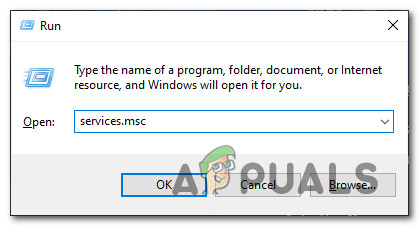
- Press Windows key + R to open up a Run dialog box. Next, type ‘services.msc’ inside the text box and press Enter to open up the Services screen.
Accessing the Services screen - Once you’re inside the Services screen, scroll down through the list of services and locate DCOM Server Process Launcher.
- When you see the DCOM Server Process Launcher service, right-click on it and choose Properties from the context menu that just appeared.

Accessing the Properties screen of DCOM Server Process Launcher - Next, click on the General tab and ensure that the Startup tab is set to Automatic. Next, check the Service status and click on Start if it shows as Stopped. Finally, click on Apply to save the changes.
- Once the first problematic service is dealt with, repeat steps 3 and 4 with the remaining services:
RPC Endpoint Mapper
Remote Procedure Call (RPC)
Security Accounts Manager
Server
- After you’ve ensured that every service mentioned above is successfully enabled and configured correctly, reboot your computer and wait for the next startup to complete.
- Once your computer boots back up, repeat the action that was previously causing the Service Control Manager – 7001 error and check Event Viewer for new logs of this error.
If the problem is still not fixed, move down to the next potential method below.
Method 2: Fixing the Network Discovery Dependencies
As it turns out, this issue can also occur if there’s an issue with some dependencies used by the Network Discovery component. Several affected users encountering the same Service Control Manager – 7001 error have confirmed that they managed to fix this issue by running a couple of commands in an elevated CMD prompt before cleaning the PeerNetworking folder inside the AppData folder.
Doing this operation seems to have helped a lot of affected users stop the creation of a new Event ID with this error. Here’s what you need to do:
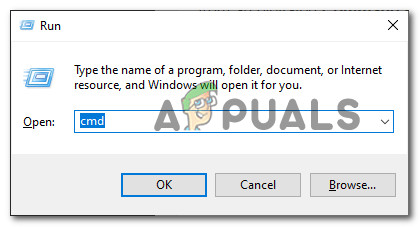
- Press Windows key + R to open up a Run dialog box. Next, type ‘cmd’ inside the text box, then press Ctrl + Shift + Enter to open up an elevated Command Prompt. When prompted by the UAC (User Account Control), click Yes to grant admin access.
Opening an elevated Command Prompt - Inside the elevated Command Prompt, type the following commands and press Enter after each one to add and enable the local service that the Network Discovery feature requires:
net localgroup Administrators localservice /add
net localgroup Administrators service /add
- Once both commands have been successfully processed, open File Explorer (My Computer) and navigate to the following location:
C:\Windows\ServiceProfiles\LocalService\AppData\Roaming\PeerNetworking
Note: In case the AppData folder is not visible, use the ribbon at the top to access the View tab, then check the box associated with Hidden Items.

Making the Hidden Items visible inside File Explorer - Once you’re inside the PeerNetworking folder, press Ctrl + A to select everything inside, then right-click on a selected item and choose Delete from the context menu that just appeared.
- After you have successfully deleted the contents of the PeerNetworking folder, restart your computer and see if the problem has been fixed once the next startup is complete.
If this method was not applicable or you’re still encountering the same problem even after following the instructions above, move down to Method 3.
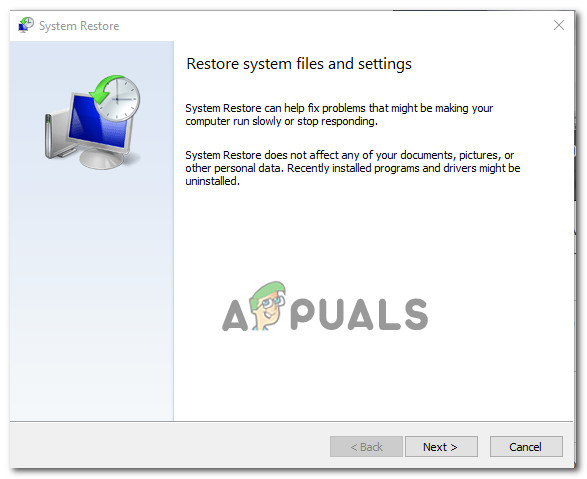
Method 3: Using System Restore
If this particular error only started to occur after a major system change like the installation of an important update, driver installation, or an unexpected machine shutdown, one quick way to revert the thing that’s causing the Service Control Manager – 7001 error is to use System Restore.
System Restore allows you to revert your computer back to a healthy state when the circumstances that are causing the current Event Viewer errors where not being met.
Keep in mind that by default. System Restore is configured to regularly save restore snapshots right before important system events (driver installations, Critical WU updates, etc.) – Because of this, it’s very likely that your computer has already created a snapshot right before the apparition of this issue.
By identifying the best restore snapshot and using it via System Restore, you’ll be able to revert your computer back to a previous point in time where this problem was not occurring.
Note: Keep in mind that once you go through with the operation, every change you made since your OS created that restore snapshot will be lost.
If this potential fix didn’t work for you or you didn’t manage to find a viable system restore a snapshot, move down to the next potential fix below.
Method 4: Reinstalling every Windows component
If none of the methods below have worked for you, it’s very possible your system is dealing with some kind of system file corruption that cannot be fixed conventionally. If you find yourself in a scenario like this one, the only thing you can do by now is to reset every relevant WIndows component to eliminate every potentially corrupted element.
You can reset every Windows component with one of the following procedures:
- Repair Install – This should you be your preferred approach if you’re planning to keep your personal files, applications, games, and documents present on the OS drive. However, you will need compatible installation media in order to start this process.
- Clean Install – This is the default choice if you’re looking for a quick method that will allow you to refresh every Windows computer quickly without the need to insert compatible installation media. However, unless you remember to back up your data in advance, you will lose any personal files, applications, games, and media that you’re currently storing on the C:/ drive.


