Fix: Waiting on Another Installation or Update (Battle.net)
The “Waiting on another installation or update” error appears when users are trying to open the launcher for a Blizzard game which is usually run through the Battle.net desktop app. The message indicated that other installs or updates are being downloaded or installed but users see no such things in the client.
The error is a common bug among all games publishes by Blizzard and there have been many successful ways to fix it in different scenarios. We have gathered working methods from around the Internet and gathered them in a single article for you to check out. Good luck!
What Causes the Error ‘Waiting on Another Installation’
Well, the problem is sometimes caused by a bug with the Battle.net Update Agent which tried to check for updates and it got stuck searching for them, preventing any other downloads or updates to be installed.
Also, there might be problems with the launcher which is outdated yet it fails to update itself, leading users to have to install the latest version themselves or it’s the download cache folder which needs to be reset.
Finally, even changing DNS settings for your internet connection may affect the launcher negatively, causing you to have to reset them to default settings. Peer-to-peer client and game updates also need to be disabled in certain scenarios in order to solve the problem.
How to Fix Waiting on Another Installation or Update (Battle.net)
Solution 1: Kill a Certain Process
If the error simply won’t go away, the problem may be the Battle.net client’s Update Agent which looks for updates for the client itself. It should just check if there are updates and install them automatically if they are found. However, if the problem won’t go away, the process has become buggy and you should kill it using Task Manager.
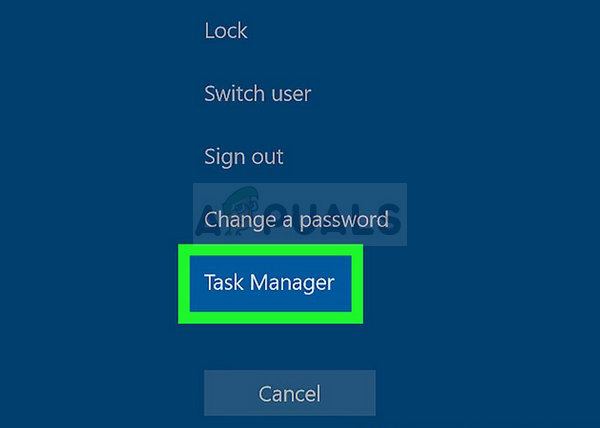
- Use the Ctrl + Shift + Esc key combination by tapping the keys in the same time to open the Task Manager tool. Alternatively, you can use the Ctrl + Alt + Del key combination and select Task Manager from the blue full screen which will appear with several options. You can also search for it in the Start menu.
- Click on More details at the bottom left part of the window in order to expand Task Manager and search for the “Battle.net Update Agent” process (Agent.exe). It should be located right under Background processes. Select it and choose the End task option from the lower right part of the window.
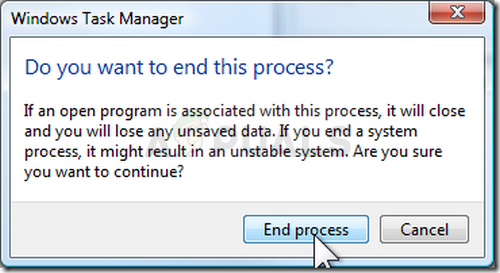
- Click Yes to the message which is going to be displayed which should warn about killing various processes and how it may affect your computer so make sure you just go with it.
- You should now reopen the Battle.net desktop client and see if you are now able to play your favorite games without seeing this message.
Solution 2: Boot into Selective Startup
Booting into selective startup should get rid of certain background apps and programs which way have affected the Battle.net desktop app and they may have prevented it from updating properly. Selective startup only boots certain parts of your computer and it should help you deal with your problem.
- Use the Windows + R key combination by tapping these keys simultaneously on your keyboard in order to open the Run dialog box where you should type ‘msconfig’ and click OK in order to open the System Configuration window.
- Click on the ‘Boot’ tab and uncheck the ‘Safe Boot’ option if it’s checked.
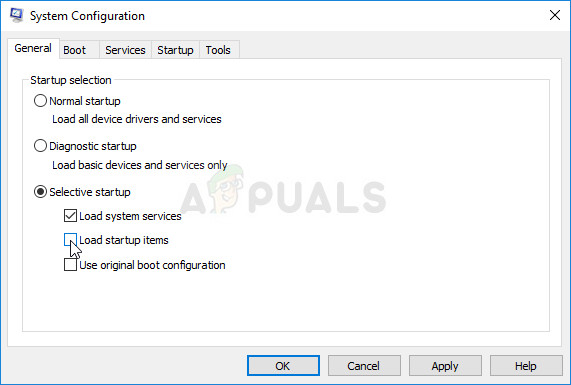
- Under the General tab in the same System Configuration window, click to select the Selective startup radio button, and then click to clear the Load startup items check box to make sure it’s not selected.
- Restart your computer in order to boot into this startup and try opening the Battle.net desktop client now. It should now update in no time if there was an update pending and prompt you with the Play button no matter which game you want to play!
Solution 3: Pause all Updates
If there are indeed certain updates waiting to be downloaded or installed for either one of the games you own in the client or for the client itself, you can simply put them on hold if you want to play a game.
Simply open up your Battle.net client to make sure its processes are running and head for the system tray (lower right part of your screen). Right-click the Battle.net icon in the tray and choose the Pause all updates option. Try running and playing the game now.
Solution 4: Reinstall the Battle.net Launcher
There was an official statement by Blizzard that this launcher has experienced some bugs in that specific release and they have prompted users to reinstall the tool in order to perform a manual update instead of the automatic one carried out by the client. Make sure you try this out before giving up as it won’t take a lot of your time.
- First of all, make sure have access to an administrator account as only accounts with admin privileges are able to uninstall programs on the computer. Don’t worry about losing your games, you are just reinstalling the launcher.
- Click on the Start menu and open Control Panel by searching for it. Alternatively, you can click on the gear icon in order to use the Settings app for the same task if you are using Windows 10.
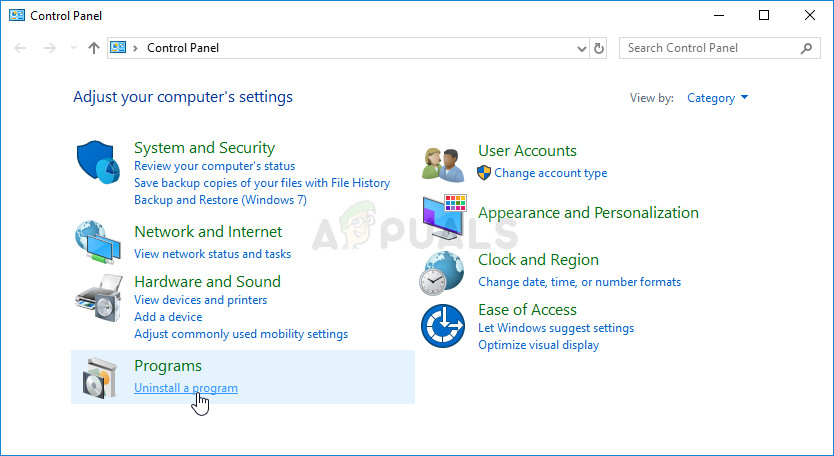
- In Control Panel, select to View as: Category at the top right corner and click on Uninstall a Program under the Programs section at the bottom.
- If you are using the Settings app, clicking on Apps should immediately open a list of all installed programs on your PC.
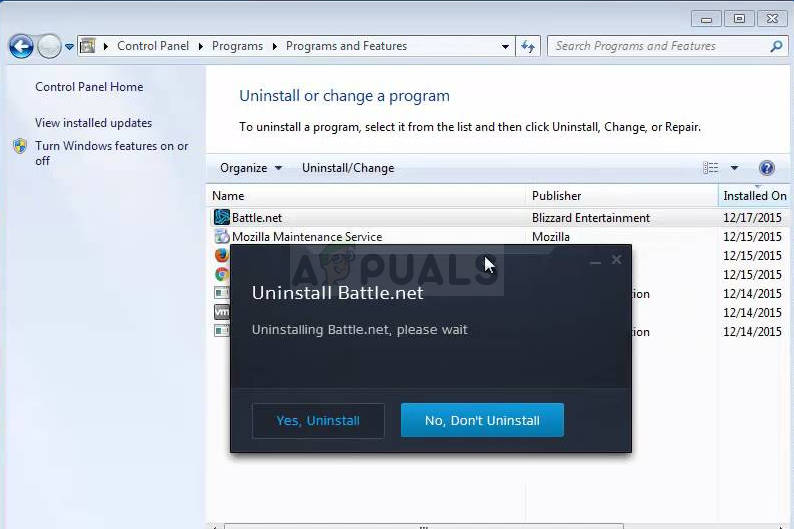
- Locate the Battle.net entry on the list and click on it once. Click on the Uninstall button above the list and confirm any dialog boxes which may appear after you do so. Follow the instructions on-screen in order to uninstall the Battle.net launcher and restart your computer afterwards.
- Download the launcher from Blizzard’s official site, run it from the Downloads folder where it should be saved by default, and follow the instructions which will appear on screen in order to install it. Check to see if the problem is gone.
Solution 5: Clear DNS Settings to Default
This fix is especially useful for people who have changes their default DNS settings from the default values to something else (such as free DNS addresses by OpenDNS or Google). This will block the client from updating properly and you might have to revert your settings to default for the sake of installing this update. It’s easy to do so if you follow the steps below!
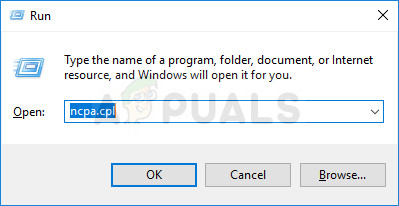
- Use the Windows + R key combination by tapping these keys simultaneously on your keyboard in order to open the Run dialog box where you should type ‘ncpa.cpl’ and click OK in order to open the Internet Connection settings.
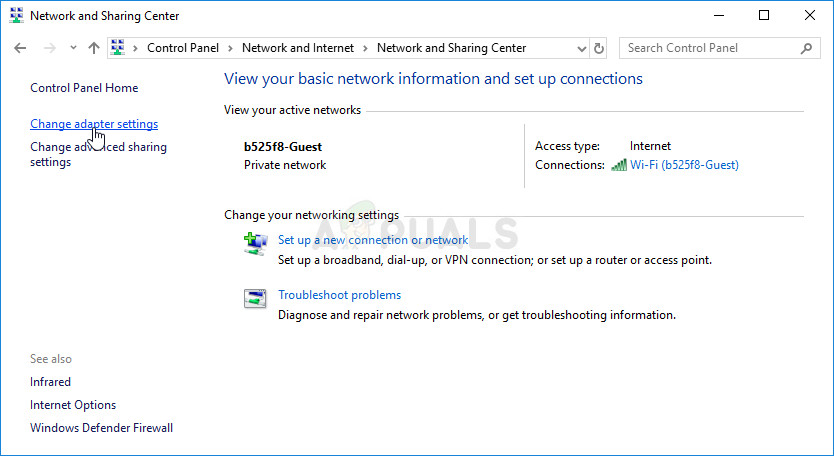
- The same process can also be done by opening Control Panel. Switch the View by option at the top right part of the window to Category and click on Network and Internet at the top. Click on the Network and Sharing center button in order to open it. Try to locate the Change adapter settings button at the left pane and click on it.
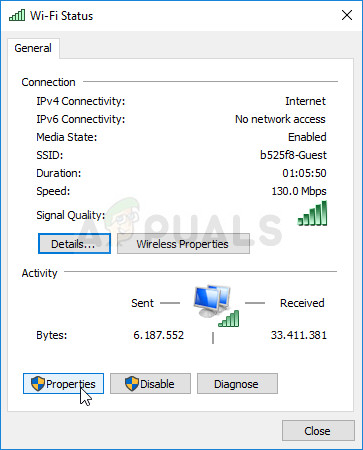
- Now that the Internet Connection window is open, double-click on your active Network Adapter and click on the Properties button below if you have admin permissions.
- Locate the Internet Protocol Version 4 (TCP/IPv4) entry on the list. Click on it in order to select it and click the Properties button below.
- Stay in the General tab and switch both radio buttons in the Properties window to “Obtain an IP address automatically” and “Obtain DNS server address automatically”.
- Keep the “Validate settings upon exit” option checked and click OK in order to apply the changes immediately. Check to see if the Battle.net updating process will work now after you reopen it.
Solution 6: Disable the Hamachi Adapter
LogMeIn Hamachi is a virtual private network (VPN) application that is capable of establishing direct links between computers that are behind Network address translation(“NAT”) firewalls by simulating a LAN connection which can be useful for playing games over LAN with distant computers.
Still, the software requires its own drivers and network adapters which can sometimes cause errors like this so it’s recommended you disable it at least until this update is installed and the error disappears.
- Use the Windows + R key combination by tapping these keys simultaneously on your keyboard in order to open the Run dialog box where you should type ‘ncpa.cpl’ and click OK in order to open the Internet Connection settings.
- Select the Hamachi adapter from the list of adapters by left-clicking on it and choosing the “Disable this network device option from the menu above”. You can also right-click on it and choose the Disable option.
- Restart the Battle.net client and check to see if the annoying error has disappeared and you are now able to play your games.
Solution 7: Delete a Battle.net Folder
Deleting a certain folder might reset certain settings used by the client. Sometimes these files are not altered even when the file has been uninstalled so it’s up to you to delete the contents of this folder in order to repair the client.
First of all, you will need to close the Battle.net app and kill all processes related to it (Agent, Blizzard Battle.net desktop app, and game processes).
- Use the Ctrl + Shift + Esc key combination in order to open the Task Manager. Alternatively, you can use the Ctrl + Alt + Del key combination and select Task Manager from the blue full screen which opens
- Click on More details in order to expand Task Manager and search for all Battle.net-related entries displayed on the list in the Processes tab of Task Manager. They should be located right under Background processes. Click on each one and choose End Task.
After that, it’s time to delete the contents of the Battle.net folder in ProgramData.
- Open your File Explorer and try navigating to this location from either My Computer or This PC:
C:\ProgramData
- If you are unable to see the ProgramData, that is because the hidden files are disabled from being seen on your system and you will need to enable the view of them.
- Click on the “View” tab on File Explorer’s menu and click on the “Hidden items” checkbox in the Show/hide section. File Explorer will now be able to show the ProgramData file so double-click to open it.
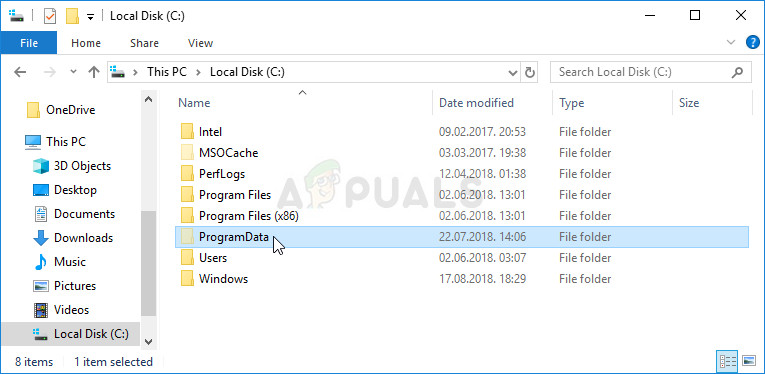
- Locate a folder named Battle.net, right-click on it and choose Delete. Confirm the dialog box and reopen the Battle.net app to see if the issue persists.
Solution 8: Run the Client as an Administrator
Running as an admin provides extra privileges for the app you are running which sometimes brings unwanted security questions but the client by Blizzard is not malicious software so there is nothing to worry about. You can choose to run the app as admin once or each time, depending on the scenario.
- Locate the Battle.net app on your desktop or by browsing for it in File Explorer. You can also search for it in the Start menu, right-click its entry, and choose Open file location.
- Either way, right-click the executable when you have found it and choose Run as administrator.
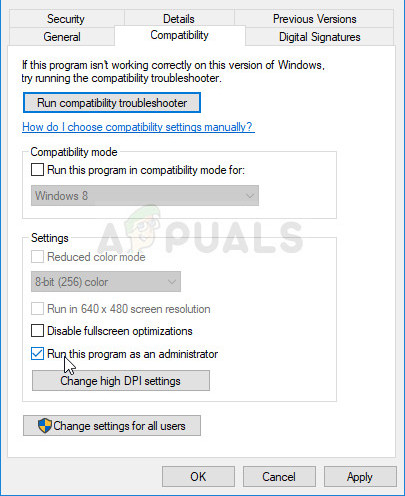
- The problem should now be resolved. However, if the issue persists after a couple of days or hours, you can set the app to be run as admin always. Right-click the executable again and choose Properties.
- Navigate to the Compatibility tab and check the box next to the “Run this program as an administrator” option under the Settings section and click on OK. Reopen the client and check to see if the issue persists.
Solution 9: Disable Peer-to-peer
Some networks are quite sensitive when it comes to peer-to-peer networking because of various security reasons so it’s recommended that you try disabling this option from within the game launcher in order to resolve this problem as this has worked for several users online.
- Double-click the launcher’s icon to open it or search for it in the Start menu.
- Click the Blizzard icon at the top left part of the screen and choose Settings from the dropdown menu. Switch to the Game Install/Update tab by clicking on it and scroll down to the Network Bandwidth section.
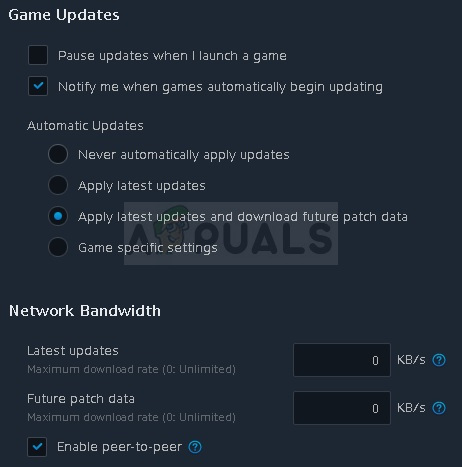
- Uncheck the box next to the “Enable peer-to-peer” option and click on Done in order to accept the changes. Reopen the client and check to see if the issue still appears.


the first solution fixed it. Thanks!