How to Fix Windows Search Not Working
If your Windows search is not working, it is mainly due to a recently downloaded Windows update, interference from the bing search utility, stopped Windows search service and corrupted system files. These are the most common causes that can trigger this issue.

Usually, Windows search stops giving search results after installing a buggy Windows update, preventing you from using the Windows search utility. However, it can easily fix by clicking on the empty area on Windows search, but it is not a permanent solution. You need to follow the following methods to fix this issue permanently. If one of the solutions does not work for you, try other solutions, as they all have worked for the affected users in different scenarios.
1. Restart File Explorer
As a first solution, we recommend restarting Windows explorer before going through the other fixes. Windows Explorer handles the taskbar, start menu and others. Hence, if there is a temporary bug causing this issue, restarting Windows explorer will help. Here are the steps:
- Right-click the taskbar and then click Task Manager
- Once the task manager is opened, select Windows Explorer and then click Restart

Restarting Windows Explorer - Once done, check if the issue is fixed.
2. Disable Bing Search From Registry
It has been seen that the bing search prevents the Windows search utility from returning the results. There is a high possibility that your Windows search is not responding due to interference from the bing search. Therefore, try disabling the bing search from the registry editor to fix this issue.
- Press the Win + R to open Run Window
- Type regedit and click OK
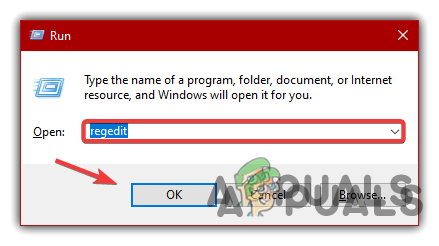
Launching Registry Editor - Go to the following directory and then right-click on the empty space on the right pane
Computer\HKEY_CURRENT_USER\SOFTWARE\Microsoft\Windows\CurrentVersion\Search
- Hover New and click DWORD (32-bit) Value

Creating A Registry Entry To Disable Bing Search - Name it BingSearchEnabled
- Then, double-click on the entry to make sure that its value data is 0. If it’s not 0, then change it to 0
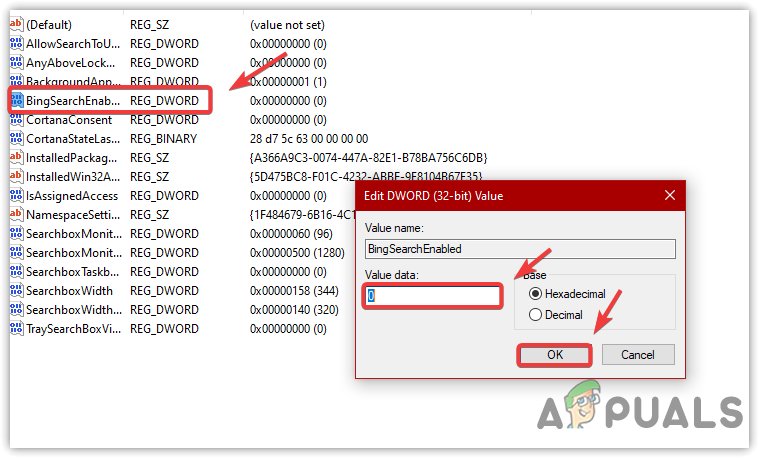
Disabling Bing Search From Registry Editor - Once done, click OK, close the registry editor, and restart your computer for the change to take effect.
3. Run Search And Indexing Troubleshooter
Another good solution to this issue is to run the search and indexing troubleshooter, which often fixes the Windows search as it restarts the Windows search component and fixes the problems related to the search indexing.
If you don’t know about the index, it is a feature that is used to find text in a file or a particular file or folder in less than a second. Even though it makes the Windows search feature fast and responsive, it can also lead you to this issue if your Windows is not able to index properly. Therefore, try running the search and indexing troubleshooter by following the steps written below:
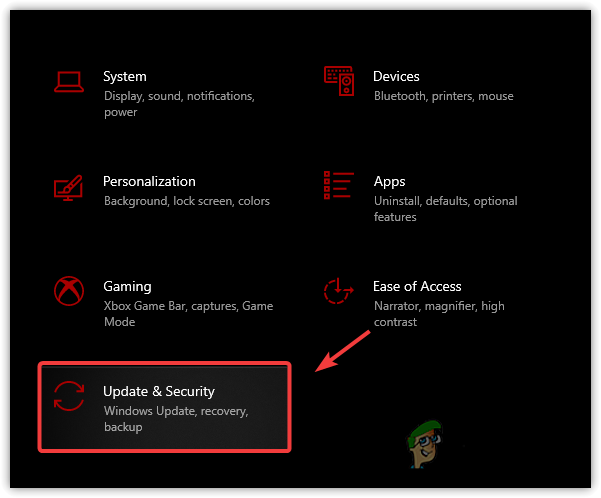
- Open Settings by pressing Win + I on the keyboard
- Then navigate to Update & Security
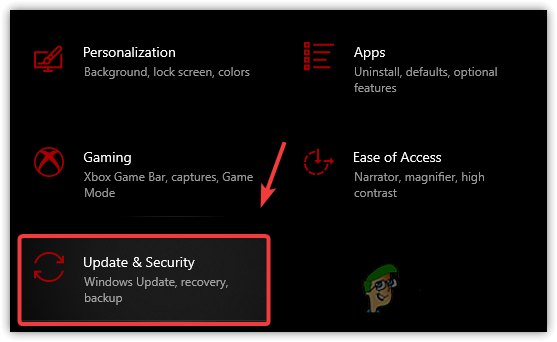
Heading to Update And Security - Select Troubleshoot from the left sidebar
- Click Additional Troubleshooters
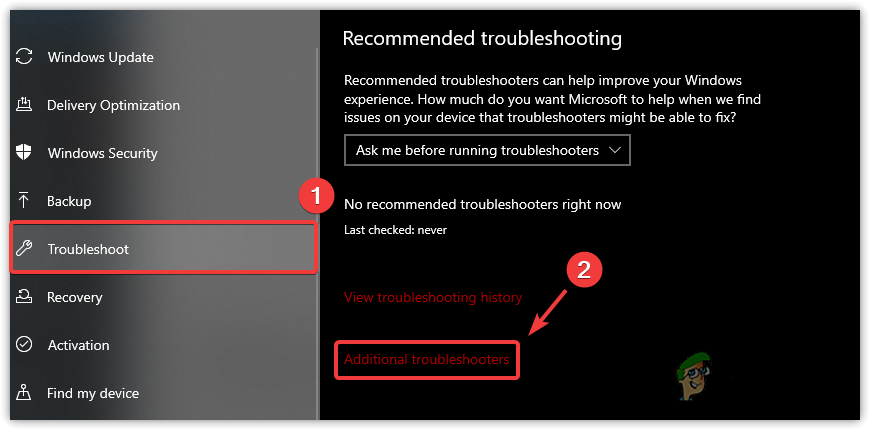
Opening Additional Troubleshooters - Then, select the Search And Indexing troubleshooter
- Click Run The Troubleshooter
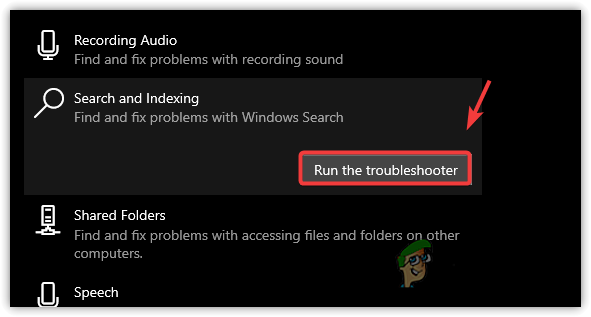
Fixing Search Indexing Issues Automatically - A Window will pop up, and you need to select the problem that you are facing. If you are not able to see the search results, then tick the first option, which is Can’t Start A Search Or See Results
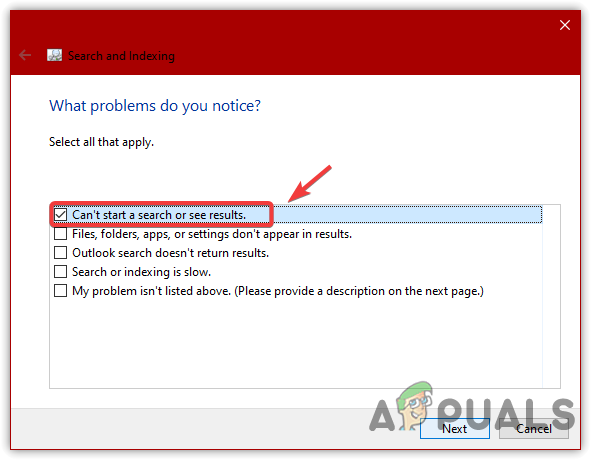
Describing Issue In To The Troubleshooter - Then, click Next
- If the troubleshooter detects the problems, it will show an option that is Try These Repairs As An Administrator. Click on it to fix the problem
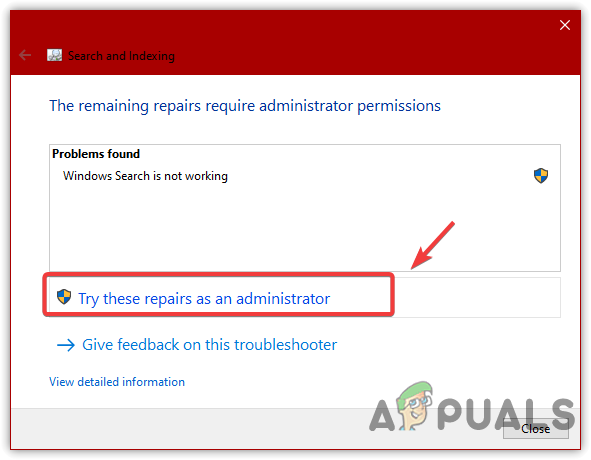
Applying Fixes Automatically As an Administrator - Once done, now check if the Windows search is not showing the search result problem is resolved.
4. Uninstall Recent Windows Updates
The Windows search not working issue also occurs if you recently installed Windows updates. Windows automatically downloads or installs the updates in the background if they are available, which sometimes takes you to this issue. The easy fix for this issue is to uninstall the Windows updates and if the issue is fixed, then disable automatic Windows updates to get rid of this issue permanently. Below are the steps to uninstall a recent Windows update:
- Press the Win + R keys and type Control Panel and then press Enter to launch
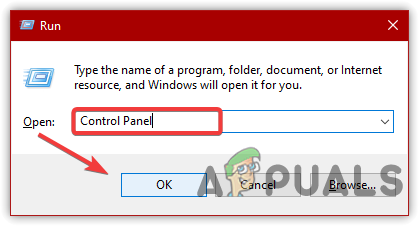
Opening Control Panel - Click Uninstall A program or navigate to the following path by pasting into the search bar
Control Panel\Programs\Programs and Features
- Click View Installed Updates to see the list of updates

Clicking To View Installed Updates - Now, right-click the Windows update you want to uninstall, then click Uninstall
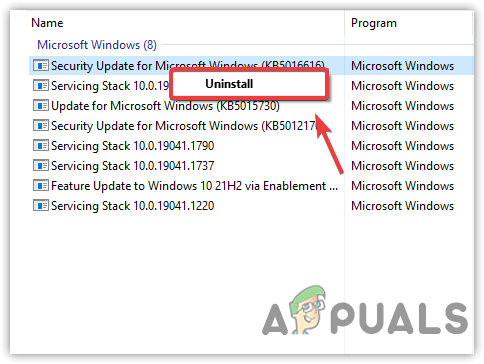
Uninstalling Buggy Windows Update - Click Yes when the confirmation message popups
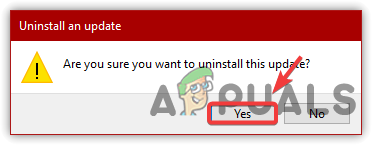
Confirming to Uninstall Windows Update - Once done, check if the issue is resolved.
5. Restart Window Search From Task Manager
Windows search is an essential service as it handles content indexing, property caching, and search results. If this service is not running for any reason, you may run into this issue. Therefore, check the service status, as it might not be running, causing this issue. Follow the steps:
- Right-click the taskbar and click Task Manager
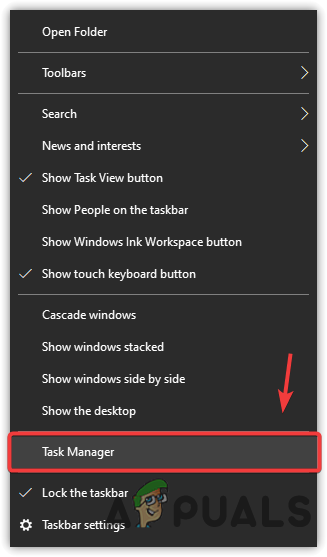
Opening Task Manager - Select Search and click End Task. This will restart the service
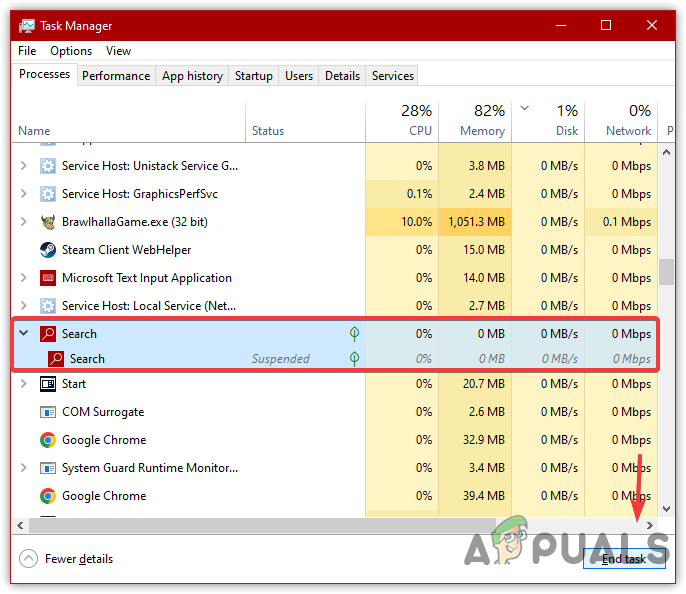
End Tasking Search Process - If that does not work, press the Win + R to launch the Run program
- Type services.msc and click OK
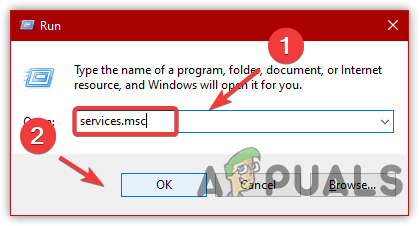
Navigating To Services Window - Find and right-click the Windows Search service and click Properties
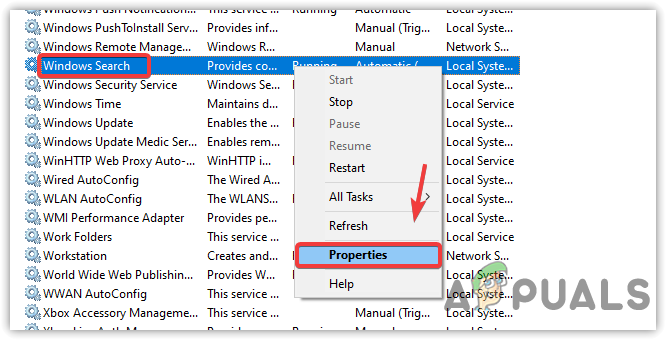
Opening Windows Search Properties - If the startup type is not set to automatic, change it to Automatic and click Apply
- If the service is stopped, click Start to run the service and click OK

Restarting Windows Search Service - Once done, check if the issue is fixed.
6. Rebuild Search Items
Rebuilding indexing means removing all indexing content from the database and rebuilding a new database by re-indexing all the items located in the drives. However, if this method does not fix the issue, resetting the search index using the registry editor might fix your issue.
- To rebuild the index, open the Run program by pressing Win + R simultaneously
- Type Control Panel and click OK to navigate
Heading to the Control Panel - Select Large Icons from View By from the top right

Changing View By In Control Panel - Then, click on Index Options and then click Advanced
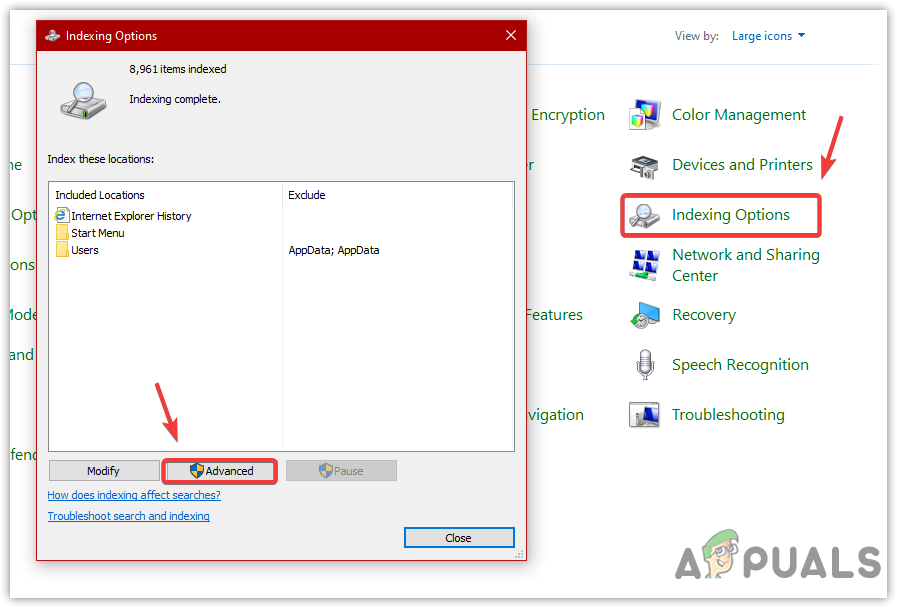
Opening Advanced Setting Of Search And Indexing - In the end, click on Rebuild
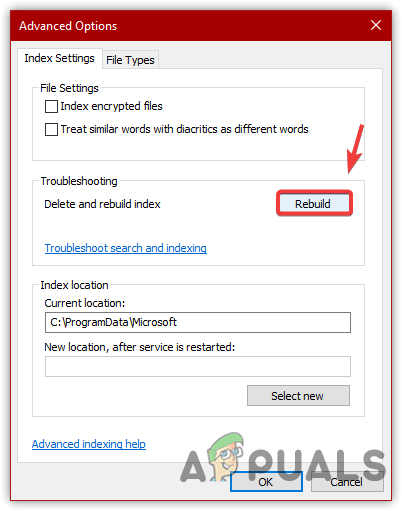
Rebuilding Search Index Database - Click OK when a short Windows appears, indicating that it might take some time, depending on the system.
- Once done, now try searching for something to see if the issue is fixed.
7. Reset or Rebuild the Windows Search Index using Regedit
You can also reset the Windows search by using the registry editor, which also rebuilds a new database for indexing. You can follow the below steps to do that:
- Press the Windows + R keys to launch Run Program
- Enter regedit in the search box and click OK
Opening Registry Editor Using Run Command - Go to the following path
Computer\HKEY_LOCAL_MACHINE\SOFTWARE\Microsoft\Windows Search
Note: You can paste the address in the search bar to navigate quickly
- If you see the SetupCompletedSuccessfully entry on the right pane, then double-click on it and change its value to 0

Editing Registry Key - After, click OK and restart your computer to save the changes
- If the SetupCompletedSuccessfully key is not present, then right-click and hover New and then click DWORD (32-bit) Value

Creating A Registry Key To Reset Windows Search - Name it SetupCompletedSuccessfully and then change its value to 0
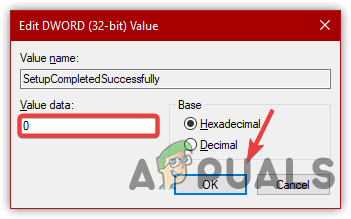
Changing Key-Value Data to 0 - Once done, click OK and restart your computer to reset and rebuild the search index.
8. Use PowerShell Commands to Fix Windows Search
If the issue is still there, try reinstalling the Windows search with the help of powershell commands by following the steps below:
- Right-click the Start Menu and click Windows PowerShell (Admin)
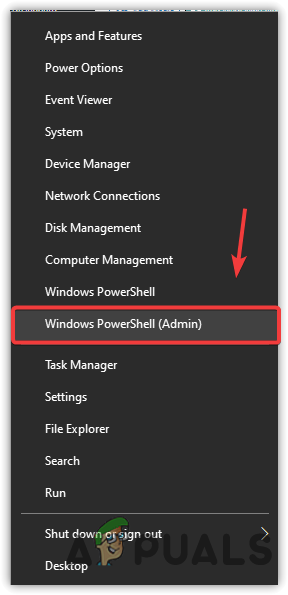
Opening Windows PowerShell - Once the powershell is opened, paste the following commands one by one
PowerShell -ExecutionPolicy Unrestricted
Get-AppXPackage -AllUsers |Where-Object {$_.InstallLocation -like "*SystemApps*"} | Foreach {Add-AppxPackage -DisableDevelopmentMode -Register "$($_.InstallLocation)\AppXManifest.xml"}
$manifest = (Get-AppxPackage Microsoft.WindowsStore).InstallLocation + '\AppxManifest.xml' ; Add-AppxPackage -DisableDevelopmentMode -Register $manifest
Reinstalling All System Apps, Including Windows Search - Once done, check if it fixes the issue.
9. Repair Corrupted Files
The Windows search not working issue can also occur due to the corrupted system files. You can easily restore them from the cached by running the SFC command. SFC or System File Checker is a command line utility used to fix and restore corrupted files. Hence, give a try to this by running the command mentioned below:
- Right-click the Task Manager and then click File > Run New Task
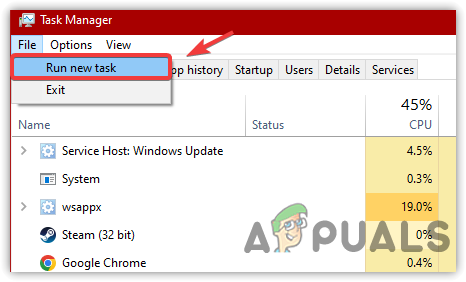
Running New Task From Task Manager - Type cmd in the search box and tick Create This Task With Administrative Privileges
- Click OK to open the command prompt with the administrator
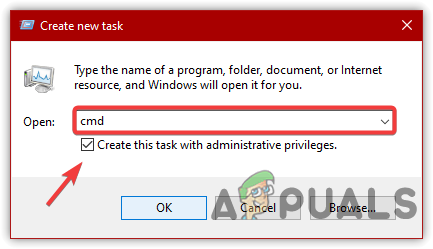
Running Command Prompt With Administrator Privileges - Type the following command and press Enter
sfc /scannow
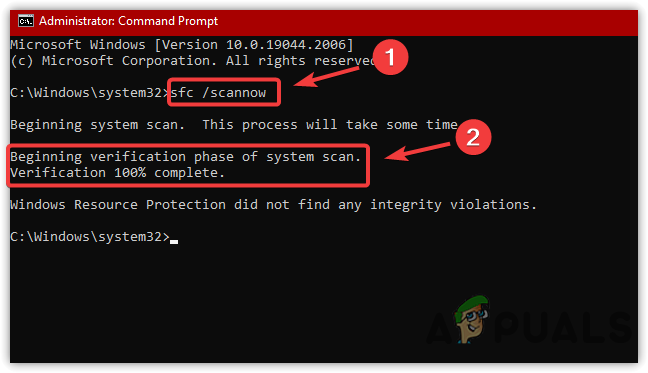
Running System File Checker To Repair The Corrupted Files - Wait for the verification to be finished and then check if the issue is resolved.
10. Reset Your Computer
If all else fails to fix this issue, the last option which is left is to reset the Windows without losing the data. Remember that you won’t lose your data, such as images, documents and files, but you will lose all the installed apps and drivers.
Therefore, if you are not in a position to reset the computer, restoring the computer to a state where Windows search was working might be a good option. However, to restore to the previous state, you need a restore point which should be created before encountering this issue. In this case, we recommend resetting your computer because it has worked for most affected users. Here are the steps:
- Launch Windows Settings by pressing Win + I together
- Go to Update & Security
Heading to the Update And Security Settings - Select Recovery from the left pane and then click Get Started under Reset This PC

Clicking To Reset Your Windows - Choose Keep My Files and then select Local Reinstall
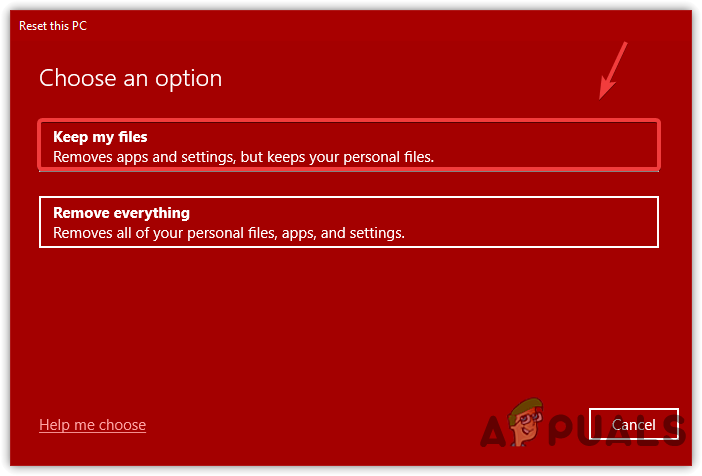
Selecting the Keep My Files Option - Click Next and then click Reset
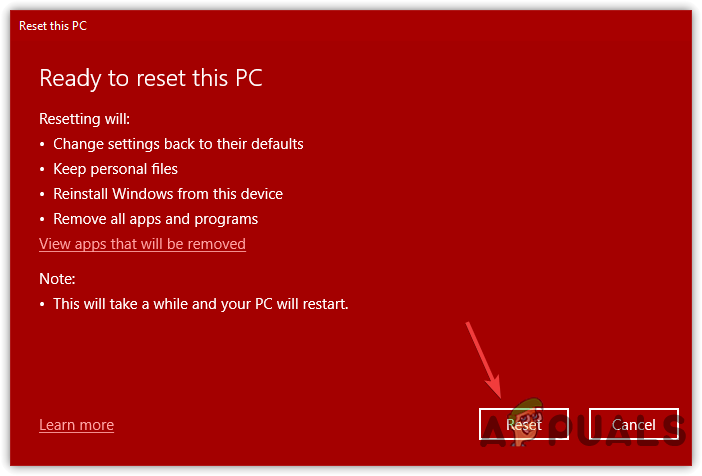
Resetting Windows Without Losing Data - Wait for the computer to restart
- Once done, the issue should be fixed.


