Resolve Screen Dims when Playing Games in Full Screen (Fix)
You may encounter the screen dimming while playing full-screen games due to improper monitor configuration (like Magic Bright etc.). Moreover, hindrance from a third-party application (like Bitdefender or Tobii Eye-Tracking) may also cause the issue at hand.
The issue is basically a dimmed screen while playing the full-screen games which makes games difficult (or in some cases, impossible to play).

Before proceeding with the solutions, check if reverting the Windows update (if the issue started after a Windows update) resolves the issue. Moreover, keep in mind that you may fail to resolve the issue on Windows 10 Education version (due to its limitations).
Workarounds
Following workarounds are reported by users to solve their issue, you may try if any of them works out for you.
- Simultaneously press Windows, Control, Shift, & B keys to restart the graphics driver.
- Check if disabling & enabling the graphics card in the Device Manager sorts the issue.
- Check if using another display port or cable does the trick.
- You may unplug your charger from the system, launch the game, and plug back the charger to check if that resolves the issue.
- Check if disabling HDR solves the dimming issue.
- Check if disabling the Free Sync solves the issue.
Edit the Monitor Settings
Your screen may go black when playing games if the monitor settings (e.g., Smart Contrast feature) are not properly configured. In this scenario, properly configuring the monitor settings may solve the problem. Keep in mind that settings may differ from device to device and you may have to find the equitant setting in your monitor’s menu to work it for you.
Disable Magic Bright in Samsung TV Settings
- Launch the OSD menu of your monitor & select Picture.
- Then disable Magic Bright & set a custom brightness level.
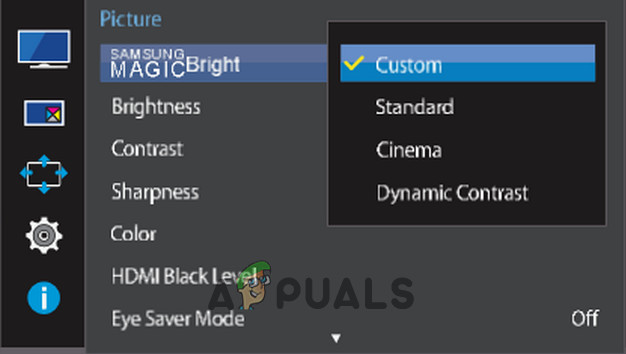
Disable Magic Bright - Now exit the menu & check if that solves the dimming problem.
- If that did not do the trick, launch the OSD menu & select System.
- Now select Reset All and confirm to reset the monitor.
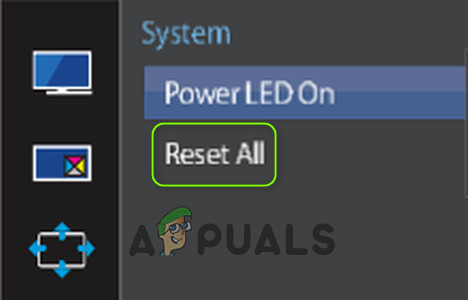
Reset All in the Monitor Settings - Once completed, check if the dimming issue is resolved.
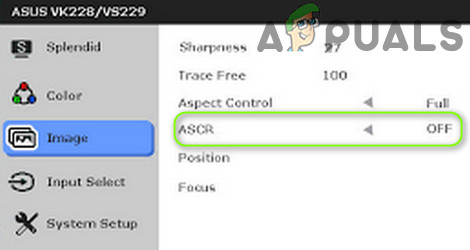
Disable ASCR (ASUS Smart Contrast Ratio) in the Monitor Settings
- Launch the OSD menu of the monitor & steer to the Image tab.
- Now disable ASCR & check if the full-screen dimming issue is resolved.
- Launch the OSD menu of the monitor & head to the Picture tab.
- Now, toggle off the switch of SmartContrast (or Dynamic Contrast) & check if the full-screen dimming issue is resolved.
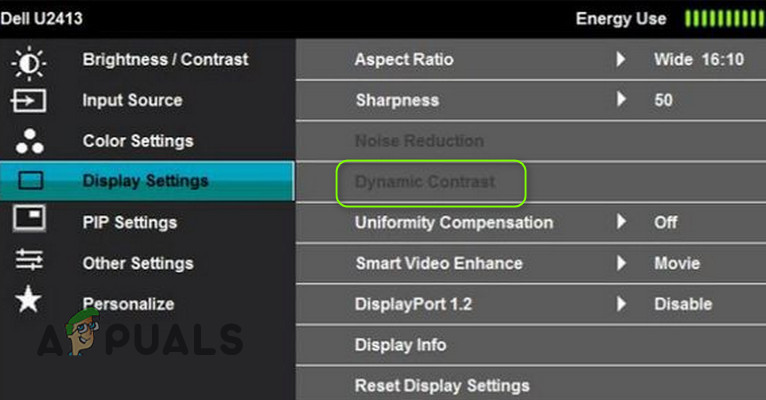
Disable Dynamic Contrast in the Monitor Settings - If not, check if changing the Preset mode of the monitor from Gaming to a different one solves the screen dimming issue.
Disable the Windows Game Mode and Game Bar
Your computer screen may go dim while playing games if the Windows Game Mode or Game Bar is hindering the operation of games. In this context, disabling the Windows Game Mode and Game Bar may solve the problem.
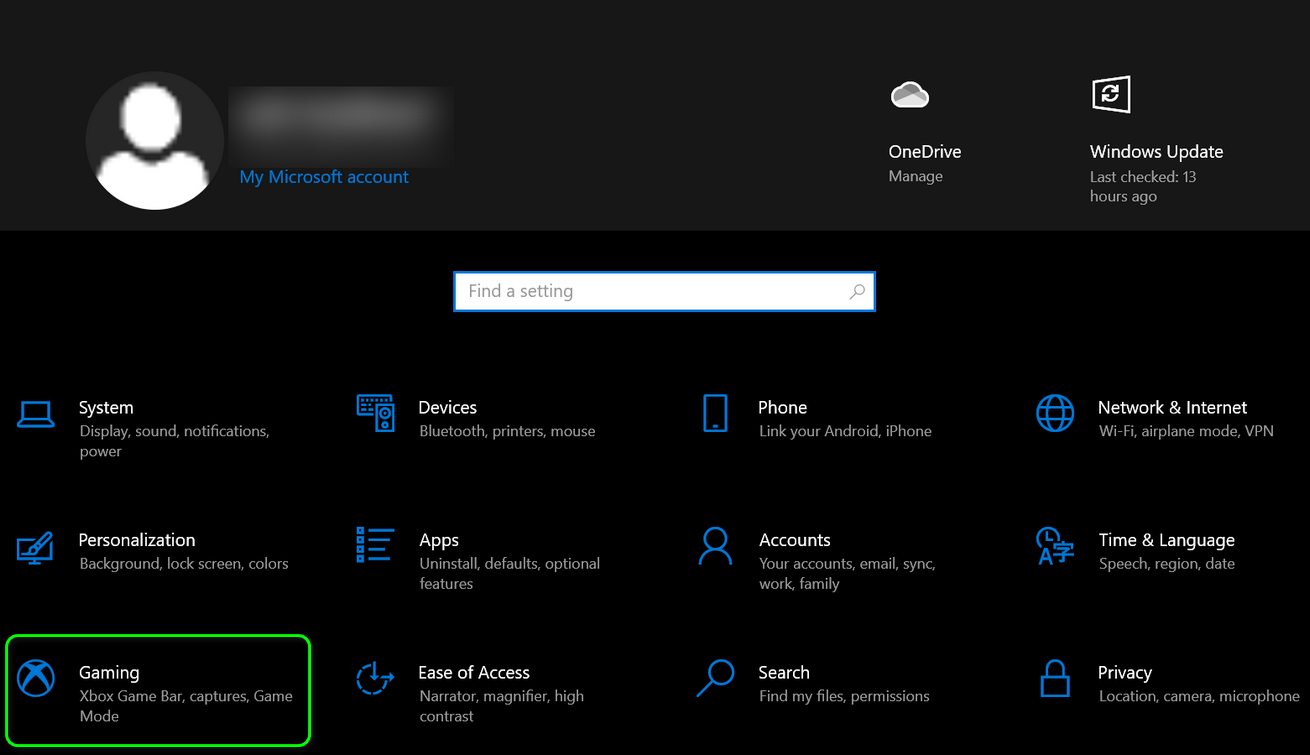
- Right-click Windows & open Settings. Now open Gaming & disable Game Bar.
Open Gaming in the Windows Settings - Then steer to the Game Mode tab, & disable Game Mode.
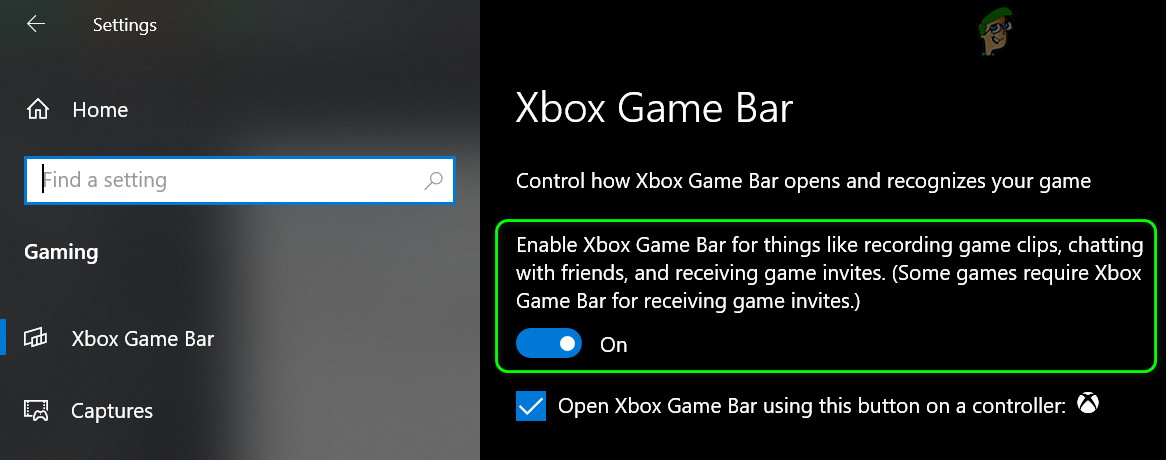
Disable the Xbox Game Bar - Now check if the full-screen dimming issue is resolved.

Disable Game Mode - If not, click on Home (to open Settings) & open System.
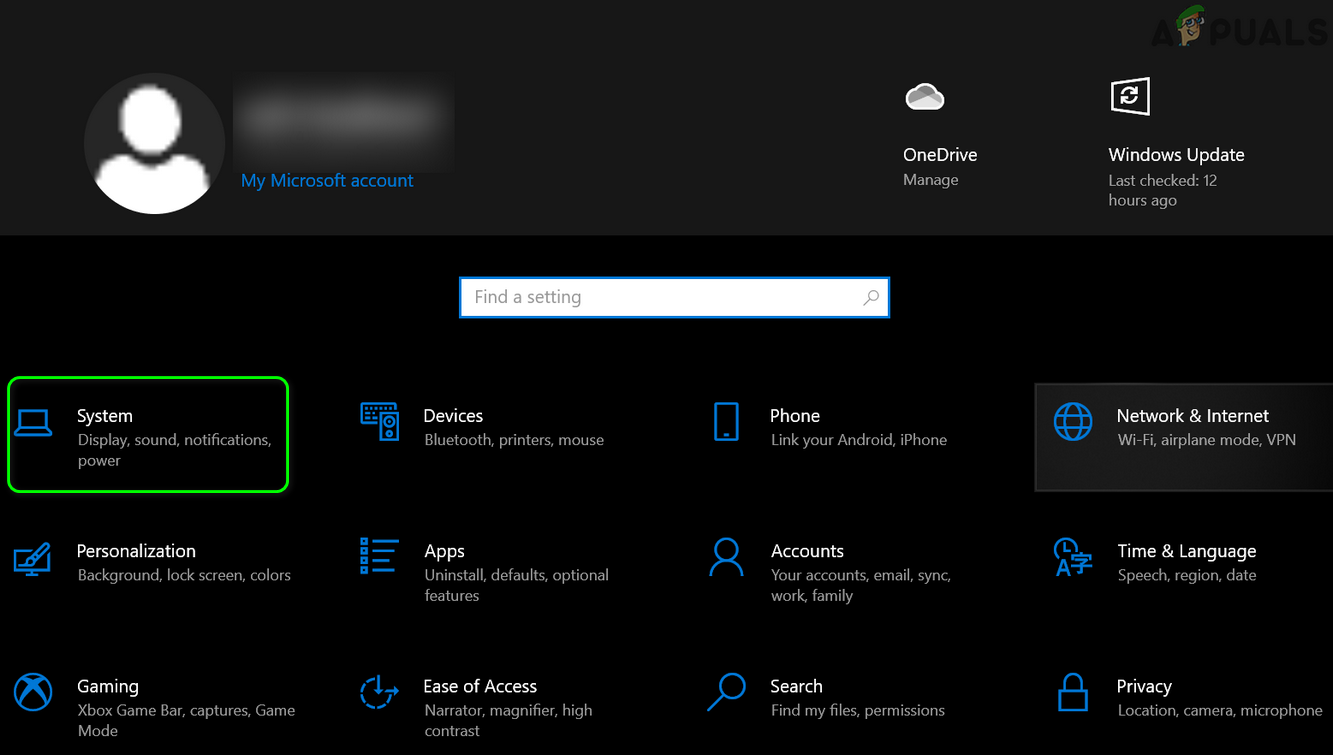
Open System in Windows Settings - Now, disable Night Light & check if the dimming issue is resolved.
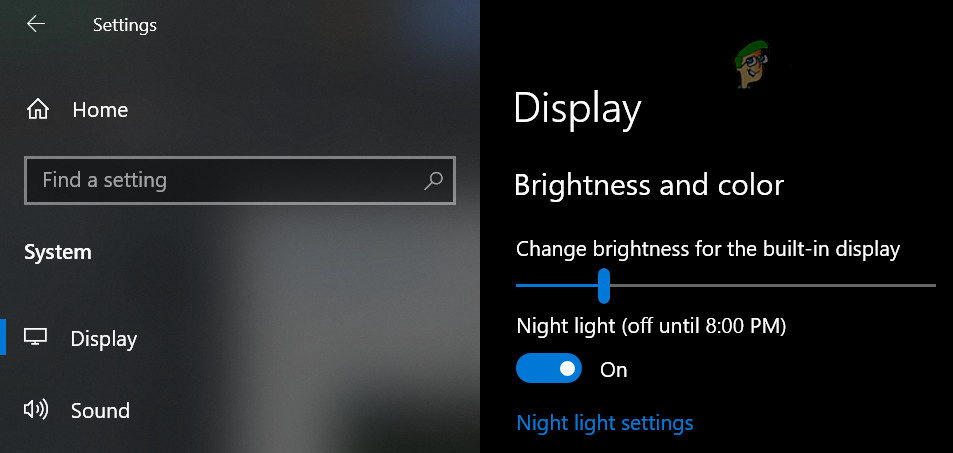
Disable Night Light in the Windows Settings
Disable Dynamic Back Light Control in the BIOS Settings
The dimming issue may arise if the dynamic backlight control of the system’s BIOS is kicking in while gaming and thus causing the issue. In this context, disabling the Dynamic Back Light Control in the system’s BIOS may solve the problem.
- Boot your system into the BIOS & in the left pane, expand Video.
- Now, in the right pane, select the radio button of Disabled (for the Dynamic Backlight Control) & save your changes.
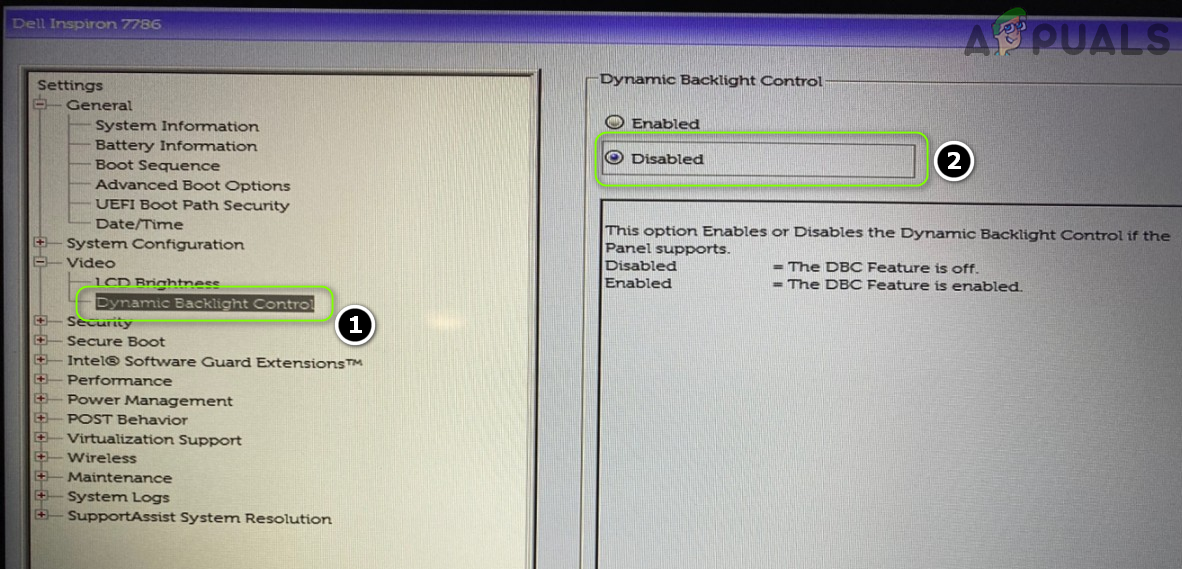
Disable Dynamic Backlight Control in BIOS - Then boot your system into Windows & check if the screen is not dimming while playing full-screen games.
Use a Custom Screen Resolution and Refresh Rate
The full-screen dimming issue may arise as a result of the improper configuration of the screen resolution & refresh rate. In this context, using a custom screen resolution and refresh rate may solve the problem.
- Right-click on desktop and in the context menu, select Graphics Properties.

Open Graphics Properties - Now open Display and select Custom Resolution.

Open Display in Intel Graphics Control Panel - Then click Yes (if a warning is received) and enter the height/width of the resolution (you may type the values of the default resolution).
- Now enter 59Hz in Refresh Rate and save your changes.

Create a Custom Resolution in the Intel Graphics Control Panel - Then check if the system is clear of the screen dimming issue.
- If not, check if using the 60Hz Refresh Rate sorts out the full-screen problem.
Edit the Graphics Control Panel Settings
You may encounter the issue at hand if the graphics control panel settings (e.g., dynamic range, etc.) are not properly configured. In this case, editing the graphics control panel settings may solve the problem.
Disable Power Saving in Intel Graphics Control Panel
The system’s screen may dim out while playing full-screen games if the power-saving feature of the Intel Graphics Control Panel of your system is enabled (even if you have a dedicated GPU) and disabling it may solve the dimming issue in this context. If your system does not have Intel Graphics Control Panel, you may install the Microsoft Store app of Intel Graphics Command to proceed further.
- Right-click on the desktop and select Graphics Properties to open Intel Graphics Control Panel.
- Now select Power and select Maximum Performance.
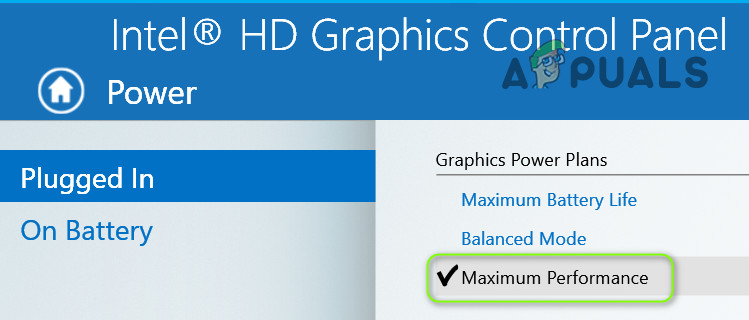
Set Graphics Power Plan of Plugged-in as High Performance - Then head to the Battery tab and select Maximum Performance.
- Now select Disable under Extended Battery Life for Gaming and click on Disable under Disable Power Saving Technology.
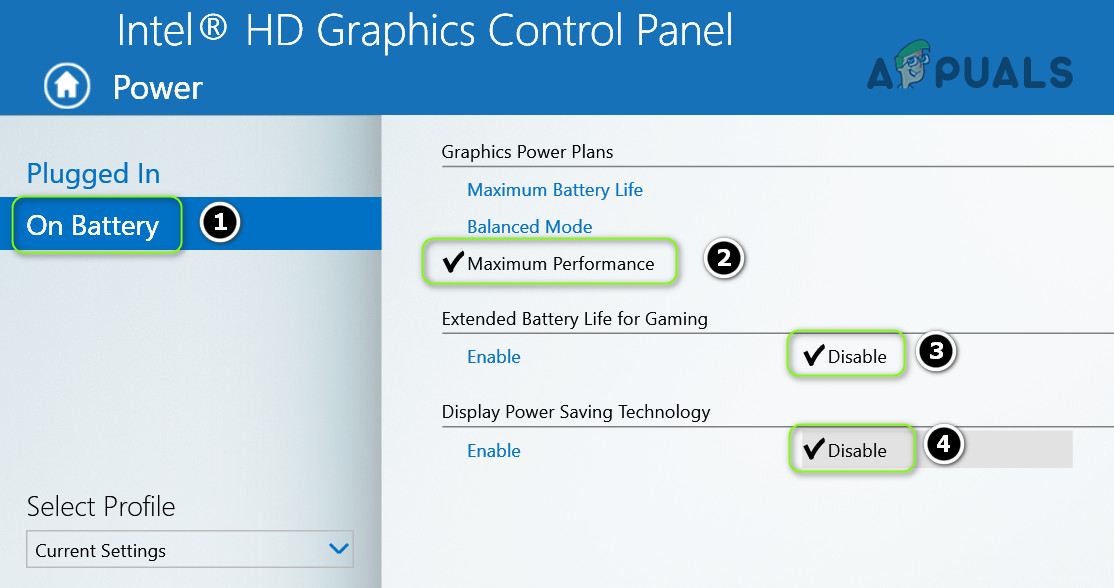
Disable Power Saving Technology - Then apply your changes and check if the system is clear of the dimming issue.
Set the Dynamic Range to Full in the Nvidia Control Panel
- Launch the Nvidia Graphics Control Panel and steer to the Change Resolution tab.
- Now, in the right tab, make sure the required display is selected and in the Apply Following Settings, set the Output Dynamic Range to Full.
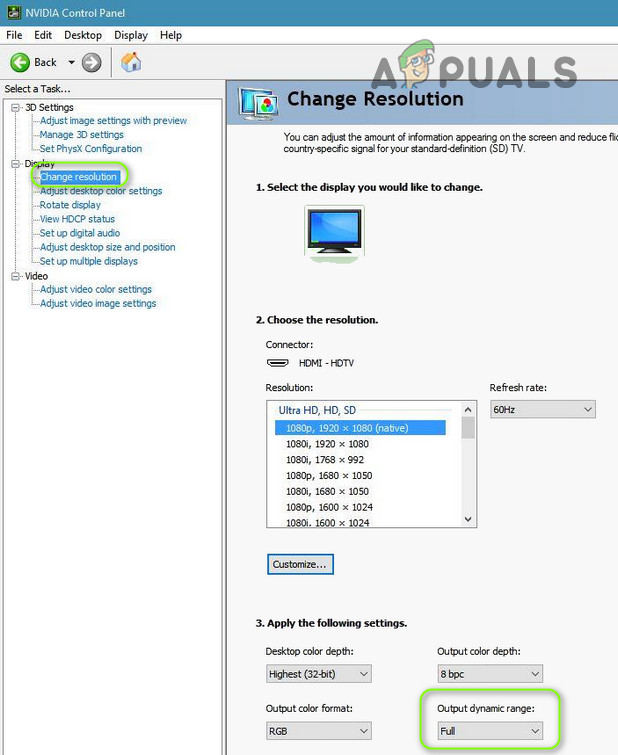
Set Output Dynamic Range to Full - Now head to the Adjust Video Color Settings tab (in the left pane) and in the right pane, make sure the proper display is selected.
- Then select With the Nvidia Settings and steer to its Advanced tab.
- Now set the Dynamic Range to Full and uncheck Dynamic Contrast Enhancements.
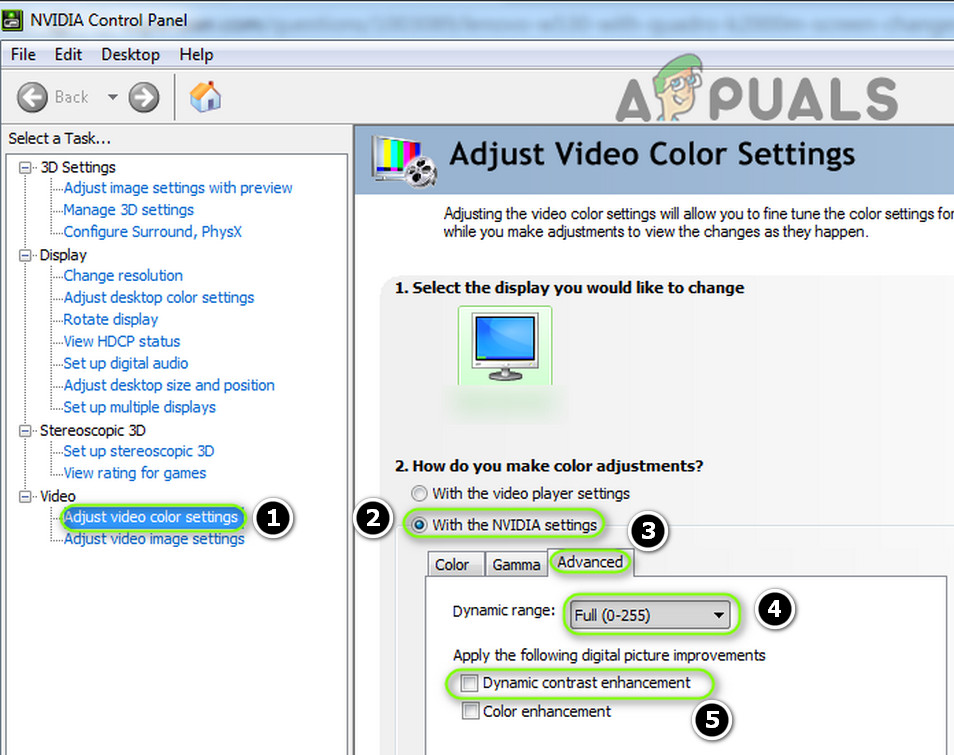
Set Dynamic Range to Full and Disable Dynamic Contrast Enhancement - Then apply your changes and reboot your Pc to check if the full-screen dimming issue is resolved.
Disable Vari-bright in AMD Radeon Settings
- Launch AMD Radeon Settings and open Display.
- Then disable Vari-bright and reboot your PC to check if the screen dimming issue is resolved.

Disable Vari-Bright
Use Sony Vaio Control Center
- Launch the Sony Vaio Control Center and steer to the Image Quality tab.
- Now, in the right pane, toggle off the switch in the Display Brightness section and reboot your PC.
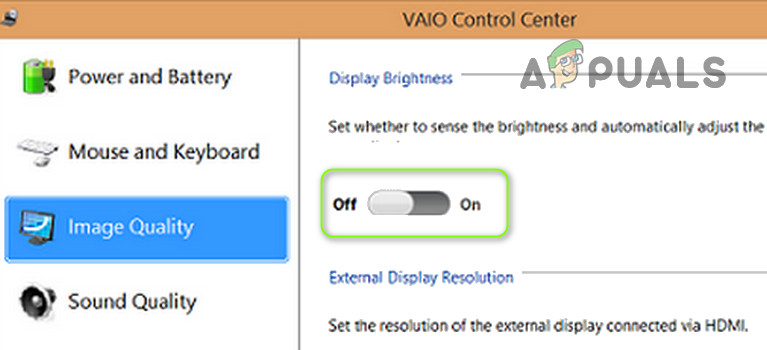
Disable Display Brightness in Vaio Control Center - Upon reboot, check if the full-screen dimming issue is resolved.
Use the Alienware AlienFX Editor
- Expand the system tray and right-click on the Alienware AlienFX Editor icon.
- Now, checkmark the option of Dim Lighting Zones and Keep Status Zones on During Go Dark.
- Then check if the system is clear of the dimming problem.
Clean Boot Your PC and Disable/Remove the Problematic Applications
The dimming issue may arise if an application on your system is hindering the operation of the games (or display modules of the OS). In this context, clean booting your PC and removing/disabling the problematic applications may solve the dimming issue.
Disable/Remove the Problematic Applications
- Clean boot your PC and check if the system is clear of the dimming issue.
- If so, then you enable the services/processes/applications one by one (that were disabled during the clean boot process) till you find the problematic one.
- Once found, disable (in the system’s startup setting) or remove (in Apps and Features) the problematic one.
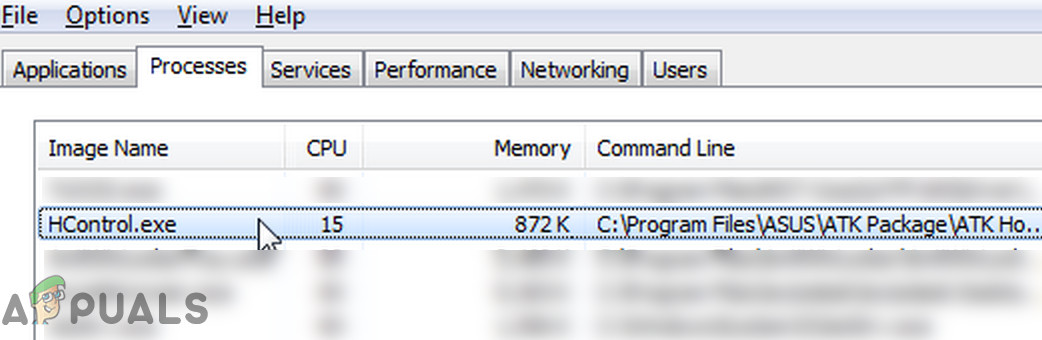
Users have reported that the following applications caused issues for them (if you cannot disable/remove the process, then you may end it through the Task Manager during the gameplay):
- ATK Package (Hcontrol.exe)
- Igfxpers
- Tobii Eye-Tracking
Disable the Profiles Feature in the Antivirus Settings
If that did not do the trick, you may check if your antivirus is interfering with games. Bitdefender has a Profiles feature (that tries to manage power options automatically) that is reported to cause the issue at hand (you may check your antivirus product for a similar feature).
- Launch the Bitdefender and open its Settings.
- Now navigate to the Profiles tab and disable the option of Activate Profiles Automatically.
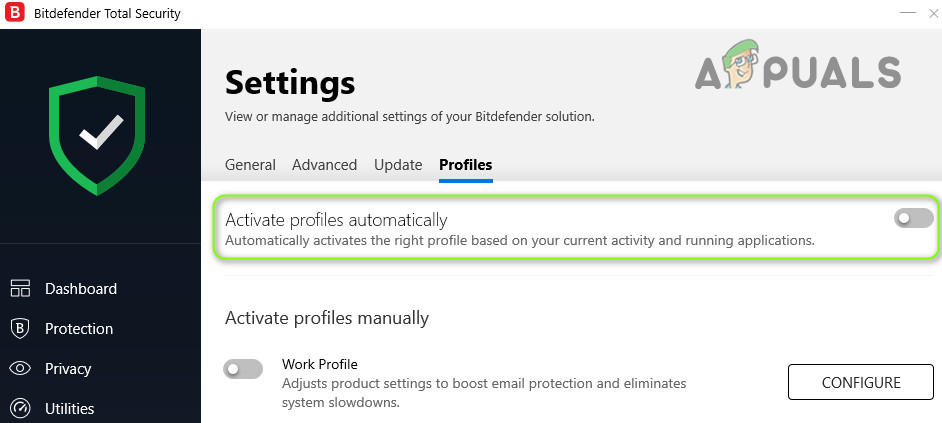
Disable Activate Profiles Automatically in the Bitdefender Settings - Then apply your changes and check if the screen dimming issue is resolved.
Roll Back, Update or Reinstall the Graphics Driver
The screen dimming issue while playing full-screen games may arise if the graphics driver of your system is outdated, corrupt, or incompatible. In this scenario, rolling back, updating, or reinstalling the graphics driver may solve the problem.
Roll Back the Graphics Driver
- Right-click Windows and open Device Manager.
- Now expand Display Adapters and right-click on your graphics device.
- Then select Properties and steer to the Driver tab.
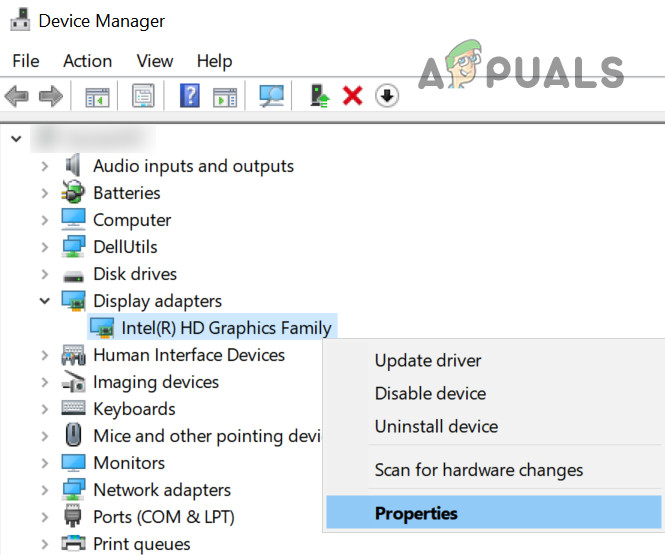
Open Properties of the Graphics Driver - Now click on the Roll Back Driver button and follow the prompts to roll back the driver.
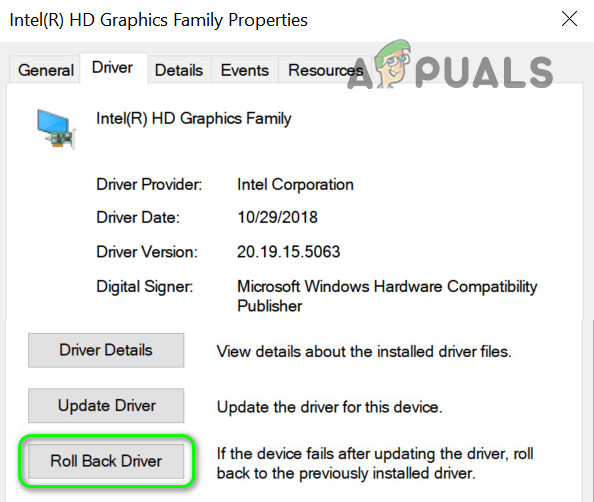
Roll Back the Camera Driver - Once completed, reboot your PC and check if the system is clear of the dimming issue. If so, then you may stop the driver’s update (until the issue is reported to be solved by the OEM).
Update the Graphics Driver to the Latest Build
- Firstly, manually update the system’s Windows (as many OEMs prefer to use the Windows Update channel to release the drivers’ update) and make sure no update is pending left to install. Then check if the dimming issue is resolved.
- If not, then update the system’s drivers. Make sure to check the OEM website for the updated drivers as well. Also, if your OEM has an update utility (like Dell Support Assistant or Nvidia GeForce Experience), then use that utility to update the drivers.
- Once the drivers are updated, check if the issue is resolved.
Reinstall the Graphics Driver
- Firstly, make sure you have downloaded the latest version of the Graphics driver from the OEM website.
- Then right-click on the graphics device in the Device Manager (as discussed above) and choose Uninstall Driver.
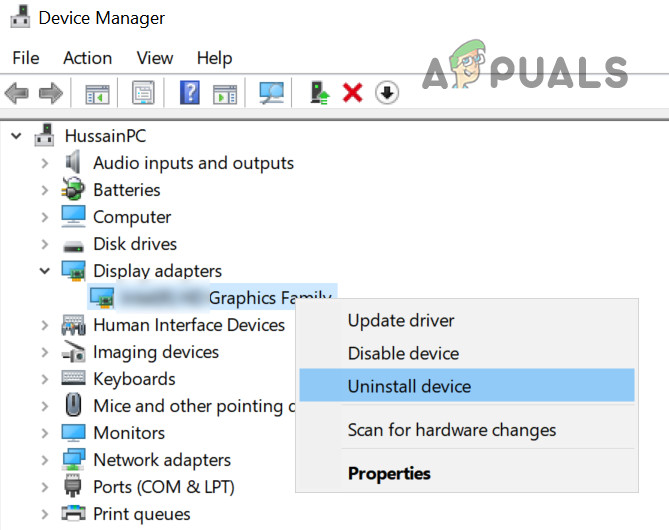
Uninstall the Graphics Adapter - Now, in the window shown, checkmark the Delete the Driver Software for This Device and click on the Uninstall button.
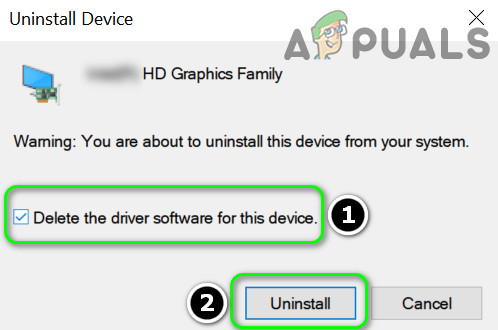
Delete the Driver Software for This Device for the Graphics Driver - Then follow the prompts to uninstall the graphics driver and afterward, reboot your PC.
- Upon reboot, if Windows installs the default graphics driver, let it complete and then check if the screen dimming issue is resolved.
- If not, install the latest graphics driver (downloaded at step 1) and check if the screen dimming issue in full-screen games is resolved.
If the issue persists, then you may play the games in Windowed mode till the issue is resolved. If that is not an option, then you may try the system restore feature or reset your PC to the factory defaults.


Last but not least and the only thing that worked for me is go to Settings, Gaming, Game Mode, Graphics, find your problematic game, click on it and select options, checkmark “Don’t use optimizations for windows games”. Done problem fixed!