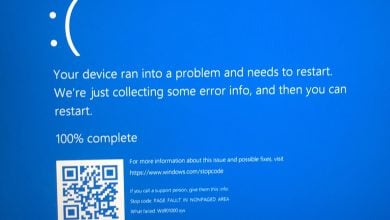
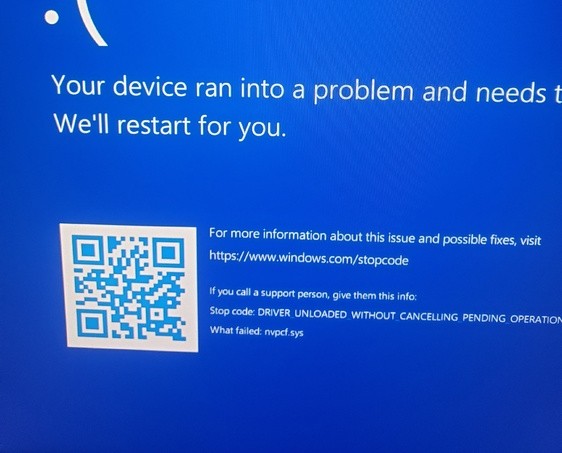
How to Fix nvpcf.sys Blue Screen of Death?
While using a computer or laptop, users often encounter the Blue Screen of Death, showing the error code ‘nvpcf.sys‘. This problem is generally seen on devices using Nvidia drivers, mainly laptops. The nvpcf.sys is a system file associated with the Nvidia component that manages communication between the motherboard and other hardware components of the computer. This error halts the computer’s operation, potentially leading to a loss of ongoing work.
Typically, this error happens due to outdated or corrupted drivers, or because of conflicting drivers, such as the simultaneous running of other Intel drivers with Nvidia.
In this post, we will provide solutions to resolve this problem.
1. Run System File Checker (SFC) and DISM
SFC (System File Checker) and DISM (Deployment Image Servicing and Management) check the integrity of these files and repair them if needed, while DISM ensures the repair process has the required data from a healthy Windows image. This can help eliminate system-related causes of the error.
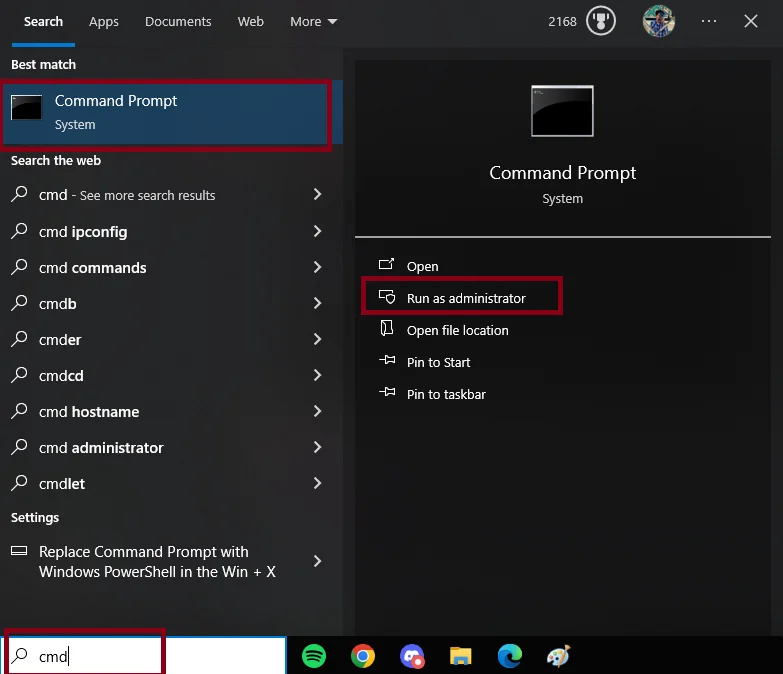
- Open the Search menu, type cmd, and open the Command Prompt as an Administrator.
- Enter the following commands:
sfc /scannow
Dism /Online /Cleanup-Image /RestoreHealth
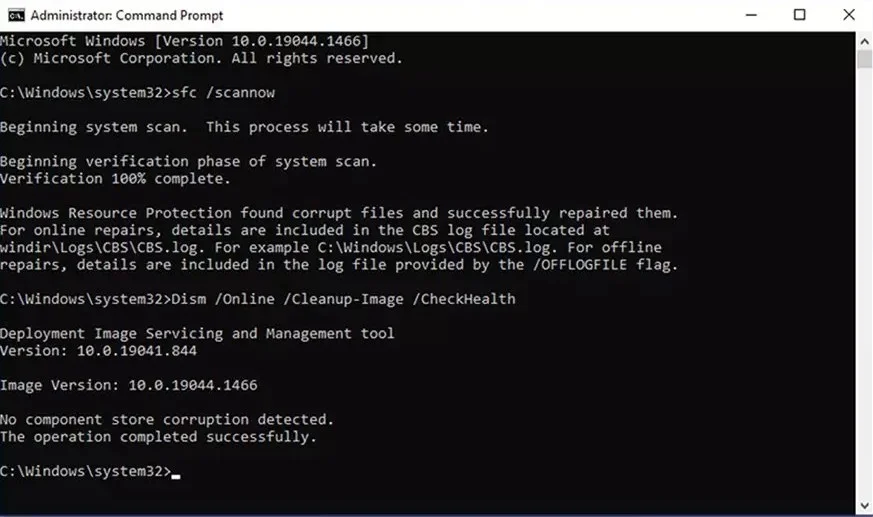
- After completing the scans, restart your PC.
2. Disable Intel Drivers
Two display drivers operating together can lead to conflicts. Most laptops have both Intel display drivers and secondary display drivers (Nvidia) running simultaneously, which can cause this issue.
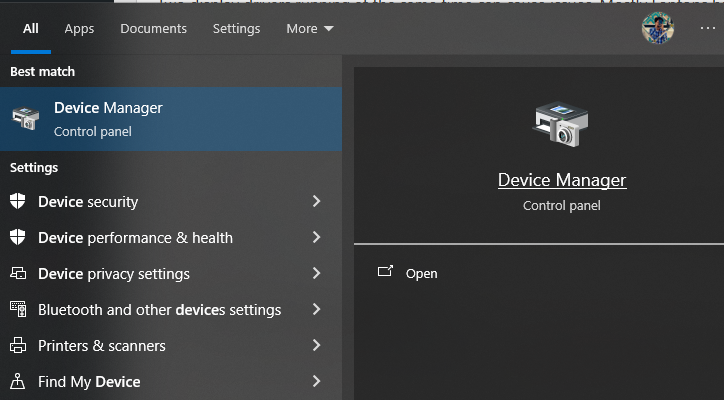
- Locate Device Manager in the Search box and open it.
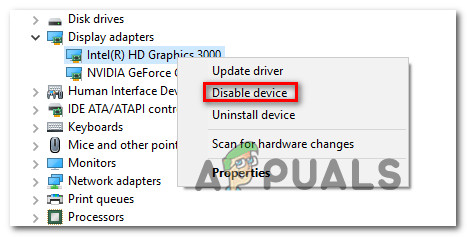
- Extend the Display Adapters section, right-click on any Intel driver, and disable it.
- Reboot your PC.
3. Reinstall Nvidia Drivers
The Nvidia driver’s corrupted files can cause problems, and it is advisable to reinstall the drivers. This action will install a fresh set of drivers with fewer bugs or none. Uninstall the drivers in safe mode using DDU.
Start with booting into Safe mode to conduct the uninstall process. Learn how to boot into safe mode by checking out our detailed post here.
- Download and set up DDU from the official website. You can also check our guide.

- Start Windows in Safe Mode.
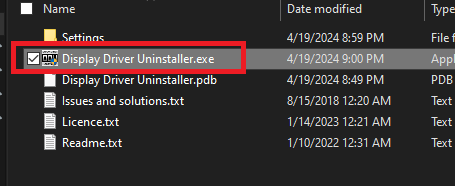
- Start the DDU exe in the extract folder.
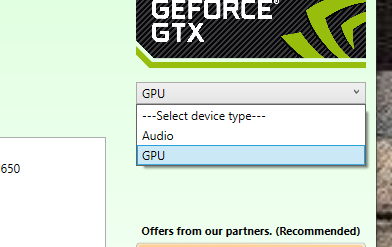
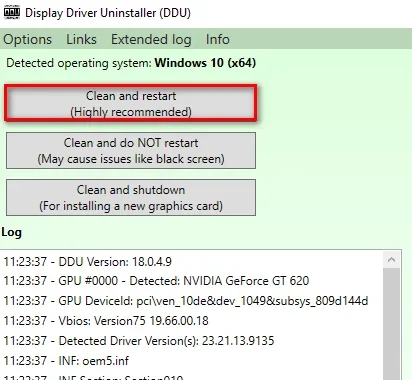
- Set Device type to GPU and the manufacturer to Nvidia.
- Click on Clean and restart.
- Restarting Windows in normal mode will automatically set up the drivers, which can likely fix the issue.
4. Perform a System Restore
Performing a system restore reverts your computer to a previous state. It sometimes fixes BSOD-related problems. Since the issue might come from a recent update, going back to the previous state could remove that update, which can help in fixing the problem.
To learn how to restore your system, you can check out our article here.
5. Reset Windows
If other solutions fail, consider resetting Windows. This action will clear all the files potentially causing such issues.
You can check out our detailed guide on How to Reset Windows.
6. Check Hardware
If the problem continues even after resetting Windows, consider checking your hardware devices, especially the graphics card, connected to your computer, to see if there’s any physical issue. Physical issues might include damaged hardware.