Can’t Install the NVIDIA Driver in Windows? Here’s the Fix!
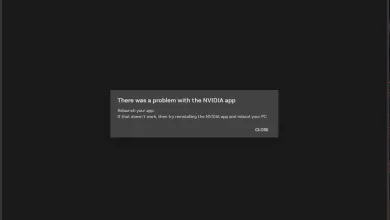
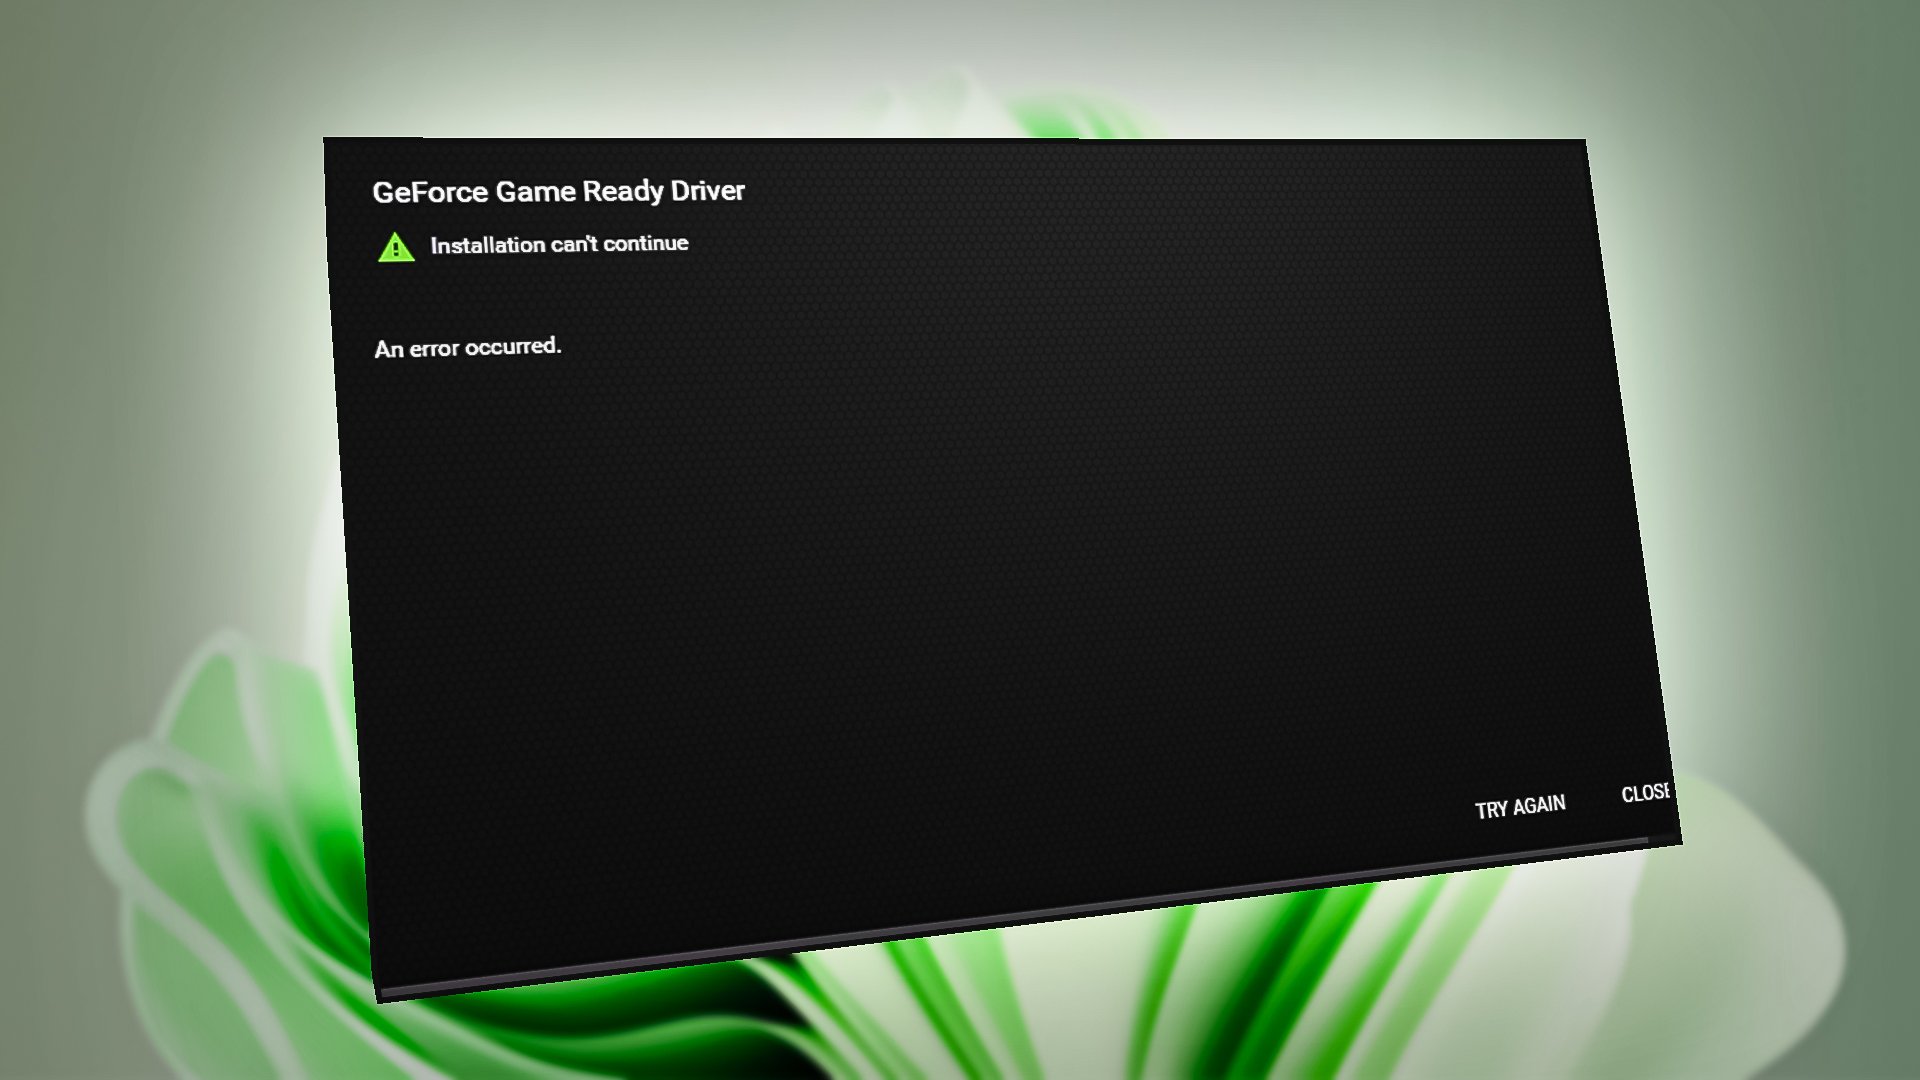
Some users have been reporting that after they upgrade their Windows operating system to the latest build, their Nvidia driver goes missing. Upon attempting to install a new driver, their systems throw an error message.
Below, we have discussed different troubleshooting methods to try when this error occurs. Proceed with the method that fits your situation the best.
1. Disable Antivirus
The first thing that we recommend doing is disabling your antivirus software. There is a chance that the security program is preventing you from installing the software because it considers it a potential threat.
If this scenario is applicable, the easiest way to fix it is by disabling the antivirus program temporarily. Once the driver has been downloaded, you can enable it back in no time.
Here is how you can proceed:
- Right-click on the antivirus on your taskbar.
- Choose Disable > Disable until the computer is restarted.
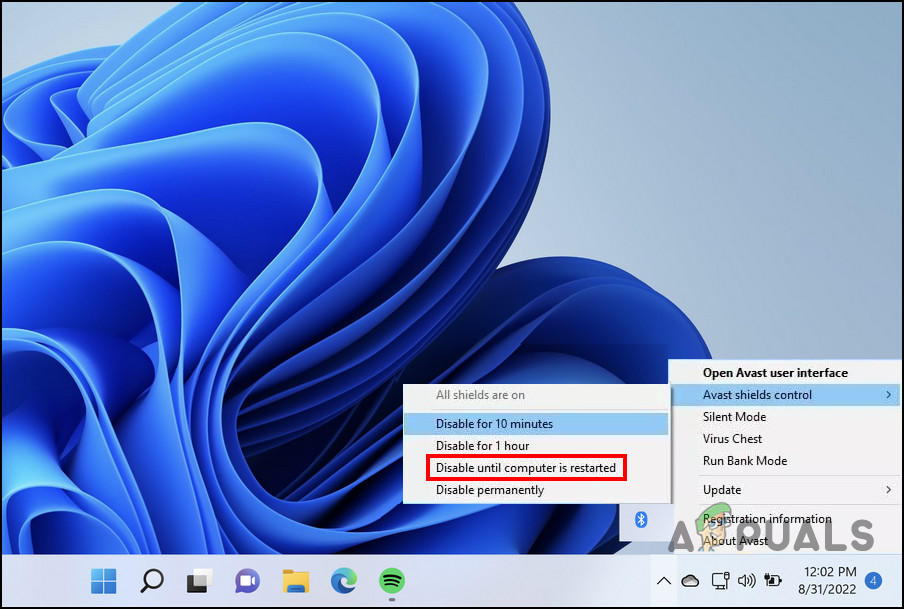
Disable the antivirus temporarily
That’s it. Your antivirus should be disabled now and will only be enabled when you restart the computer. If you cannot find the security program icon in the taskbar, you can launch the application and disable it from there.
2. Ensure You Are Downloading a Compatible Version
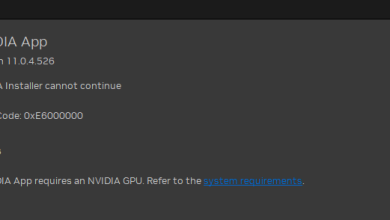
In several cases, the issue can also be caused because you are trying to download a version of the driver that is incompatible with your device’s hardware and the system. When this happens, the error message will mention that the version you are trying to download is not compatible with your Windows version.
Make sure that you are attempting to download a version that both your device and the system can support.
3. Uninstall the Current Driver
You might also be facing the problem if the current driver in your system is interfering with the system’s process of installing a new one.
If you already have a graphics driver in your system, then we recommend you uninstall it first and then try installing the Nvidia driver. Here is how you can do that:
- Type Device Manager in Windows search and click Open.
- In the Device Manager window, expand the Display adapters section and look for the current graphics driver.
- Right-click on it and choose Uninstall device from the context menu.
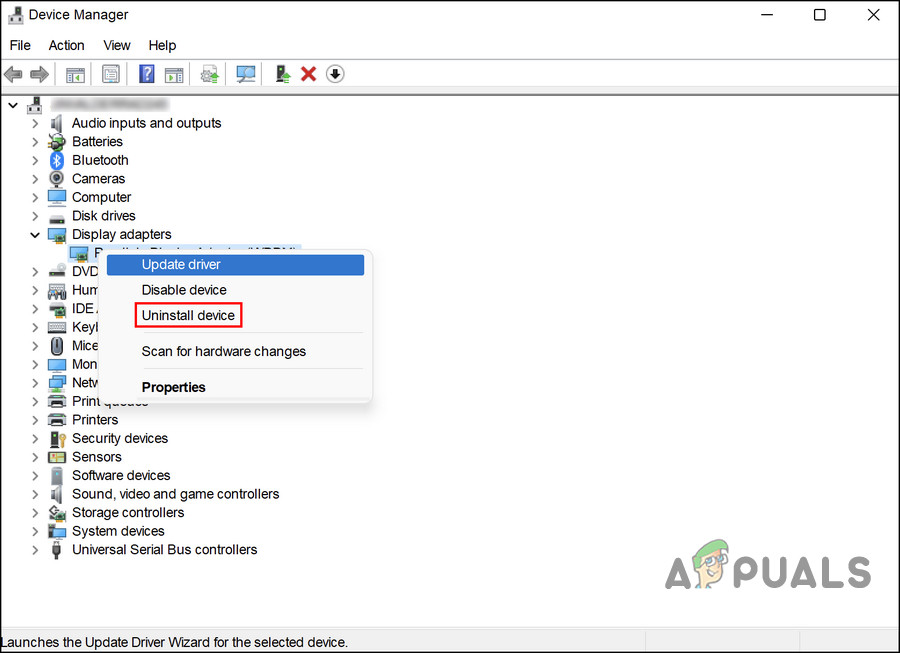
Choose the Uninstall device option - Follow the on-screen instructions to proceed.
- Once done, restart your computer, and upon reboot, try installing the Nvidia driver again.
4. Reinstall the Driver Using DDU
You can also use Display Driver Uninstaller to perform a clean installation of the graphics driver. In this method, we will be booting into Safe Mode to perform the steps.
Here is all that you need to do:
- Head over to the DDU download page in your browser.
- Choose a download location and then download the tool.
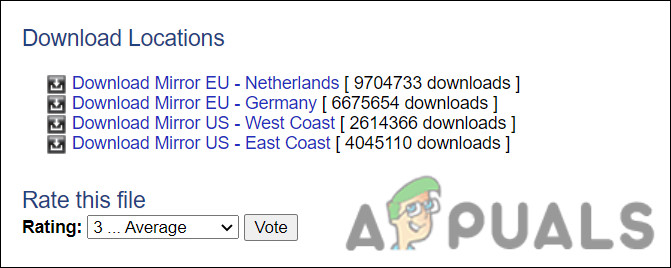
Choose a download location and download the tool - Once the file is downloaded, right-click on it and choose Extract All > Extract.
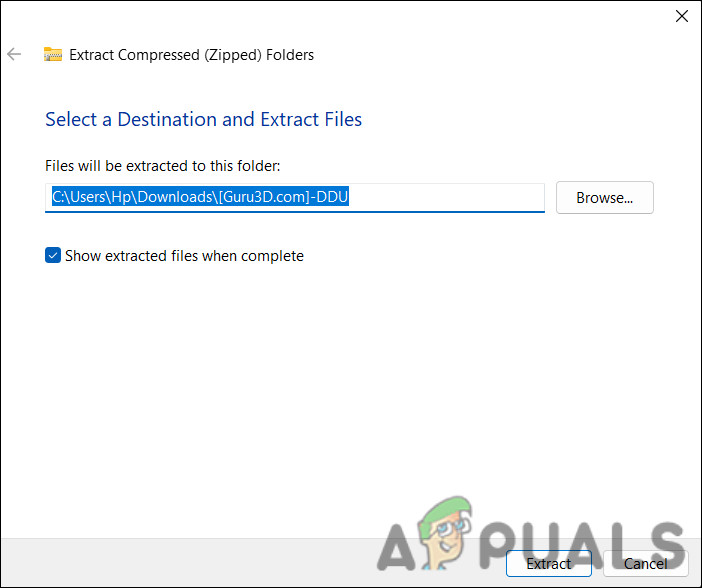
Click on the Extract button - Then, double-click on DDU.exe and choose Extract.
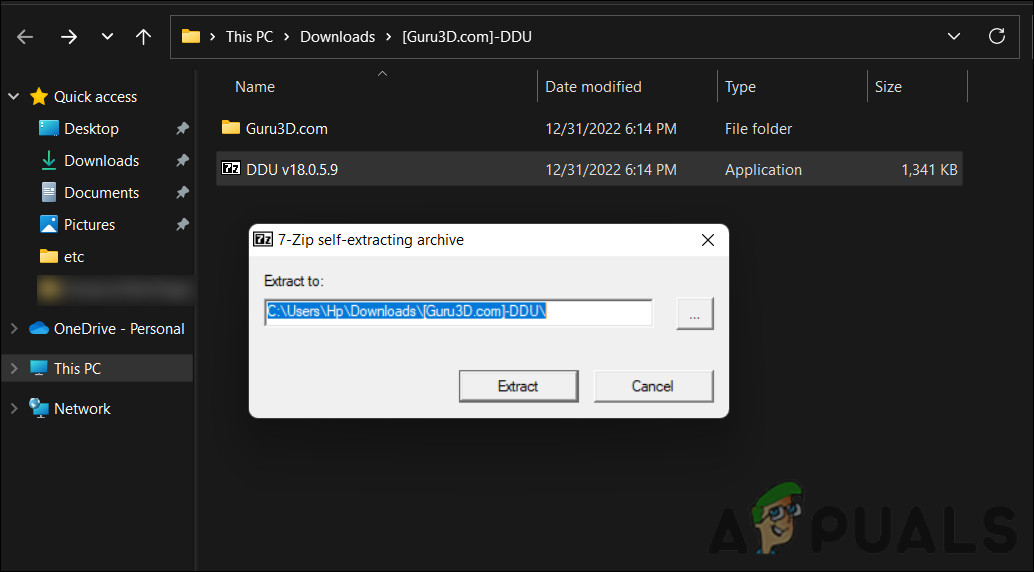
Click on the Extract button - Now, press the Win + I keys together to open Windows Settings.
- Head over to System > Recovery in the following window.
- Click on the Restart now button associated with Advanced Startup.
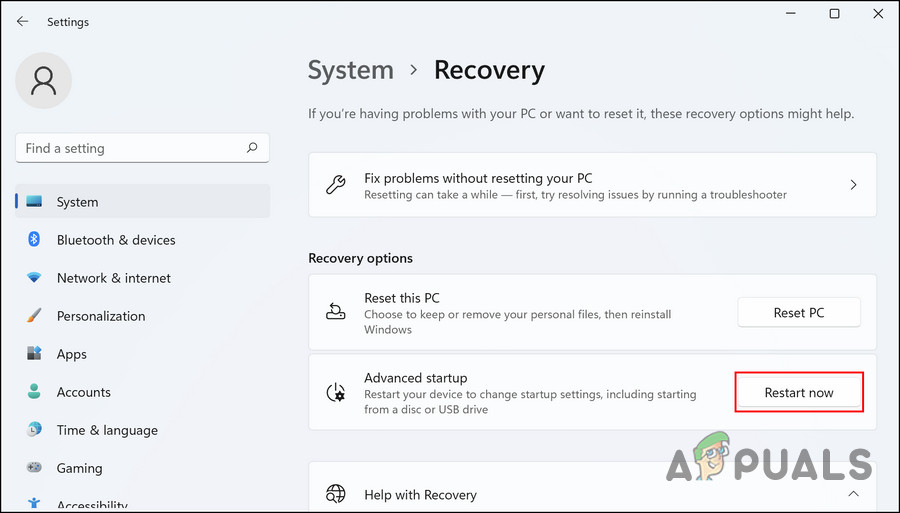
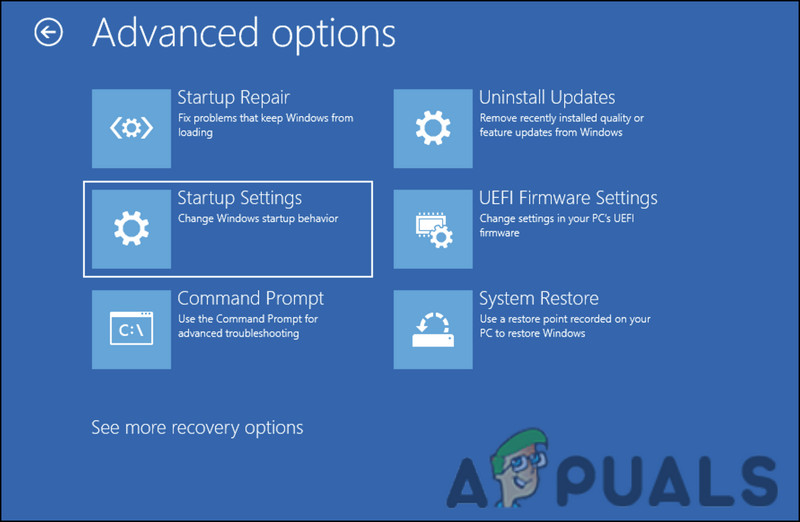
Click on the Restart now button - Once the system boots in WinRE, choose Troubleshoot > Advanced options.
- Click on Startup Settings and hit the Restart button.
Launch the Startup settings - Now, press 4 or F4 on your keyboard to launch Safe Mode.
- Once you are in Safe Mode, launch DDU (exe file) and select your preferences.
- Next, choose your GPU manufacturer on the right side of the dialog, and then click on Clean and restart.
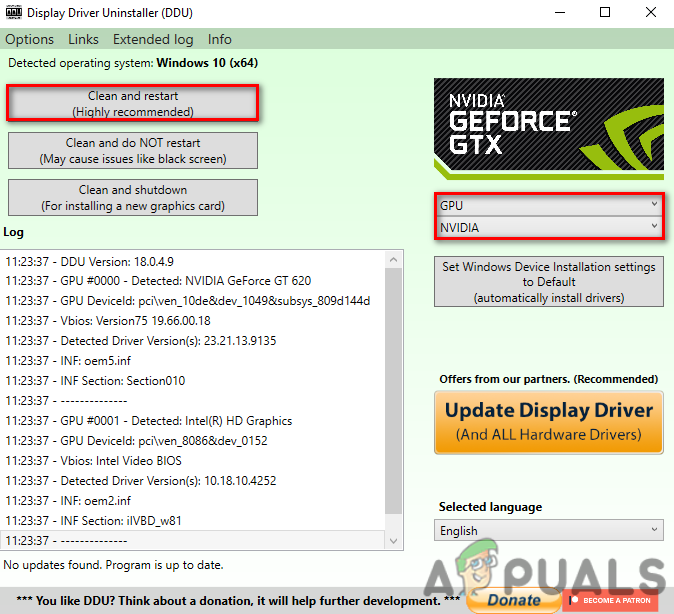
Click Clean and Restart - Once the computer restarts, hopefully, you will no longer face the problem again.
5. Install the Nvidia Driver Manually
Windows offers you the option to install the drivers manually if the system fails to install them automatically. In this method, we will first remove the Nvidia programs using the Control Panel and then use the Device Manager utility to install the driver.
Here is all that you need to do:
- Press the Win + R keys together to open a Run dialog.
- Type control in the text field of Run and click Enter.
- In the Control Panel window, choose Uninstall a program under Programs.
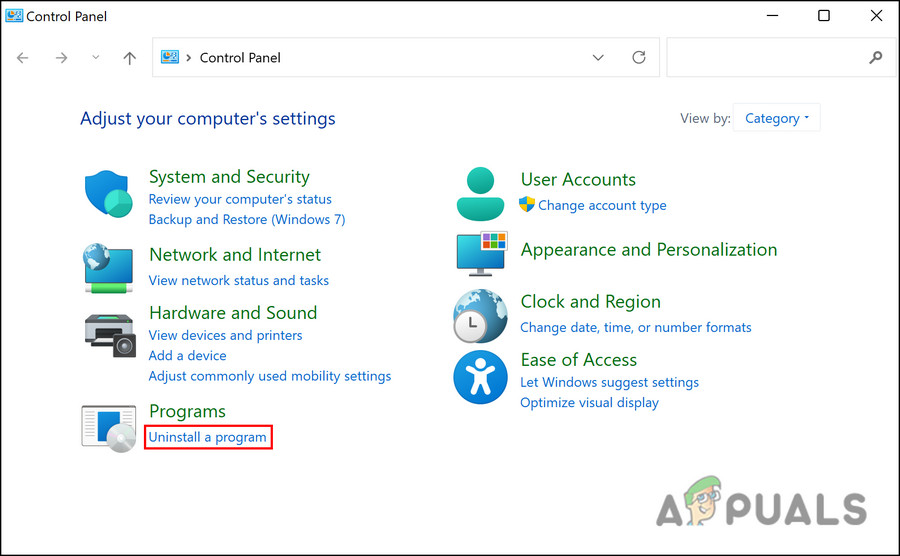
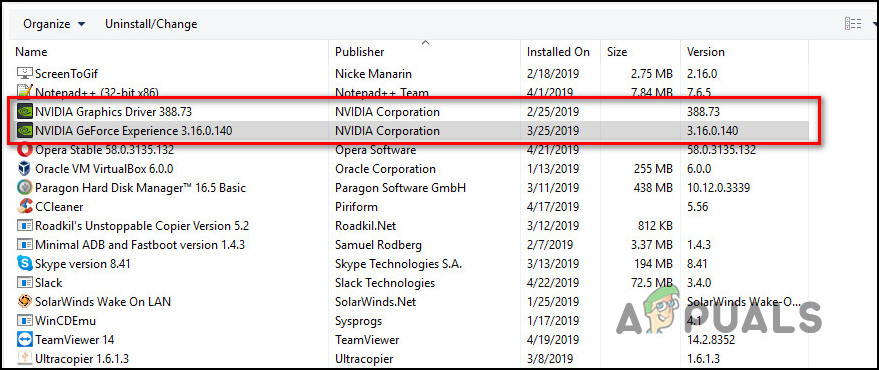
Click on the Uninstall a Program button - Locate the programs related to Nvidia and right-click.
- Choose Uninstall from the context menu and follow the on-screen instructions to proceed.
Uninstall the driver - Once done, type Device Manager in Windows search and click Open.
- Now, expand the Display adapters section in the Device Manager.
- Right-click on your Nvidia driver and choose Update driver.

Click on the Update driver option - Click on Browse my computer for drivers.
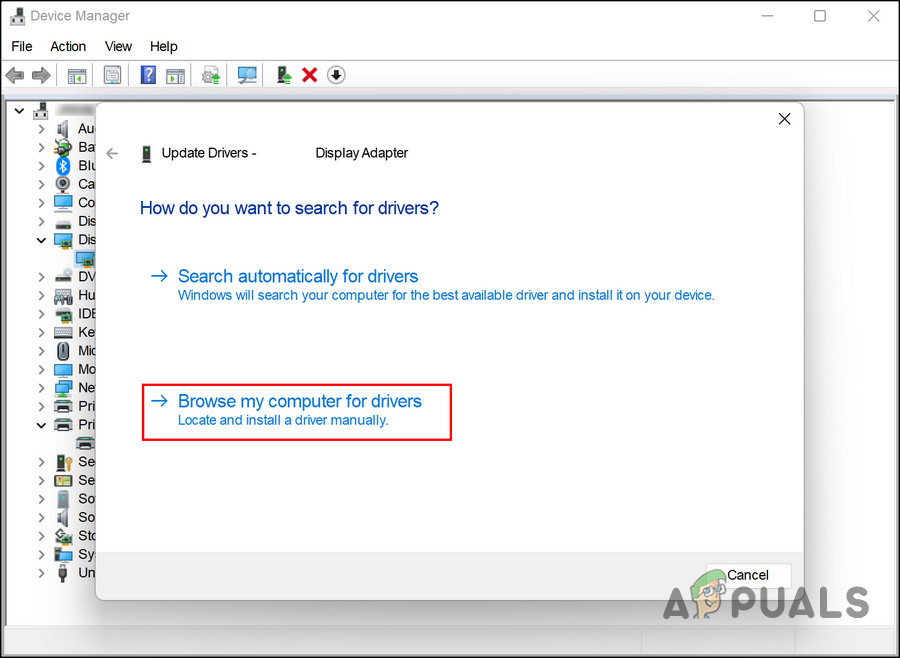
Click on the Browse my computer for drivers option - Navigate to the Nvidia folder and choose the targeted file.
- Wait for the process to complete, and then restart your computer.
- Upon reboot, click on Custom install and check Perform a clean install.
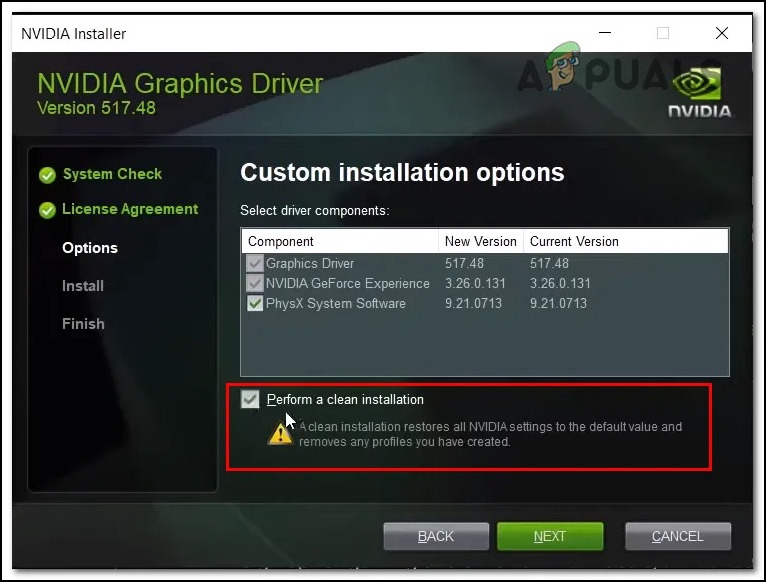
Clean install the driver - Follow the on-screen instructions to complete the process.
6. Roll Back to Windows 10
If you are facing the issue right after upgrading to Windows 11, then you have the option to go back to Windows 10 till Microsoft fixes the issue.
Here is how you can proceed:
- Press the Win + I keys together to open the Settings app.
- Navigate to System > Recovery.
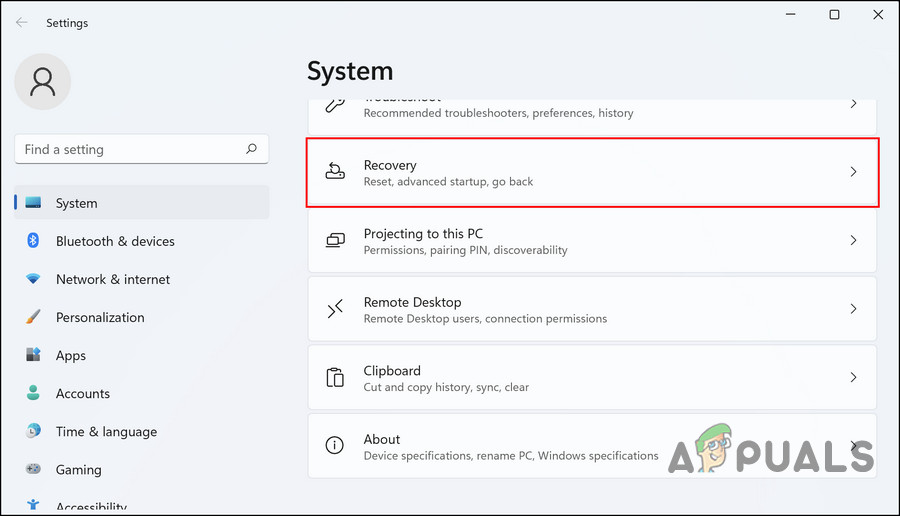
Click on the Recovery option - Scroll down to the Recovery options section and click on the Go back button with the previous available Windows version.

Click on the Go back button - The following dialog will allow you to specify the reason for going back to an older Windows version.
- You can now decide if you want to update the OS as well.
- Click Next.
- Click the Go back to earlier build button and wait for it to complete.
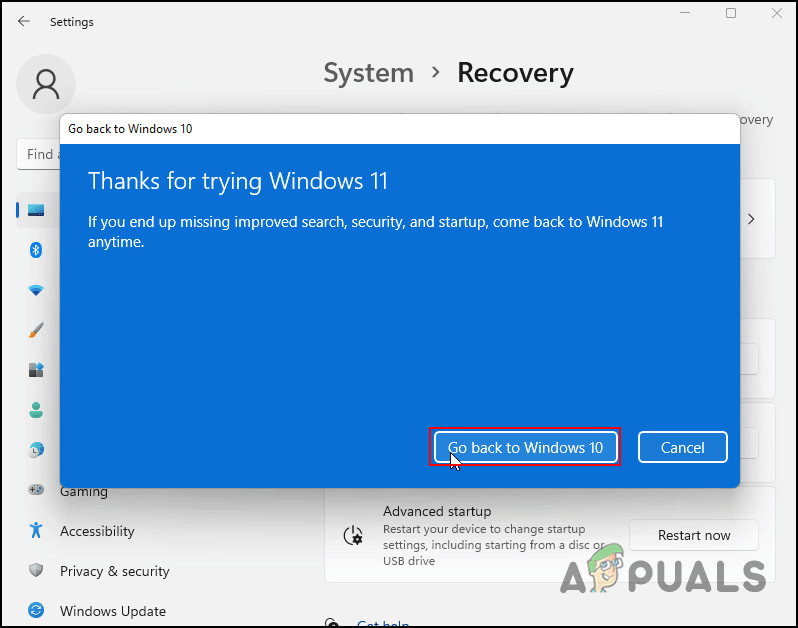
Go back to Windows 10