How to Remove Thermal Paste of your CPU or GPU?
Thermal paste is an important thing if you want to have optimal cooling for your CPU or your GPU. It transfers heat in an efficient way from the processor to the heatsink or the base of the cooler of your CPU/GPU. Thermal paste works, in the same way, no matter which type of cooler you are using for your CPU, may it be an air cooler, AIO cooler or a liquid cooler. What it does is that it works around the atomic imperfections of the microprocessor, and transfers the heat that may otherwise be entrapped in it or any hot particles of air.
It is always a good idea to change the thermal paste of your CPU after a year or so as the thermal paste already on your CPU might have decayed over time and is not in a good working condition to dissipate heat to the base of your CPU cooler/heatsink.

Removing thermal paste from your GPU is also a good way to decrease the temps of your GPU and improve the lifespan of it but it’s a bit more challenging task than changing the thermal paste of your CPU.
Over time, if you have not changed the thermal paste on your CPU, you might notice an increase in the temperatures of your CPU while gaming or on an extra load, and the fans in your computer would run faster than usual. That’s when you should get a hint that it’s the right time to change the thermal paste. An older thermal paste gets hard and is not just good for the job it is meant to do.
So, in this article, we are going to show you how to do that, to remove an older thermal paste from your CPU/GPU with a new one. But for that, there are some prerequisites first, and you might have guessed it right, you need a thermal paste and a screwdriver.
Prerequisites
As it turns out, in order to be able to remove your thermal paste, you would need a good quality thermal paste that you can replace it with, and there are many good thermal paste brands out there but we would recommend getting an Arctic thermal paste or Noctua. In addition, you would need a cloth or cotton earbuds that will do the job as well. On top of that, you are going to need alcohol to wipe off the current thermal compound from the chip. If you have all of that covered, you are ready to get started.
How to Remove Thermal Compound from CPU?
To get started with removing the thermal paste from your CPU, follow the instructions given down below:
- First of all, make sure that your PC is powered off.
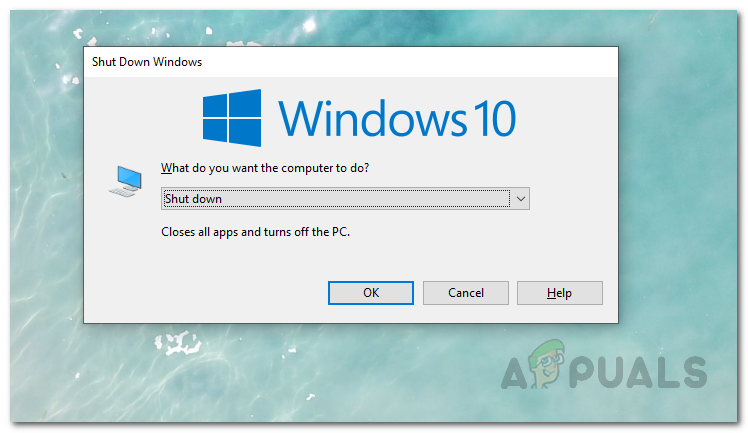
Powering off Windows - After you have powered off your system, go ahead and unplug your computer.
- Once you have done that, you need to open the case of your computer or if you are using a laptop, unscrew the screws of your laptop chassis.
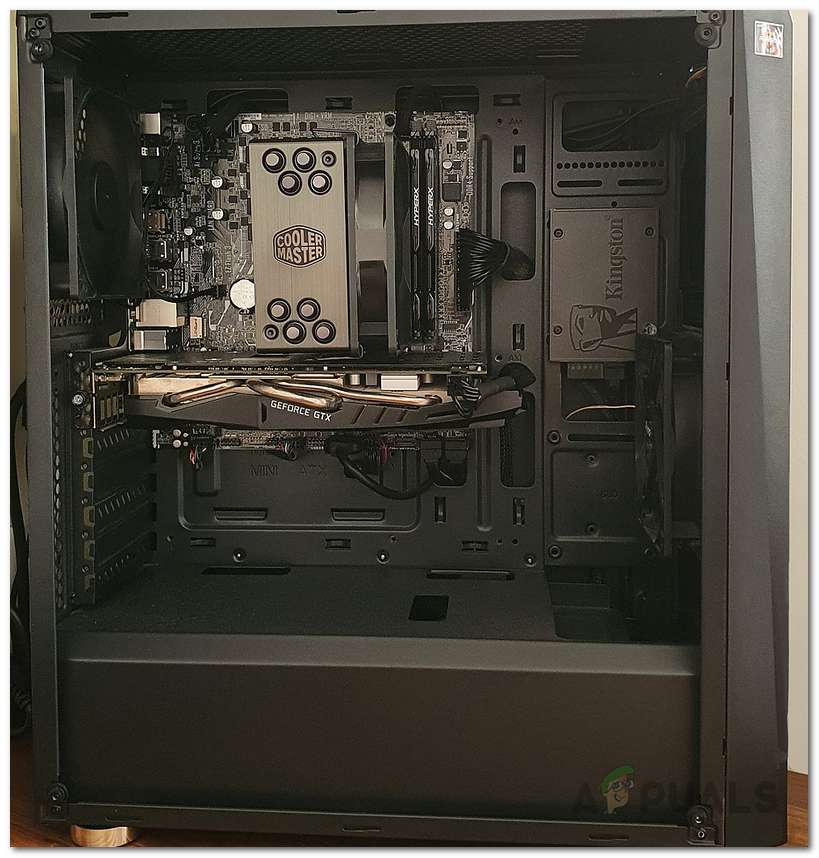
Opened CPU CASE - Next, umount the CPU cooler/heatsink from the CPU. If you don’t know what a cooler looks like, look for a big thing in the middle of your motherboard. That’s probably your cooler.
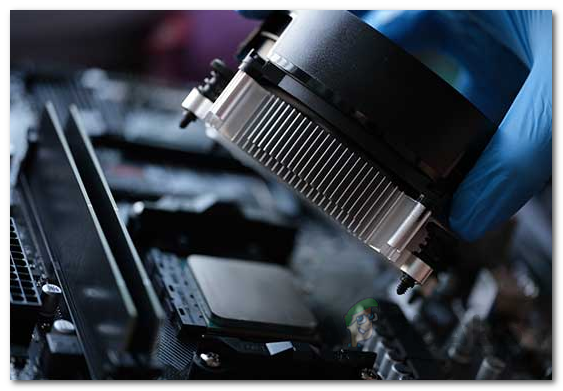
Removing the CPU Cooler - Now, get some alcohol if you have any lying around, and tissue paper. Dip the tissue in the alcohol and rub it gently on the backside of your CPU cooler (you would see the existing thermal paste on it if it hasn’t worn out completely).
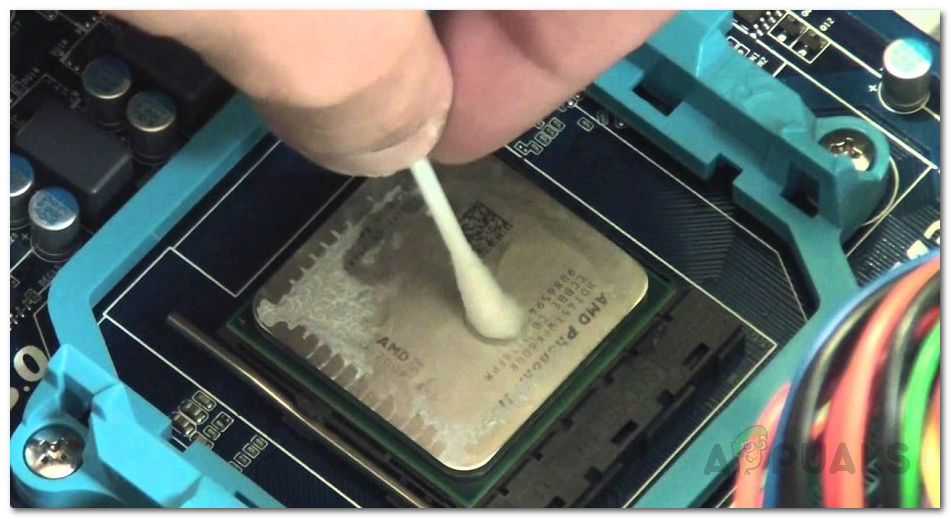
Cleaning off the Thermal Paste - Rub it till it is clean and there is no sign of existing thermal paste.
- Afterwards, take the thermal paste that you have and put it on the CPU. To do that, you have to not put too much on the cpu, and a little cross on the cpu is enough.
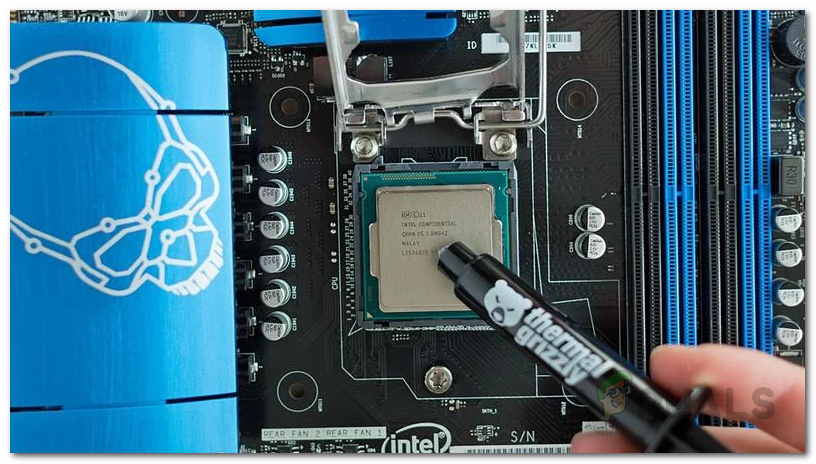
Applying New Thermal Paste on CPU - If you want you can take a small paint brush and spread the thermal paste on your CPU so that it is equally distributed on the chip.
- Afterwards, mount the CPU cooler back on the CPU by screwing it in the holes that you removed it from.
- That’s it, you are done. You have successfully removed the thermal paste from your CPU and installed/put a new one. The temperatures in your gaming would be better now and the temps on harsh load would be good too.
How to Remove Thermal Paste from GPU?
The process of removing thermal paste from your GPU is very delicate and you have to be careful to not mess things around as if done wrongly, you can brick up your GPU. With that said, follow the instructions given down below to remove the thermal paste from your GPU:
- First of all, remove the case of your computer.
- Once you have done that, unplug the power cables connected to your GPU.
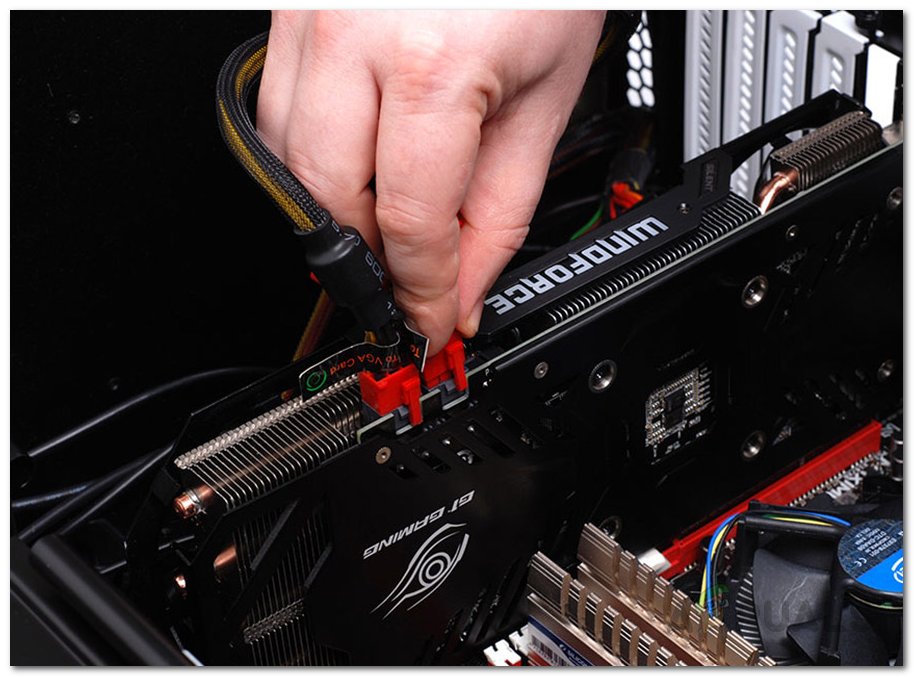
Removing GPU Power Cables - Now that you have unplugged your GPU, go ahead and unmount your GPU from the PCI Express Socket.
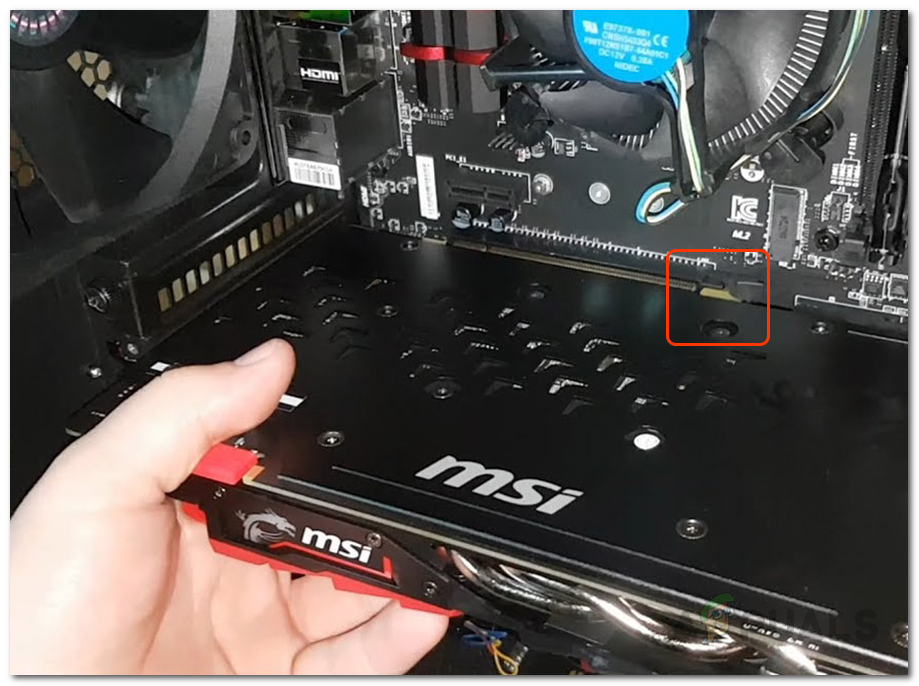
Unmounting GPU - Afterwards, you need to remove the fans and the heatsink from your GPU.
- Look for the screws which are screwed in the heatsink/cooler to your GPU. Then unscrew only those screws, not the others.
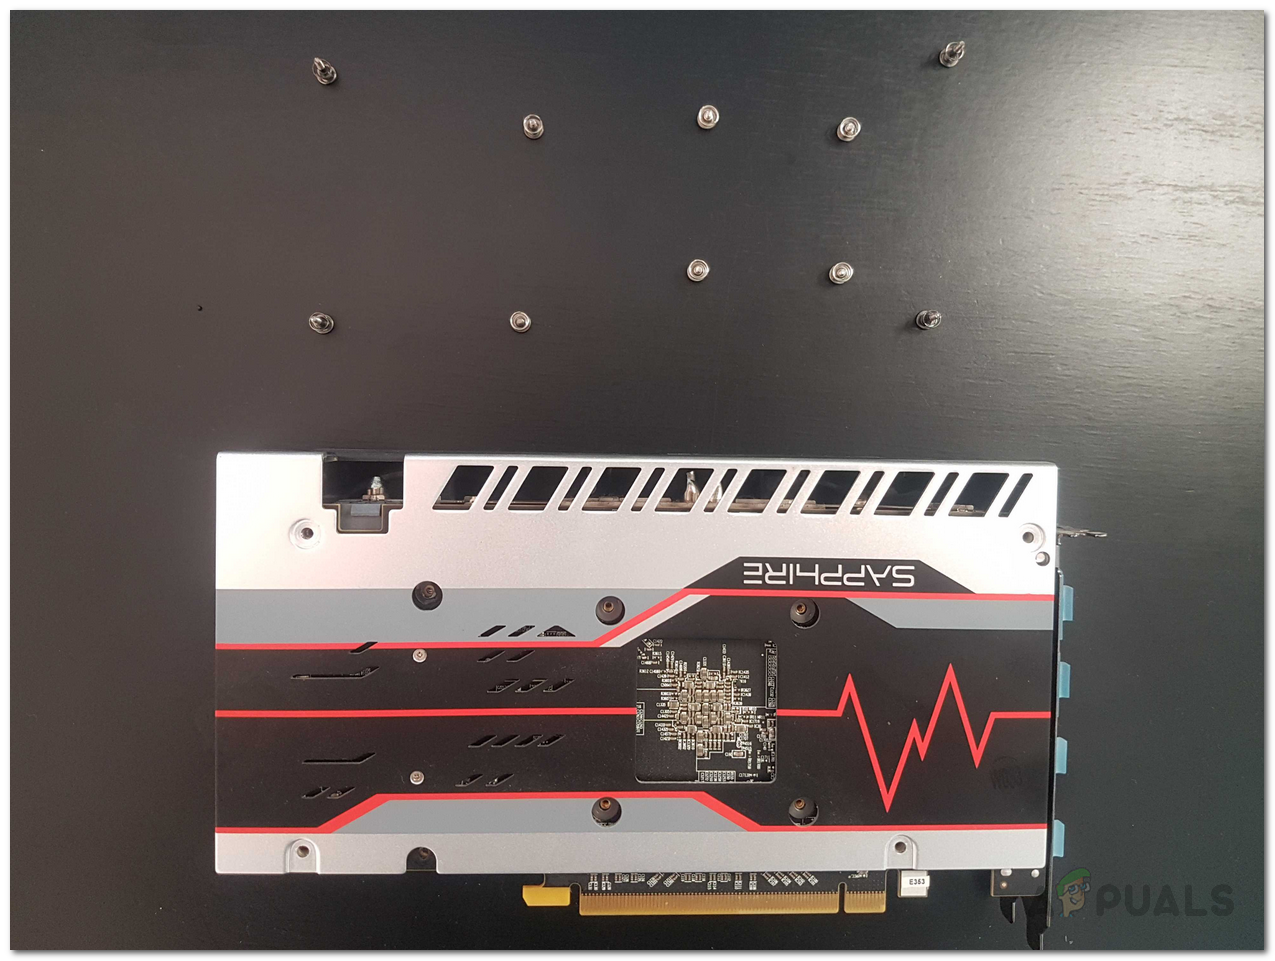
Unscrewing GPU Heat Sink - When you do it, remove the heatsink/cooler and you would see your GPU without the cooler. It would be a thin metallic plate with some chips on it and in the middle, you would see the microprocessor of your GPU which would have some thermal paste on it already if not worn out.
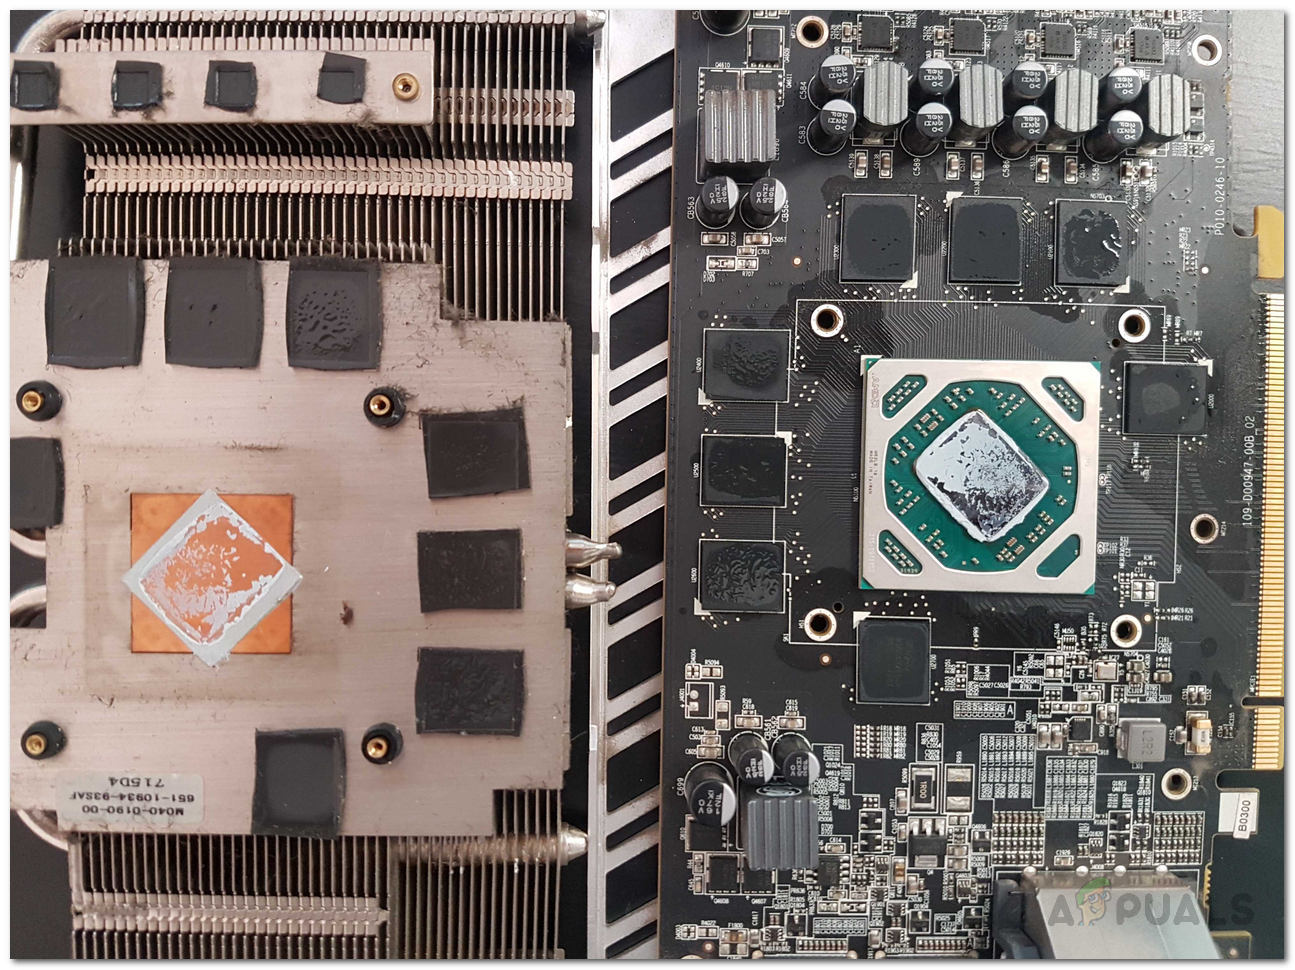
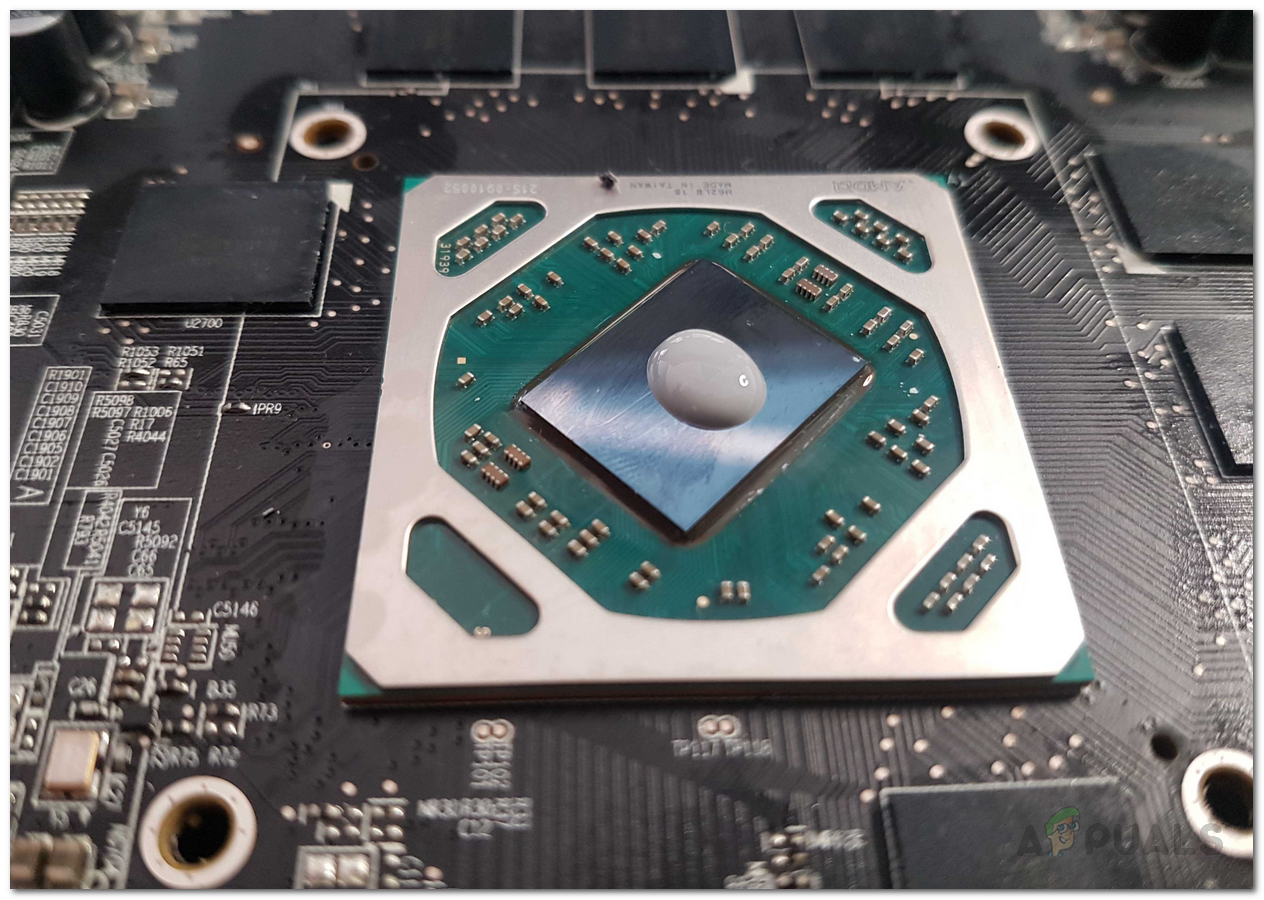
Unscrewed Heat Sink from GPU - Then, get a tissue paper or a paper roll, dip it in some alcohol and rub it gently on the microprocessor chip till it is clean. Afterwards, apply the new thermal paste on it by doing a small X (don’t overdo the thermal paste).
Applying New Thermal Paste - Then screw in the heatsink/cooler back on your GPU. To do that, just screw in the screws you already removed.
- Now mount your GPU back on the PCI Express Socket and you are done.
- That’s about it, you are done. Next, do some gaming and check the new temperatures. They would have decreased by some margin and if the previous thermal paste had really worn out, the temps would have improved a lot.
Remember to change the thermal paste after a year or two. That way, you would increase the lifespan of your CPU and GPU. Plus, who doesn’t like good temperatures while gaming?