How to Remove Security Tab from Files and Folders Properties?
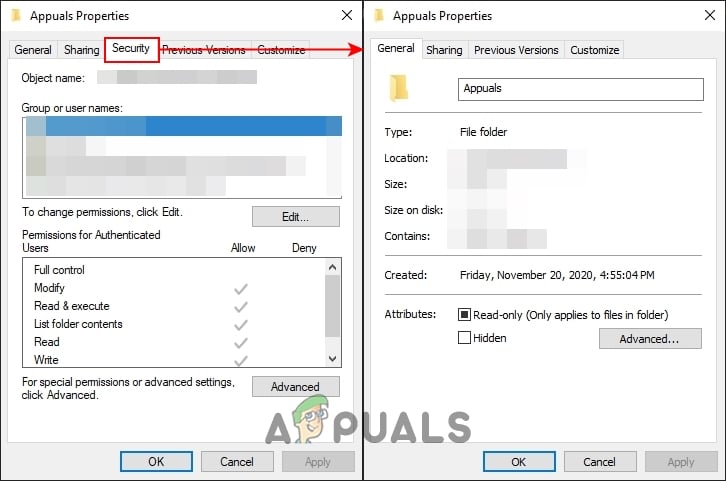
In Windows operating system, you can set security permissions for files and folders by using the security tab. The security tab can be found in the properties window of a file or folder. An administrator can change the owner of the file/folder or modify permissions such as full control or limited control. The users that don’t have permissions will be unable to access that file or folder. Sometimes the Security tab may be missing or the administrator would want to remove the security tab so other users won’t be able to view it. In this article, we will show you the methods through which you can easily remove the security tab from the properties dialog window.
Removing Security Tab from Properties Windows
The Security tab can be used to modify the permissions of that file or folder. When a system is shared among multiple users, then the owner of the file would want to limit the permission for other users. However, other users can access this security tab too. They can also modify the permissions to get access to the file or even change the owner for it. It is best to remove the security tab from the properties window.
This setting can be configured in the Local Group Policy Editor. However, since the Local Group Policy Editor isn’t available in all versions of Windows, we have also included the Registry Editor method.
Removing Security Tab through the Local Group Policy Editor
The Group Policy is a Windows feature that provides different types of advanced settings for the operating system. It has all those settings that cannot be found in the Control Panel or Settings app. Changing the policy setting will also change the registry values in the background.
The Local Group Policy Editor isn’t designed for Windows Home users, so it is only available on Ultimate, Professional, and Enterprise versions of Windows. If you are using Windows Home, then skip to the Registry method.
- Open a Run dialog by holding the Windows key and pressing R on your keyboard. In the text field of the Run dialog, type “gpedit.msc” and press the Enter key. This will open the Local Group Policy Editor window on your system.
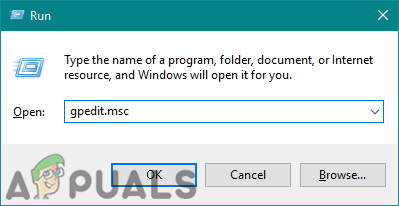
Opening Local Group Policy Editor - Expand the User Configuration and navigate to the following setting:
User Configuration\Administrative Templates\Windows Components\File Explorer\
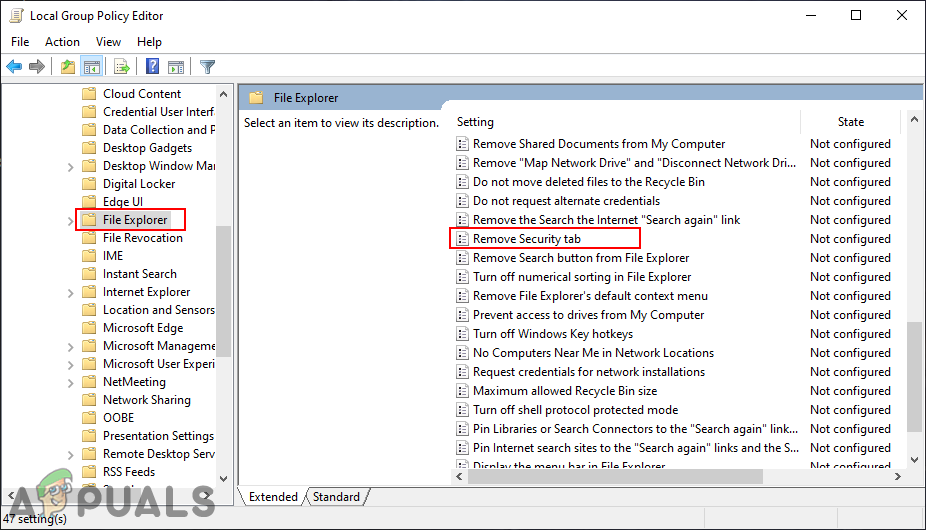
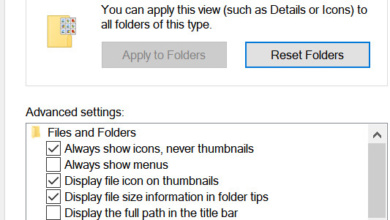
Navigating to the setting in the Group Policy Editor - Double-click on the setting named “Remove Security tab” and it will open in another window. Now change the toggle option to Enabled and click the Ok button to save changes.
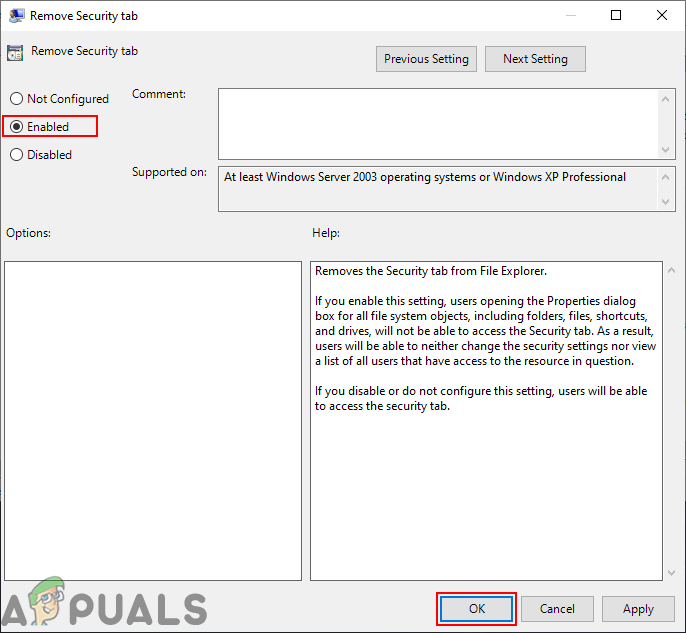
Enabling the setting to remove the security tab - This will remove the security tab from the properties windows of all files and folders.
- To enable it back, you need to change the toggle option in step 3 back to Not Configured or Disabled.
Removing Security Tab through the Registry Editor
The Registry is a hierarchical database used to store information that is necessary to configure the system for one or more users. The Registry contains keys and values which are similar to the folders and files. Each value in the Registry Editor contains instructions that applications and Windows refer to. Just to be safe, you can create a backup for making any changes in the Registry Editor. Follow the below steps to remove the security tab by using the Registry Editor:
- Open a Run dialog by holding the Windows key and pressing R on your keyboard. To open Registry Editor, type “regedit” and press the Enter key. Choose the Yes option for UAC prompt.
Opening the Registry Editor - Now go to the following key in the Registry Editor:
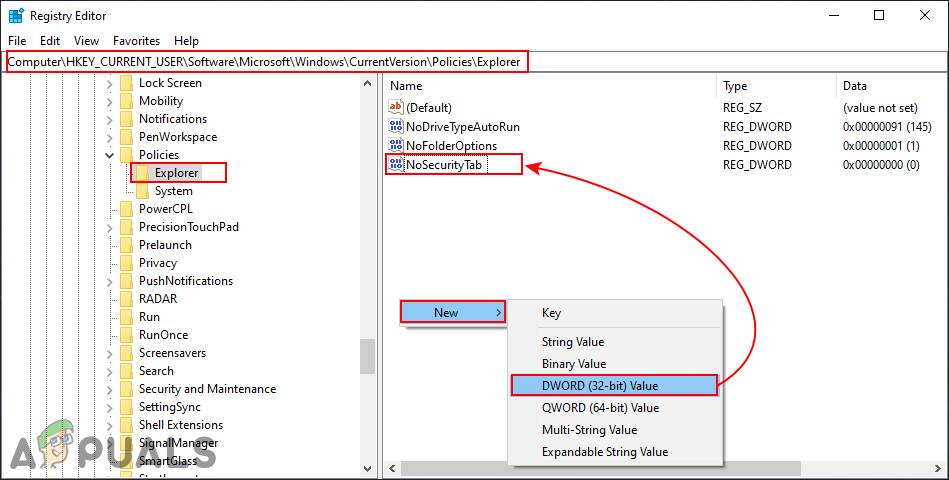
HKEY_CURRENT_USER\Software\Microsoft\Windows\CurrentVersion\Policies\Explorer
- Right-click on the right pane of Explorer key and choose New > DWORD (32-bit) Value. Name the value as “NoSecurityTab” and save it.
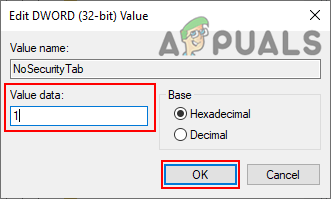
Creating a new value under the Explorer key - Double-click on the NoSecurityTab and it will open a dialog. Change the value data to 1 and click on the Ok button.
Enabling the value to remove the security tab - After all the steps, you need to restart your computer to apply the changes.
- To enable the security tab back on your system, just change the value data back to 0 or simply delete the value in your Registry Editor.