[9 Fixes] Microsoft Store Sign in Error PUR-AuthenticationFailure
The following guide will show you how to fix the PUR-AuthenticationFailure Error.
Workaround: Purchase from the Official Microsoft Website
If you are unable to purchase an application from the Microsoft Store, then as a workaround, you can purchase the application from the Official Microsoft Website. Follow the steps below to see how to purchase applications from the MS Website:
- Open the Official Microsoft Website.
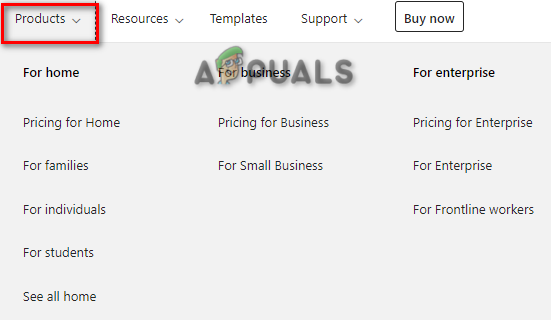
- Open the products tab by clicking on the “Products” header at the top of the page.
- Select the type of application you want to purchase and click on it (for example For Home > For Individuals).
Choosing an application to purchase - Choose which type of purchase you want by clicking on any one of the options given under “Find the right plan for you”.

Selecting the type of purchase - Purchase the application by clicking on the “Buy Now” option.
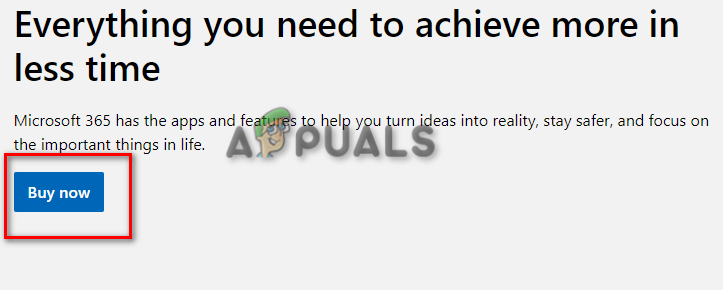
Purchasing Application
1. Run the Windows Store Troubleshooter
Troubleshooter is a built-in feature on Windows that allows you to detect the problem that may be causing an error. Therefore, you must run the Windows Store Troubleshooter and detect the issue that is causing the error to occur. The Windows Store Troubleshooter can be performed as follows:
- Open the Windows Settings by pressing the Win + I keys together.
- Navigate to System > Troubleshooter.
- Scroll down and click on the “Windows Store App” option at the end.
- Run the Windows Store Troubleshooter by clicking on the “Run the troubleshooter” option.
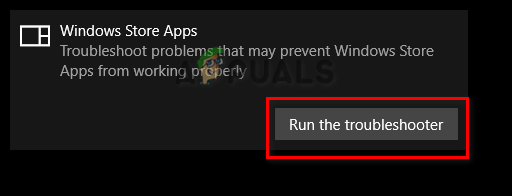
Running Windows Store troubleshooter - After the problems have been detected, choose the accurate solution (In this case, resetting the Windows Store App).
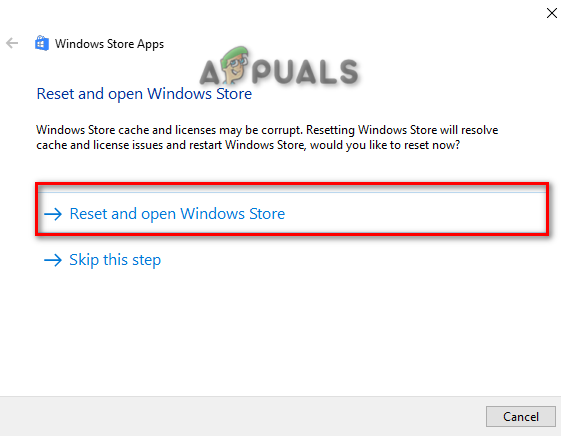
Resetting Windows Store
2. Change your Current Region
One of the major reasons why you are facing the error is that the region of your Microsoft Account is different from the region on your system. This will create interference in your purchase. Therefore, you must change the region on your system to the region on your Microsoft Account before purchasing or installing any applications. Follow the steps below to see how to change your region in Windows:
- Open the Windows Settings by pressing the Win + I keys together.
- Navigate to Time and Language > Region and Language > Country or region.
- Now click on the downwards arrow option to open the drop menu.
- Manually change the region according to your Microsoft Account and then try installing or purchasing the application.
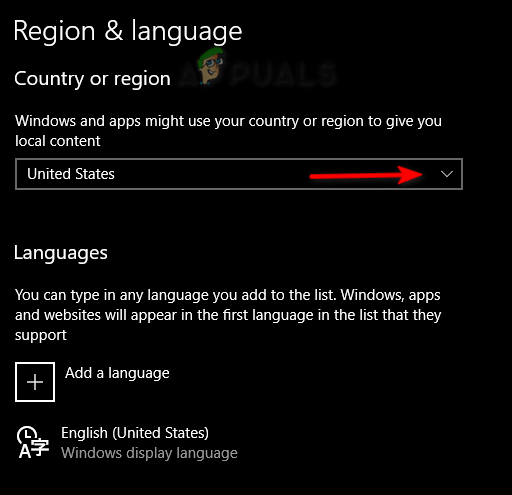
Changing the Windows Region
3. Reset Microsoft Store Cache
A corrupted Microsoft store cache can also be one of the reasons that lead to the PUR-AuthenticationFailure Error. Therefore to prevent the cache from being corrupted, you must Reset the Store Cache. Follow the steps below to see how to Reset the Microsoft Store Cache:
- Open the Windows Start Menu by pressing the Win keys.
- Reset the Store Cache by typing “wsreset” in the windows search bar and clicking on the run command option.
- Relaunch the Microsoft Store to see if this fixes the error.
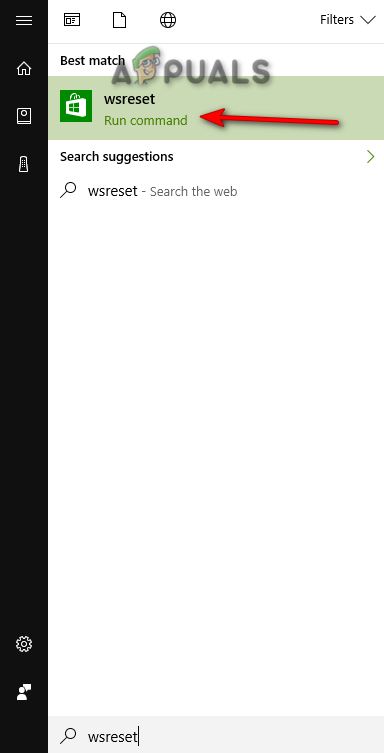
Resetting Microsoft Store Cache
4. Turn off Proxy Server
Proxy servers help in protecting your online privacy. However, they can also interfere with the Microsoft Store and thus leading to an error that prevents you from purchasing applications. Therefore, to prevent this from happening, you must turn off the Proxy Server from your Windows. You can see below how to turn off the proxy servers:
- Open the Windows Settings by pressing the Win + I keys together.
- Navigate to Network and Internet > Proxy.
- Now, Turn off the Automatic detect settings under “Automatic proxy setup.”
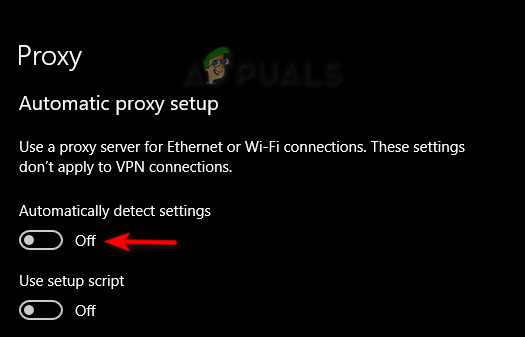
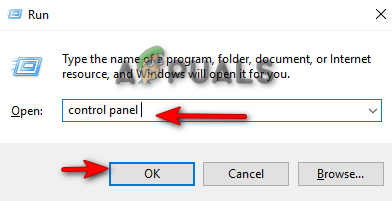
Turning off the Proxy server - Open the Run command by pressing the Win + R keys together.
- Open the Control Panel by typing “Control Panel” in the search box and clicking OK.
Opening the Control Panel - Now, navigate to Network and Internet > Internet Options.
- Open the LAN settings by clicking on the Connections tab and the LAN Settings option.
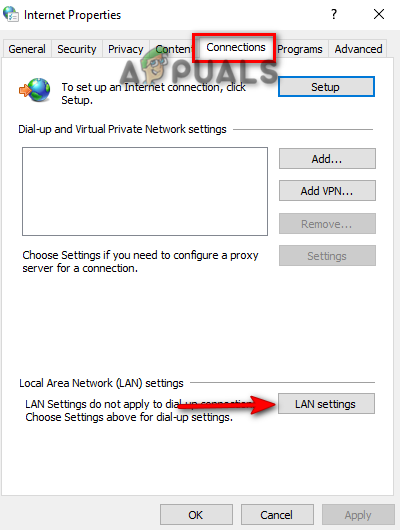
Opening the LAN Settings - Uncheck the “Use a proxy server for LAN” box under the proxy server.
- Click OK and try purchasing the application.
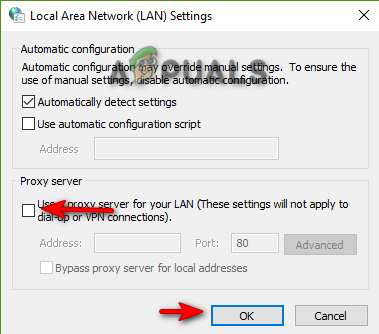
Turning off the Proxy server for LAN
5. Update your Windows
Having an outdated Windows will also lead to this error as an older version of Windows doesn’t support the Microsoft Store Purchase. Therefore, you must update the current Windows to make your system applicable to purchasing the application from the Store. With the instructions given below, you can perform the Windows Update:
- Open the Windows Settings by pressing the Win + I keys together.
- Navigate to Windows Update and Security > Windows Security.
- Click on the “Check for Updates” option.
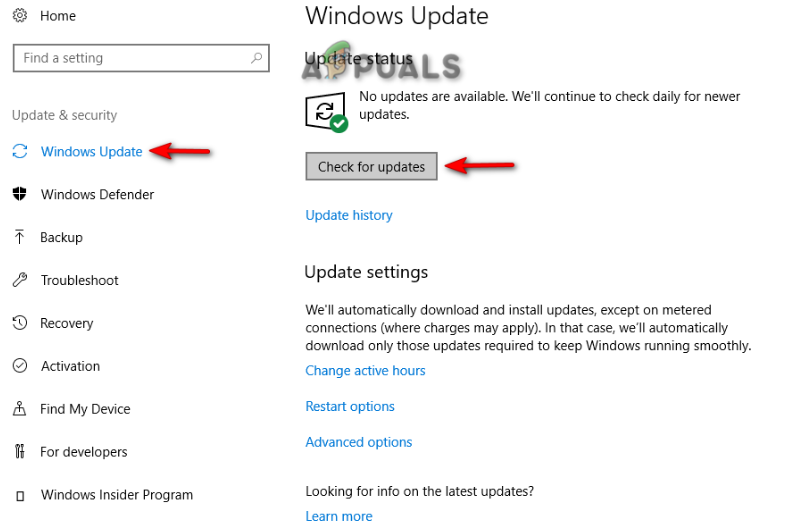
Checking an available Windows Update - If a Windows Update is available, download it by clicking on the Download option on the page.
- After Windows has been updated, restart your computer to make the necessary changes.
- Start the Microsoft Store and see if the error is fixed.
- Go to the Official Microsoft Web Page.
- To download the latest Windows Update, click on the “Update Now” option.

Downloading the Latest Windows Update - To Install the update, click on the “Update Now” option on the Windows Update Assistant page.
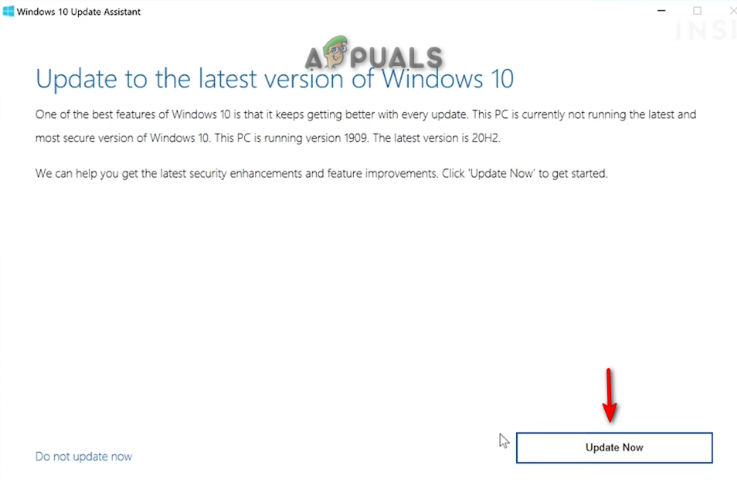
Installing Windows Update - After the installation is completed, restart the computer by clicking on the Restart option.

Restarting the Computer
6. Disable the “Do not save encrypted pages to disk” Option
Another reason for the occurrence of this error is that the Advanced Internet Properties have an enabled “Do not save encrypted pages to disk” option. This option prevents you from installing applications and programs even from secure websites. Therefore, makes sure to disable this option before opening the Microsoft Store. Follow the steps below to learn how to disable this option:
- Open the Run command by pressing the Win + R keys together.
- Open the Control Panel by typing “Control Panel” in the search box and clicking OK.
Opening the Control Panel - Now, navigate to Network and Internet > Internet Options.
- Click on the Advanced tab and scroll down to the Security Settings.
- Now, disable the option by unchecking the “Do not save encrypted pages to disk” box.
- Make the changes by clicking on Apply and OK.
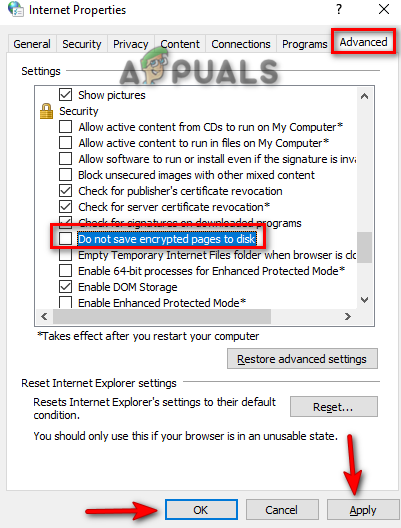
Disabling the Do not save encrypted pages to disk option
7. Enable Microsoft Account Sign-in Assistant Service
A disabled Microsoft Account Sign-in Assistant Service can also be causing the error. However, this service is disabled on all computers by default. Therefore, you must manually enable it to help prevent the error from occurring. Follow the instructions listed below to enable the Microsoft Account Sign-in Assistant Service:
- Type “cmd” and run the command prompt as an administrator by right-clicking on it and selecting “Run as an administrator.”
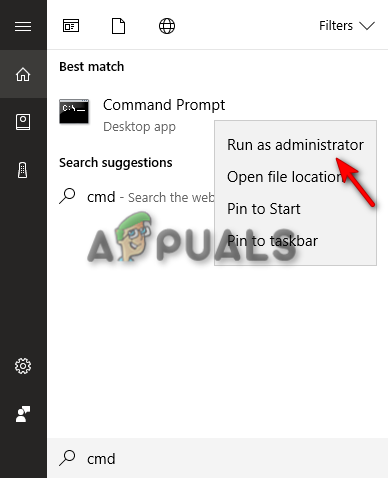
Running the Command Prompt as an administrator - Type the following commands into the command prompt and press Enter:
reg ADD "HKEY_LOCAL_MACHINE\SOFTWARE\Microsoft\PolicyManager\current\device\Accounts" /v AllowMicrosoftAccountSignInAssistant /t REG_DWORD /d 1 /f
sc config wlidsvc start= demand
- After the process is completed, Restart your computer to make the necessary changes.
8. Enable Real-time Protection
Another reason for the occurrence of this error can be associated with viruses and malware. Therefore, you must enable your security software to protect you from harmful malware that is causing this error. To enable real-time protection and get rid of malware and viruses, follow the steps below:
- Open the Windows Settings by pressing the Win + I keys together.
- Now, navigate to Update and security > Windows Security > Virus and threat protection.
- Click on “Manage settings” under Virus and threat protection settings.
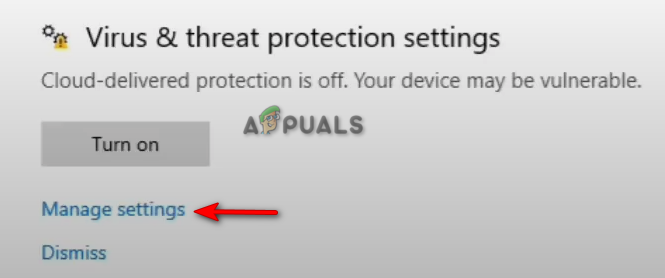
Managing Virus and threat protection settings - Turn on the Real-Time Protection feature from the toggle button.
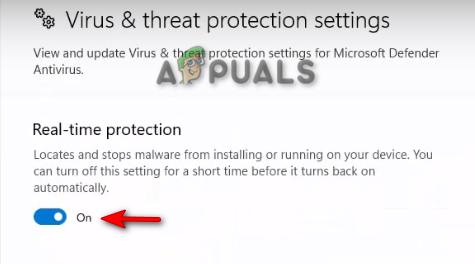
Enabling Real-time protection
Note: Additionally, you can install third-party security Software such as Avast to scan the system and protect your system from harmful malware. However, this option is cost-worthy and requires you to buy the premium version. If you want to continue, follow the methods below to see how to use Avast Antivirus:
- Open Avast Antivirus and navigate to Menu > Settings > Protection > Core Shield.
- To Enable the Avast security feature, turn on the Core-Shield toggle switch.
- Apply the type of sensitivity and let the software protect you from viruses and malware.
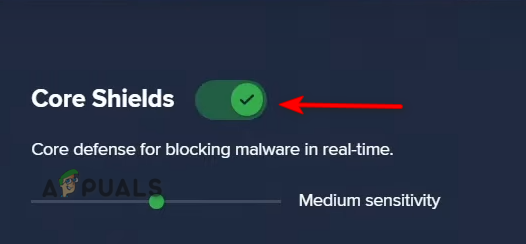
Turning on Avast Core Shield
9. Sign in from a Different Account
If the error still persists, then as a last resort, you must Sign-in from a different account to resolve this error. Using a different account you can purchase your applications from the Microsoft Store. You can Sign in from a different account with the steps listed below:
- Open the Windows Settings by pressing the Win + I keys together.
- Now, navigate to Account > Your Info.
- Click on the “Manage my Microsoft Account” option.
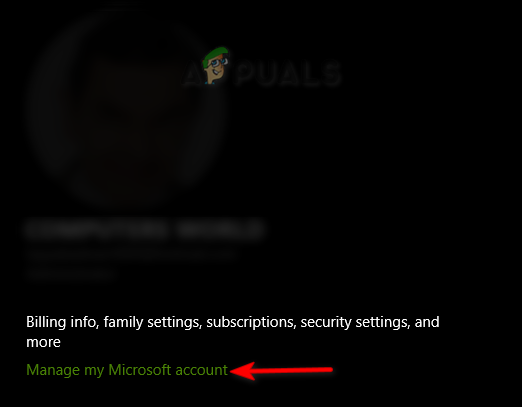
Managing Microsoft Account - Click on the profile picture in the top right corner of the Window and select “Sign-in with a different account.”
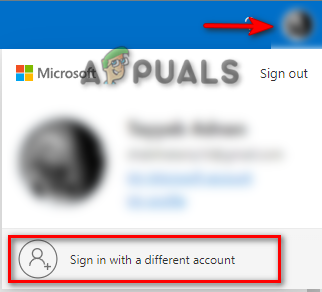
Signing in with a different account
Note: if you do not have another account, you have to Create a New Microsft Account and then sign into it.


