How to Fix PUBG ‘Error [25] BattlEye: Corrupted Data’
Fix: Error [25] BattlEye: Corrupted Data on PUBG
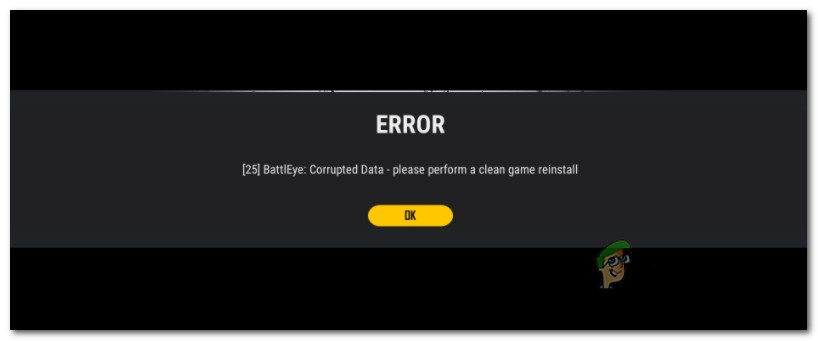
Some PUBG players playing on PC are reporting that they’re essentially unable to complete any match because they get the Error [25] BattlEye: Corrupted Data while they’re in the middle of a multiplayer game. Others users are experiencing this issue at every game startup. The problem is reported to occur on Windows 8.1, Windows 10, and Windows 11.
- Corrupted BattleEye Component – As it turns out, one of the most common causes of this particular issue is some type of corruption that is affecting the BattlEye component. If you’re dealing with this particular scenario, you should start by uninstalling or deleting the BattlEye component, then force an integrity check via Steam (this will force the game launcher to detect the missing component and reinstall it).
- Corrupted PUBG game files – Another potential cause that will spawn this issue is some type of corruption rooting inside the game files. This is likely if you’re experiencing this type of crash while you’re in the middle of an online game. In this case, you should do some house cleaning first and remove any remnant file before uninstalling the game conventionally and clean install it again (after a system reboot)
- Corrupted Steam game dependencies – In certain circumstances, this type of issue can also be caused by file corruption affecting some Steam-related game dependencies. In this case, you should simply uninstall your current version of steam before clean installing the latest version from the official website.
Now that we went over every possible culprit that might produce this issue, let’s take a look over all the potential causes that might ultimately be responsible for this problem:
Delete BattlEye component & Verify the integrity of the game
Since the problem is almost always related to a corrupted BattlEye dependency, you should start this troubleshooting guide by deleting the BattlEye folder and then forcing Steam to perform a game integrity verification
This will prompt the game launcher to recognize that the BattlEye component is missing and reinstall it promptly so it’s reachable the next time you launch the game.
This fix is typically reported to be effective in most scenarios where the game would crash immediately after launch or during an online match.
Follow the instructions below for step-by-step instructions of deleting the BattlEye component before triggering an integrity check:
- First things first, ensure that the game, as well as the Steam client, are completely closed (and not running in the background).
- Next, open File Explorer and navigate to the following location to uninstall the entire BattleEye component:
\Program Files\SteamLibrary\steamapps\common\PUBG\TslGame\Binaries\Win64\BattlEye
- Once you’re inside the correct location, run the Uninstall BattEye executable and follow the on-screen prompts to complete the uninstallation.
Note: If the BattlEye installation is corrupted, you will need an error when uninstalling – in this case, simply select the BattlEye folder delete it conventionally. - Once the folder has been successfully deleted, open your Steam client once again and sign in with your account where you have ownership of PUBG.
- Next, select the Library tab from the horizontal menu at the top, then, right-click on PUBG from the vertical menu on the left and click on Properties from the context menu that just appeared.
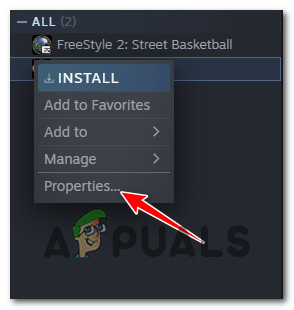
Accessing the Properties menu of PUBG - Once you’re inside the Properties screen, access the Local Files tab from the menu on the left, then click on Verify Integrity of Game Files.
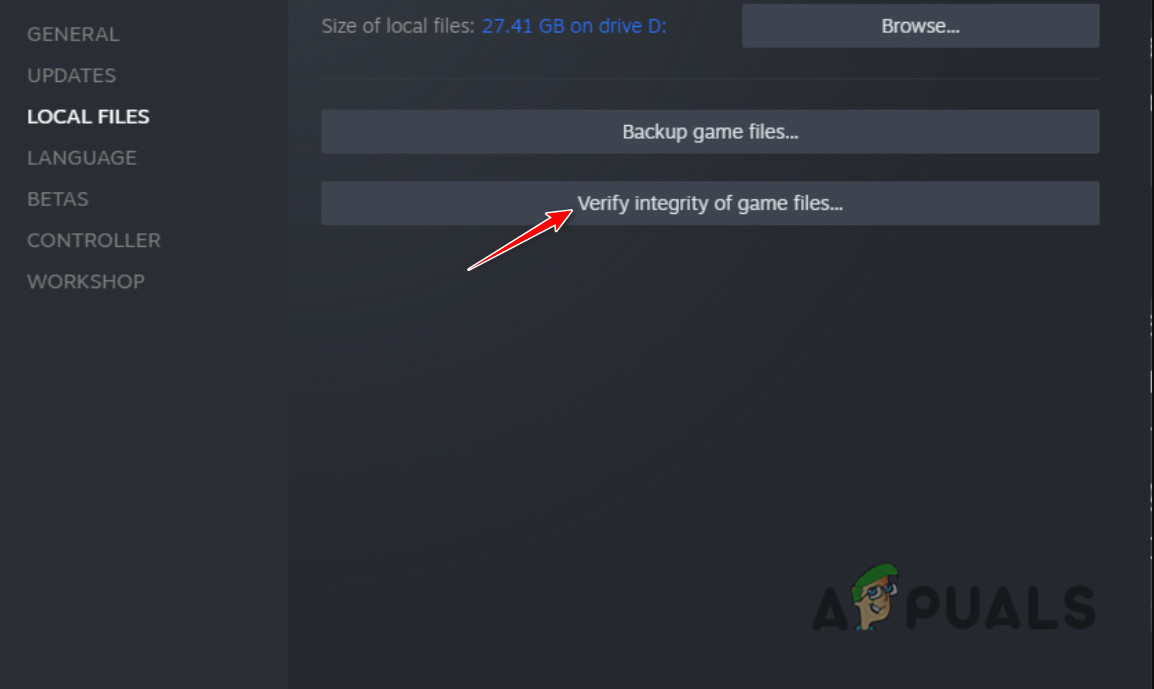
Verify the integrity of the game files - Follow the on-screen instructions to initiate an integrity check, then wait until the operation is complete. This scan should reveal that the BattlEye component is missing – the missing files will be automatically reinstalled.
- Once this operation is complete, reboot your PC and see if the problem is fixed the next time you launch the game.
If the problem is still not fixed, move down to the next potential fix below.
Delete Remnant files & Re-install PUBG in a different location
If uninstalling the BattlEye component and forcing Steam’s integrity check to reinstall it properly didn’t do the trick in your case, the next thing you should do is to do some house-cleaning and get rid of every remnant file of the current PUBG installation before doing a clean install.
This will be effective in fixing those scenarios where the Error [25] BattlEye: Corrupted Data error is occurring due to a corrupted game file rather than a broken game dependency.
Other PUBG players that we’re also dealing with the same kind of issue have confirmed that doing the steps below before actually clean installing the game finally allowed them to participate in online matchmaking without constantly being kicked out of online matches.
Follow the instructions below for specific instructions on how to do this:
- First things first, ensure that neither Steam nor PUBG is running in the background.
- Open File Explorer and navigate to the following location:
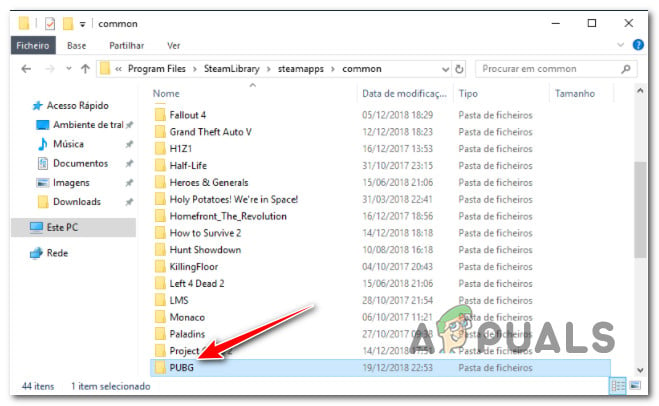
\Program Files\SteamLibrary\steamapps\common\PUBG
- Once you’re inside the correct folder, right-click on the PUBG folder and choose Delete from the context menu to get rid of it.
Delete the PUBG folder - Next, use the same File Explorer window to navigate to the following location:
C:\Users\USERNAME\AppData\Local\TslGame
- Once you’re inside the correct location, right-click on TslGame and choose Delete from the context menu that just appeared.
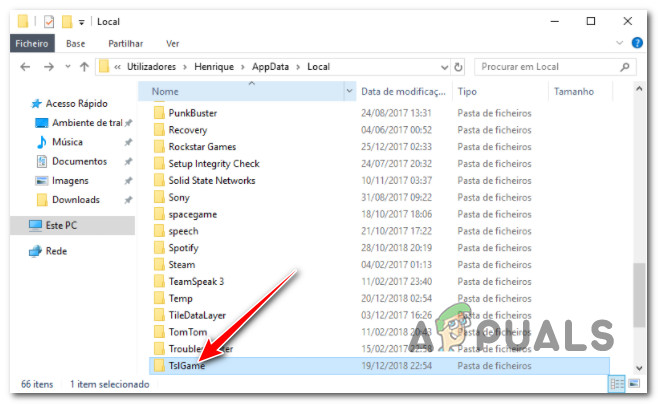
Delete the TSLGame folder - Once the TSLGame folder is deleted, navigate to the following location and see if the BattlEye folder is still present.
C:\Users\USERNAME\AppData\Local\BattlEye
Note: If the folder is still present, right-click on it and choose Delete to remove it.
- Next, navigate to the location of the BattlEye cache folder and delete it too:
C:\Program Files (x86)\Common Files\BattlEye
- Once every directory mentioned above is deleted, close the File Explorer window and press Windows key + R to open up a Run dialog box. Next, type ‘cmd’ and press Ctrl + Shift + Enter to open up an elevated Command Prompt window.
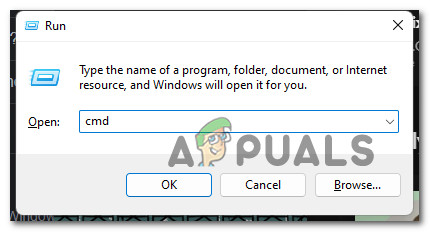
Open up an elevated Command Prompt - If you’re prompted by the User Account Control, click Yes to grant admin access.
- Inside the elevated Command Prompt, type the following command and press Enter to delete the BEservice:
sc delete BEService
Note: This is a sub-service of BattlEye that is used as the main anti-cheat engine in PUBG. Removing it will have no underlying effects over other OS components.
- Once the command has been successfully processed, close the elevated CMD prompt, then press Windows key + R once again to open another Run command. This time, type ‘regedit’ and press Ctrl + Shift + Enter to open up an elevated Registry Editor window.
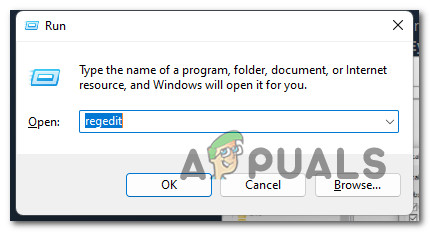
Open up the Regedit Editor - At the User Account Control (UAC) prompt, click Yes to grant admin access.
- Inside the Registry Editor, press Ctrl + F to open up the Find function, then type ‘battleye’ inside the search box and press Find to discover the location of the main BEService.
- Once you manage to discover it, right-click on the main BEService key and choose Delete from the context menu to get rid of it.
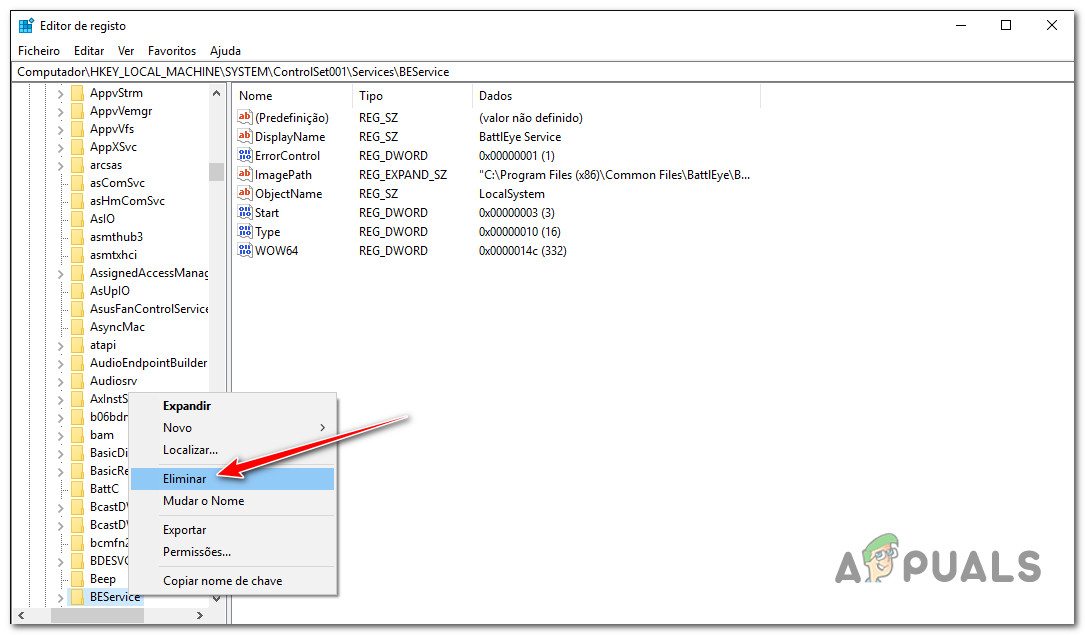
Deleting the BEservice key - Once the reg key associated with BattlEye is deleted, press Window key + R to open up another Run dialog box. Inside, type ‘appwiz.cpl’, then press Enter to open up the Programs and Features menu.
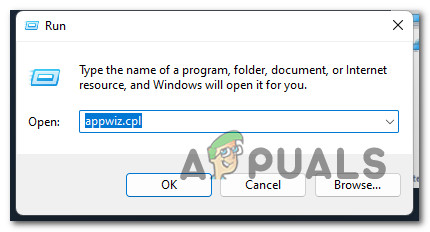
Open up the Programs and Features menu - Inside the Programs and Features menu, scroll down through the list of installed items and locate your PUBG installation. When you locate it, right-click on it and choose Uninstall from the context menu.
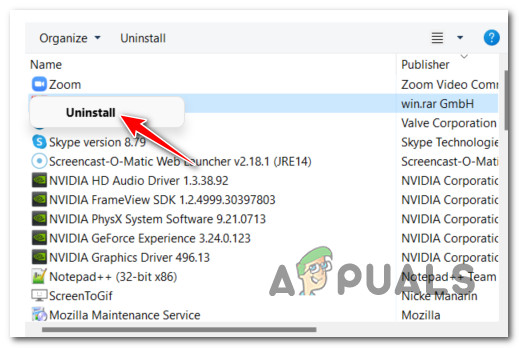
Uninstalling PUBG - Follow the remaining prompts to complete the uninstallation, then reboot your PC and re-install PUBG conventionally once the next startup is complete.
If the same kind of issue is still occurring even after you uninstalled PUBG and removed every remnant file, move down to the next potential fix below.
Reinstall Steam
If the two methods above have not been effective in your case, another possible culprit is a corrupted game dependency – most likely belonging to Steam.
In case the problem is actually caused by Steam, then the two methods above would have no effect since the problem lies with a dependency and not with the game files themselves.
To fix a corrupted Steam dependency, you’ll need to uninstall the client completely and reboot your system before doing a clean install. This method is typically reported to be successful for users that were previously experiencing the Error [25] BattlEye: Corrupted Data error every time they attempted to launch PUBG.
Follow the instructions below for a step-by-step guide on clean installing your Steam launcher:
Note: The instructions below should work on every recent Windows version (Windows 8.1, Windows 10, and Windows 11)
- First things first, ensure that Steam is not open and running in the background.
- Press Windows key + R to open up a Run dialog box. Next, type ‘appwiz.cpl’ inside the text box and press Enter to open up the Programs and Features menu.
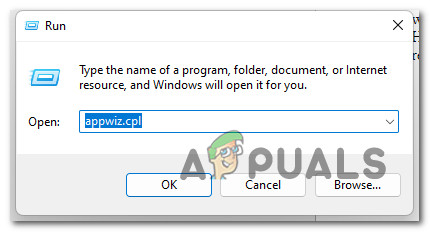
Open up the Programs and Features menu - When you’re prompted by the User Account Control, click Yes to grant admin access.
- Once you’re inside the Programs and Features menu, scroll down through the list of installed programs and locate Steam.
- After you identify the listing associated with Steam, right-click on it and choose Uninstall from the context menu that just appeared.
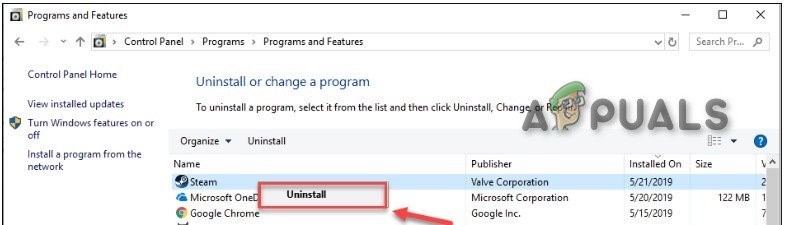
Uninstall Steam - Follow the on-screen instructions to complete the uninstallation of Steam, then reboot your computer.
- Once your PC boots back up, visit the official download page of Steam and download the latest available next client by clicking on Install Steam.
Install Steam - Once the download is complete, double-click on the installer, click Yes at the UAC prompt, then follow the on-screen instructions to complete the installation of Steam.
- Launch PUBG once again and see if the problem is now fixed and you can play an online game without experiencing the ‘Corrupted Data’ error.


