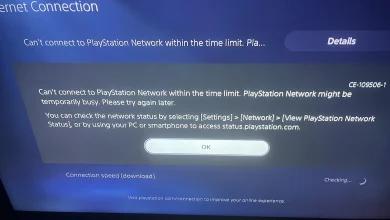
Fix: An error has occurred. (SU-42118-6) on PS4?
PS4 SU-42118-6 is a random update error that occurs at the time of a software update. It stuck the PS4 at the restart loop thereby restricting the PS4 to update to the latest version. The error flashes with a PS4 black screen thereby reflecting a short message referring to “An error has occurred. (SU-42118-6)”. Moreover, it happens randomly and rarely when your PS4 fails to detect the Blu-ray drive. However, this indicates that there is some issue with the main unit and therefore stopping the software update from installing.

The error is quite frustrating and serious at the same time. Therefore, demand for an instant resolution. So, our experts have made our research and come up with this article that covers some effective solutions that will get you out of this annoying error in no time.
But for a better choice of solution, you must know the error causes first. So, below are some major culprits that cause this error to occur on PS4.
What Causes “PS4 Error SU-42118-6”?
- Hardware malfunction- Firstly, if there is any hardware issue or somehow your hardware got corrupted or malfunctioned then you may encounter this problem. Therefore, try dealing with the situation by replacing the hardware or repairing it.
- Software issue- Sometimes a software issue or glitch might trigger such an error on PS4. So, on finding the software to be the culprit of the error, you need to restart your PS4. Restarting most probably fixes the issue by giving it a fresh start.
- Broken Ribbon connector- Broken ribbon connector is one of the major causes behind this error on PS4. If the ribbon is broken, damaged or not connected properly then the console fails to detect the Blu-ray drive. Hereby, make sure that your BD-ROM ribbon should be tightly attached or must be in good condition.
- Outdated system software- If the software you are operating on is not updated for a long time then you may face SU-42118-6 error on PS4. Therefore, it is advised to update your system software timely to avoid facing such error problems.
- Corrupted or damaged hard drive- Also a corrupted or damaged hard drive can be the reason behind such error problems. So, if found such is the case behind the error, deal with the problem either by repairing the problematic hardware or replacing it with a new set.
So, these are some reasons that trigger this error on PS4. Now as you are aware of the causes, you can easily be able to tackle the error in no time with the most effective solutions listed below that work for several affected users.
1. Restart Your PS4
As it has already been mentioned above a software glitch can be the reason for such error occurrence on your PS4. Hereby, you can restart your PS4 to get rid of the error. The restart will give your PS4 a fresh boot thereby solving minor issues on the software. So, to restart your PS4, follow the guides below instructions:
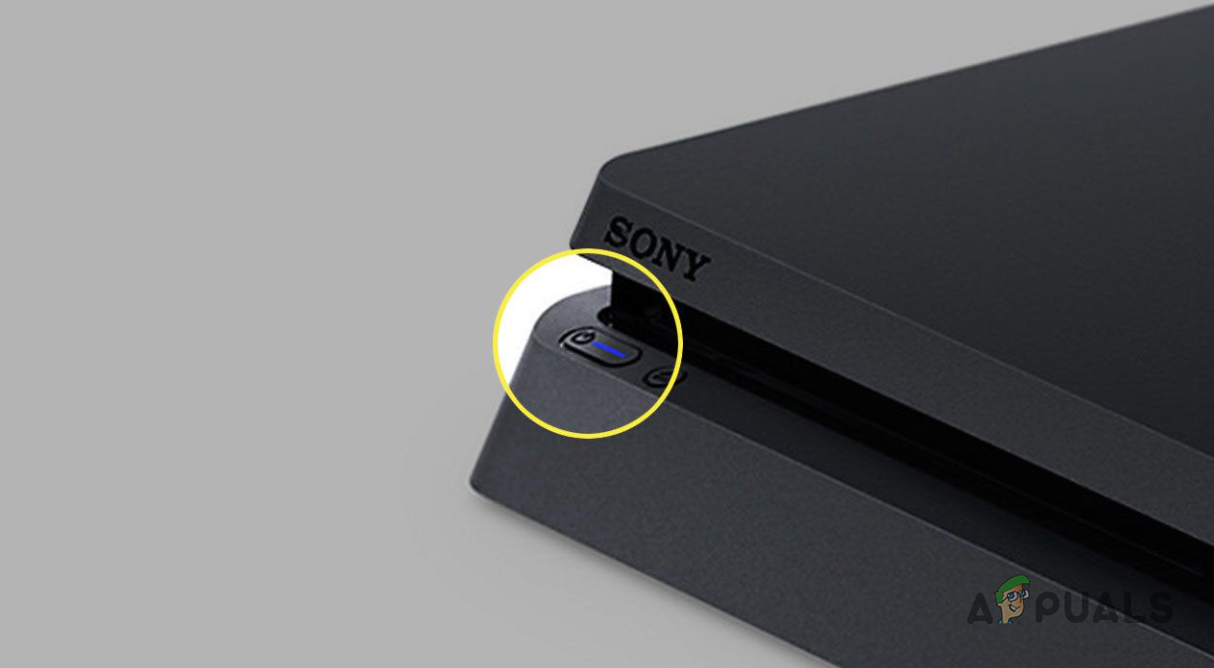
- Firstly, turn off PS4 by long-pressing the Power button until you hear the beep sound.
PS4 Power Button - Then, it will start booting in Safe mode.
- Next, connect the DUALSHOCK 4 using a USB cable & pair it by tapping the PS key on the controller.
- Click Restart PS4 and tap the X key to start the reboot in Safe Mode.
2. Check the Ribbon Connection
Another reason causing this error occurrence is damaged, broken or loose ribbon connection. If the ribbon that connects the Blu-ray drive and your console is broken or not connected properly then it might cause this error to arise on your PS4. Therefore, you can simply fix the error issue by replacing the damaged ribbon with a new one.
Or if found disconnected or not properly connected, try connecting it properly and tightly to avoid getting such errors.
3. Verify the Connected HDMI Cables
Sometimes, connected HDMI cables can also trouble you with this error. So even after following the above fixes, the error problem won’t disappear then it may be because of a damaged or broken HDMI cable. So, checking HDMI cables is worth giving a chance. So, have a quick overlook at your HDMI cables and perform the below instructions:
- Disconnect the HDMI cables both from PS4 & TV.
- Next, wait for 5 at least minutes and then reattach the cables back to PS4 & TV.
- Lastly, boot your gaming console in by clicking the Restart PS4 option.
4. Perform Power Cycle on Your PS4
If your ribbon is connected properly and is in a good condition then you can go for another solution that is power cycling your PS4. At the time of the power cycle, make sure that all your power should be drained. So for this, follow the below-guided steps:
- Long press the PS4 Power button until it shuts down completely.
Press the PS4 Power Button - Disconnect the power cable from the socket & console.
- Next, drain all the remaining power by pressing or tapping the Power button a few times. Doing this will clear out the accumulated cache data.
- Now, wait for 5 minutes at least and reconnect everything back and then try running PS4
5. Restore Your PS4 Default Settings
Another method you can try to resolve PS4 SU-42118-6 is by restoring your PS4 default settings. This worked for several users as this set PS4 to its default state and remove all the modifications that might be conflicting with PS4 latest software update and causing the error. For this, you need to follow the guidelines below as mentioned:
- At first, turn off the PS4 console.
- Next, press the Power button until the console beeps twice.
PS4 Power Button - Connect your controller using a USB cable via safe mode.
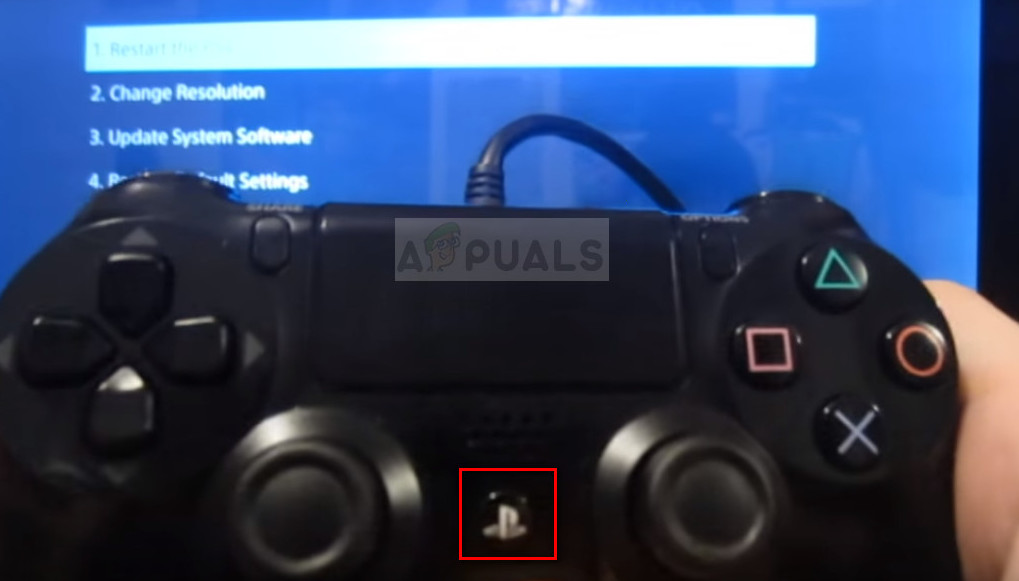
Connect controller to Ps4 via USB cable and press PS button - Pair your PS4 with the console by pressing the PlayStation button.
- Choose the option Restore Default Settings option.

Restore Default Settings of PS4 - At last, tap the Yes and the X button together, and the default settings of your console will be restored back.
6. Replace the Hard Drive
The corrupted or damaged hard drive is one of the reasons triggering such an error on your PS4. So if none of the fixes above solves your error problem then check for any issues on a hard drive. Make sure your hard drive is connected properly and there are no such loose cables or wires.
However, if found faulty, try repairing the hard drive or replacing it with a new one to get rid of the error issue.
7. Update Your System Software
At most times, such error occurs due to outdated system software. Hereby, it is always suggested to have fully updated system software. For this, you need to connect PS4 to the internet and check if there is any update available for system software. To check for system software updates, follow the instructions below:
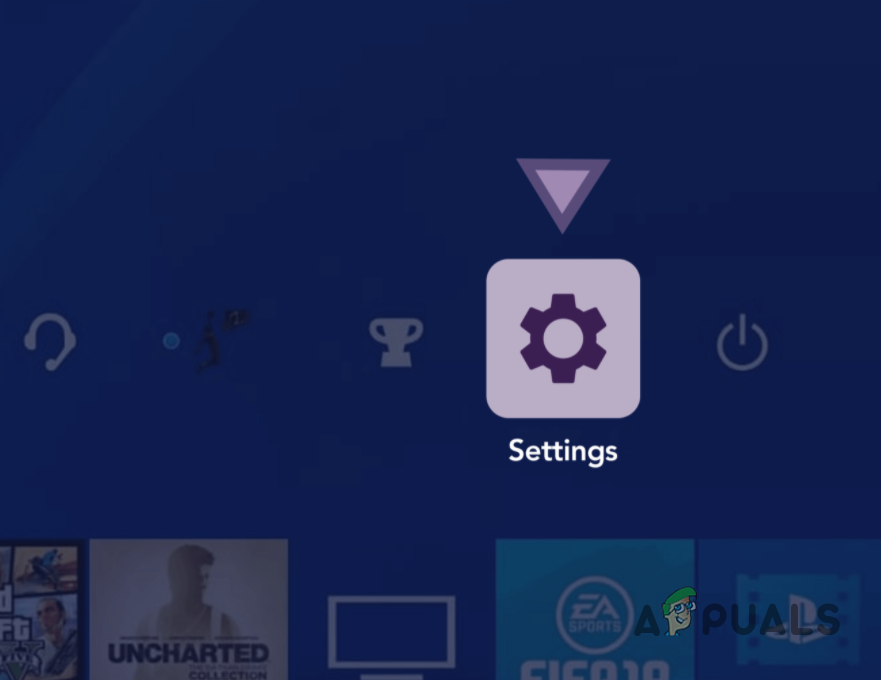
- Visit PS4 Settings.
Opening up Settings Menu - Then, choose the option System.
- Now, click on the Software Update option.
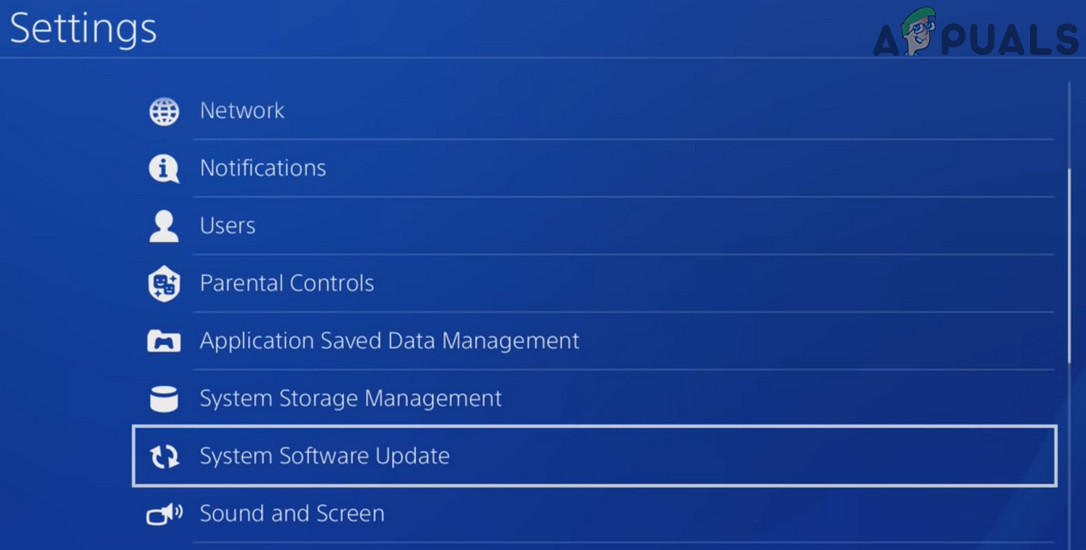
Open System Software Update in the PS4 Settings - And wait until the software gets downloaded and installed.
8. Initialize the PS4 system in Safe Mode
If none of the above-listed fixes works for you then here it is suggested to initialise the PS4 console’s entire system settings. This is just like the factory resetting the console and initialising the entire system settings to their default state. To do so you need an external USB drive and have enough space for storing the PS4 data and also formatted to FAT.
Now follow the steps to back up the PS4 and then initialize PS4 to Safe mode.
- Attach the USB drive to your PS4 console.
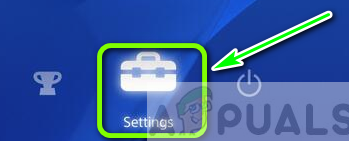
- Go to PS4 Settings and select System.
Accessing the settings menu on Ps4 - Next, click on Backup and Restore and then click on Back Up PS4 options.
- Then, choose the data to keep backup and click Next
- Provide a name to the backup folder and select the option Back Up
- Next, on the controller, press the X button and your backup will initialise.
- Once your backup is completed, disconnect the USB drive from the PS4
- Then, go to PS4 Settings and choose Initialization.
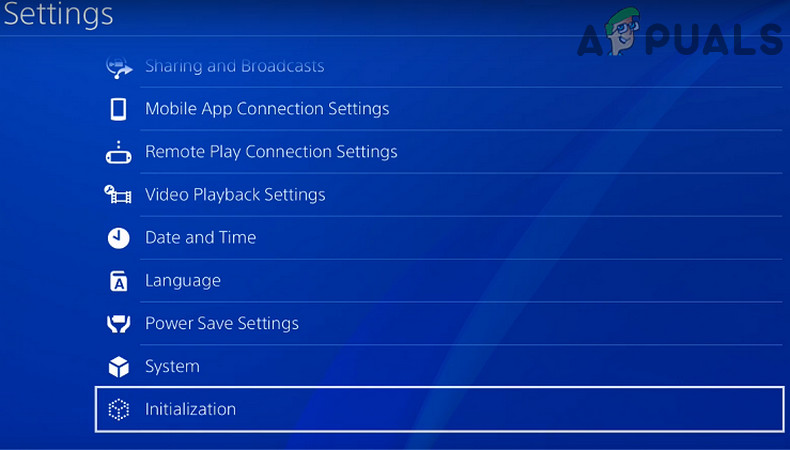
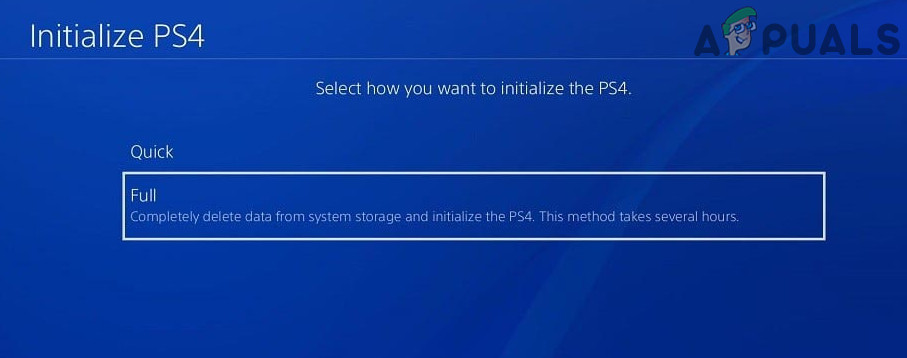
Open Initialization in the Settings of PS4 - Select the option Initialize PS4 and choose Full initialization
Select Full for PS4 Initialization - Lastly, follow the onscreen guide to finish the process.
Now check if the PS4 error SU-42118-6 is fixed or not.
9. Connect with PS4 Support Centre
If none of the above-listed fixes works for you and still unable to install the PS4 update, then here it is suggested to contact the customer support centre of PS4.
There are chances that the problem might be related to the console and the PS4 support will surely help you to fix the problem. So, describe the error properly and create a ticket and wait for their response.
Well, the error is rare yet serious. However, this blog will help you to get past the SU-42118-6 error in PS4 in no time with mentioned effective fixes. I hope the blog comes out to be helpful thereby letting you fix this error issue with the least effort.