FIX: Printer Configuration Problem 0x80070077 on Windows 11
Recently, in Windows 11, some users have been prompted with an error message indicating that their printer has encountered an unexpected configuration issue when attempting to print a document. It occurs when their printers are unable to print anything, and they receive an error message with the error code 0x80070077. There also have been instances where the error code was different, but the error message was the same.

This issue is typically caused due to bugs or corruption errors within the printer, generic glitches, outdated printer drivers, and incorrectly configured printer settings. We have compiled a list of troubleshooting techniques that have worked for several users, no matter what the cause might be. Proceed with the method that suits you the best!
Run the Printer Troubleshooter
When you encounter non-physical printer issues, the Windows printer troubleshooter can come in handy. You can’t use it to solve problems like paper jams, but it can fix problems with communications between your printer and computer.
In the first step of running Printer Troubleshooter, the tool analyzes your situation and determines if any of the predetermined strategies can be applied. If an issue is identified during the scan, the troubleshooter will recommend an automatic fix. Hopefully, this will resolve the issue with minimal hassle.
Here is how you can run the printer troubleshooter:
- Press Windows + R keys simultaneously on your keyboard to open a Run dialog box.
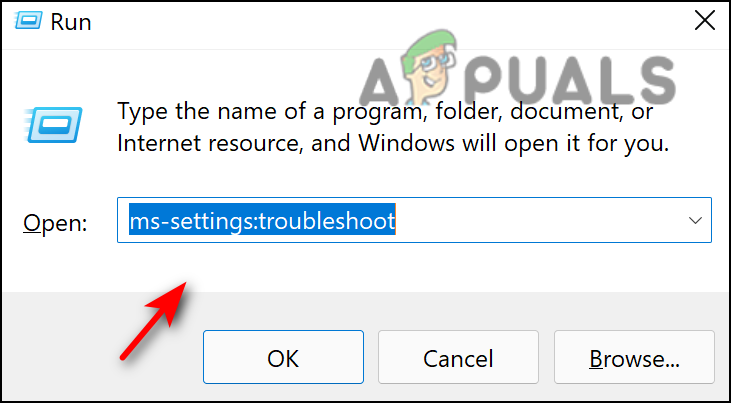
- Inside the text field of the dialog box, type ms-settings:troubleshoot and hit Enter.
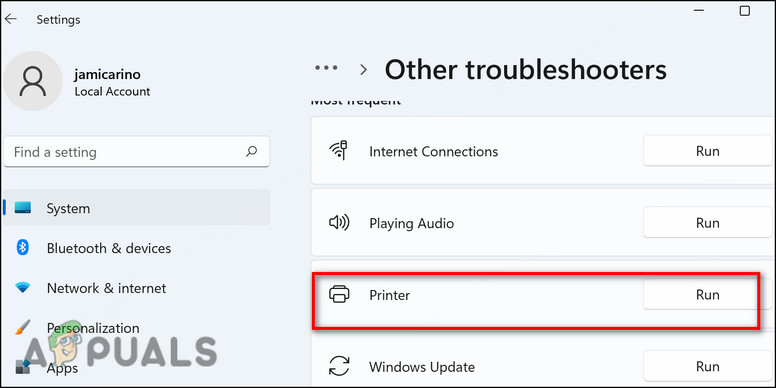
Type ms-settings-troubleshoot - Inside the Troubleshooting tab, click on Other troubleshooters.
- Then, select Printer and hit the Run button associated with it.
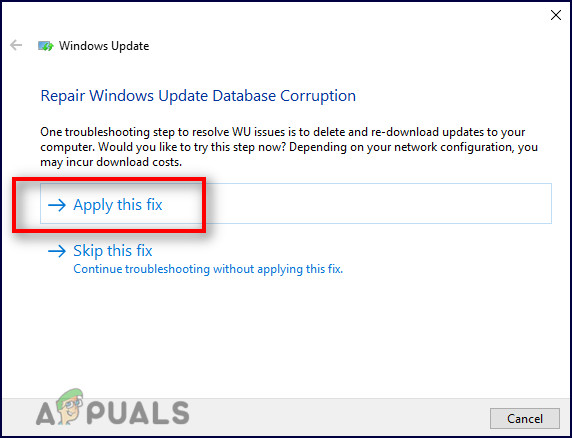
Run printer troubleshoot - Once the initial scanning period has concluded, click on Apply this fix in case a repair strategy has been recommended.
Apply this fix on windows update - When you’re done with the troubleshooting process, close the window and then see if you still encounter the 0x80070077 error message.
Add the Printer Again
The printer entry may also be glitched, resulting in this error message.
Many affected users have reported success by adding the same printer again from the Printers & scanners window. The fix has not caused any conflicts – the only annoyance is your printer will appear twice in Printers & scanners.
Follow these steps to add your printer again:
- Press Windows + R keys simultaneously on your keyboard to open a Run dialog box.
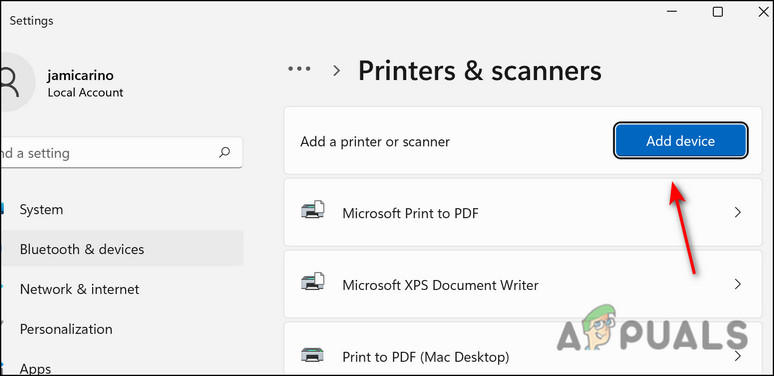
- Inside the text field of the dialog box, type ms-settings:printers and hit Enter to open the Printers & scanners tab of the Settings app.
- Inside the Printers & scanners window, click on Add device.
Add printers - After your printer has been identified again, click on it to complete the process.
- When you have added your printer again, restart your computer and see if you are still experiencing the 0x80070077 problem.
Update Printer Driver
The problem may occur if your printer driver is out of date or if you are using the wrong one. In case Windows Update fails to update the driver automatically, you can also download and install the driver manually.
There may not be auto-updating software available from all manufacturers, so the easiest way to automatically update your printer’s drivers is to uninstall the current version and then find the latest version on the manufacturer’s website.
Here is how you can update your printer driver manually:
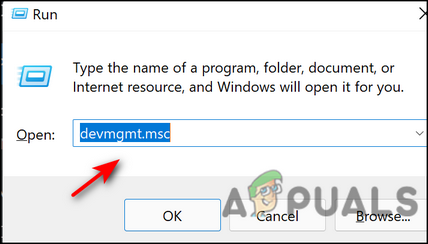
- Press Windows + R keys simultaneously on your keyboard to open a Run dialog box.
- Inside the text field of the dialog box, type devmgmt.msc and hit Enter to launch the Device Manager.
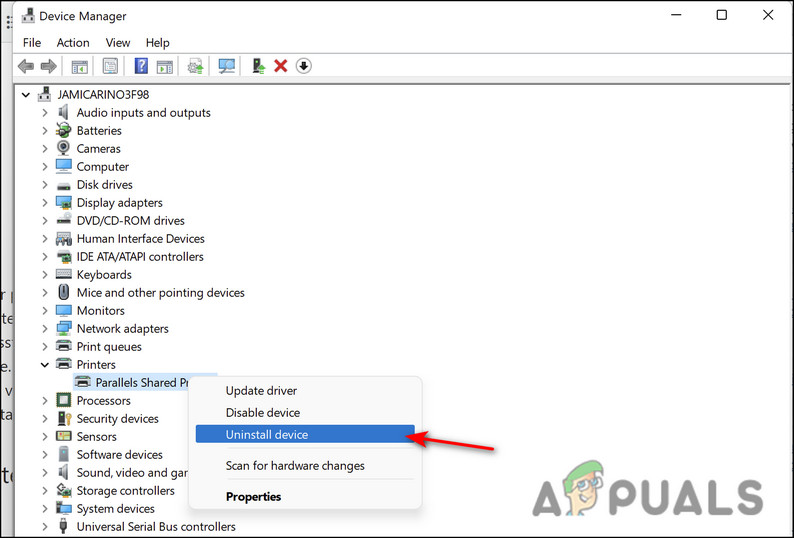
Run devmgmt msc 11 - Expand the Printers (or print queue) drop-down menu.
- Right-click on the printer that has problems and select Uninstall device. Select Uninstall again to proceed.
Uninstall printer device - When you have successfully uninstalled your printer’s driver, launch your browser and head over to your manufacturer’s website. Most printer drivers can be found in the support section.
- Install the latest driver version by opening it and following the on-screen instructions.
- Once the printer is installed, restart your PC and check if the 0x80070077 issue is resolved.
Reinstall the Printer and its Packages
Since the issue can be with your printer itself, you can also try removing the printer and its files from your operating system and then reinstalling it from scratch. Follow the steps mentioned below to do so:
- Press Windows + I keys simultaneously on your keyboard to open Windows Settings.
- Click on Bluetooth & devices from the left pane.
- Then, select Printers & scanners and then choose the faulty printer.
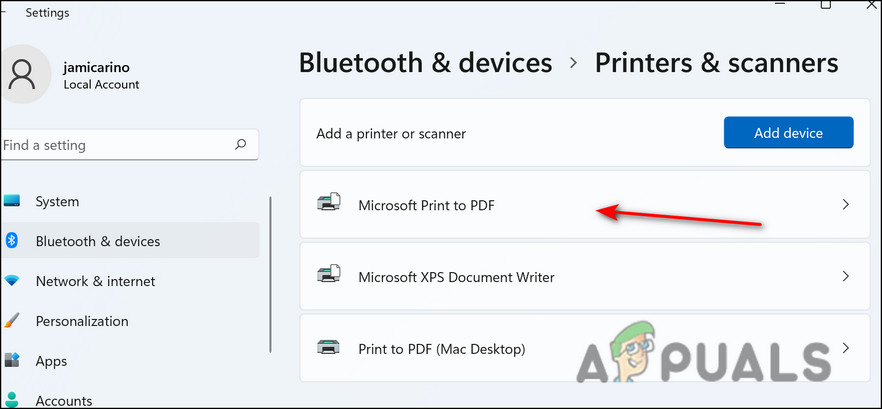
Choose faulty printer - Click on the Remove button.
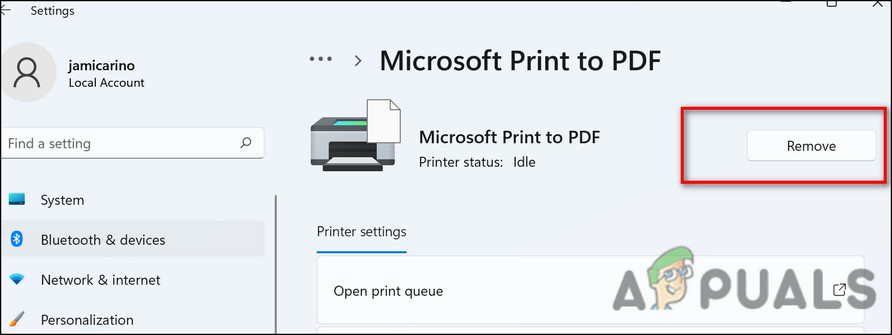
Remove faulty printer - Once done, type cmd in the search area of your taskbar and select Run as administrator.
- Inside the Command Prompt window, type the command mentioned below hit Enter to execute it.
printui /s /t2 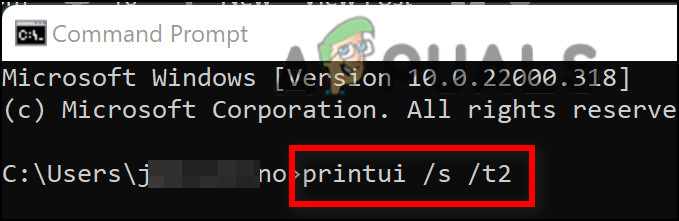
- This should launch the Printer Server Properties window. Locate your printer on the list and click on Remove.
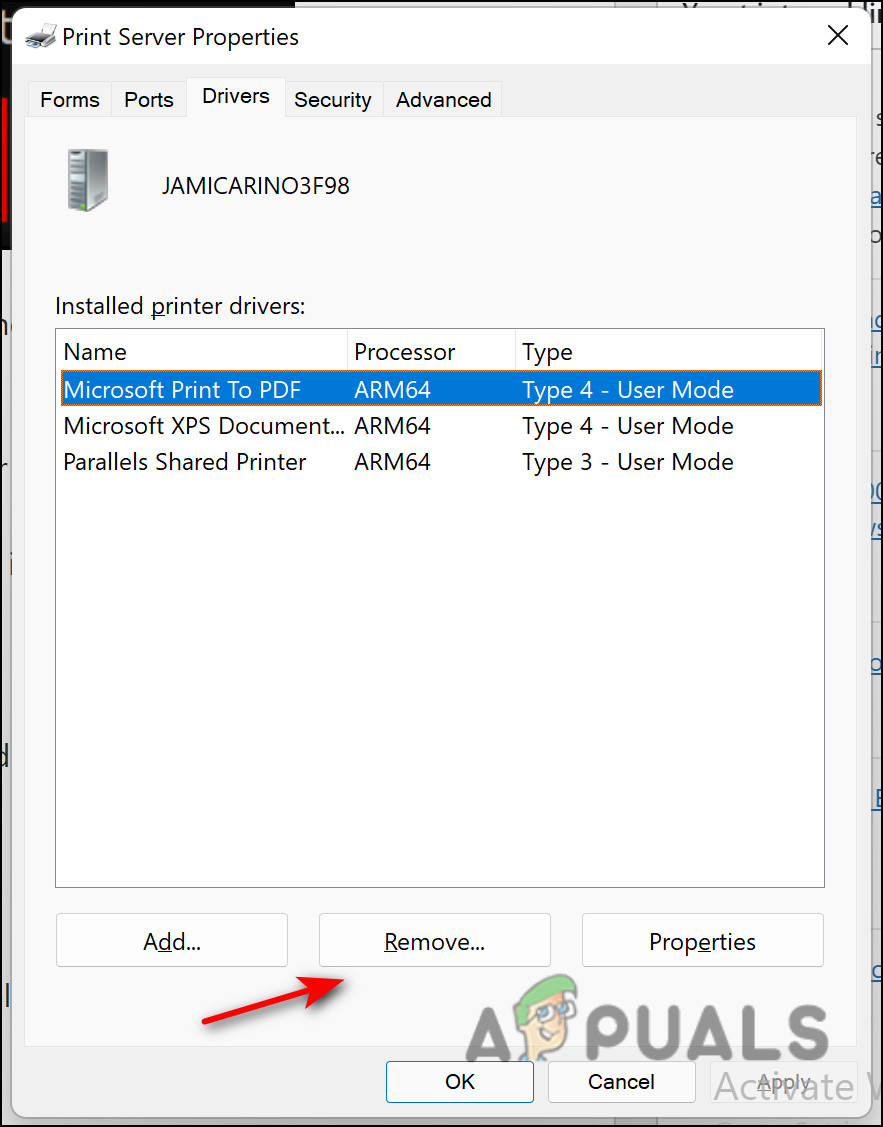
Choose printer and click remove - Select Remove driver and driver package and hit OK.
- Now, wait for the process to complete and then click on Apply.
- Lastly, restart your PC and upon reboot, visit your printer OEM website. Search for the latest/updated driver for your printer using the exact brand and model of the printer.
- Once found, download and install the driver on your computer. Check if the 0x80070077 issue is resolved.
Make the Printer Sharable
As it turns out, you might also be facing the issue at hand if you try printing from a different computer and the targeted printer is not shared across a network.
If this scenario is applicable, you can resolve the issue by making the printer shareable. Here is how you can do that:
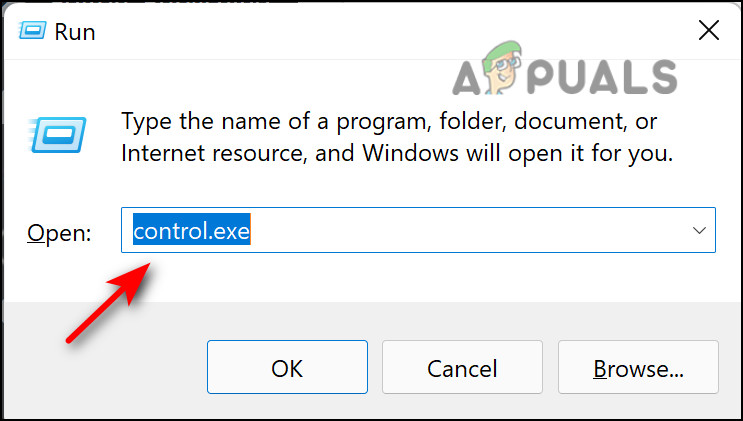
- Press Windows + R keys simultaneously on your keyboard to open a Run dialog box.
- Inside the text field of the dialog box, type control.exe and click OK to launch the Control Panel.
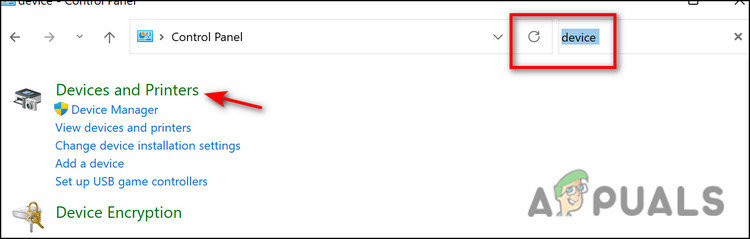
Run control.exe - Once you are inside the Control Panel, use the search bar in the top-right corner to search for “Device and Printers“.
- Click on Device and Printers from the results.
Search for device and printers - In the next window, right-click on the faulty printer and choose Properties.
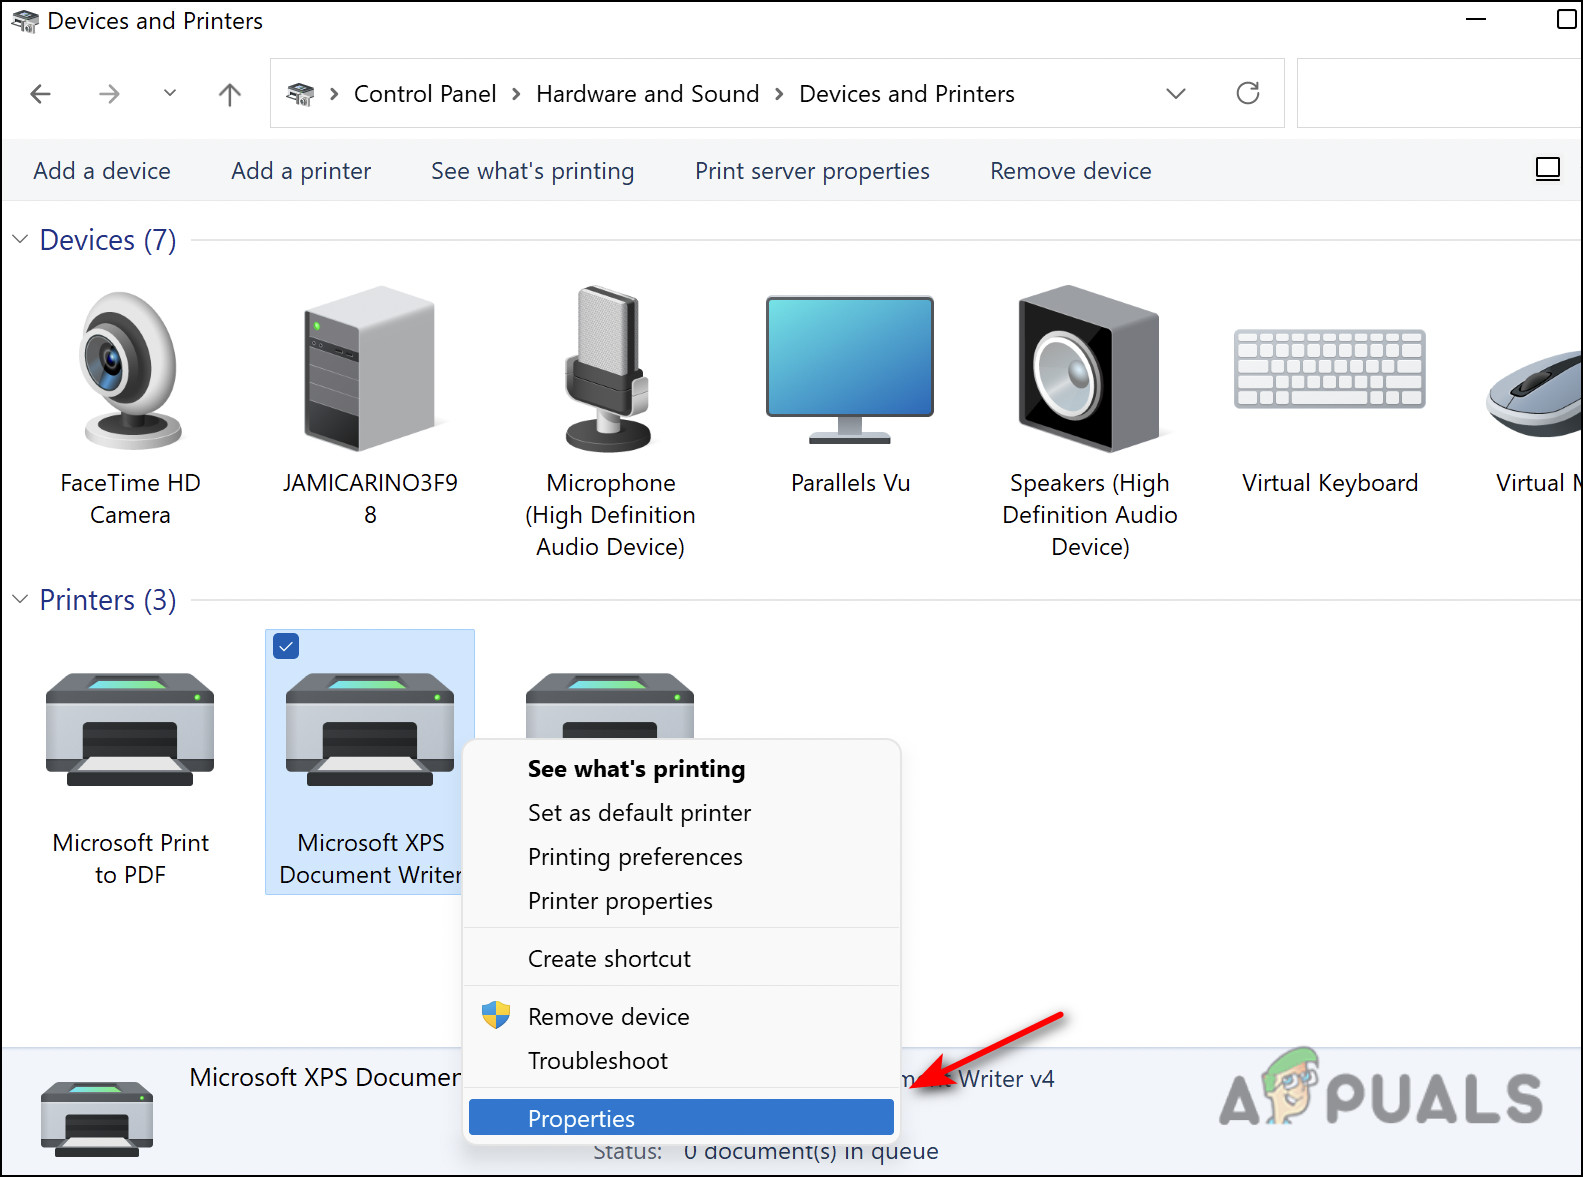
Select printer properties - Inside your printer’s Properties screen, head over to the Sharing tab.
- In the Sharing tab, checkmark the box associated with Share this printer and then set a name for it.
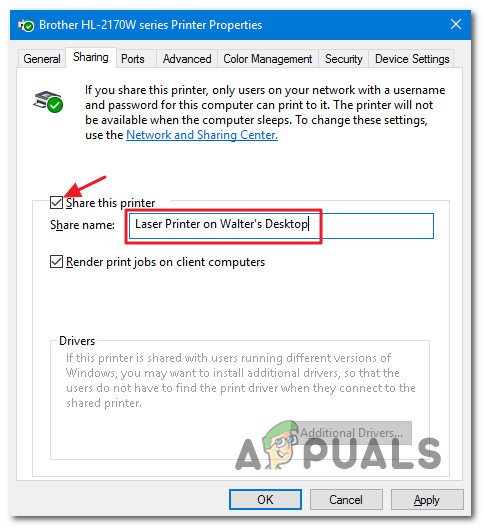
Share this Printer - Then, click Apply to save the changes and check if it fixes the 0x80070077 error code.


