Pixiv Not Loading Images: What causes it & How to fix it?
 Reviewed by Muhammad Zubyan
There could be several reasons for the ‘Pixiv not loading images’ issue. These may include your browser preferences, especially on Firefox, the network connection on your device, and more. It has been observed that this issue often occurs with users outside Japan, since Pixiv’s servers are hosted in that country.

In some cases, the problem in question may be affiliated with the third-party extensions on your browser, which prevent the website from loading images properly. In this article, we will show you several methods that you can implement to resolve the issue at hand.
1. Use Incognito Mode
Under certain circumstances, the error message in question can be triggered by third-party extensions installed on your browser. This occurs when the installed add-ons interfere with the established connection, resulting in inconsistencies.
To address this situation, you will need to disable the third-party extensions to determine if it resolves the issue. If you have numerous extensions installed, utilizing the private window feature in your browser can be helpful. Third-party extensions are automatically disabled by default when using incognito mode.
By testing the website in a private window and confirming that the problem no longer persists, you can then proceed to disable the installed extensions one by one to identify the problematic one.
2. Use a VPN Connection
In certain instances, the issue in question can be attributed to the network connection you are currently using. This can occur when there is an inconsistency with your existing network connection, preventing proper access to the Pixiv servers.
If this case is applicable, you will need to switch to an alternative network connection to determine if it resolves the problem. You can do this by connecting to a VPN connection on your device. Using a VPN can have various benefits as it protects your online privacy by masking your IP address and tunneling your connection.
You can also try to use a different connection on your computer to see if that resolves the problem. Using your mobile data via hotspot can be a viable option in this case.
3. Clear Browser Cache
The image loading problem with Pixiv can also be attributed to the browser cache and cookies. Websites save cookies on your browser for different reasons, including managing user sessions and tracking user activities.
In addition, browser cache plays a significant role by storing loaded assets locally on your browser, contributing to improved web performance, among other benefits. When the browser cache or stored cookies encounter issues, it can result in different problems.
To resolve such a scenario, it becomes necessary to clear your browser cache and cookies. To accomplish this, follow the instructions below for your respective browser.
Google Chrome
- Start by clicking the More menu in the top-right corner.
- Choose the More tools > Clear browsing data option from the drop-down menu.
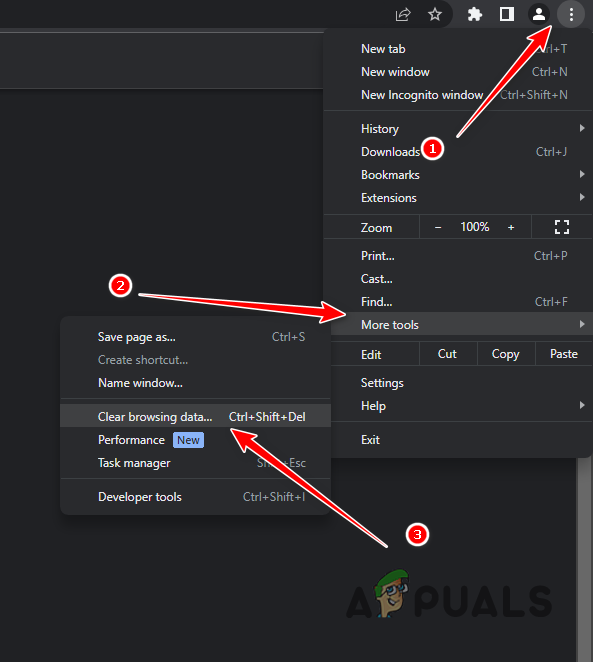
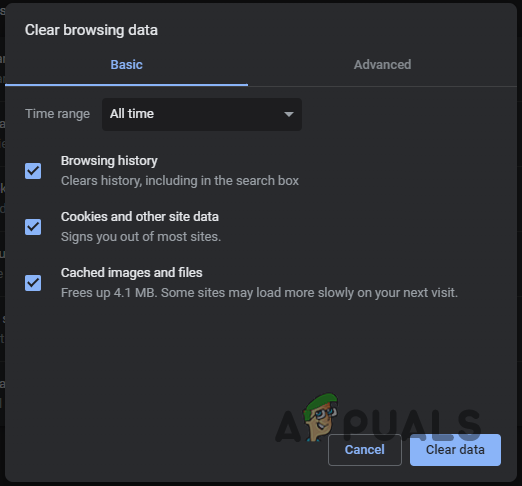
Navigating to Clear Browsing Data - After that, choose All time as the Time range.
- Select the Cookies and other site data and Cached image and files options.
- Finally, click the Clear data option.
Clearing Browser Cache on Google Chrome
Microsoft Edge
- First, open the More menu in the top-right corner and choose Settings.
- On the Settings screen, navigate to the Privacy, search and services tab on the left-hand side.
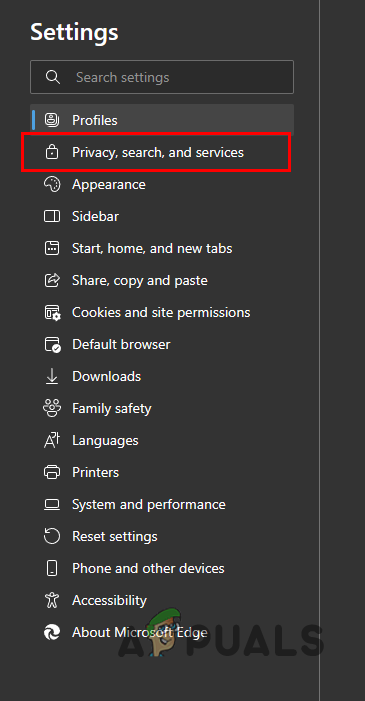
Navigating to the Privacy, Search and Services tab - There, click on the Choose what to clear option under Clear browsing data.
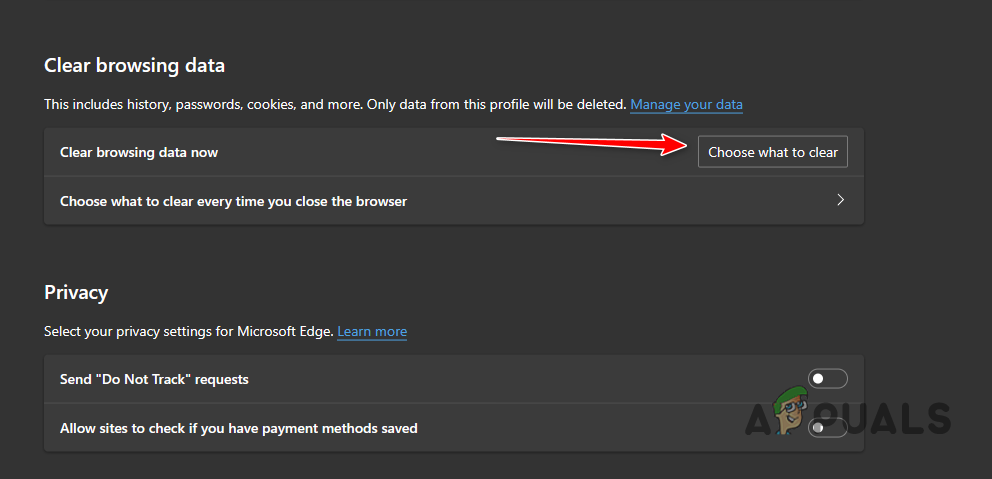
Navigating to Clear Browser Data - Choose All time as the Time range.
- After that, tick the Cookies and other site data, Cached images and files and Site permissions checkboxes.
- Finally, click the Clear now option.
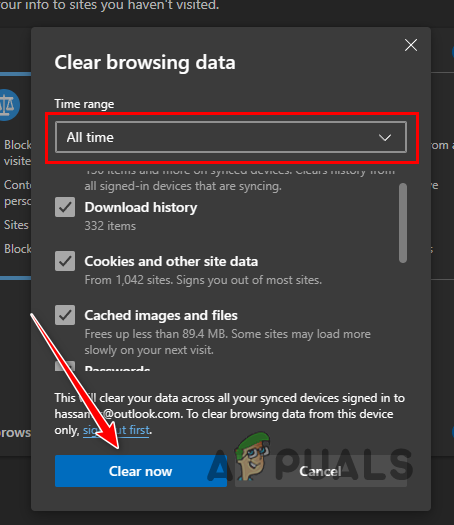
Clearing Browser Cache on Microsoft Edge
Mozilla Firefox
- Click on the More menu in the top-right corner and select Settings from the drop-down menu.
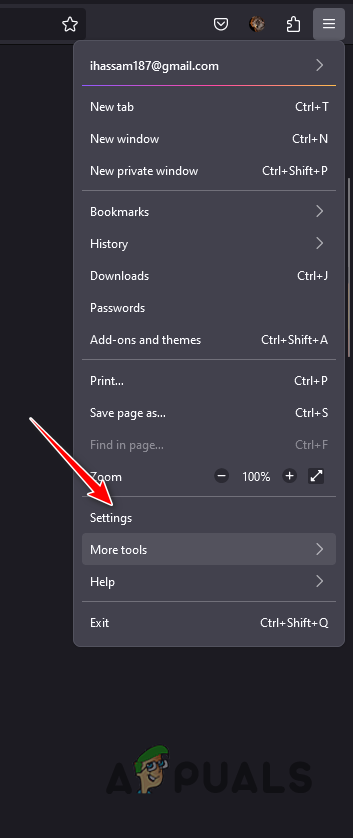
Navigating to Firefox Settings - On the Settings page, switch to the Privacy & Security tab.
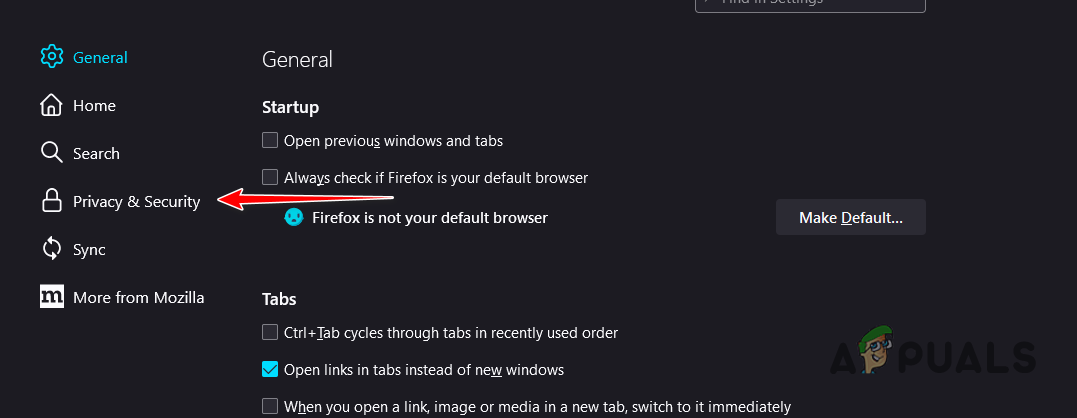
Navigating to the Privacy and Security tab - There, click on the Clear Data option.
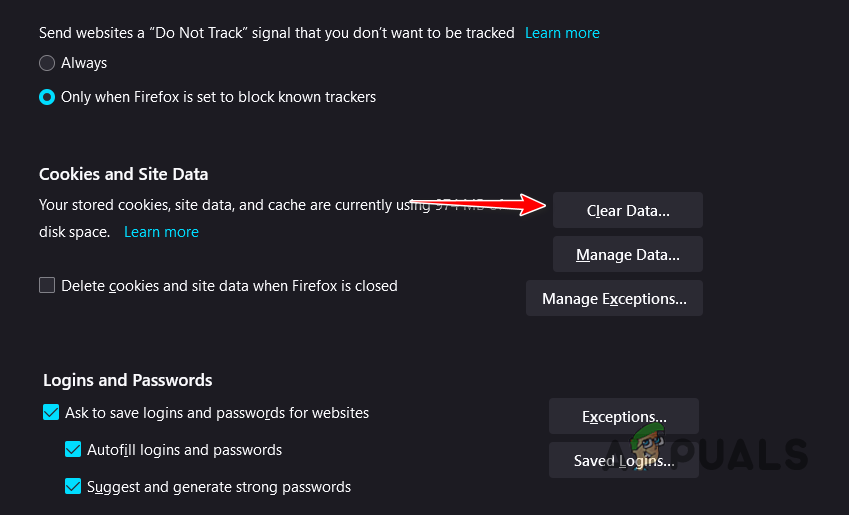
Clearing Browser Data on Firefox - Finally, click the Clear option with both options selected.
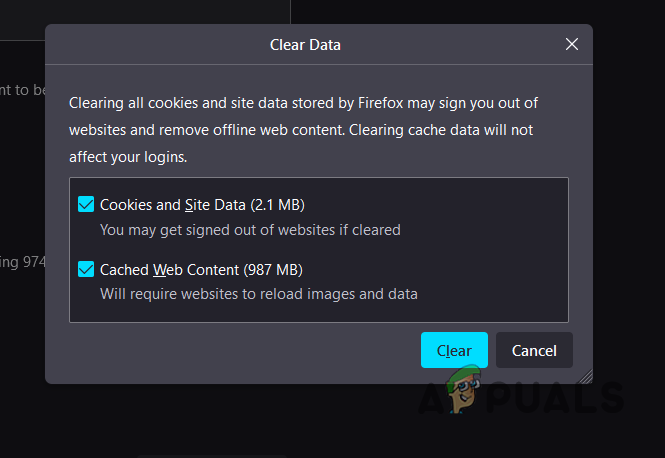
Clearing Browser Cache on Firefox
4. Use a Different Browser
If the problem persists even after clearing your browser cache, the problem can be attributed to the web browser you are using. This can happen occasionally when the web browser is not able to relay requests properly to the target server, causing miscommunication and loss of information which results in the images not loading.
In such a scenario, you can try using a different browser on your device to see if that resolves the issue. There are plenty of different browser options available, and you can install any different on your device to check if the same problem is occurring there.
In case it does, you will have to reach out to your internet service provider (ISP) and discuss the issue with them. Sometimes, the content being delivered by the website can be blocked by your ISP which results in the issue in question.
5. Change Firefox Preferences (if applicable)
If you are using Mozilla Firefox while encountering the problem, the problem is very likely due to your browser preferences. This has been commonly occurring with Firefox users as the browser disables HTTP referrer headers while browsing for the sake of privacy. This is because they can be really helpful in tracking users online.
However, Pixiv requires these headers to deliver their content and you will have to configure your Firefox preferences to enable the referrer headers. To do this, follow the instructions below:
- First, in your Firefox window, open a new tab and type in about:config. Hit Enter.

Navigating to Config Page - On the warning screen, click the Accept the Risk and Continue option.
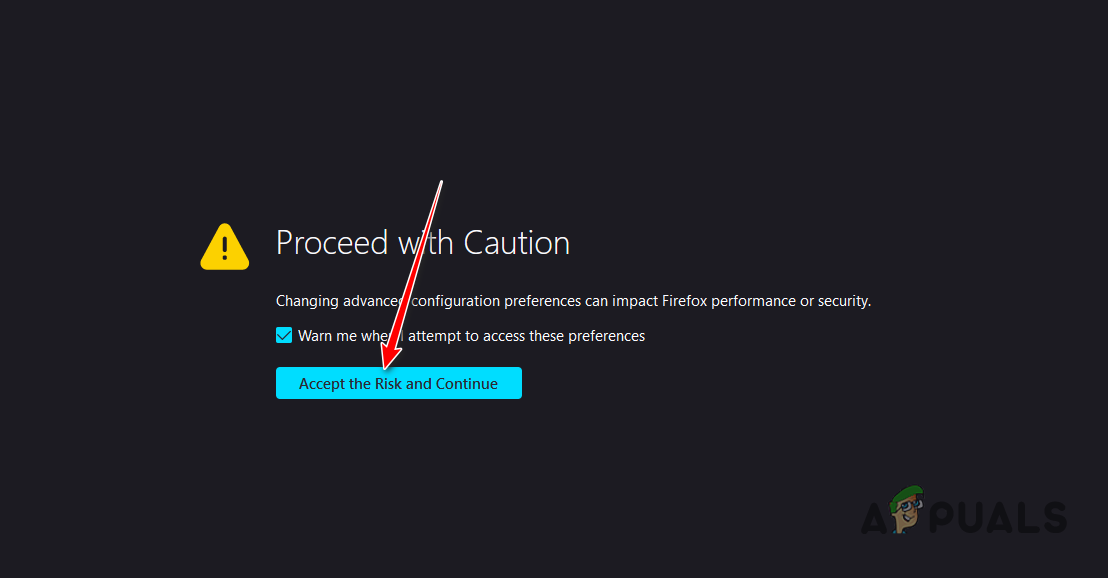
Accepting Risk Warning - After that, in the search bar provided, copy and paste the “network.http.referer.XOriginPolicy” text without quotation marks.
- Click the Edit button (pencil icon) next to it and set the value to 0.

Editing HTTP Referrer Policy - Then, repeat the same process for “network.http.referer.XOriginTrimmingPolicy”.
- Restart your browser and see if that resolves the issue.
Reviewed by Muhammad Zubyan