How to Fix “Error: UnsupportedProtocol” PCL XL Error on a Printer?
One of the oldest printer errors that are still haunting many modern printers is the PCL XL error. The issue is reported on nearly all major desktop operating systems like Windows, Linux, MAC, etc. Many times, the issue is reported after a driver or OS update, mainly on a shared printer. Usually, the following type of message is shown:
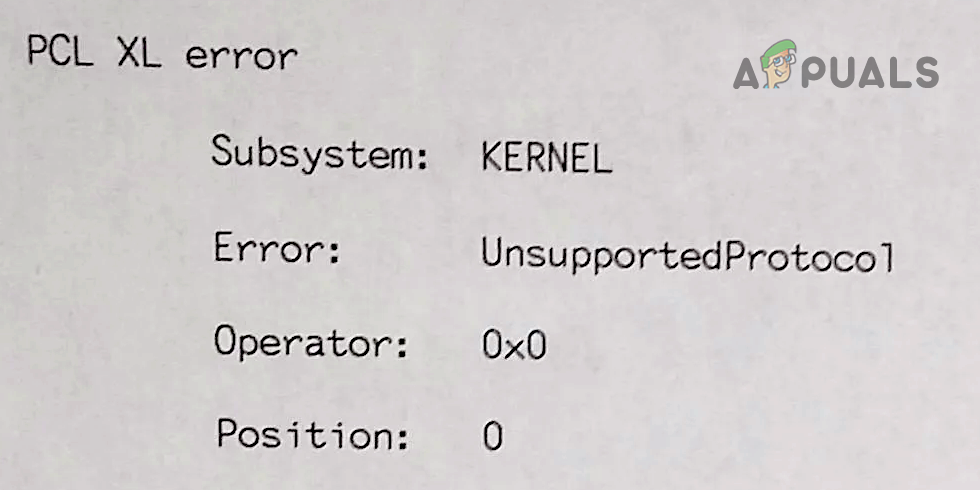
You may get a PCL XL error on the printer mainly due to characters in the print data stream that the printer cannot “understand” and these characters are mainly caused by the following:
- Mismatching Font Between the System and Printer: If a font on the system cannot be properly parsed by the printer, then it may result in the PCL XL error.
- Interference from Conflicting Applications: If the antivirus of your system or another application (like print management suite) is interfering with the print data stream, making its characters untranslatable by the printer, then the printer may show the PCL XL issue.
- Outdated or Corrupt Printer Driver: If the printer’s driver is outdated or corrupt, then its incompatibility with other printing modules may produce a print job that cannot be properly rendered on the printer, resulting in the issue at hand.
- Corrupt User Profile: If the user profile is corrupt, then this corruption may lead to non-parse-able characters in the print task, causing the PCL XL error.
Restart the Print Spooler Service
If the Print Spooler service is stuck in the operation, then it may cause the PCL XL error under discussion. Here, restarting the Print Spooler service may solve the problem.
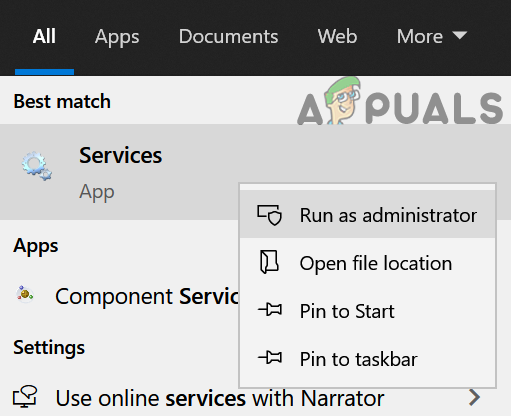
- Click Windows, search for Services, right-click on it, and select Run as Administrator.
Open Services as Administrator - Now click Yes (if UAC prompt is received) and right-click on the Print Spooler service.
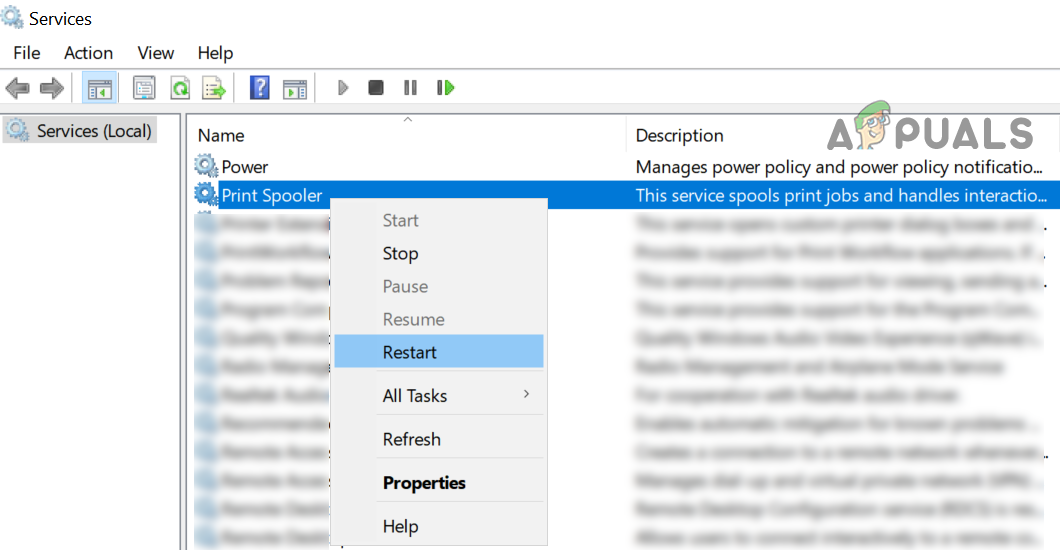
Restart the Print Spooler Service - Then click on Restart and once restarted, check if the printer’s PCL XL problem is solved.
Perform a Cold Restart
A temporary communication glitch between the system and printer might cause the PCL XL error at hand. Here, performing a cold restart of the system, networking equipment, and problematic printer may solve the problem.
- Power off the system, printer, and networking equipment (routers, extenders, etc.).
- Now, unplug the power cable of all these devices and wait for 5 minutes.
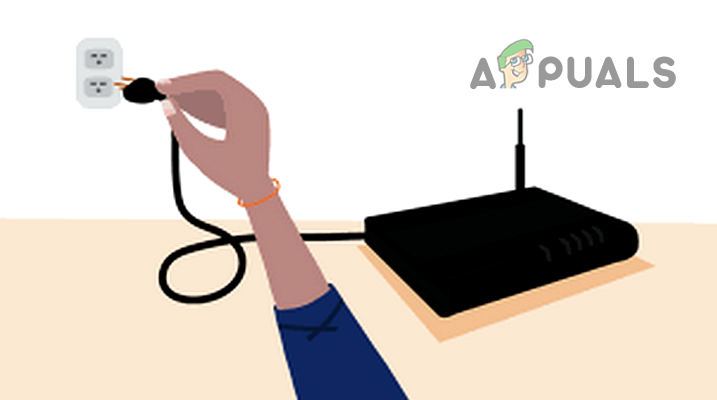
Unplug Router from the Power Source - Afterward, plug back the devices and power on the router.
- Now let its lights stabilize and afterward, boot the system.
- Once booted, power on the printer and wait till it is fully powered on.
- Now check if the printer is working fine.
If that did not work, check if the printer works fine with another system. If so, then check if the issue is only caused by a particular file. If this is the case, then check if the problematic file can be printed from another system. If not, then check the file for any issues.
Update the Printer’s Drivers to the Latest Build
If the printer’s driver is outdated, it may have become incompatible with the other modules in the process. In such a case, you can fix a PCL XL error by updating the printer’s drivers to the latest build.
- Firstly, make sure the system’s Windows and device drivers are updated to the latest build.
- Now check if the printer is working fine.
- If not, open the OEM’s website in a web browser (like HP.com) and check if an update for the printer driver is available.
- If so, then download and install the updated driver (without uninstalling the older one).
- Now restart your system and upon restart, check if the printer is clear of the PCL XL error.
Update the Printer’s Firmware to the Latest Build
Incompatibility between the outdated printer’s firmware and other printing modules may cause the PCL XL issue. Here, updating the printer’s firmware to the latest build may solve the problem. A printer’s firmware can be updated by many methods like an app, through a system connected via a USB to the printer, or from the printer itself. For illustration, we will discuss the process for an HP printer.
- Firstly, make sure the printer is connected to the Internet (either through ethernet or Wi-Fi).
- Now, on the printer’s screen, open Settings and select Preferences.
- Then open Tools (or Print Management) and select Web Services (or Printer Update or LaserJet Update).
- Now follow the prompts on the printer’s screen to update the printer’s firmware and afterwards, check if the printer is working fine.
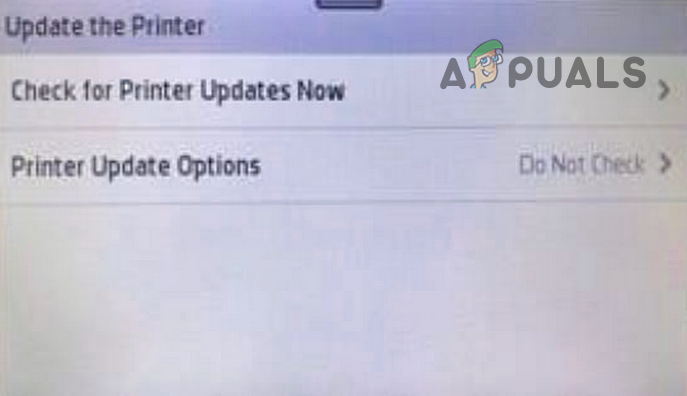
Update the Printer Firmware
Run the OEM Printer Troubleshoot Utility
Many OEMs have released utilities (like Microsoft’s Printer Troubleshooter or HP’s Print and Scan Doctor) to troubleshoot the common problems with a printer and running these utilities may fix the current PCL XL error.
Use the Microsoft Printer Troubleshooter
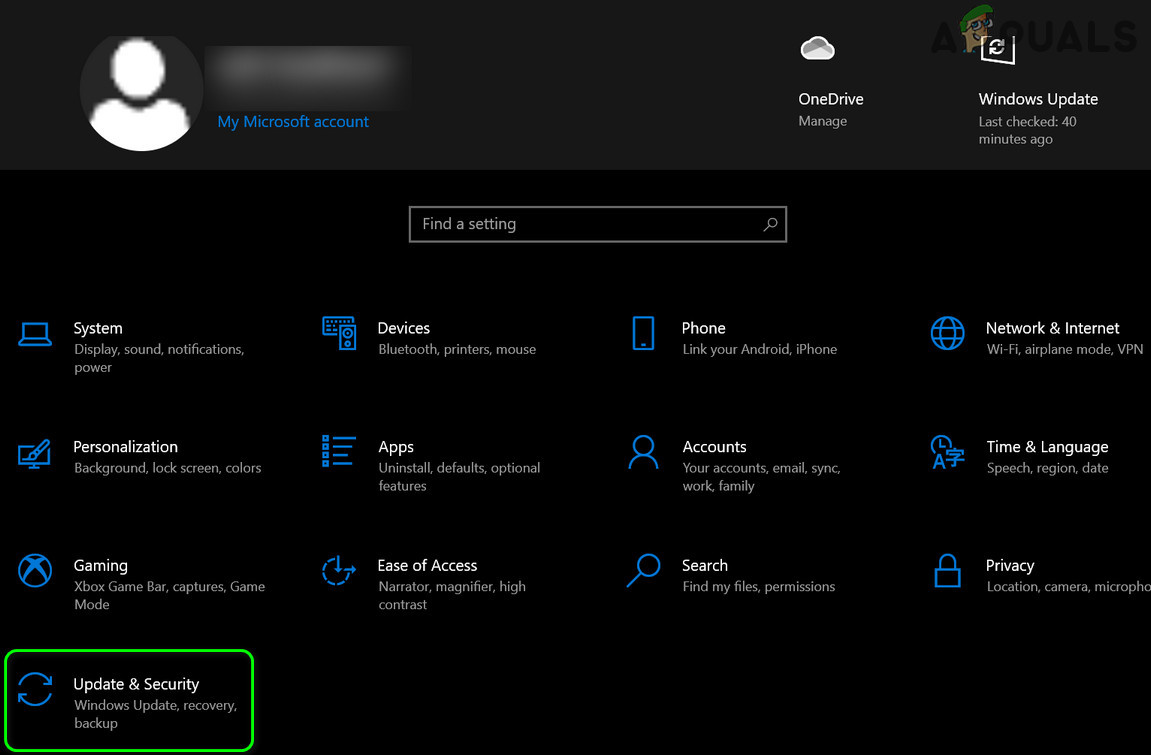
- Right-click Windows and select Settings.
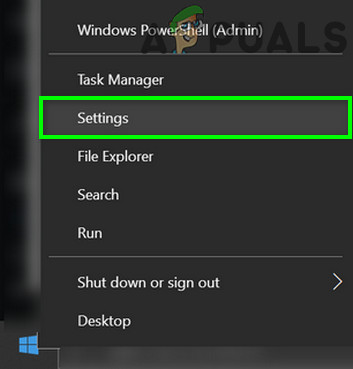
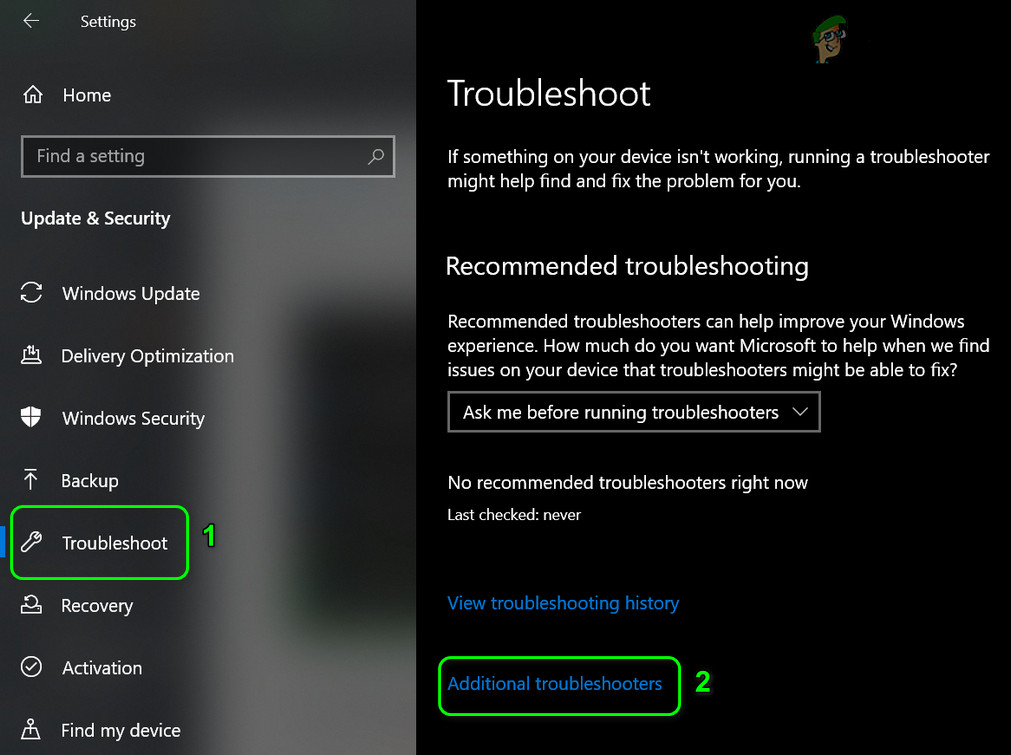
Open Windows Settings - Now open Update & Security and head to the Troubleshoot tab (in the left pane).
Open Update & Security - Then, in the right pane, open Additional Troubleshooter, and afterward, click to expand the Printer option.
Open Additional Troubleshooters - Now click on Run the Troubleshooter and wait till the troubleshooter completes its operation.
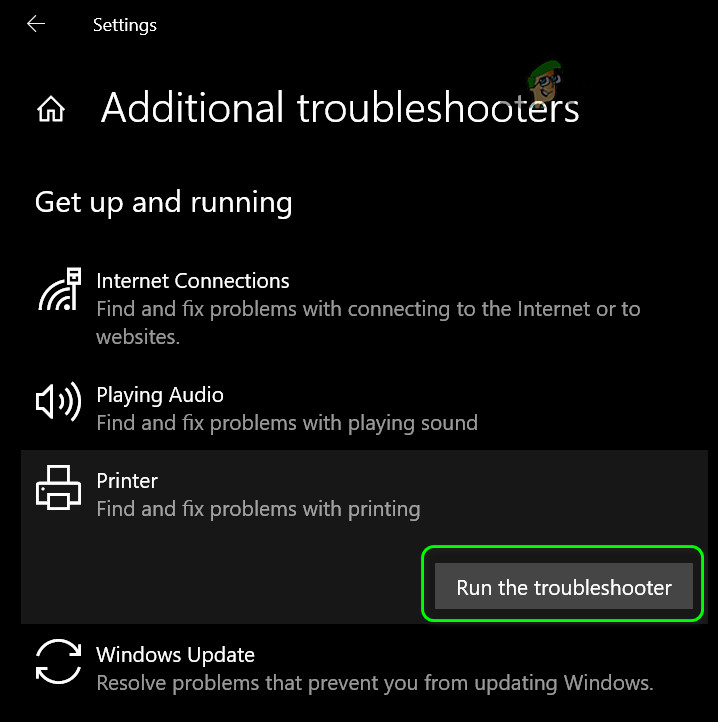
Run the Printer Troubleshooter - Once done, apply the changes suggested by the troubleshooter, and afterward, check if the printer’s PCL XL issue is resolved.
Use the Printer’s OEM Utility
If using the OS printer utility did not work for you, then using the printer’s OEM utility may solve the problem. For illustration, we will discuss the process for the HP Print and Scan Doctor utility. You may follow the instructions as per the printer’s OEM utility.
- Open a web browser and navigate to the Tools page of HP’s website.
- Now download the HP’s Print and Scan Doctor as per the OS.
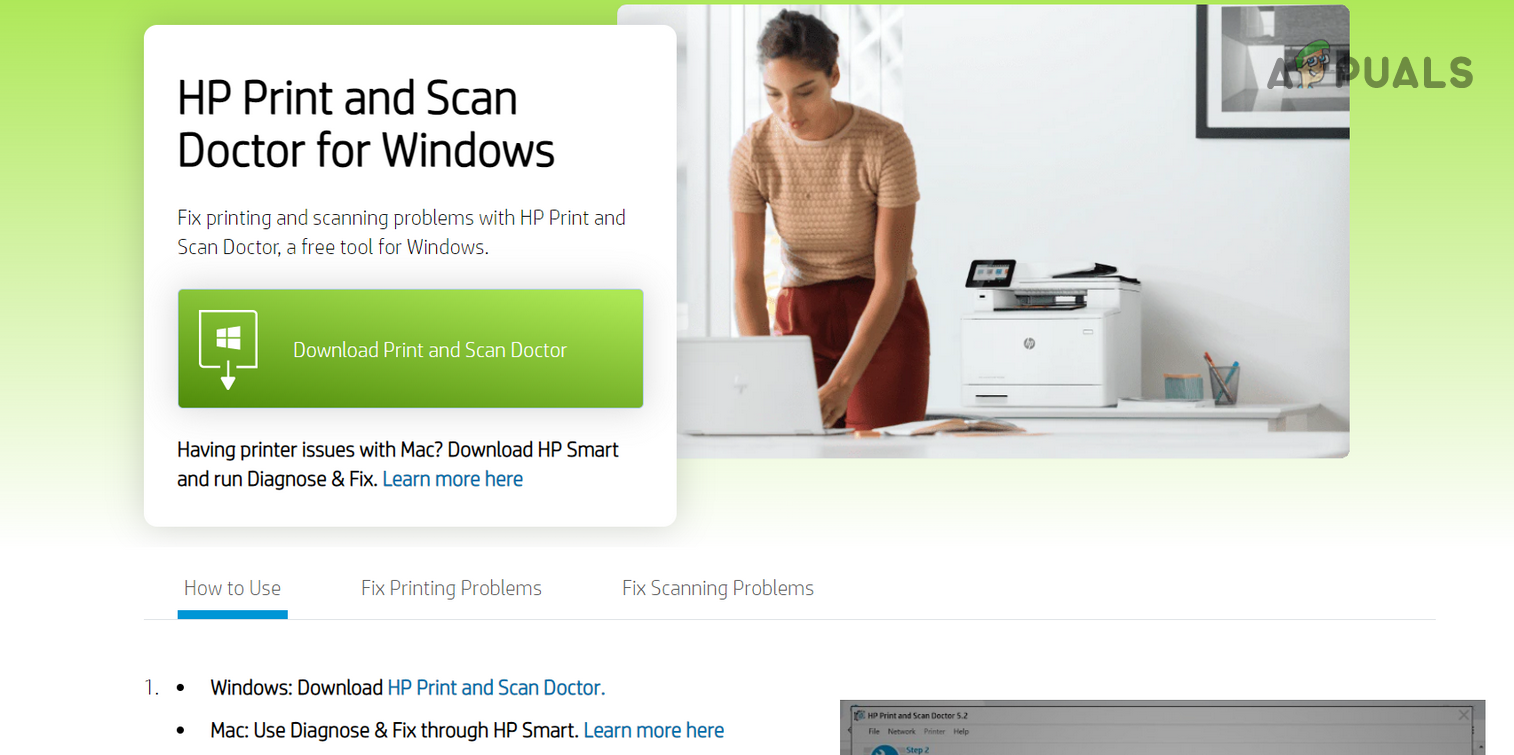
Download HP Print and Scan Doctor - Then launch the downloaded utility as administrator and select the problematic printer.
- Now click on Fix Printing and wait till the result is shown.
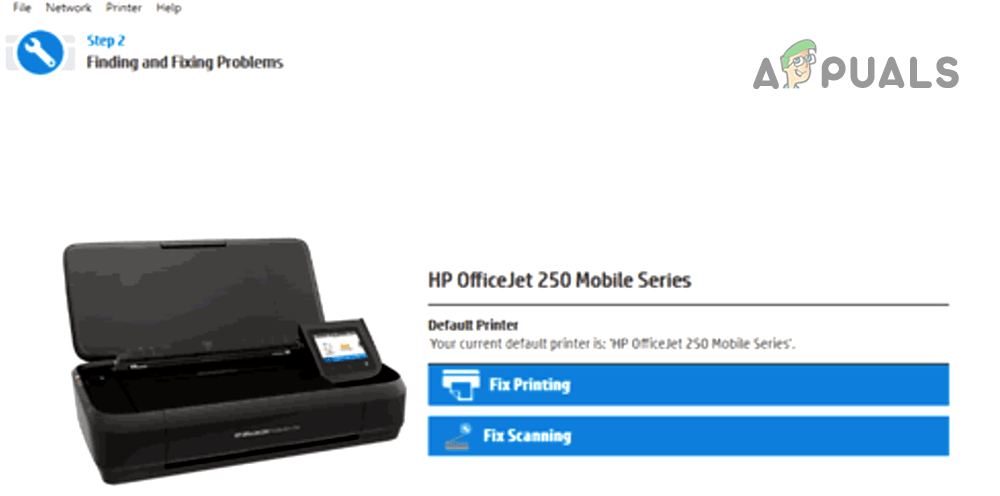
Fix Printing by Using the HP Print and Scan Doctor - Afterward, check if the printer is operating fine.
Clean Boot Your System and Disable/Uninstall Conflicting Applications
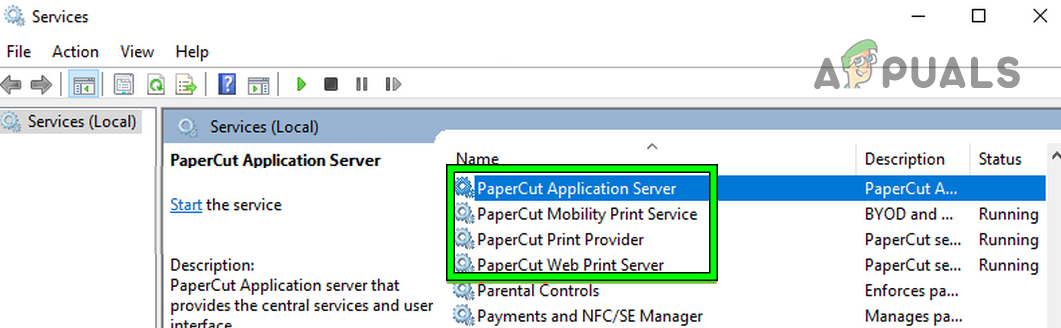
If an application on your PC (like Papercut or Gugenprint) is interfering with the routine operation of the printing modules of the system, then the printer might show the PCL XL error at hand. Here, clean booting the system and disabling or uninstalling these conflicting applications may solve the problem.
- Clean boot your PCs (host and client) and check if the printer is working fine.
- If so, then enable back the processes/services/applications one by one that was disabled during the clean boot process to find out the problematic one.
- Once found, either you keep it disabled or uninstall it.
The PaperCut Print server is reported to cause the issue. In the case of an Apple machine, the Gugenprint driver is reported to cause the issue. If you have any of these applications on your system, then make sure to check if these are not causing the issue.
Disable Render Print Jobs on Client Computers
As the print jobs are rendered on the client computers, the printer may fail to properly handle the rendered output by the client, resulting in the PCL XL error at hand. In such a case, disabling the rendering of the print jobs on the client computers may solve the problem.
- On the host/server computer, click Windows, type Print Management, right-click on it, and select Run as Administrator.
- Now, right-click on the problematic printer (you may have to expand the Print Servers or Deployed Printers option) and select Properties.
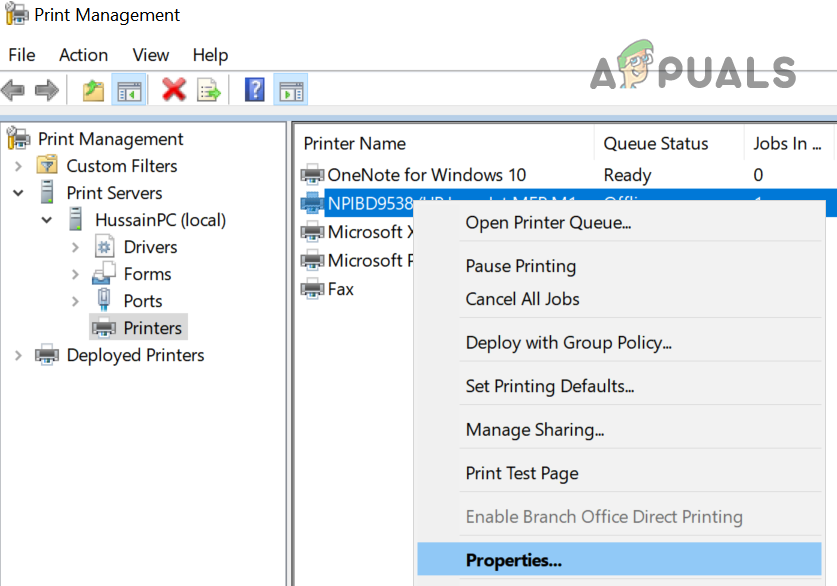
Open Properties of the Printer in Print Management - Then head to the Sharing tab and uncheck the option of Render Print Jobs on Client Computers.
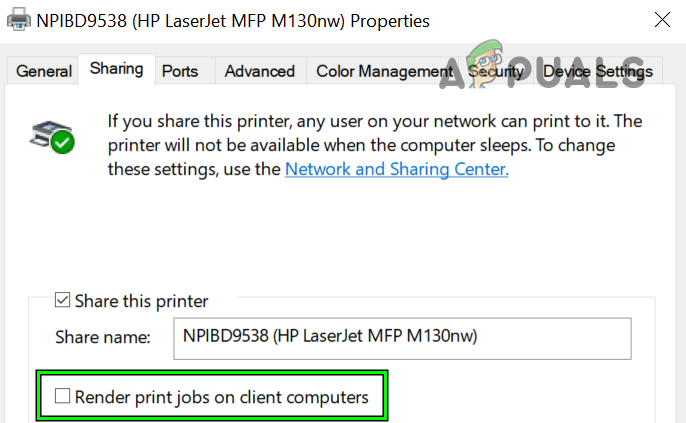
Uncheck Render Print Jobs on Client Computers - Now apply your changes and afterward, check if the PCL XL error is cleared.
Edit the Font-Related Printer Settings
As the PCL XL error is caused by mismatching characters in the print data stream, these characters can be caused by a font not supported by the printer. In this context, editing the font-related printer settings may solve the problem.
- Right-click Windows and open Settings.
- Now select Devices and head to the Printers and Scanners tab.
- Then, in the right pane, expand the problematic printer and click on Manage.
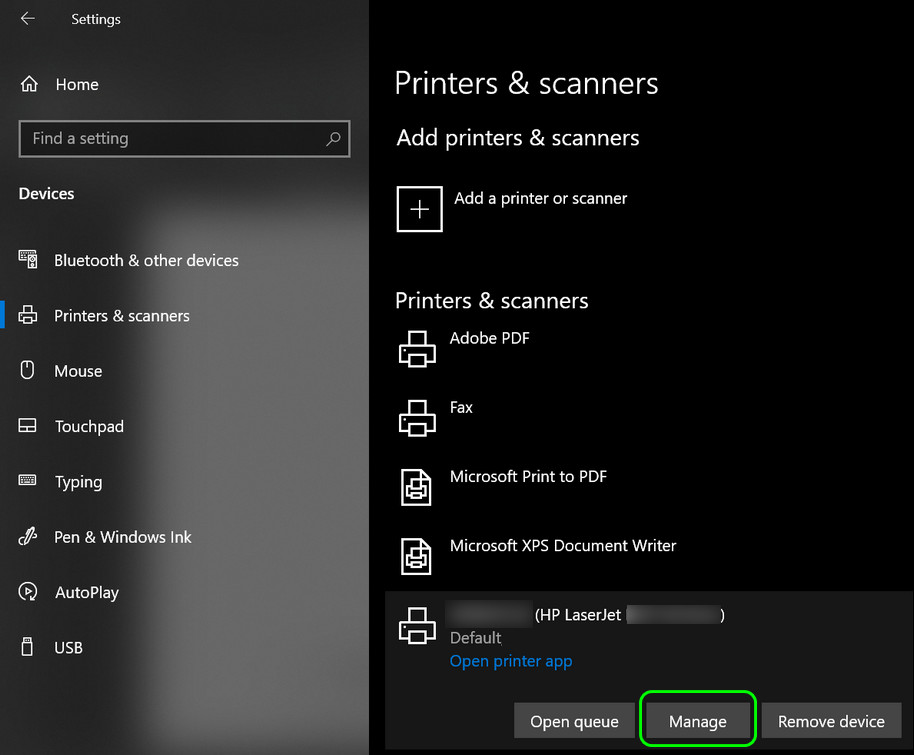
Open Manage of the Printer - Now open Printing Preferences and head to its Advanced tab.
- Then expand the dropdown of TrueType Font and select Download as Softfont.
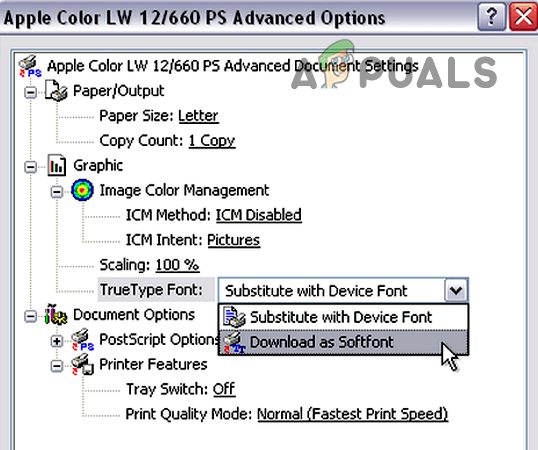
Set True Type Font to Download as Softfont - Now apply your changes and check if the PCL XL problem is solved.
- If not, again head to the Advanced tab of the printer’s Preferences and set the dropdown of Send True Type as Bitmap to Enabled.
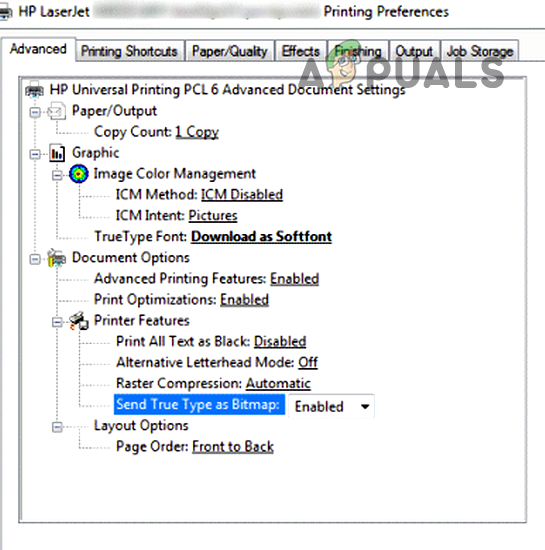
Set True Type as Bitmap to Enabled - Then apply your changes and afterward, check if the PCL XL printing error is cleared.
- If that did not work, once again, head to the Advanced tab of the printer’s Preferences and set the dropdown of the Print Data Optimization to Optimize for Text and Vector.
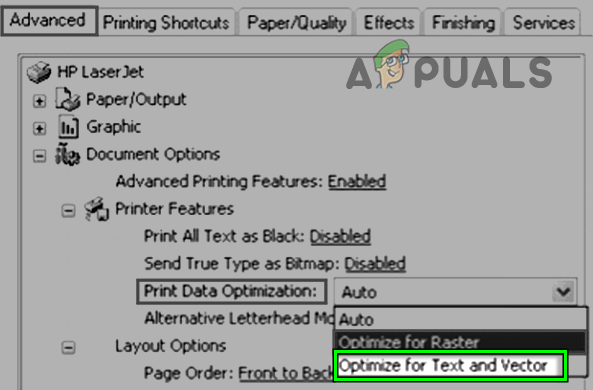
Set Print Data Optimization to Optimize for Text and Vectors - Now apply your changes and check if the printing PCL XL error is cleared.
If the issue persists, check if setting the Send as Image when printing the file solves the problem. If that is not working, check if printing to a file and then printing that file through the printer clears out the issue.
Reset the Printer to the Factory Defaults
The printer may show the PCL XL error due to a misconfiguration of the printer or if the printer’s firmware is corrupt. In such a case, resetting the printer to the factory defaults may solve the problem. For elucidation, we will discuss the process of resetting an HP printer to the defaults through the printer screen.
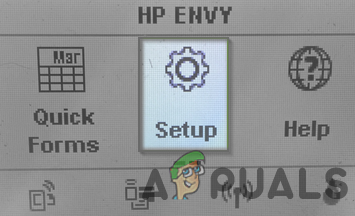
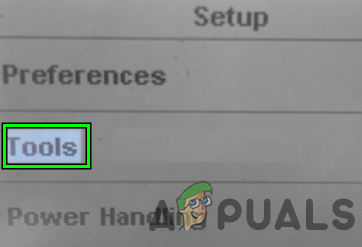
- Launch the Setup on the Printer screen and open Tools.
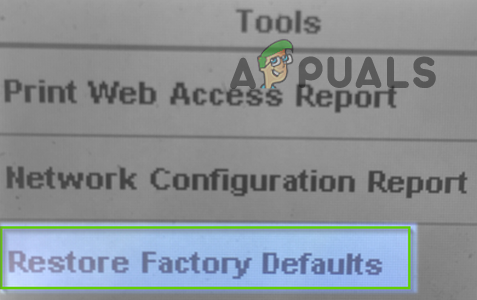
Open Printer Setup - Now select Restore Factory Defaults and click on Yes.
Open Tools on the Printer Setup - Once the printer’s reset operation is complete, set it up again and connect it to the problematic system.
Restore Printer to the Factory Defaults - Now check if the printer’s PCL XL problem is solved.
Rename the Printer File in the Print Spooler Directory
If the printer file name in the Print Spooler directory cannot properly indicate the proper printer language to be used, then the printer may throw the PCL XL error. In such a case, renaming the relevant file in the Print Spooler directory (that will force the OS to re-create the file on the system start with proper settings) may solve the problem.
- Right-click Windows and select Run.
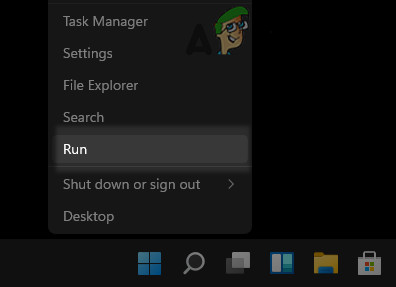
Open the Run Command Box from the Quick Access Menu - Now navigate to the following path:
\Windows\System32\spool\drivers\x64\3
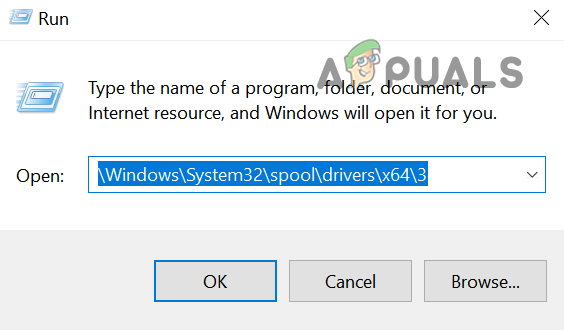
Navigate to the Drivers Folder of the Spool Directory - Then right-click on the file related to the problematic printer with a .gpd extension and rename it (e.g., 123.gpd).

Rename the Printer GPD File in the Spool Directory - Now restart your system and upon restart, check if the PCL XL issue is resolved.
Edit the Device Settings to Use the PCL 5 or KPDL Driver
If you are using a driver that is not compatible with the printer (like PCL 6 or postscript), then check if setting up the device to use a PCL 5 or KPDL driver solves the problem.
- Launch the printer management utility like FindMe Print and head to its Device Settings tab.
- Now click on PDL and in the resulting menu, expand the dropdown of the available languages.
- Then select PCL 5c (or PCL 5e) and apply the changes.
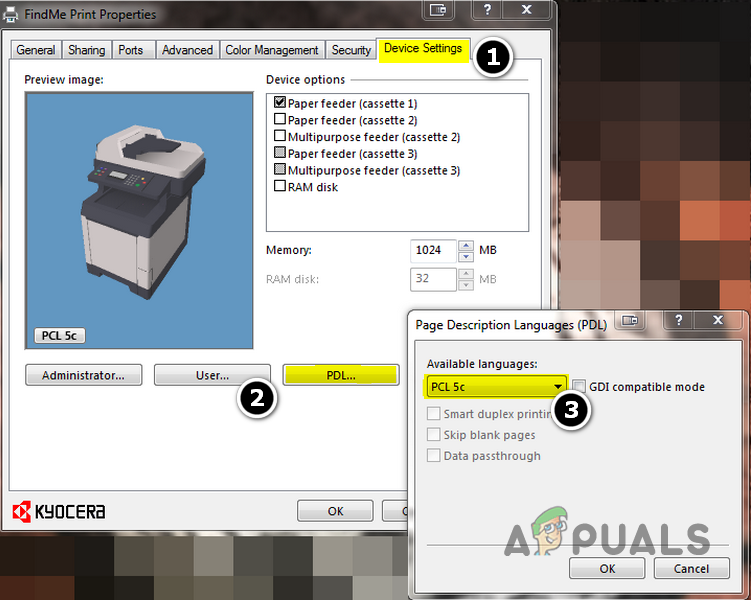
Set Available Languages in the Device Settings of Printer to PCL 5c - Now restart your system and upon restart, check if the PCL XL printing issue is resolved.
- If that did not work or was not an option, check if setting the available languages dropdown to KDPL solves the problem.
Disable the Antivirus or Firewall of Your System
The printer’s PCL XL issue could be a result of interference from the security product (AVG antivirus is a reported culprit to cause the issue) of the system and disabling the same may solve the problem.
Warning:
Proceed at your own risk as disabling the security software of your system may expose the system, network, or data to threats.
- Expand the hidden icons of the system tray and right-click on the security product.
- Now select Pause Protection and if the UAC prompt is shown, click Yes.

Pause Protection of ESET Internet Security - Then confirm to disable the antivirus and again, right-click on the security product in the system’s tray.
- Now select Pause Firewall and afterward, confirm to disable the Firewall.
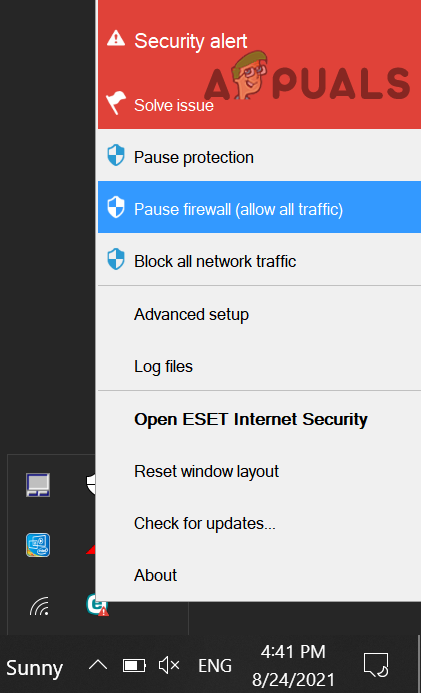
Pause Eset Firewall of Your System - Once disabled, check if the printer’s PCL XL error is cleared.
If so, you may add an exception for the printer’s related modules in the antivirus/firewall settings.
Reinstall the Printer Driver
The printer may show the PCL XL error if the installation of the printer driver is corrupt and reinstalling the same may solve the problem.
- Firstly, make sure the printer is not connected to the system with a USB cable.
- Then, right-click Windows and select Apps & Features.
- Now expand the OEM driver utility (like HP Basic Driver Software, HP Smart, etc.) and click on Uninstall.
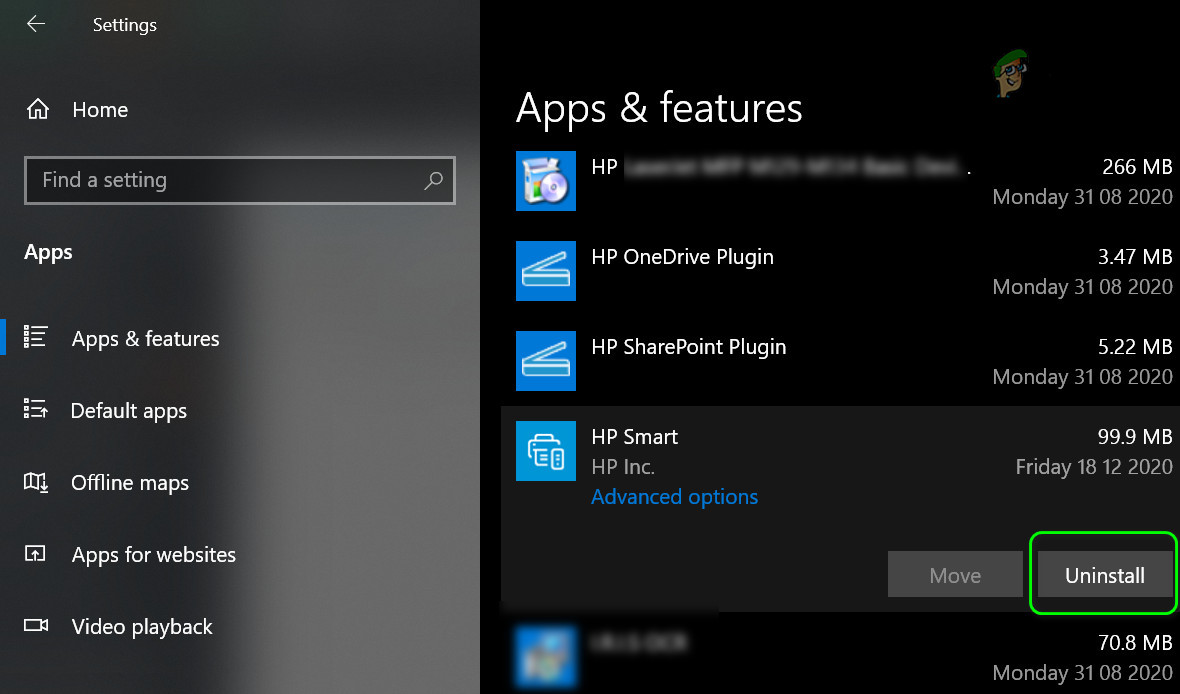
Uninstall All the Printer Applications from Apps - Now follow the prompts on the screen to uninstall the utility and then repeat the same to uninstall all the printer-related utilities from Apps & Features.
- Afterward, restart your system and upon restart, right-click Windows and select Settings.
- Now open Devices and in the resulting window, head to the Printers & Scanners tab.
- Then expand the problematic printer (if shown) and click on the Remove Device button.
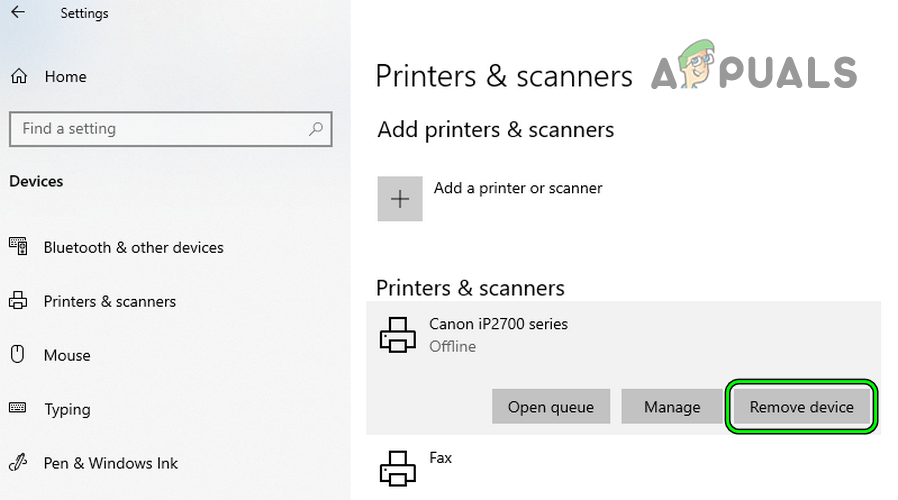
Remove the Canon Printer in Printers and Scanners - Now confirm to remove the printer and right-click on Windows.
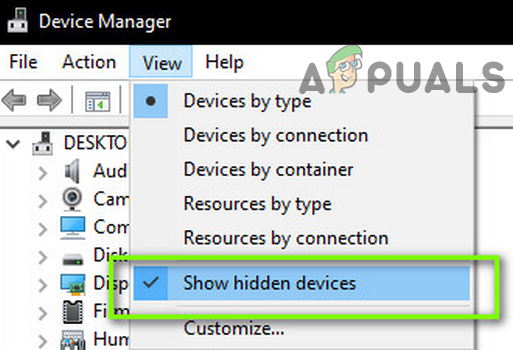
- Then select Device Manager and expand View.
- Now select Show Hidden Devices and expand the Printers option.
Show Hidden Devices in Device Manager - Then right-click on the problematic printer and select Uninstall Device.
- Now checkmark the checkbox of Delete the Driver Software of This Device and click on Uninstall.
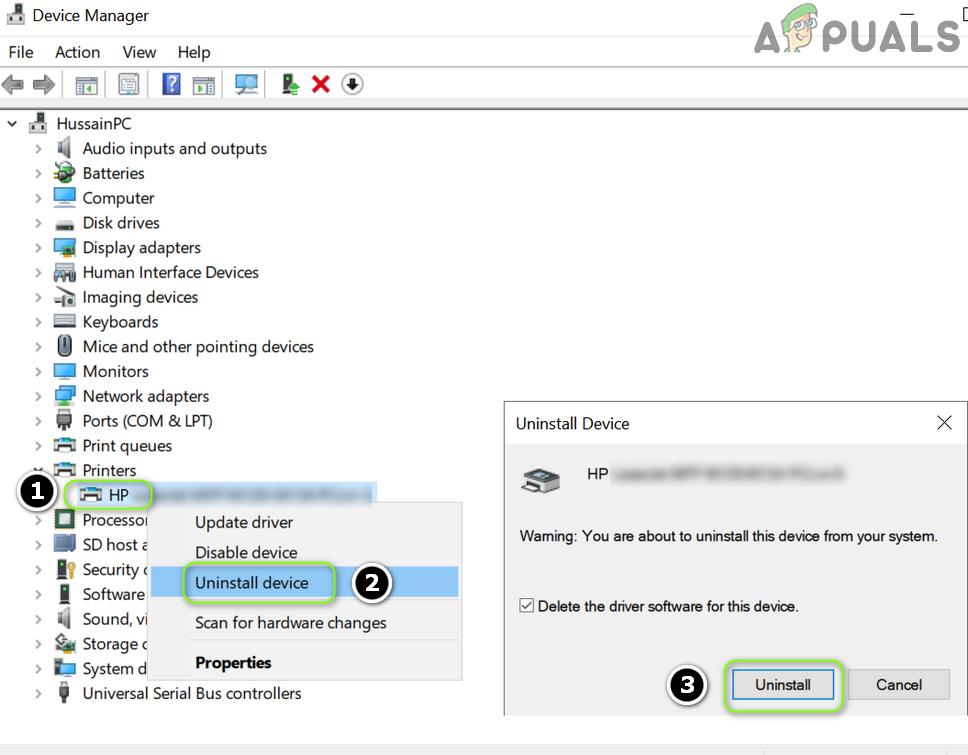
Uninstall the Printer from the Device Manager and Delete its Driver - Then wait till the printer device is uninstalled from the Device Manager and afterward, repeat the same to uninstall all the devices related to the problematic printer.
- Now click Windows, search for Print Management, right-click on it, and select Run as Administrator.
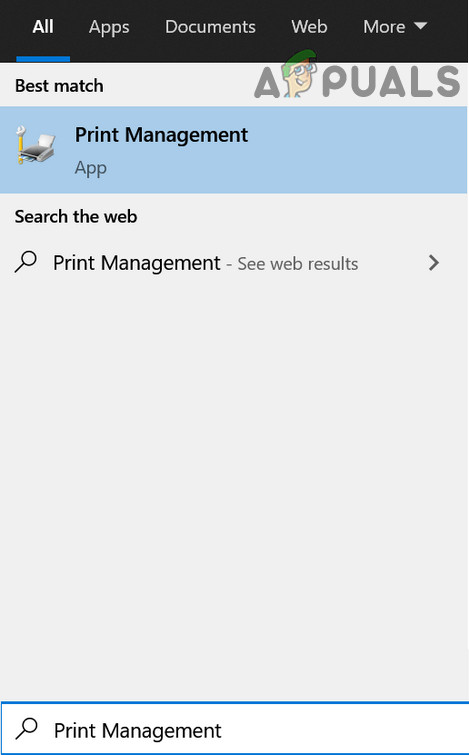
Open Print Management - Then right-click on the problematic printer (you may have to expand the Print Server or Deployed Printers option) and select Delete.
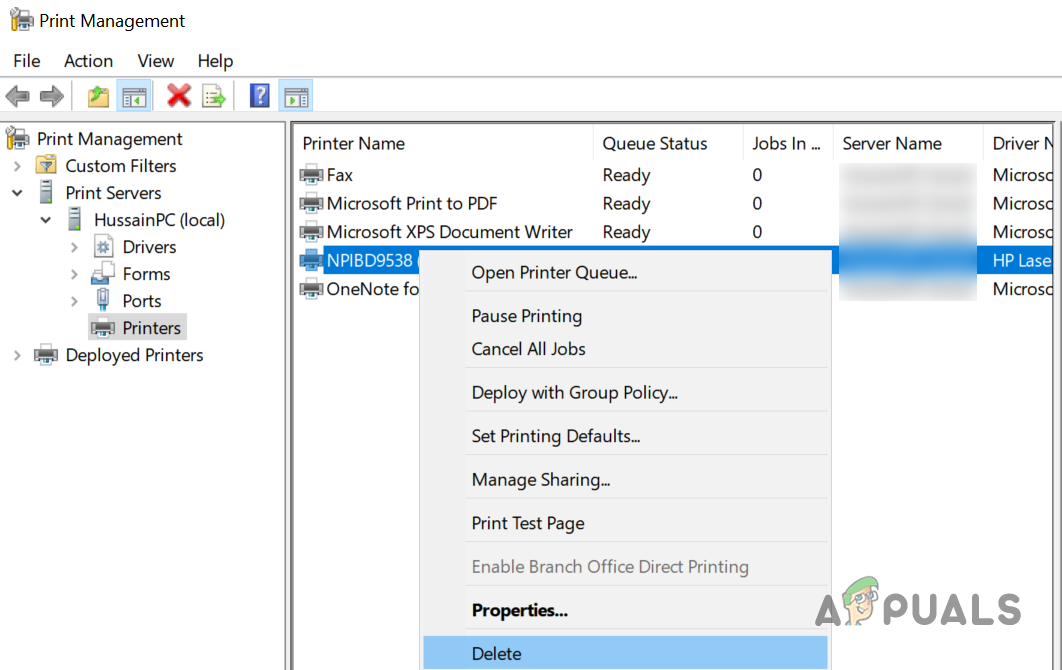
Delete the Printer in the Print Management - Now confirm to delete the printer from the Print Management and restart your system.
- Upon restart, download the printer driver from the OEM website (like HP.com) and install the driver as administrator.
- Once installed, restart your system, and upon restart, check if the printer PCL XL issue is resolved.
- If not, check if uninstalling the current driver (as discussed above) and installing a PCL 5, post-script, or Type 3 driver solves the problem.
- If the issue persists, check if reinstalling the printer driver in compatibility mode solves the problem.
- If that did not work, check if using a universal driver (like HP UPD driver) solves the issue.
Try Another User Profile
The PCL XL issue could be the result of a corrupt user profile or insufficient printer permissions (due to a glitch) to the user. In such a case, creating a new user profile and printing through that profile may solve the problem.
- Create a new user account on your system and configure it to use the printer.
- Now try to print a document through the new user profile and hopefully, the printer is working fine.
If none of the above did the trick for you, then check if setting up the printer locally through an IP port (bypassing the print server) solves the problem. If that did not work, check if upgrading the printer RAM solves the problem.