PC Not Working After Windows 11 Update? Here’s the Fix!
According to some users, they are unable to use their laptops and computers after updating Windows 11 to its latest available build. Apparently, the system crashes as soon as it attempts to boot, even before the login screen appears.
However, in some other cases, the users also reported that the system boots to a black screen which is unresponsive. In this guide, we will take a look at the troubleshooting methods to try if that happens. Proceed with the method that suits your situation the best.
1. Try Some Basic Troubleshooting
Before we move towards the complicated troubleshooting methods, we suggest trying a few simple fixes and seeing if those make any difference. Firstly, if your computer is not showing any sign of power, check all the power supplies to make sure they are connected properly and working fine.
While you are at it, we also recommend checking if the monitor is connected properly, especially if you are experiencing the black screen issue.
Once you are sure that the issue is system-related, move to the troubleshooting methods below.
2. Troubleshoot in WinRE
If you cannot boot into Windows, then the best way to access the system is via the Windows Recovery Environment.
The Windows Recovery Environment, sometimes referred to as WinRE, is a companion operating system that is installed along with the regular Windows operating system. Essentially, it is a simplified version of Windows that provides diagnostic and repair tools for problems associated with the Windows operating system.
In this method, we will use WinRE to access Command Prompt, through which we will then run the system commands.
Here is how you can proceed:
- Turn off the device by pressing and holding the power button for 10 minutes.
- Launch the system by using the power button, and then turn it off by following the aforementioned step.
- Do this twice again and allow the system to start properly for the third time. Windows will now automatically boot into the recovery environment.
- In the WinRE mode, navigate to Troubleshooter > Advanced options.

Launch Advanced options - Click on Command Prompt from the list of options available.
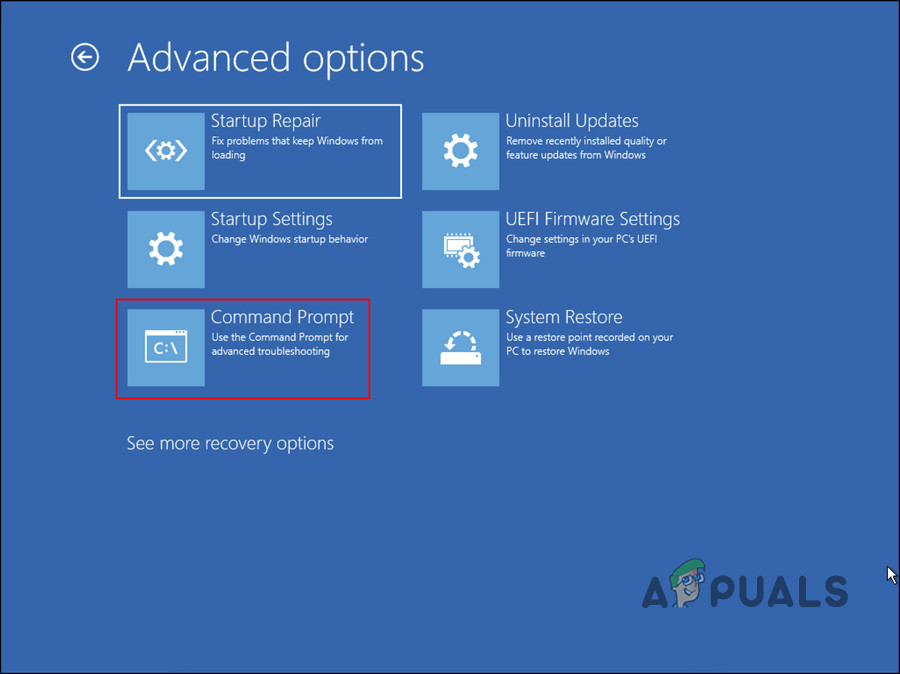
Choose Command Prompt in Advanced options - In the following window, type the command below and hit Enter to execute it:
BCDEdit

Execute the command - Head over to the Windows Boot Loader section in Command Prompt and note down the letter of the drive next to osdevice. You will need to replace that letter with X in the following commands.
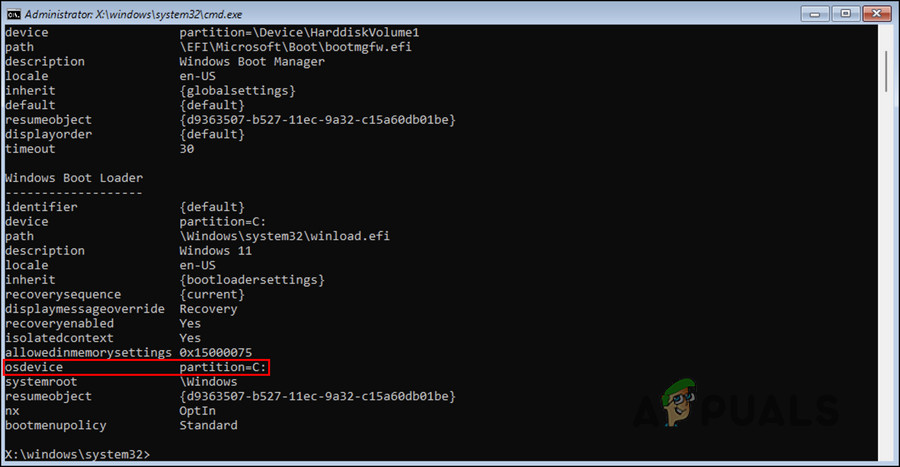
Check the osdevice partition - Execute the following commands one by one:
CHKDSK /f X:
DISM /image:X:\ /cleanup-image /restorehealth
SFC /scannow /offbootdir=X:\ /offwindir=X:\windows
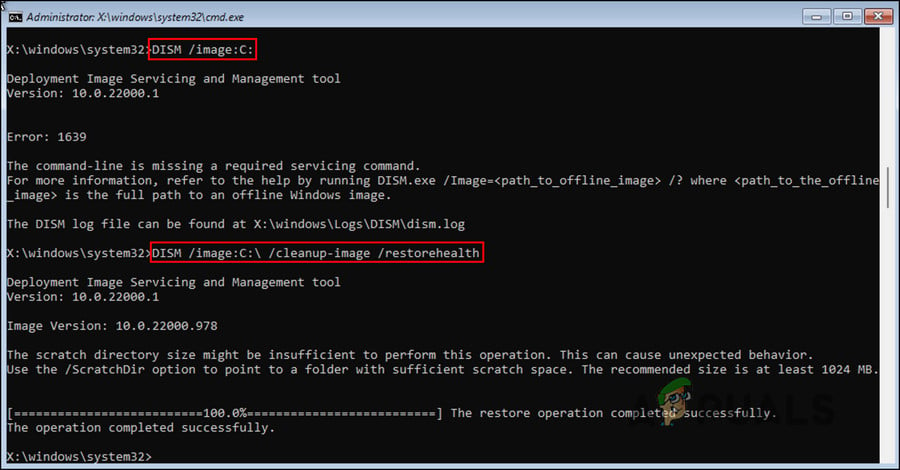
Run SFC and DISM commands - Next, execute the following commands, one at a time:
C:
bootrec /fixmbr
bootrec /fixboot
bootrec /scanos
bootrec /rebuildbcd
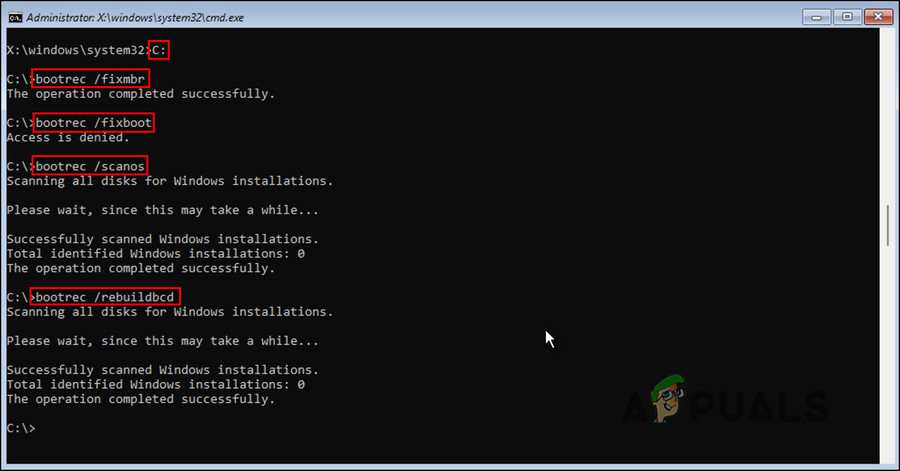
Execute the entered commands - Finally, type exit and hit Enter. This will close the Command Prompt.
- Go back to the Advanced options screen and choose Startup repair.
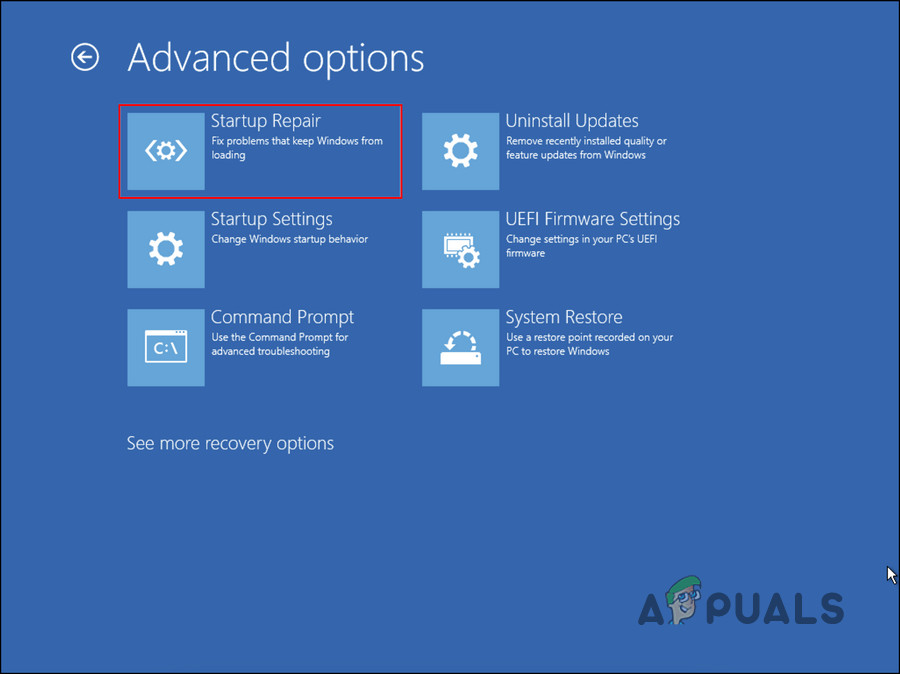
Choose Startup repair - Wait for the process to complete, and then restart the system.
Hopefully, you will be able to boot into Windows properly this time.
3. Uninstall the Update
Since the issue at hand occurs after the users install a system update of Windows, another fix that you can try is uninstalling the update. For this, you need to boot into Safe Mode. However, if you have tried booting into the Safe Mode already and failed, skip this method and move to the next one below.
To proceed, follow these steps:
- Launch the Windows Recovery Environment by following the steps mentioned earlier in this guide.
- In WinRE, navigate to Troubleshoot > Advanced options > Startup Settings > Restart.
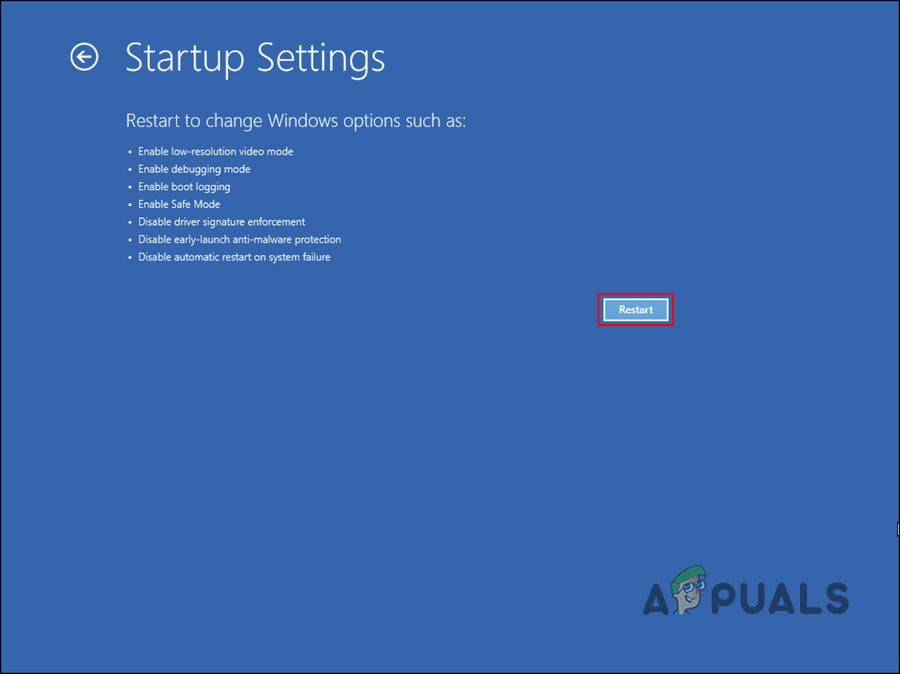
Click on the Restart button - You should now see three options to enter Safe Mode. Press F4, F5, or F6 based on your needs.
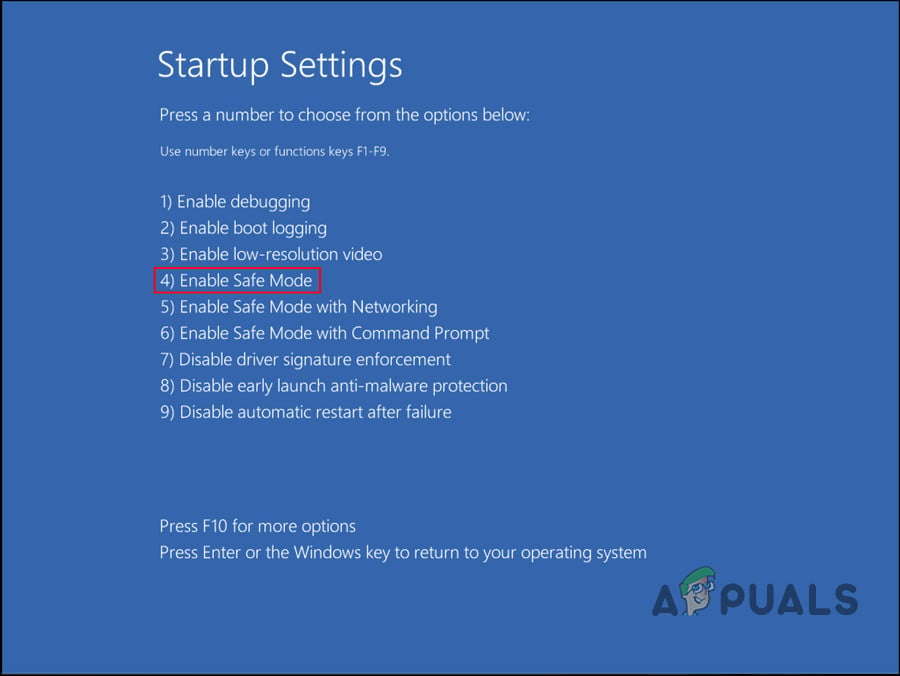
Launch Safe Mode - Once you are in Safe Mode, press Win + R to open Run.
- Type control in the text field of Run and click Enter.
- Choose Programs and Features in the Control Panel.
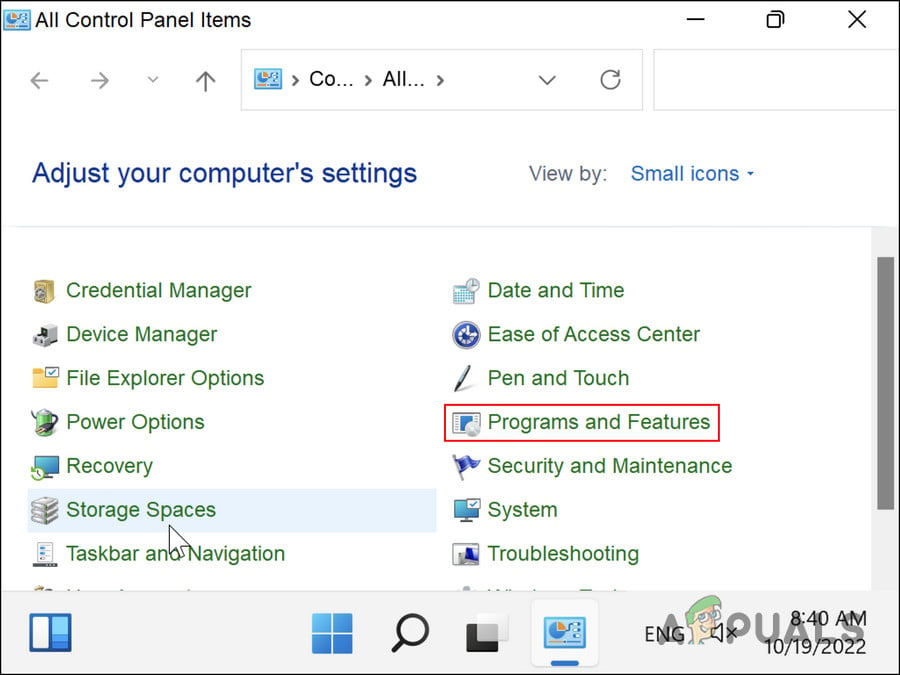
Choose Programs and Features - Click on View installed updates from the left pane.
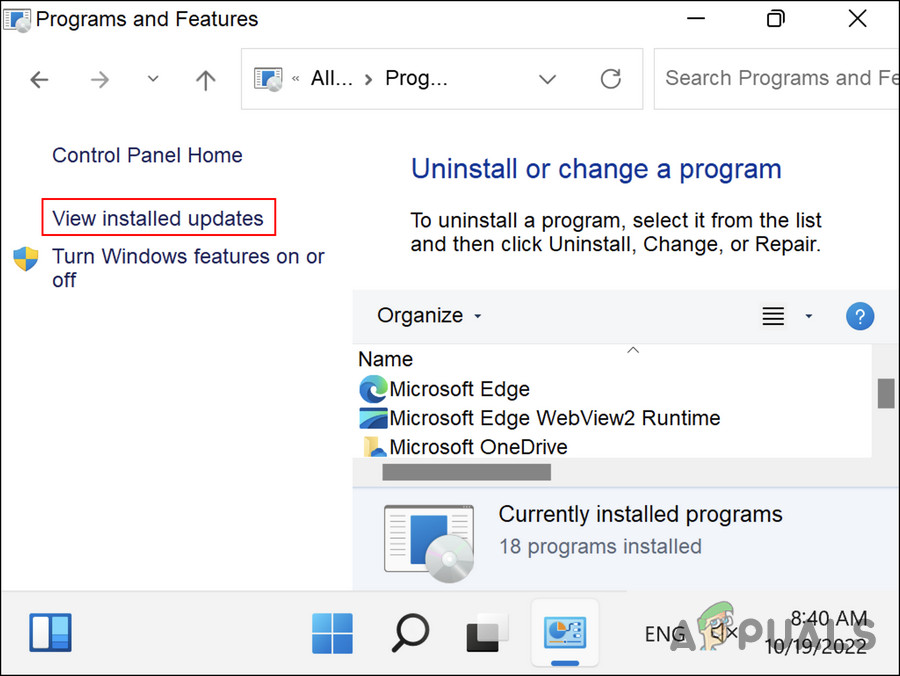
Choose the View installed updates option - You should now see a list of all the installed updates on your system. Right-click on the problematic one and choose Uninstall.
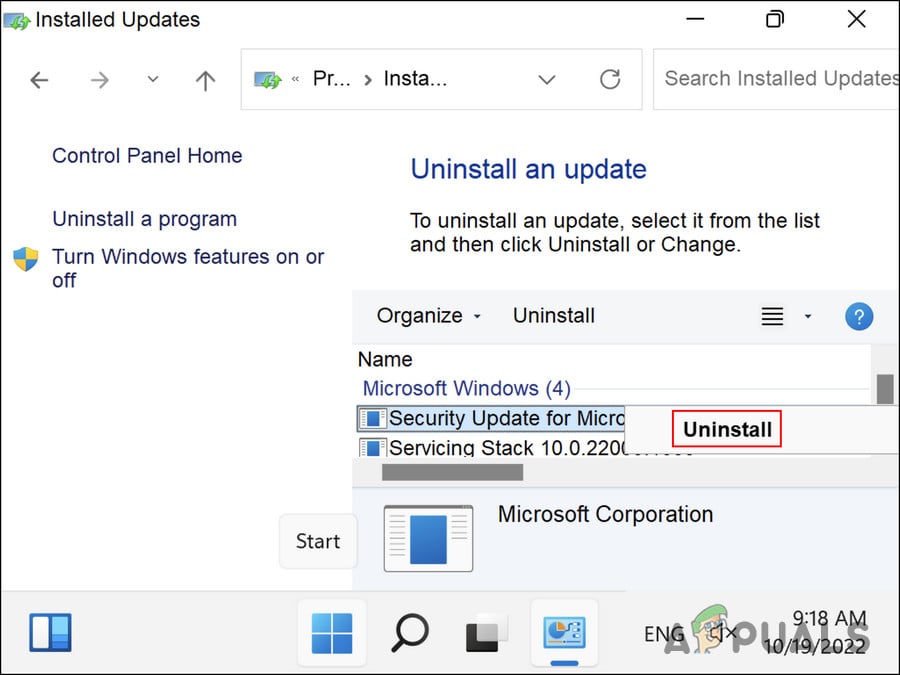
Choose Uninstall from the context menu - Follow the on-screen instructions to proceed.
Once the update is uninstalled, check if the issue is resolved. In case the issue started to occur after installing a particular application, then you can also try uninstalling the app and check if that makes any difference.
4. Use System Restore
Another thing you can do is restore the system to a previous point in time where the issue at hand was not present. This is done using the System Restore utility, which takes snapshots of the system at different points (especially before performing critical operations).
These restore points can be used to revert to the relevant system state.
Here is how you can use the system restore utility to fix the problem at hand:
- Boot Windows in the Recovery Environment.
- Navigate to Troubleshoot > Advanced options.
- Click on System Restore.
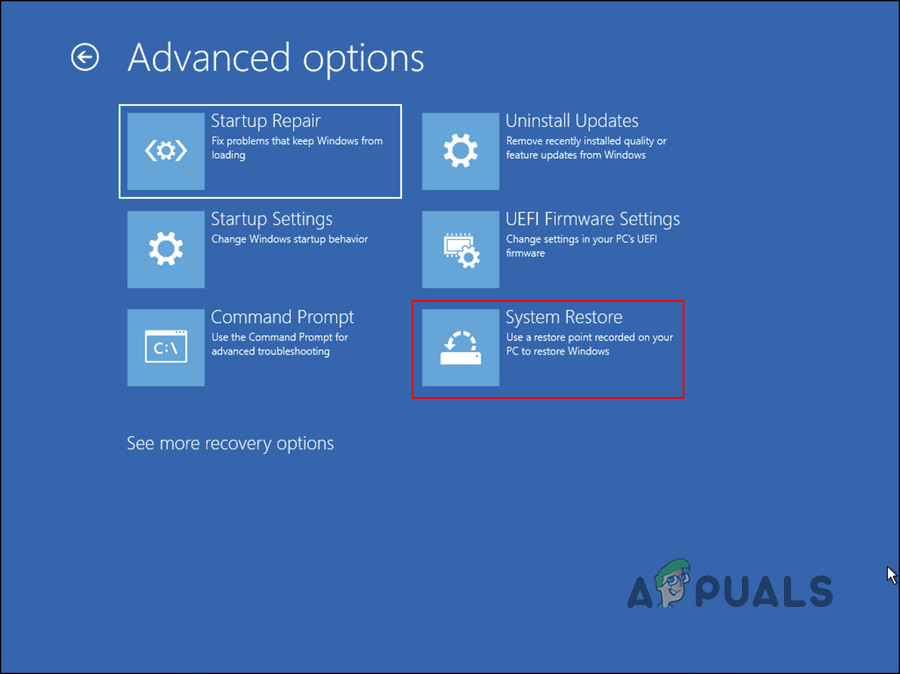
Click on System Restore - In the following dialog, click on the Next button.
- You should now see a list of restore points created on the system. Choose one (preferably the latest one) and follow the on-screen instructions to complete the procedure.
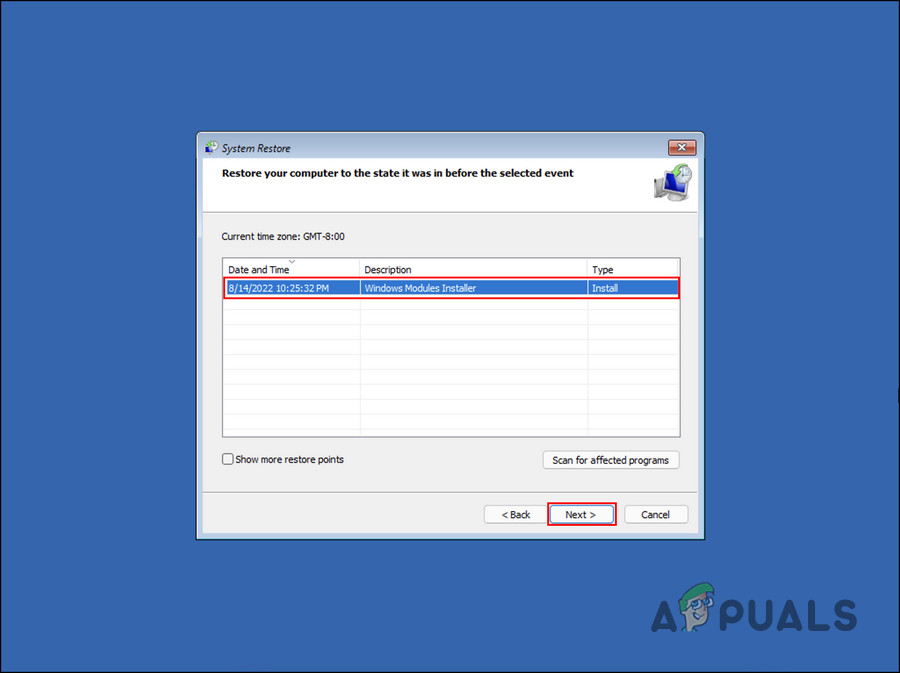
Pick a restore point
5. Reset Windows
If none of the troubleshooting methods suggested here work, then you can try resetting or reinstalling the Windows as a last resort.
Windows gives you the option to keep your files and folders during a reset, so you do not have to worry about losing your data. Reinstalling, however, might wipe everything clean. In case you are not comfortable doing any of these, you can contact the official Microsoft support team and report the problem to them.


